• Watch Out for Scammers!

    We've now added a color code for all accounts. Orange accounts are new members, Blue are full members, and Green are Supporters. If you get a message about a sale from an orange account, make sure you pay attention before sending any money!

Beginners Photo Guide To Reloading (Doc's Steps)

scott123456789

Sergeant
Full Member
Minuteman
Feb 26, 2012
140
0
37
Weatherford, TX
After asking tons of questions I finally loaded my first set of OCW loads. To try to contribute back to the forum I took pictures of ever step along the way. This is 95% exactly what doc describbed in his 101 reloading basics.

IMG_0695.jpg

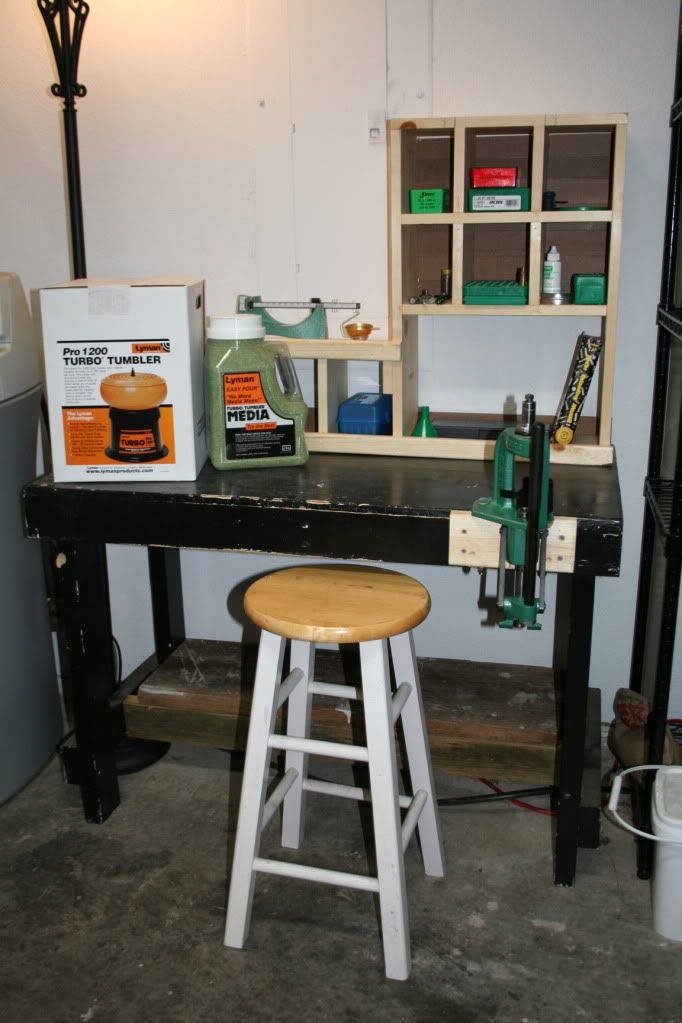
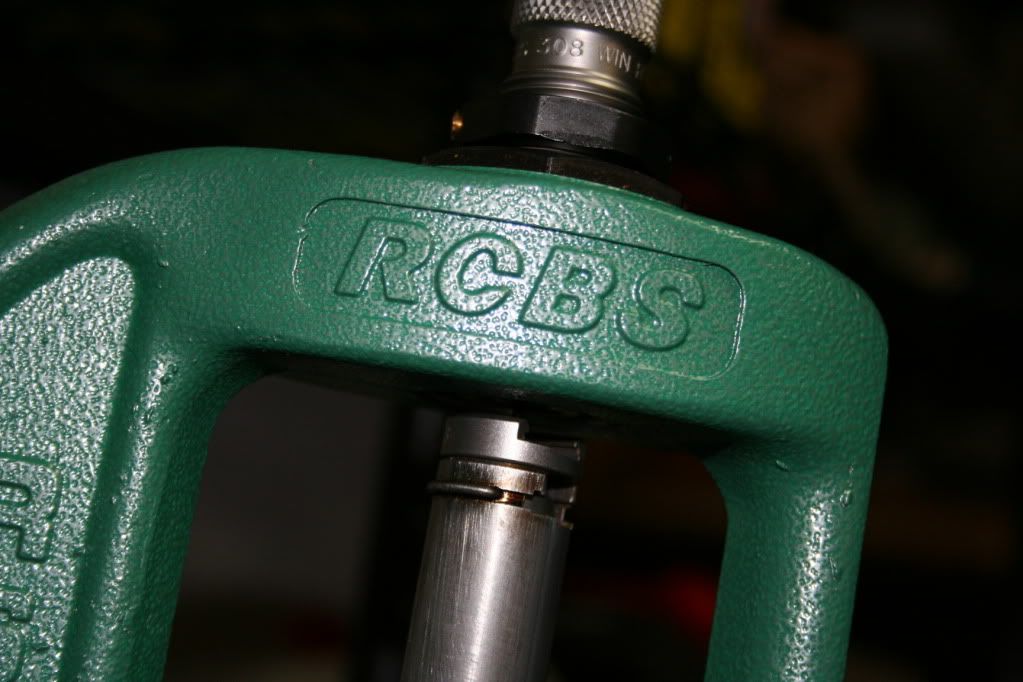
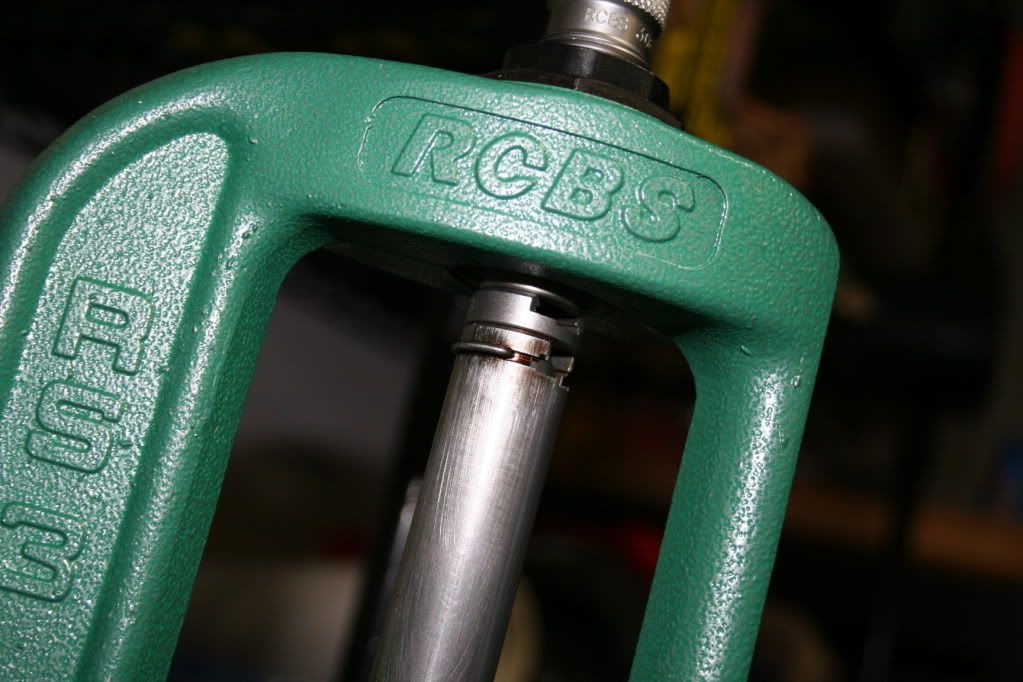
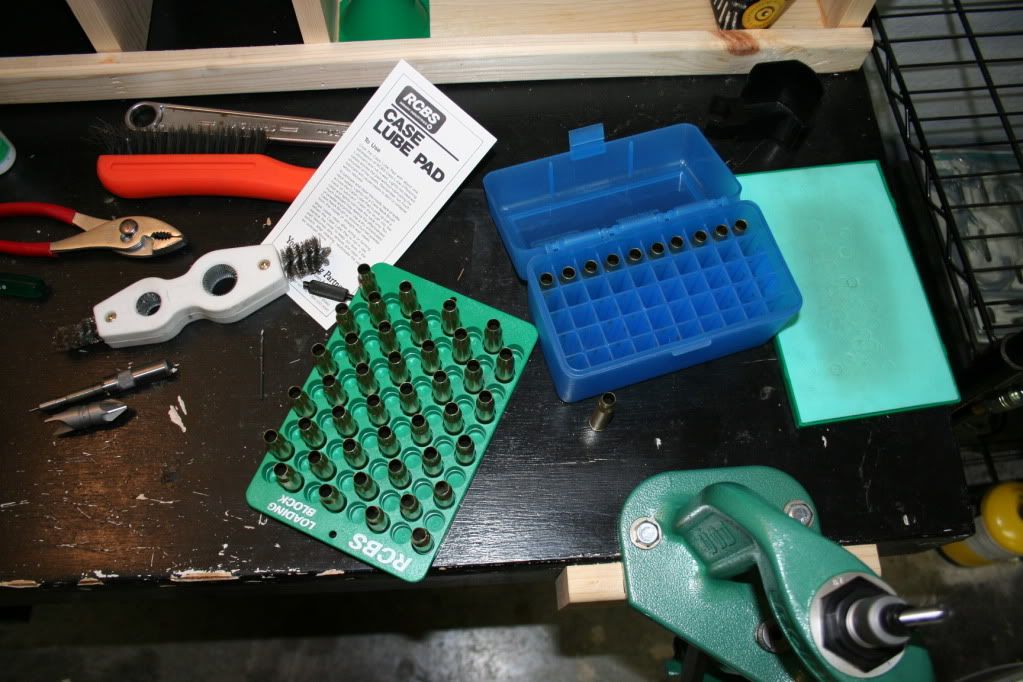
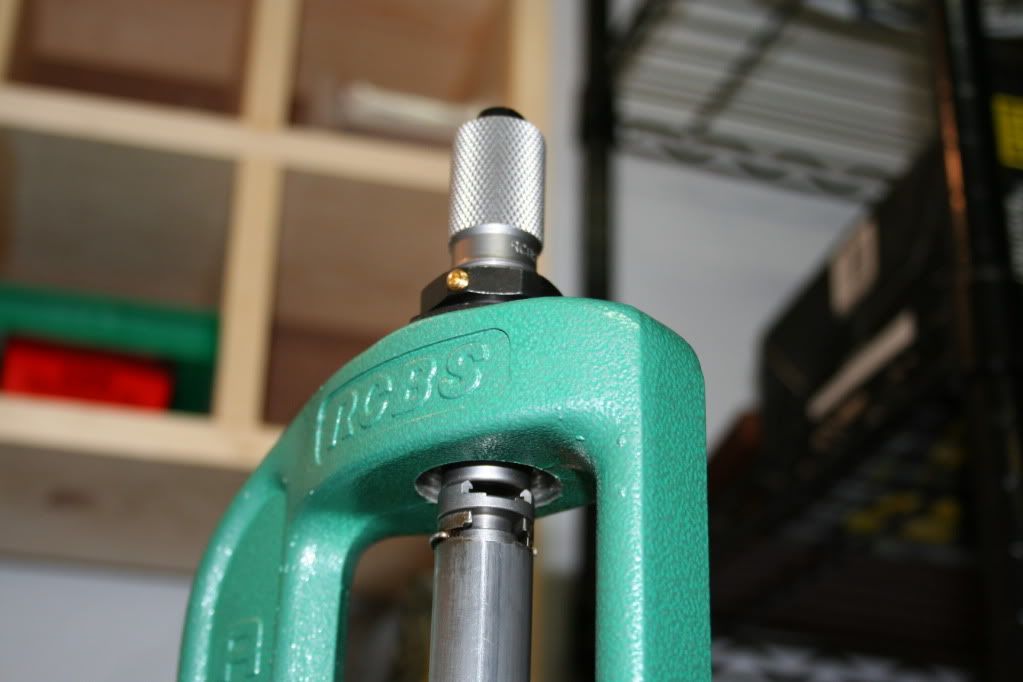
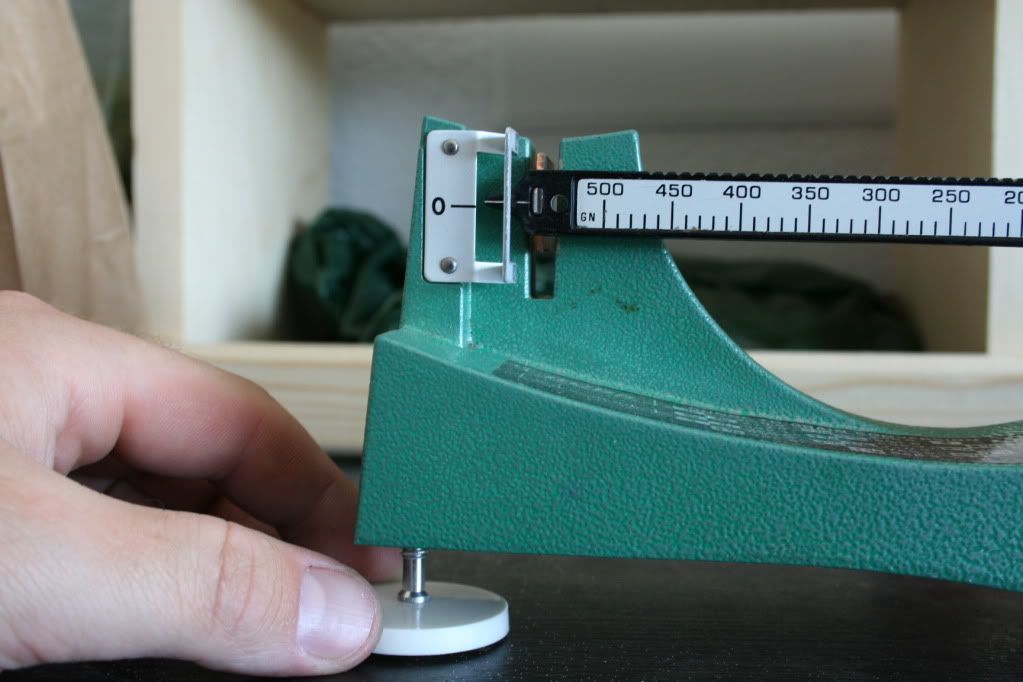
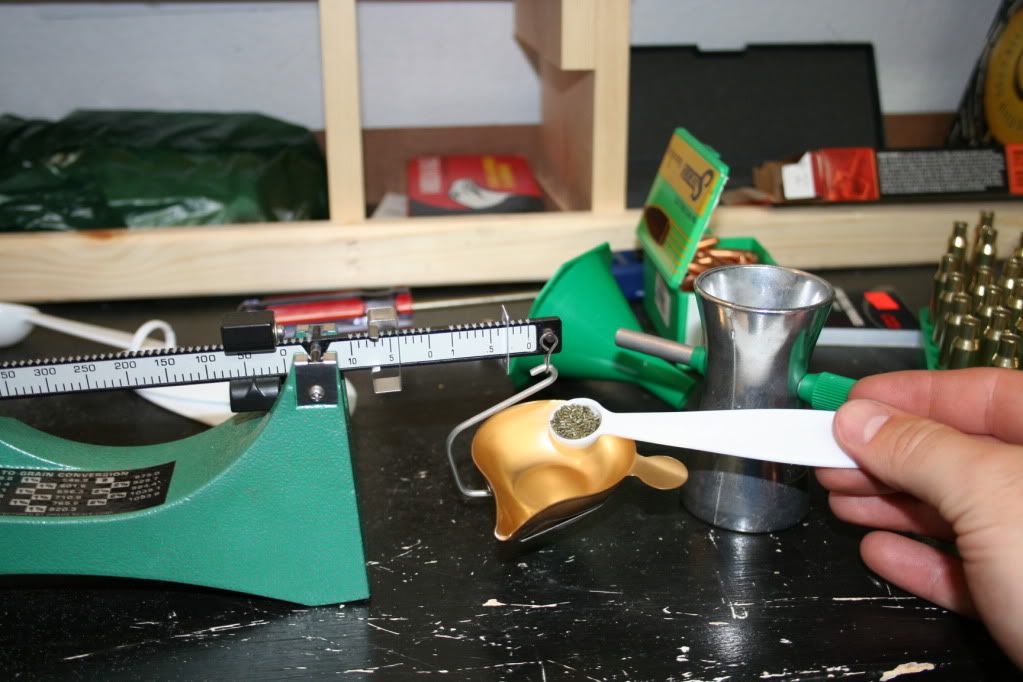
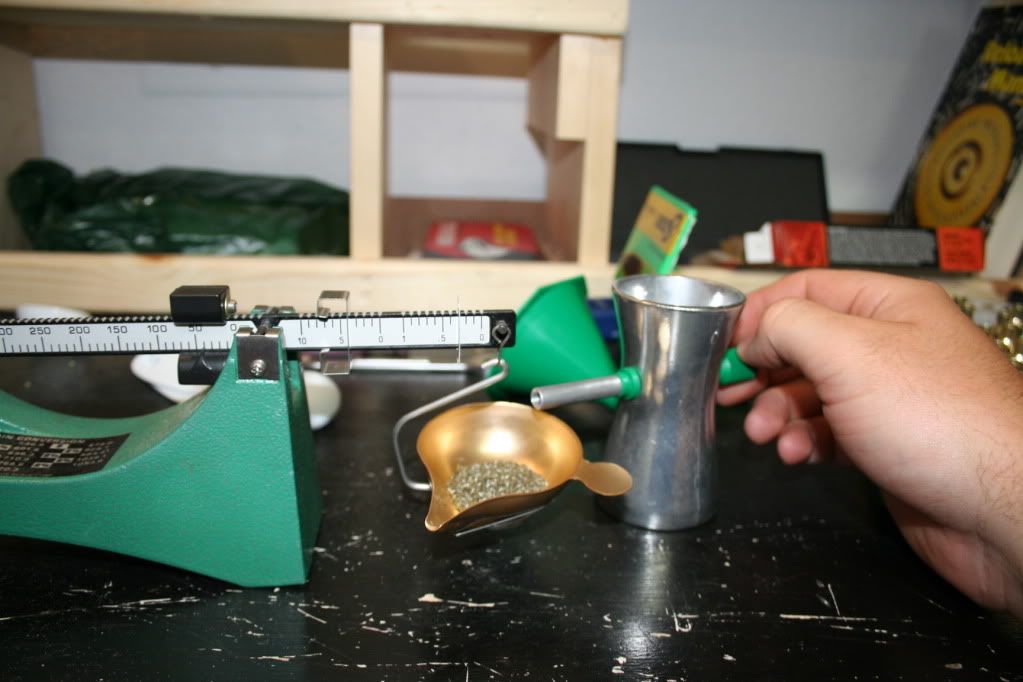
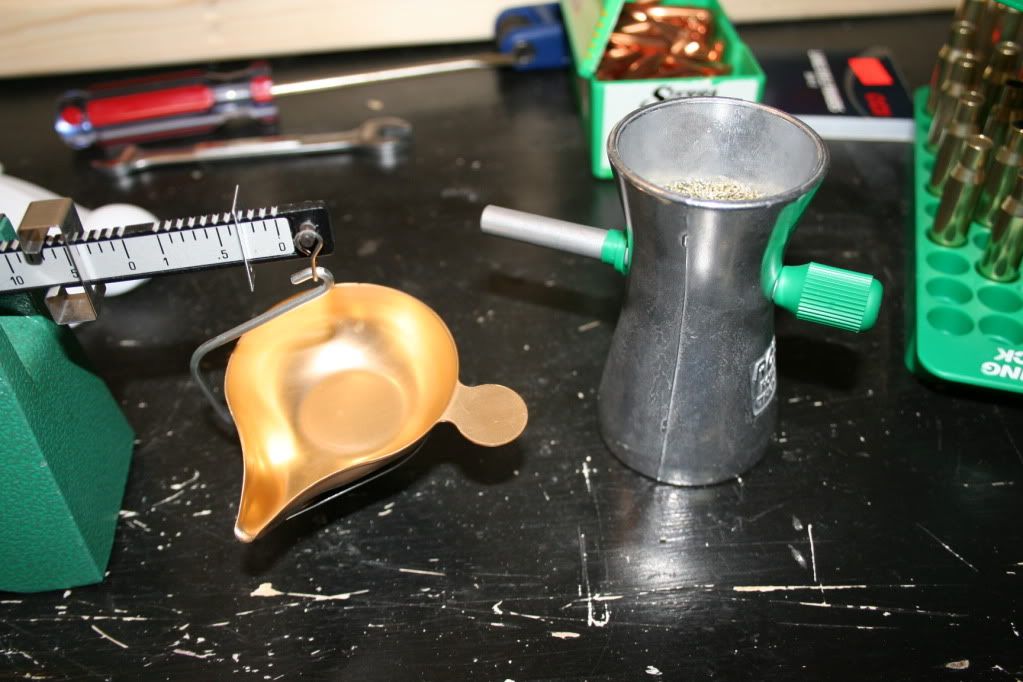
Bench Setup. 4" and 5" slots work perfect for RCBS accessories.

IMG_0696.jpg

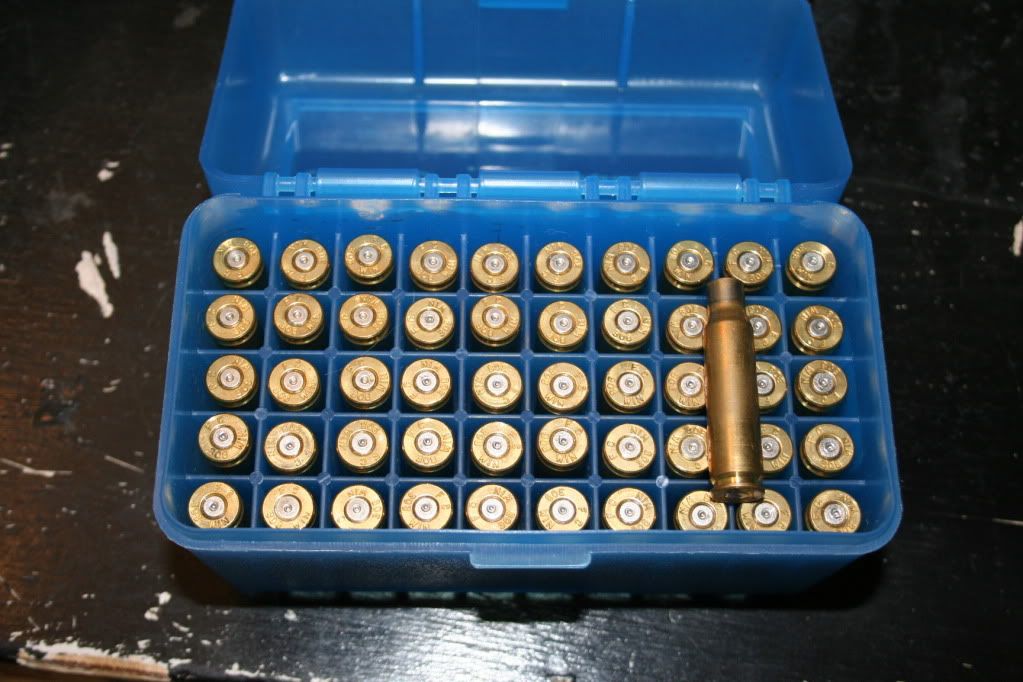
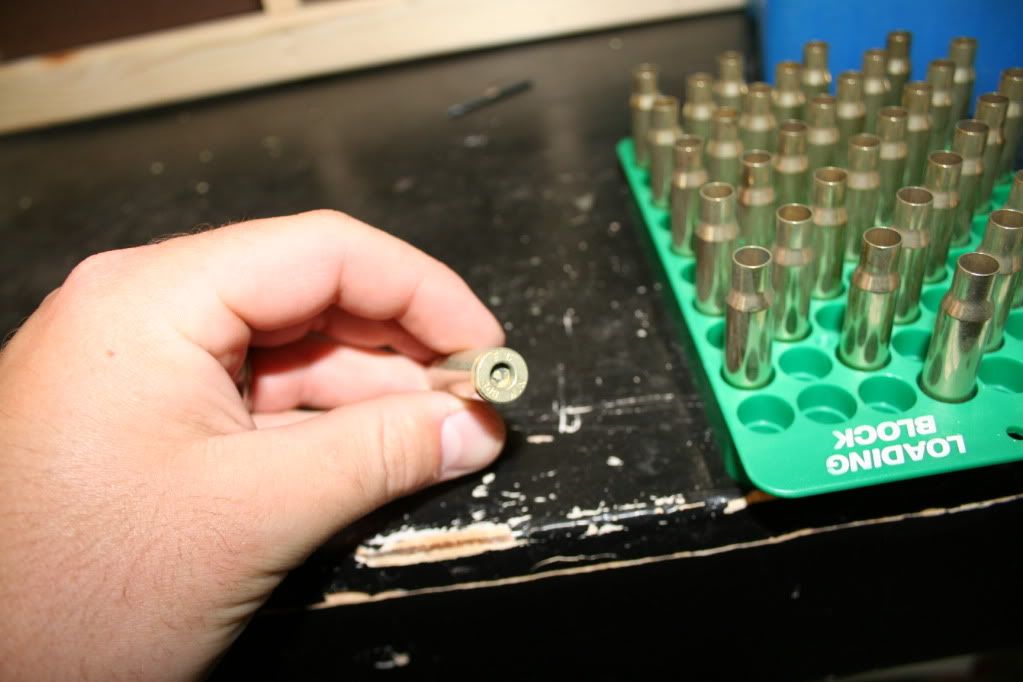
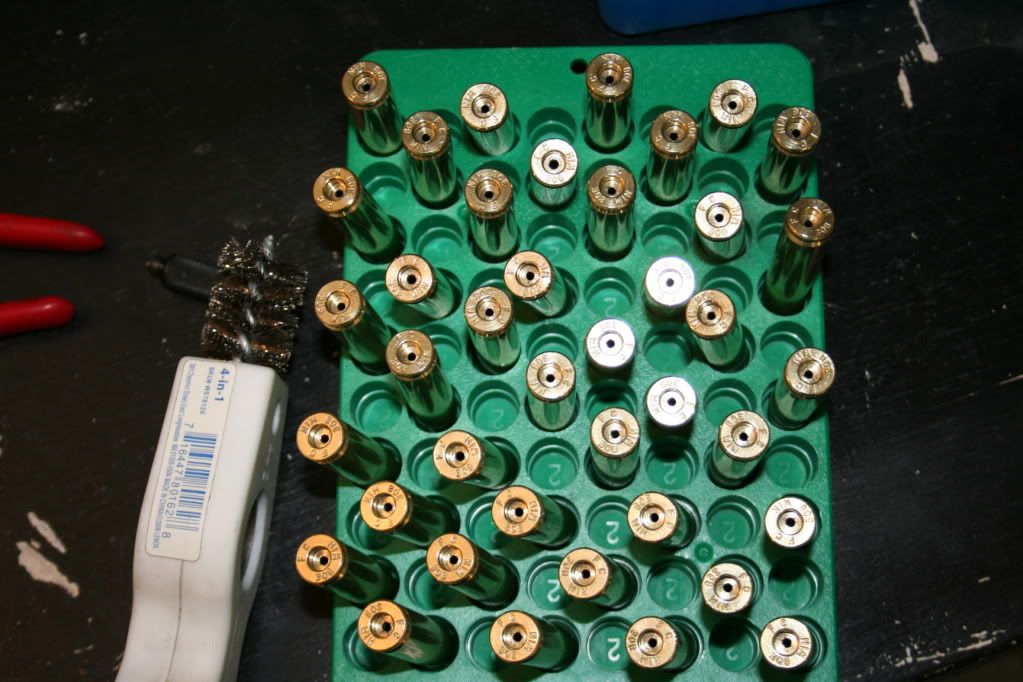
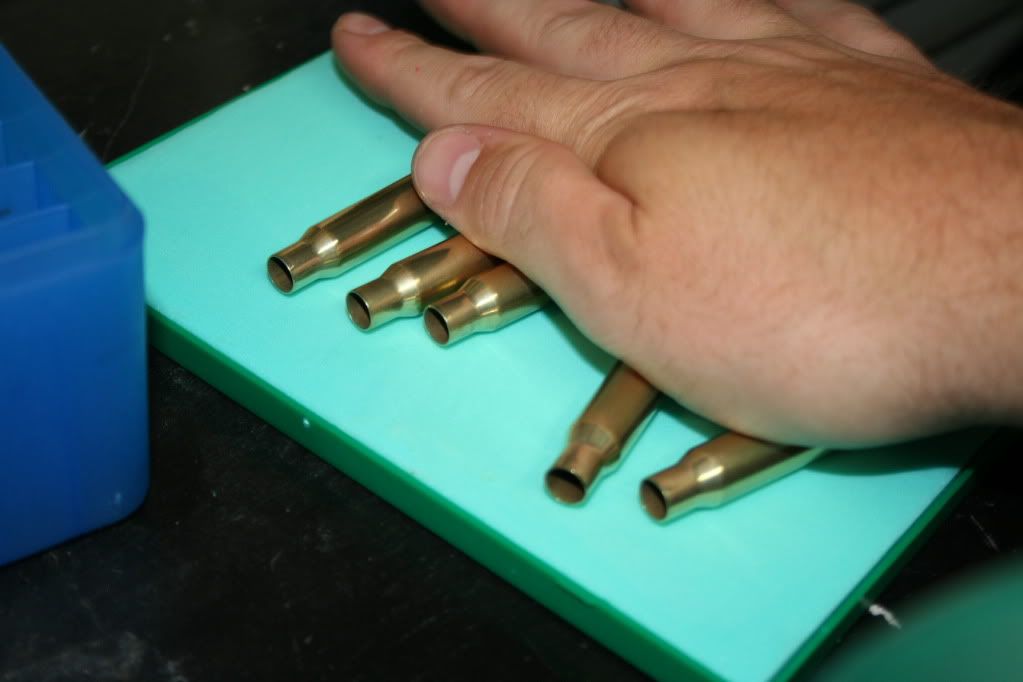
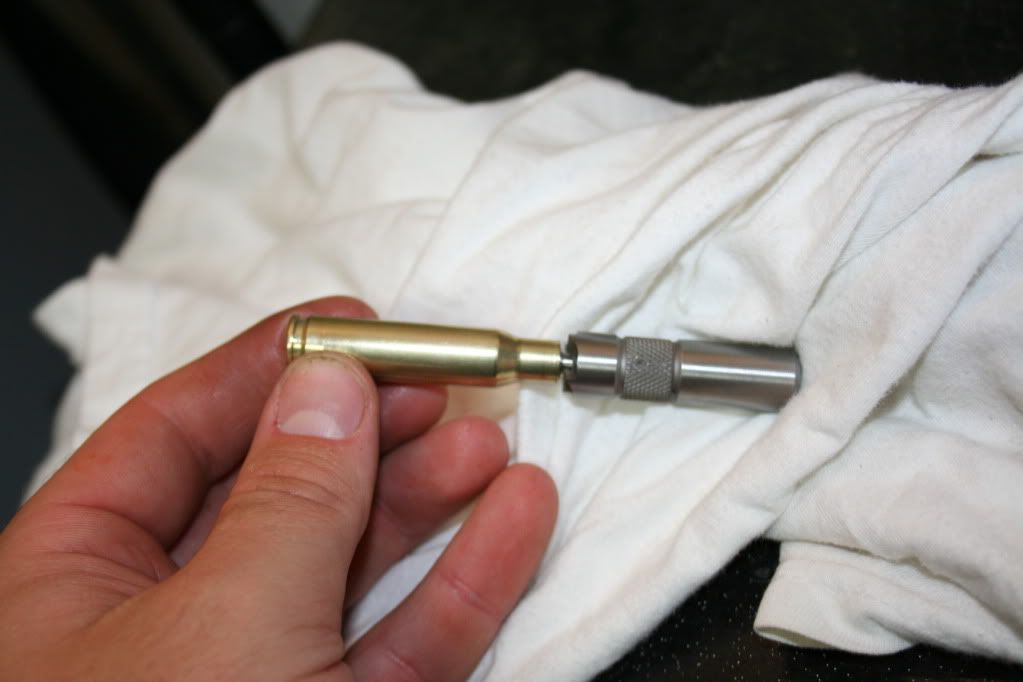
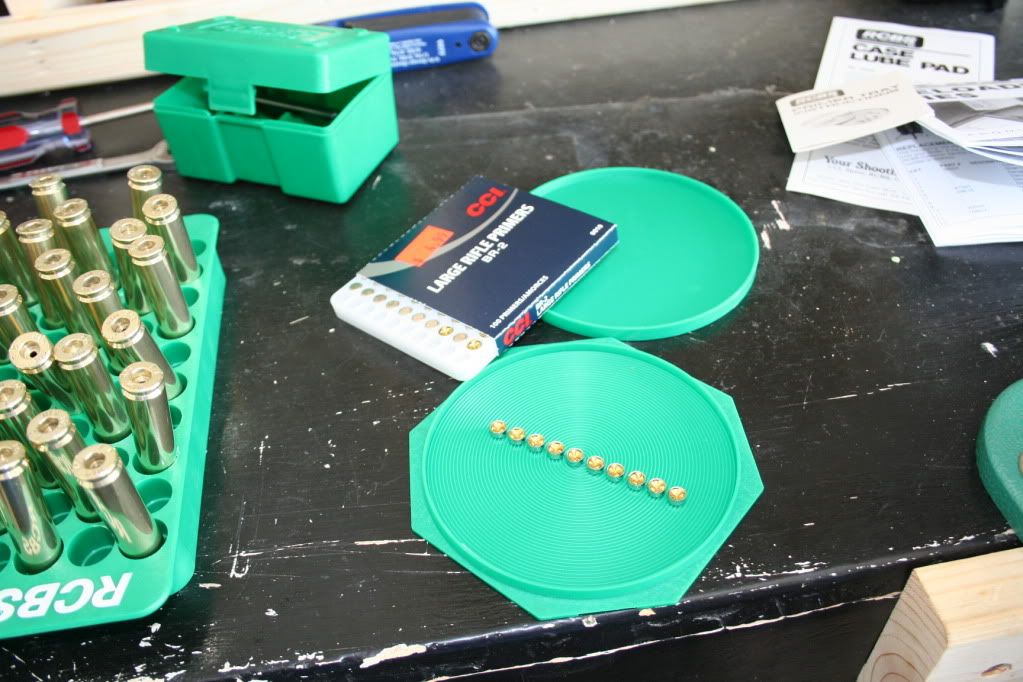
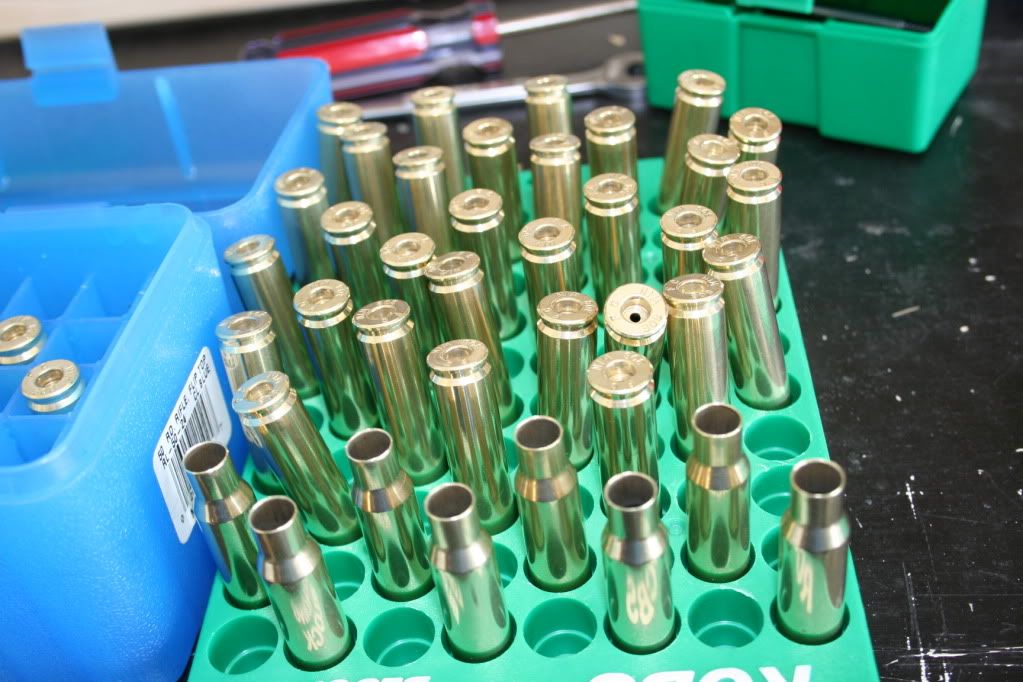
Once fired brass inspected from my rifle.

IMG_0697.jpg

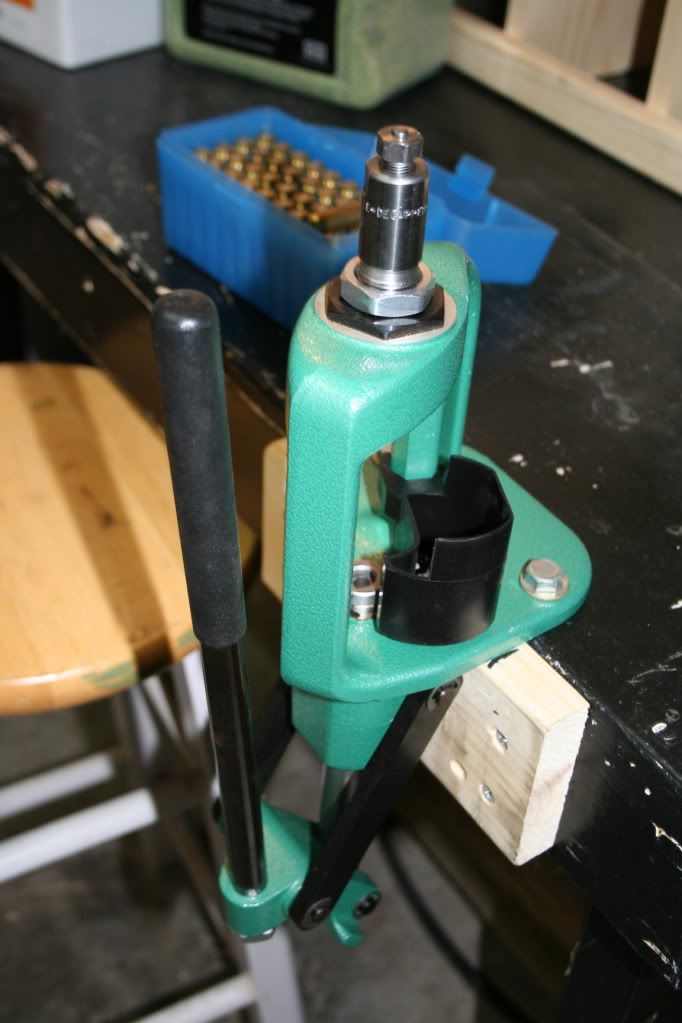
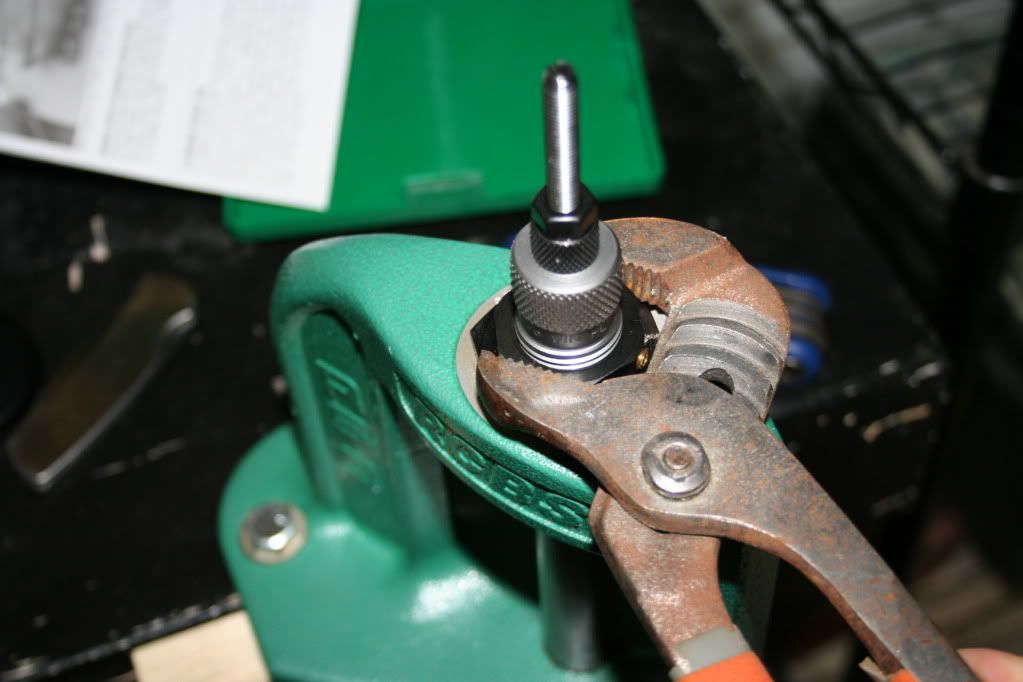
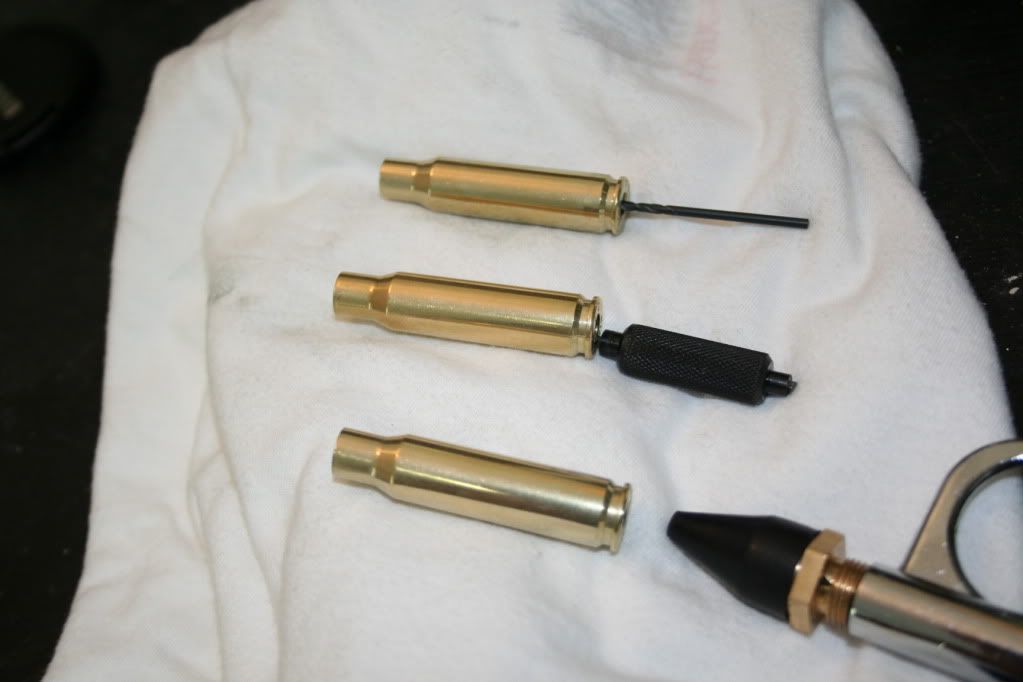
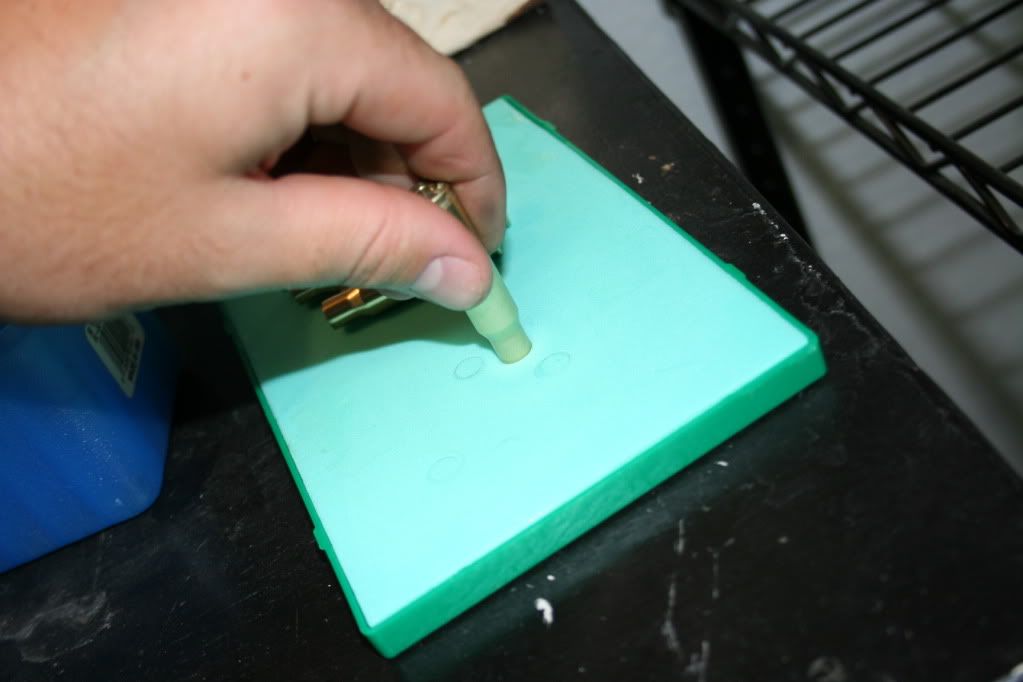
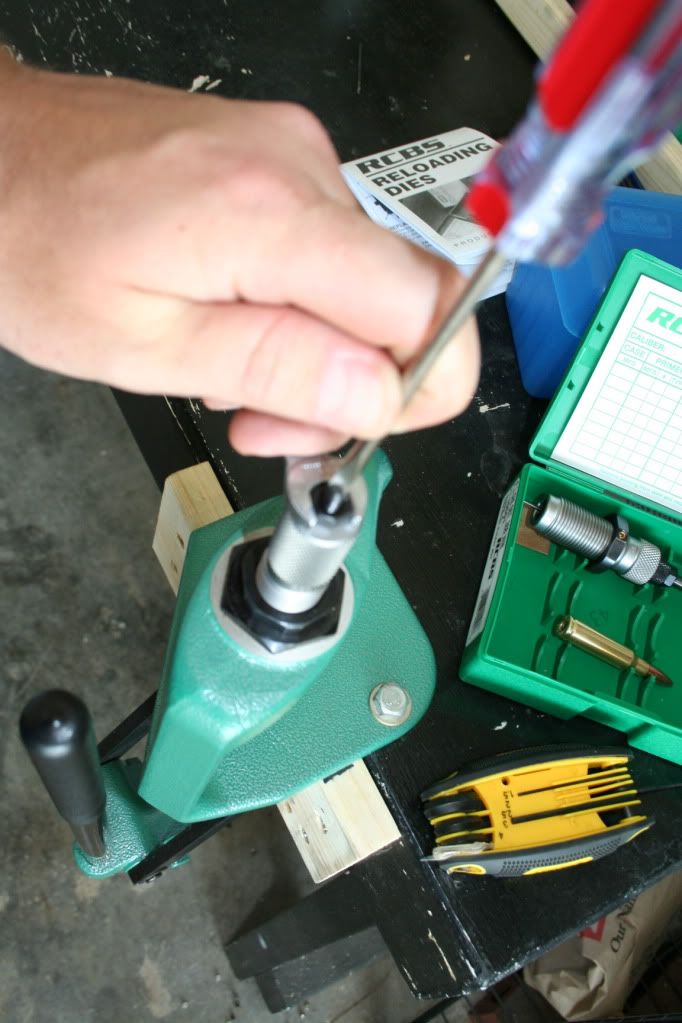
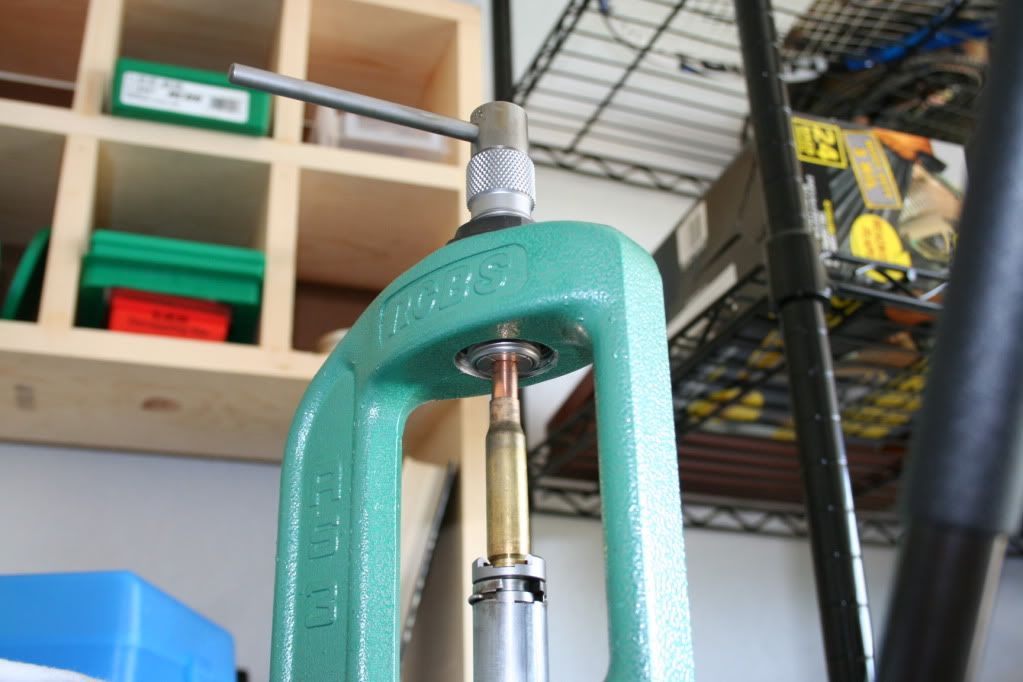
Lee Deprimmer. In the future I may consider tumbling with the primer in the first round.

IMG_0698.jpg

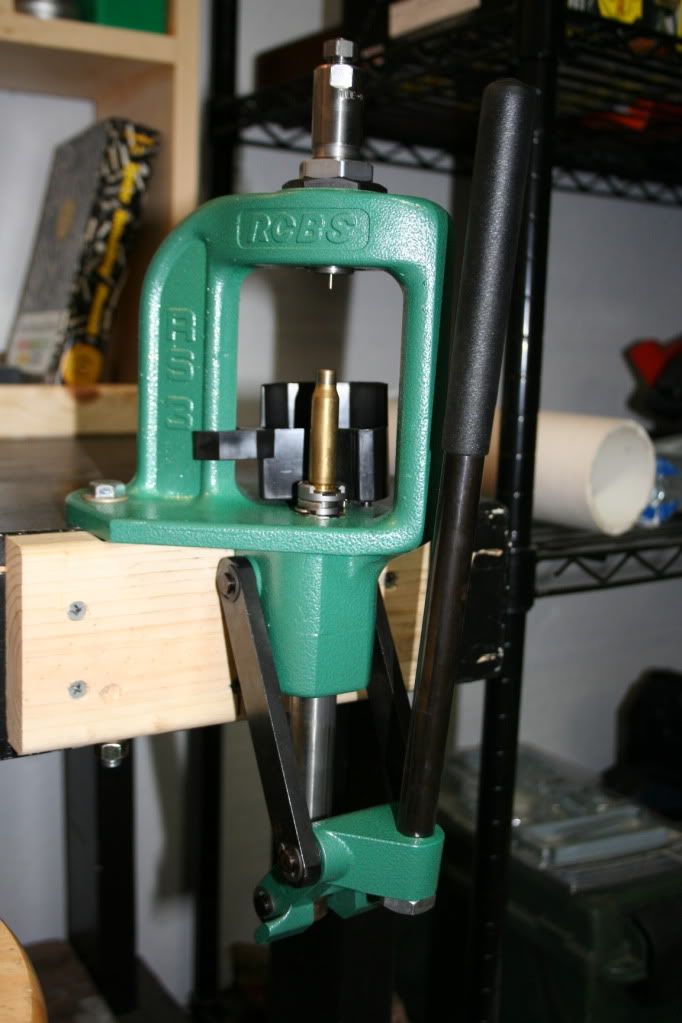
Just be sure the decapping pin is set low enough it will pop the primer all the way out.

IMG_0703.jpg

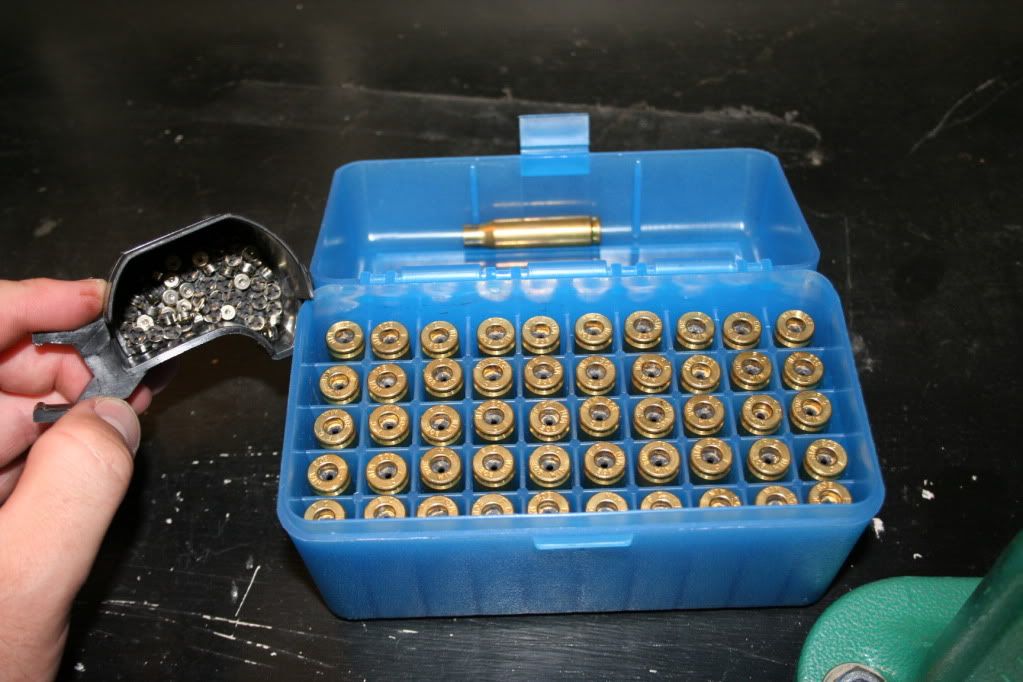
Brass deprimmed ready for tumbling

IMG_0704.jpg

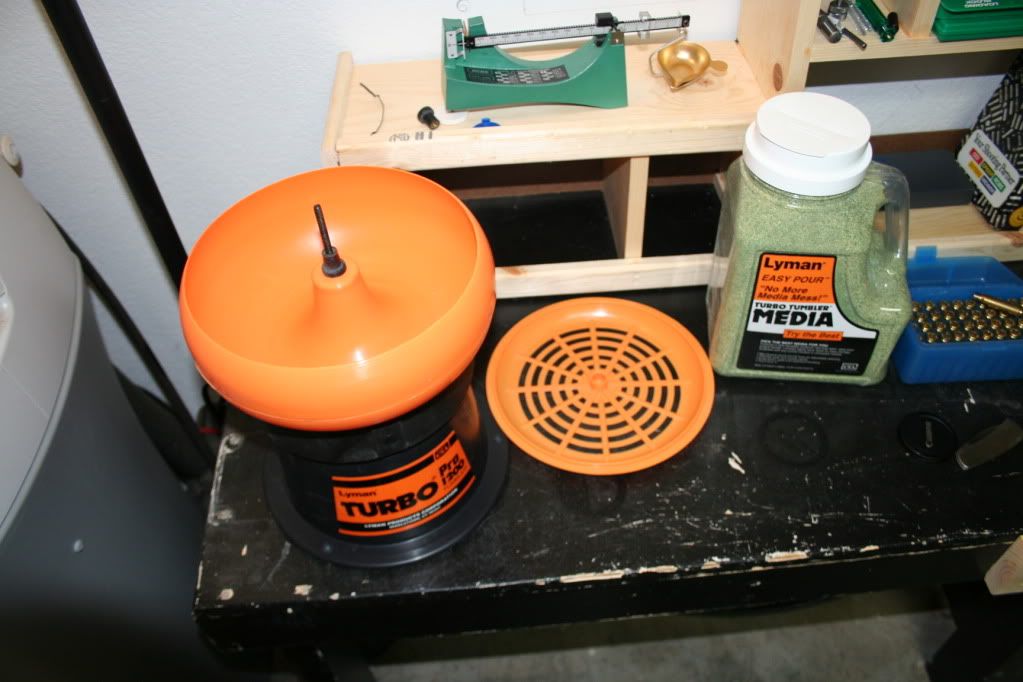
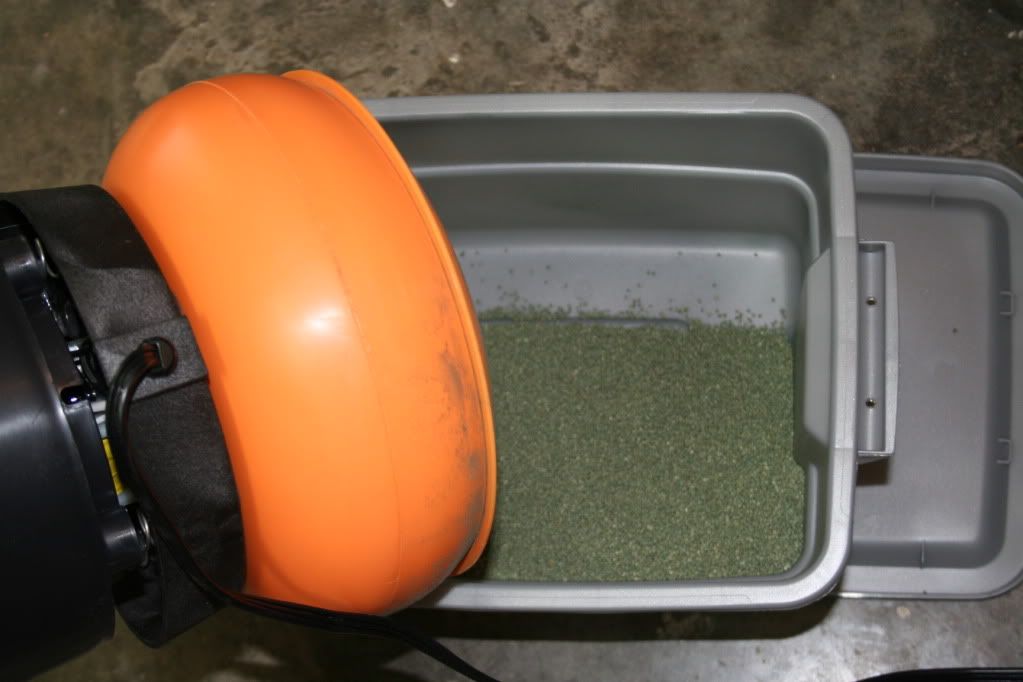
I went with the corn media as it was on sale and the walnut was backordered. I've read 50 threads that go back and forth on the perfect combo.

IMG_0705.jpg

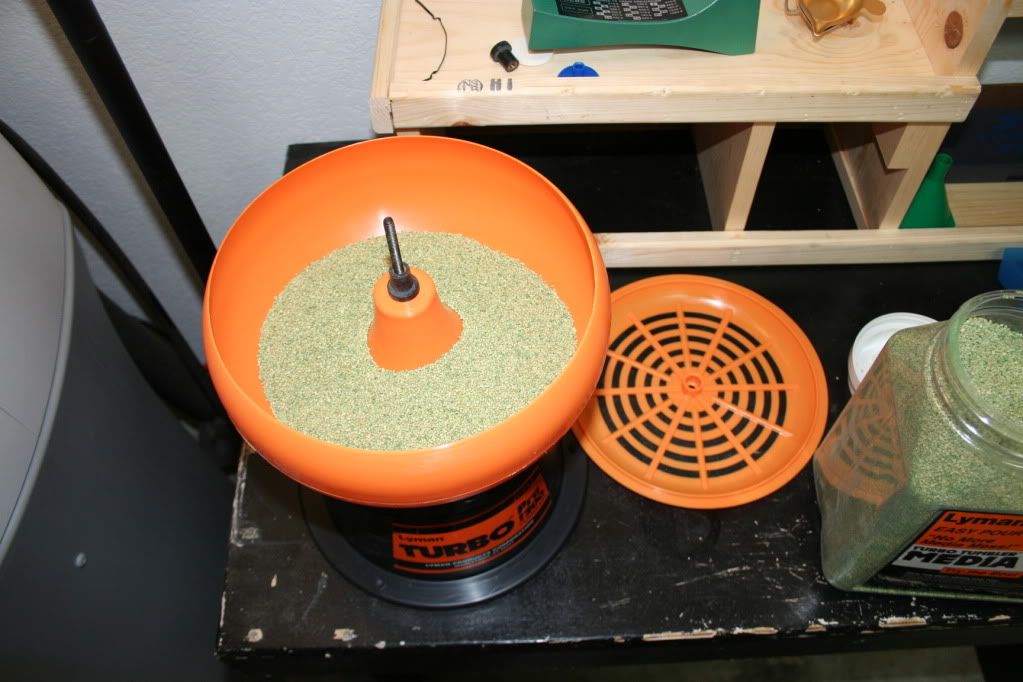
Little media in the tumbler
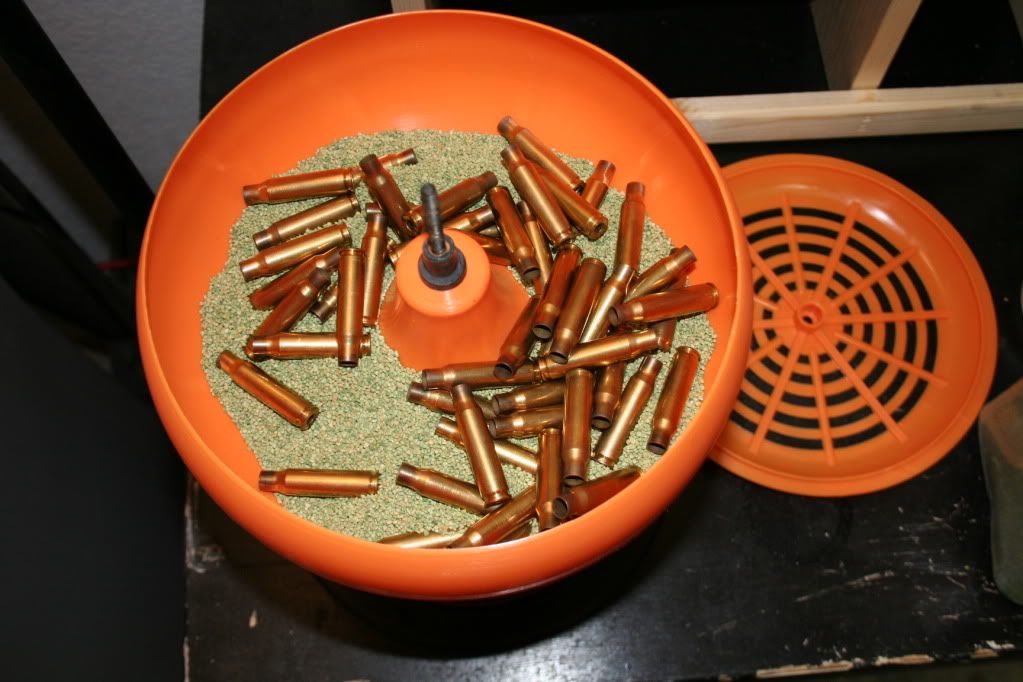
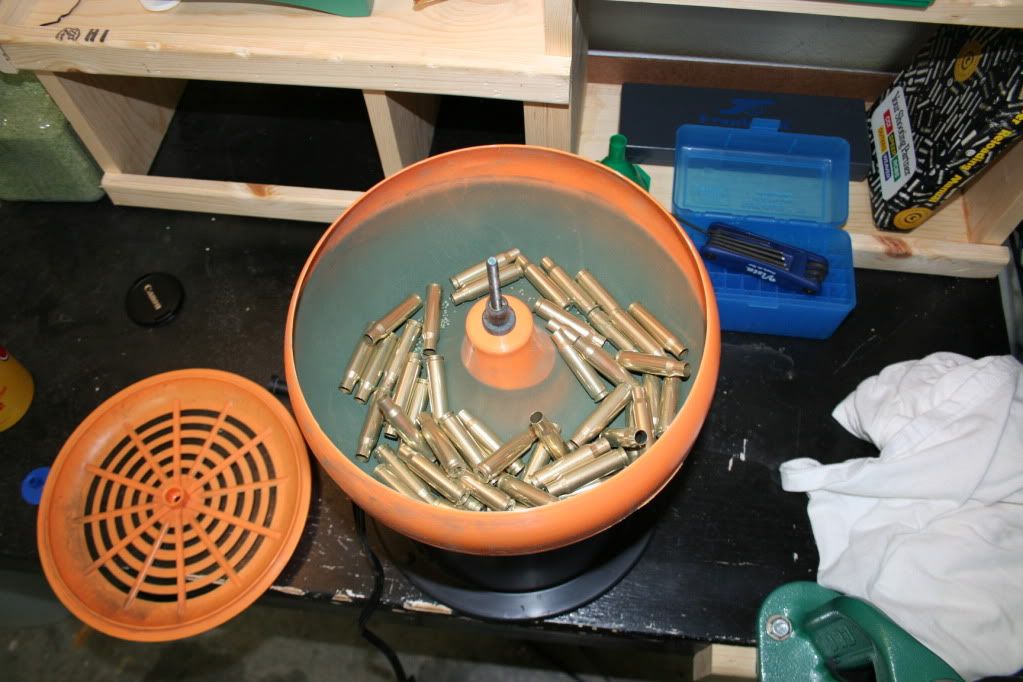
IMG_0706.jpg

Throw your brass in

IMG_0707.jpg

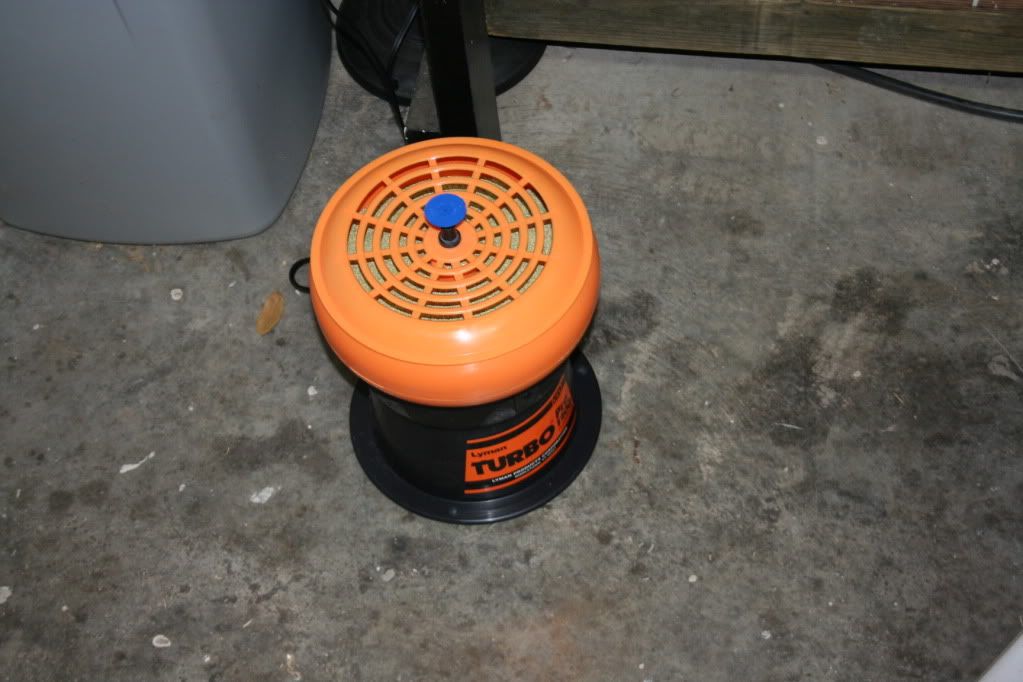
Cover your brass with media and screw on the top.
I went ahead and moved the tumbler to the floor just to be safe.

IMG_0708.jpg

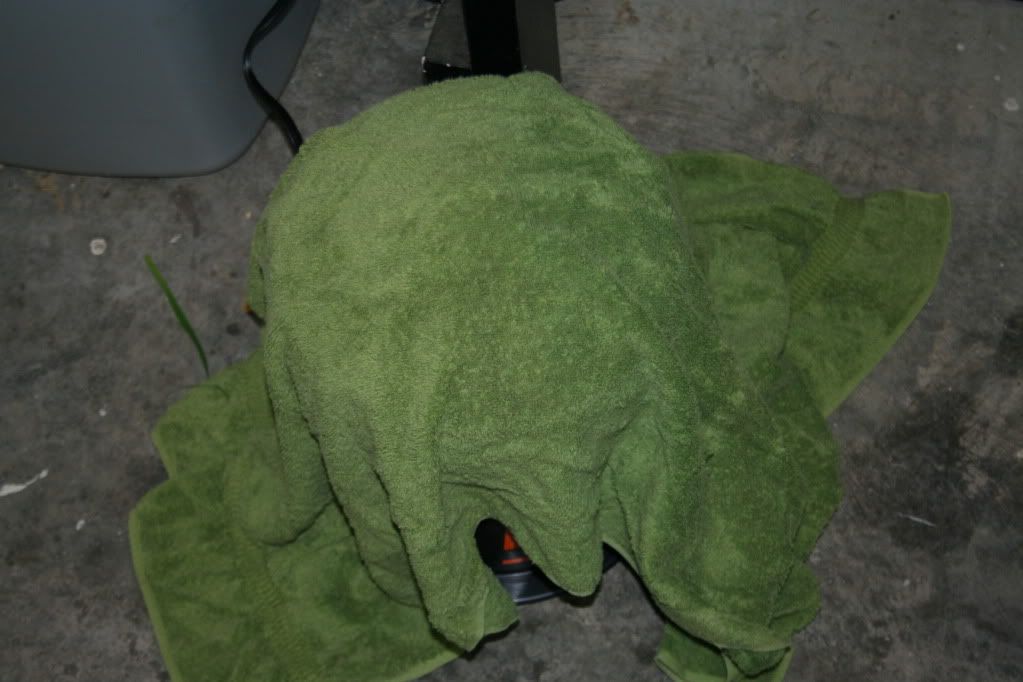
Coevered with a towel to keep dust down and sound in.
I plugged the tumbler into a timer and had it turn on at noon, then when I got home from work it was ready to roll.
 
Re: Beginners Photo Guide To Reloading (Doc's Steps)

If you have to wait on your tumbler go ahead and setup your sizing die.

IMG_0709.jpg

Screw it down until it hits your fully extended press ram.

IMG_0710.jpg

Then as per the RCBS instructions added another 1/8 turn.

IMG_0711.jpg

Very gently tightened down the lock ring without buggering it up, and then set the brass set screw.

IMG_0712.jpg

Tumbler was finished was I poured the media into a small rubbermaid container.

IMG_0713.jpg

Brass was nice and clean now.

IMG_0714.jpg

The big problem with tumbling after you pop primers is you will catch media in the flash hole.

IMG_0715.jpg

Started with these three tools. The Lee primer pocket cleaner was awful, so I used a wire brush I had to finish. I have since purchased the lyman case prep kit.

IMG_0716.jpg

turning the brass upside down let me visually check all was good with flash holes.

IMG_0718.jpg

Used the RCBS lube pad and RCBS lube. I bought wax as well but didn't end up running any this first time through.

IMG_0719.jpg

Twist the case neck on the lube pad so the sizer ball will slide through easy.
 
Re: Beginners Photo Guide To Reloading (Doc's Steps)

IMG_0720.jpg

After running your brass throuhg your sizer you have setup, I used the lee hand trimmer. It was a heck of a workout, but somehow the pin guide wouldn't seat in the cutter deep enough so I couldn't use their lock stud.

IMG_0721.jpg

Chamfer

IMG_0722.jpg

Debur, I was not crazy about the Forster tool, I thought the RCBS was much easier to handle. But bought the Lyman kit instead.

IMG_0723.jpg

After all 50 rounds were finished back to the tumbler to clean off lube. Keep one round so you can setup your seater while you wait.

IMG_0724.jpg

RCBS says tighten till it hits the ram

IMG_0725.jpg

Then backoff a full turn.

IMG_0726.jpg

Before seating your first round, back off the seater a BUNCH!
I went a couple of twists and thought I was good to go, and then punched out my first .308 round at 2.68" wayyyy too short.

IMG_0727.jpg

So I then bought a bullet puller

IMG_0729.jpg

You have to buy different collectors for each caliber, but I got the unit for half off so I didn't feel as bad about giving cabelas $15 for the collect.

IMG_0730.jpg

Load round that needs to be pulled into the press. Raise the ram, tighten the puller then lower the press. Very minimal blemish to the bullet and it would still be just fine to use to setup the seater correctly.
 
Re: Beginners Photo Guide To Reloading (Doc's Steps)

Brass should be done you will have to recheck flash holes, and seater should be adjusted correctly. I opted to use the Sierra's 2.75" suggestion for the bullet I was using. Certainly could have used a number of other devices but I figured starting with the factory spec then going from there wouldn't be a bad idea.

IMG_0731.jpg

This old kit came with the ram prime that I am sure I will grow out of in a hurry.

IMG_0735.jpg

Shell sits on top of the press on your shell holder and then your push the primer up. Primer depth isn't controlled so Be sure adjust it based on where your press cams over.

IMG_0734.jpg

Primer tray is pretty useless since you have to hand load them one at a time.

IMG_0737.jpg

Once primed I flipped cases to be sure I had everyone done.

IMG_0738.jpg

Zero out scale

IMG_0740.jpg

Measuring spoons work well to get an approximation. My particular load was about a 1/2 teaspoon of varget.

IMG_0741.jpg

Then trickled once the scale started reading.

IMG_0743.jpg

Move the trickler spout away from your scale or else you'll bump grains of powder onto the plate and change the weight just slightly.

IMG_0744.jpg

Using your powder funnel, pour your powder into your round.

IMG_0745.jpg

Powder should fill most of the case.

url]

Since I was running OCW test rounds, I opted to seat immediately after weighing. That way I didn't have to figure out how many grains were in which load along the way.
 
Re: Beginners Photo Guide To Reloading (Doc's Steps)

IMG_0748.jpg


I completed 24 rounds in this sitting, began at 44 grains of varget and went by .3grs to 46.1. Hopefully, I'll find a decent node and will start playing with seating depth.

I bagged and saved the other 26 rounds of brass I prepped so I can jump right into powder once I know what my rifle likes.

Hopefully, someone can take something from the extra pictures, but once again I could not have done this without the help of the Reloading 101 thread by DOC.
 
Re: Beginners Photo Guide To Reloading (Doc's Steps)

Thanks Scott,
this is a Very nice write up and great pictures as well. By the way I noticed you were in Weaterford. My Aunt and Uncle have lived there for years.

Take care and happy reloading.
JH
 
Re: Beginners Photo Guide To Reloading (Doc's Steps)

2 things that should be mentioned, Setting headspace and trimming.

Check out Tresmon's ariticle on setting headspace?

Tresmon's article on setting headspace

Trim after you resize. That's when the cartridge is going to be the longest.
 
Re: Beginners Photo Guide To Reloading (Doc's Steps)

Thanks for posting. You spent forever on all those pics. Hope to start reloading soon myself, and this should help.
 
Re: Beginners Photo Guide To Reloading (Doc's Steps)

nice post - thanks! Your box references 178 gr Amaxes. You didn't start your load development at 44 grs for 178s, did you? You're shooting 168s maybe?
 
Re: Beginners Photo Guide To Reloading (Doc's Steps)

Was going to try and pickup a box of 178s but didn't have any in stock so I just went with the 165 gamekings to work on a hunting load first.