Ive done a little searching here and on Google, and have seen some nice installs by the likes of Stockdoc and others, with adjustable cheek pieces installed on composite stocks. But the only "how to's" I've seen are with wooden stocks, and the install is a little different.
I'm no proffessional. This is a hobby for me. How I did it may not be how the pro's do it, but it worked for me. I 'got my skills' from growing up in a garage and working on various things and building model aircraft for over 20 years. My aviation maintenance/sheetmetal background probably helped a bit, too! But anyone with the desire, a dremel, and some basic 'bodywork' skills can do this, IMO.
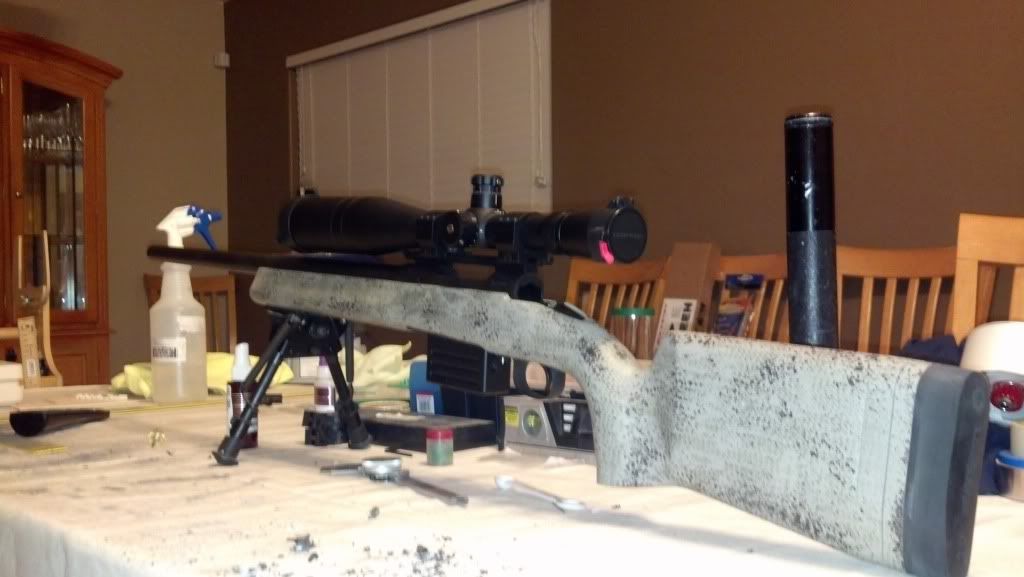
I started off, after a little measuring for fitment/functionality(clearing the bolt and adjustable butt-piece I also installed), drawing out the shape I wanted on my HS Precision tactical stock. You can see holes in the stock in this pic. They were from my Karsten cheek piece that I did not care for - the will get filled in later:

Once drawn out, I took a dremel with a cutoff wheel and cut it out. Do your best to keep the shape of the cheek piece when cutting and don't worry too much about how the stock gets a little over-cut during this process. The HS is laid up with a variance of fiberglass, kevlar, and carbon layers wrapped around a hard, foam-like core. So all you really need to do is cut through those layers and you can get the rest with a razor knife:

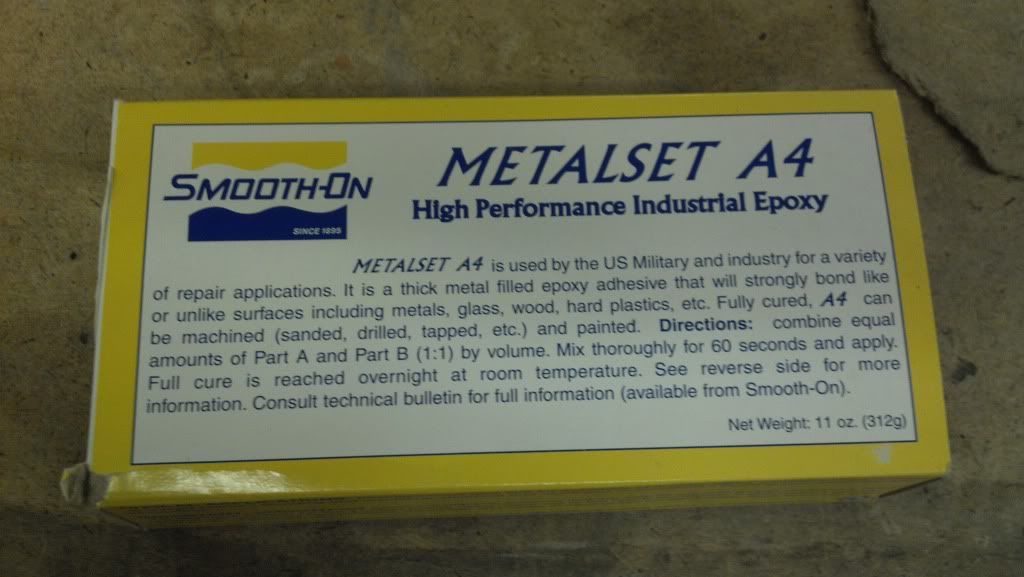
Now that the cheek piece is out, I want to fill those holes before I proceed. I just covered the holes with masking tape and filled the [now exposed] openings with some epoxy:

Once cured, remove tape. Done with that:

With that done, I cleaned up the cheek piece with a sanding block to square everything up, starting off with 80 grit, then 180, then 220. after I got the shape where I wanted, I went over the edges of the fiberglass that I sanded with a thin layer of superglue to seal up the exposed fibers, then finished off with 400 grit. Don't worry if you change the shape a little or shorten it up a little in this process, just get it looking clean:

Now it's time to go back to the stock. just take some 60-80 grit and scuff everything up real good, clean it up with alcohol, then tape off around the edges with masking tape:

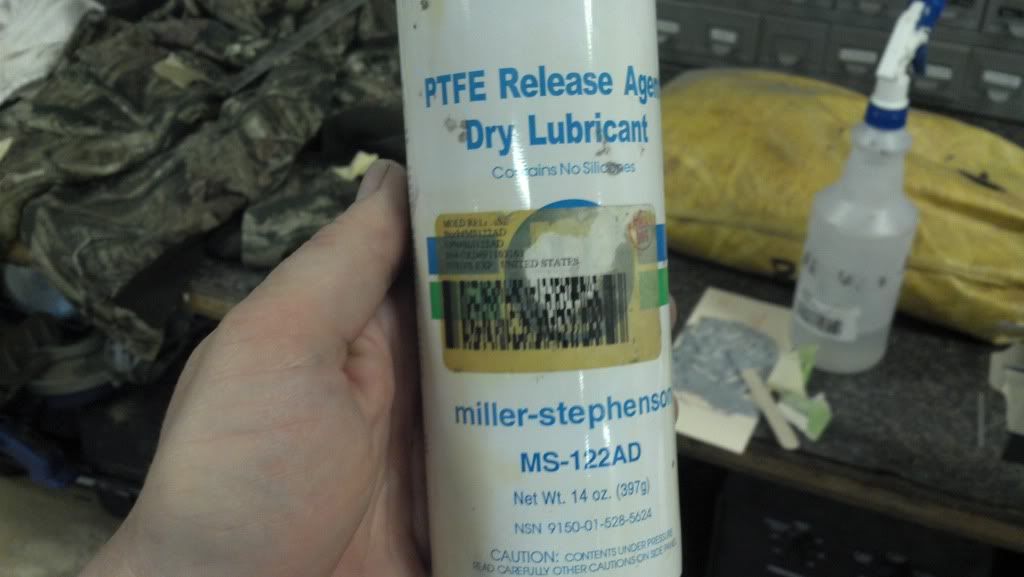
Back to the cheek piece, I need to prepare it so it will 'release' once Ive used it for the mold work coming up. I simply put a single layer of boxing tape over the entire bottom, including the fore and aft sides, then trimmed the edges along the outline of the cheek piece with an xacto blade. I do this for a smooth surface, but I still want to rely on a release agent. I used the spray release pictured below, but any release agent you've used before will work(like kiwi shoe polish):

Now wrap the outside with tape and trim to the edge as cleanly as possible. I just do this so I don't have to sand off a bunch of epoxy later. In this pic you will also see a flat piece of metal taped to the top of the cheek piece. This was also wrapped in boxing tape and a release agent applied, and it will serve as a 'hanger' so the cheek rests level with the stock:

I'm no proffessional. This is a hobby for me. How I did it may not be how the pro's do it, but it worked for me. I 'got my skills' from growing up in a garage and working on various things and building model aircraft for over 20 years. My aviation maintenance/sheetmetal background probably helped a bit, too! But anyone with the desire, a dremel, and some basic 'bodywork' skills can do this, IMO.
I started off, after a little measuring for fitment/functionality(clearing the bolt and adjustable butt-piece I also installed), drawing out the shape I wanted on my HS Precision tactical stock. You can see holes in the stock in this pic. They were from my Karsten cheek piece that I did not care for - the will get filled in later:
Once drawn out, I took a dremel with a cutoff wheel and cut it out. Do your best to keep the shape of the cheek piece when cutting and don't worry too much about how the stock gets a little over-cut during this process. The HS is laid up with a variance of fiberglass, kevlar, and carbon layers wrapped around a hard, foam-like core. So all you really need to do is cut through those layers and you can get the rest with a razor knife:
Now that the cheek piece is out, I want to fill those holes before I proceed. I just covered the holes with masking tape and filled the [now exposed] openings with some epoxy:
Once cured, remove tape. Done with that:
With that done, I cleaned up the cheek piece with a sanding block to square everything up, starting off with 80 grit, then 180, then 220. after I got the shape where I wanted, I went over the edges of the fiberglass that I sanded with a thin layer of superglue to seal up the exposed fibers, then finished off with 400 grit. Don't worry if you change the shape a little or shorten it up a little in this process, just get it looking clean:
Now it's time to go back to the stock. just take some 60-80 grit and scuff everything up real good, clean it up with alcohol, then tape off around the edges with masking tape:
Back to the cheek piece, I need to prepare it so it will 'release' once Ive used it for the mold work coming up. I simply put a single layer of boxing tape over the entire bottom, including the fore and aft sides, then trimmed the edges along the outline of the cheek piece with an xacto blade. I do this for a smooth surface, but I still want to rely on a release agent. I used the spray release pictured below, but any release agent you've used before will work(like kiwi shoe polish):
Now wrap the outside with tape and trim to the edge as cleanly as possible. I just do this so I don't have to sand off a bunch of epoxy later. In this pic you will also see a flat piece of metal taped to the top of the cheek piece. This was also wrapped in boxing tape and a release agent applied, and it will serve as a 'hanger' so the cheek rests level with the stock:
Last edited: