• Frank's Lesson's Contest

    We want to see your skills! Post a video between now and November 1st showing what you've learned from Frank's lessons and 3 people will be selected to win a free shirt. Good luck everyone!

    Create a channel Learn more
  • Having trouble using the site?

    Contact support

Gunsmithing polishing my turd

anthonylapoint

Sergeant
Supporter
Full Member
Minuteman
Nov 8, 2011
650
16
40
central CT
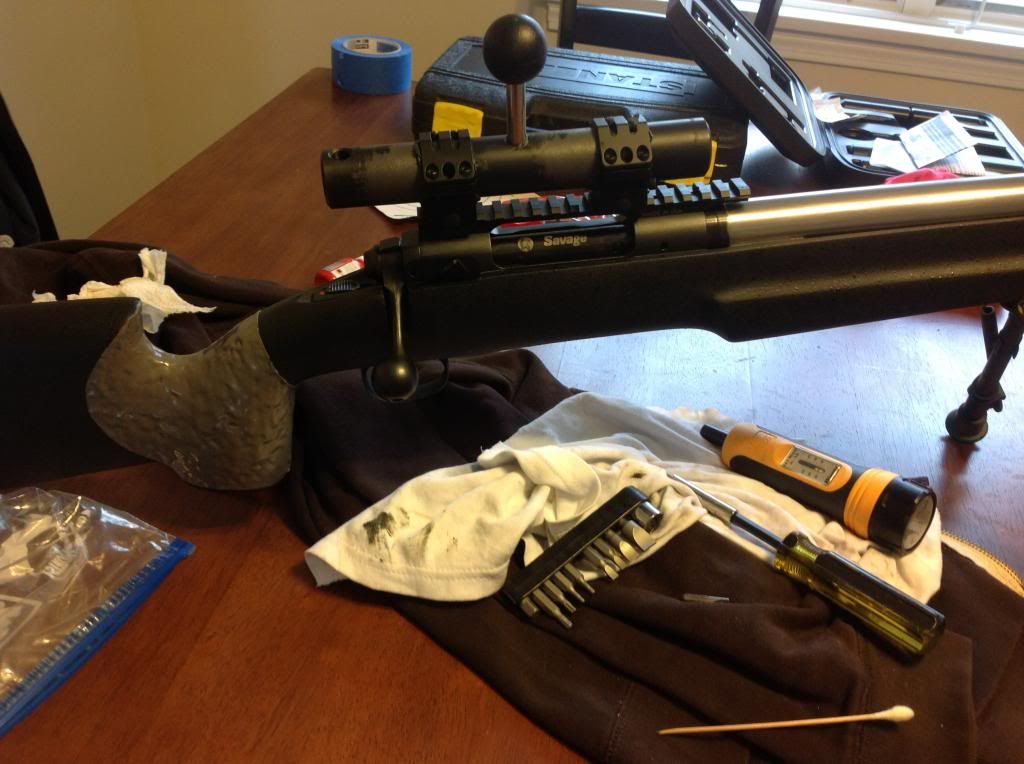
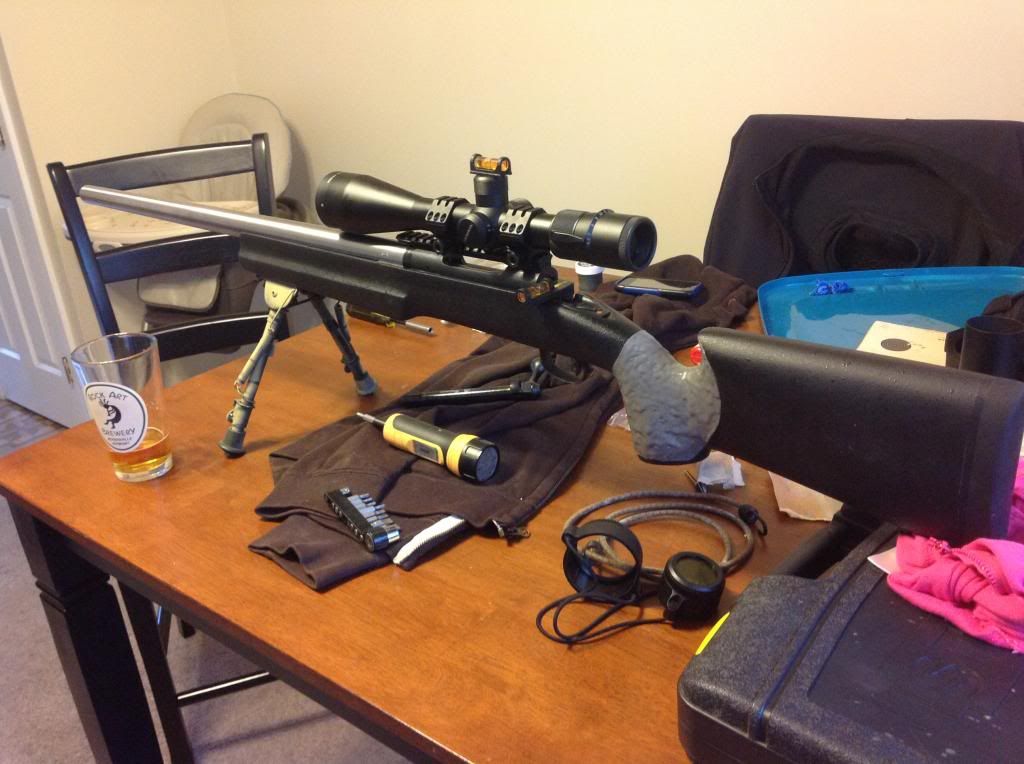
Im hoping this will be a short guide or how to make a cheap build a good build. I have a Savage 10 with a harte barrel chambered in 6X sitting in a B&C Medalist stock and mounted with weaver picattiny scope base and low rings and Vortex 6-20X50. Nothing is exceptional quality but this is a budget build cause I have an 11 month old and still in school. The rifle shoots though, I have posted up results of the 6X shooting 1/4" and under groups but the problem has been that I get the occassional flyer and I want to eliminate those. I also want to prove that $5 grand may buy better quality, but good old time and hard work can make a $1k rifle not just as accurate, but also as consistent. Thats the main issue with cheap builds vs like a GA Precision is consistency, that and the medalist is the ugliest stock ever. To help aid in my endeavor I had purchased the Wheeler Engineering Scope Mount kit. It has lapping bars/compound, levels, torque wrench and thread locker. Kit is like $90. The torque wrench alone probably is all I needed but oh well.

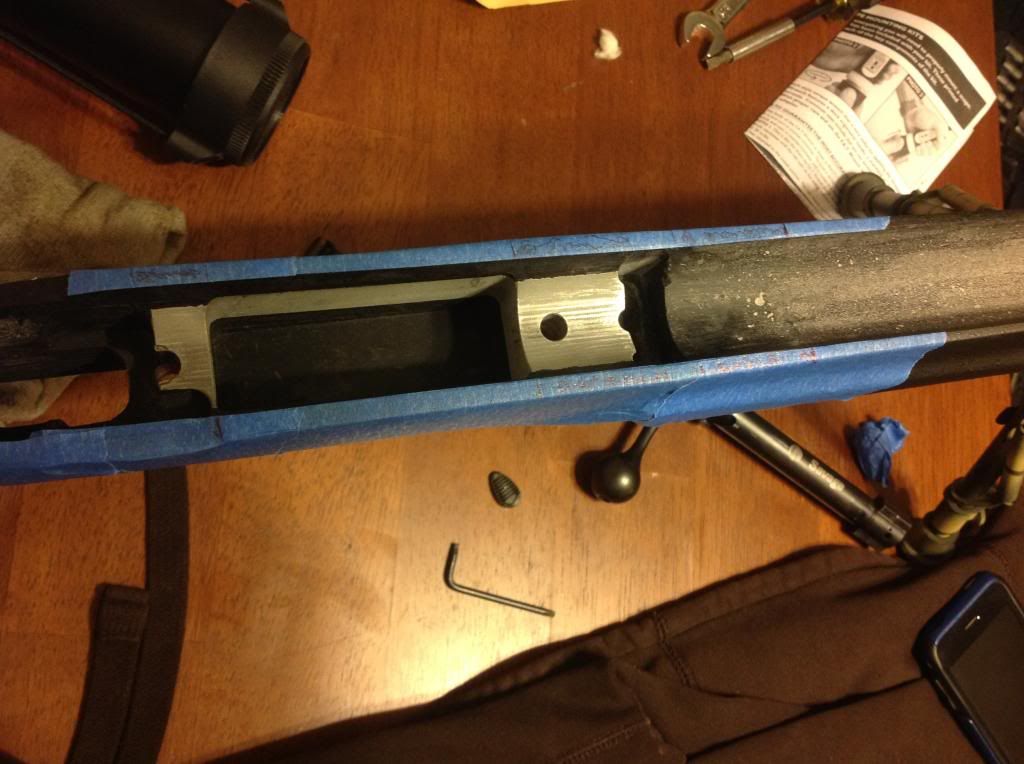
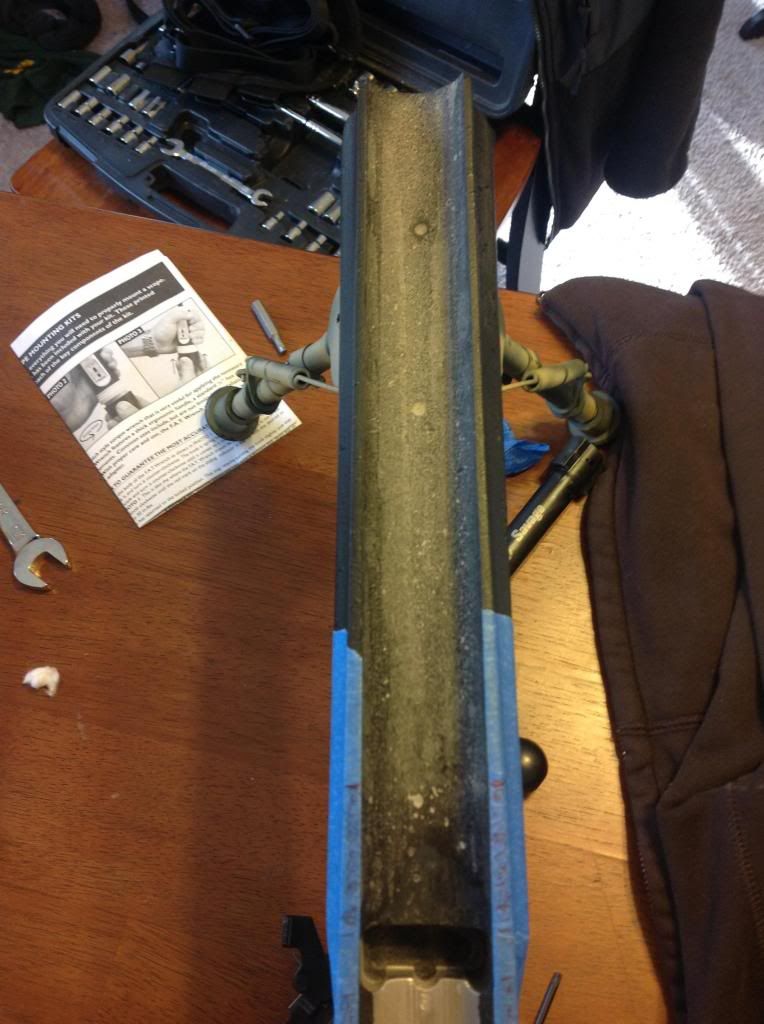
So, the start of my project was the stock. One of the worst fitting stocks ever, no wonder im getting flyers. When I first bought the stock, I had to dremel the trigger well wider, dremel inside the stock in numerous places to keep the stock from rubbing the sides of trigger group and action. The rear tang had to be sanded down an exceptional amount to keep from rubbing as well and I had to sand the bolt handle area cause that rubbed everytime I closed the bolt. The last thing was to sand out the barrel channel. The harte barrel is .92 at the muzzle so it needed a LOT of sanding and it still was hitting. So, again, the start of my project yesterday was to sand more out. I used my lapping bar and wrapped it with 80 grit sand paper and went to town.
barrelchannel_zpsa59b7b36.jpg
 
Last edited:
Once I was sure the barrel wasnt going to hit again, I figured the scope base would be my next project before bedding the action only cause I figured if I couldnt bed a scope base, I had no business bedding an action.

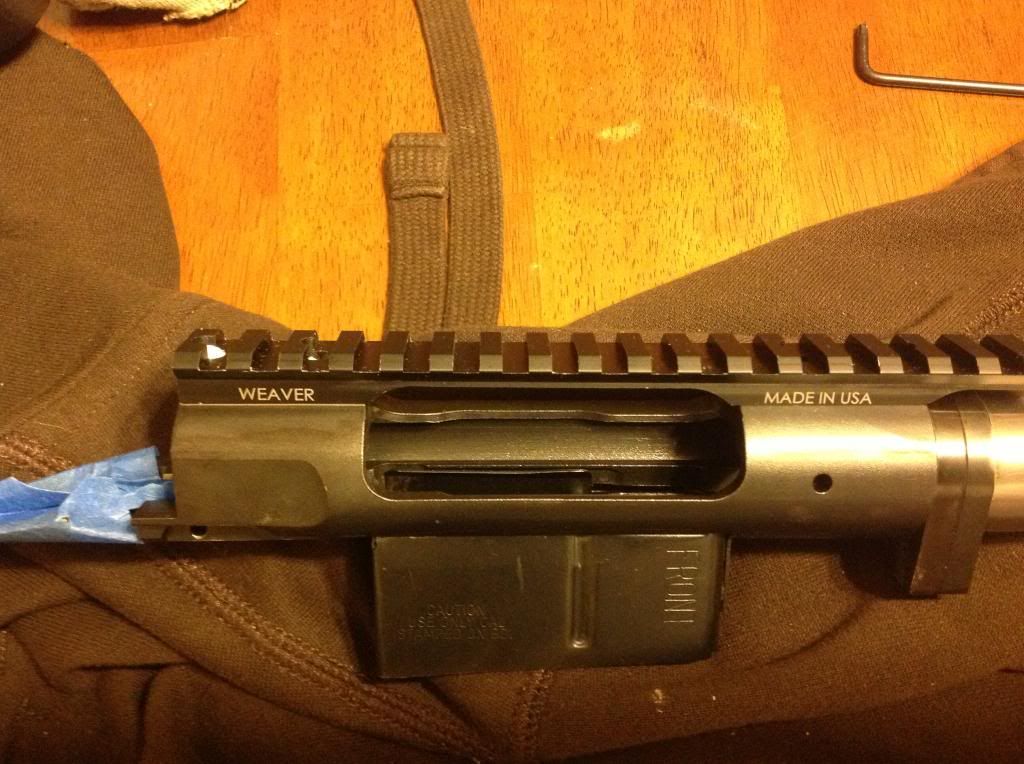
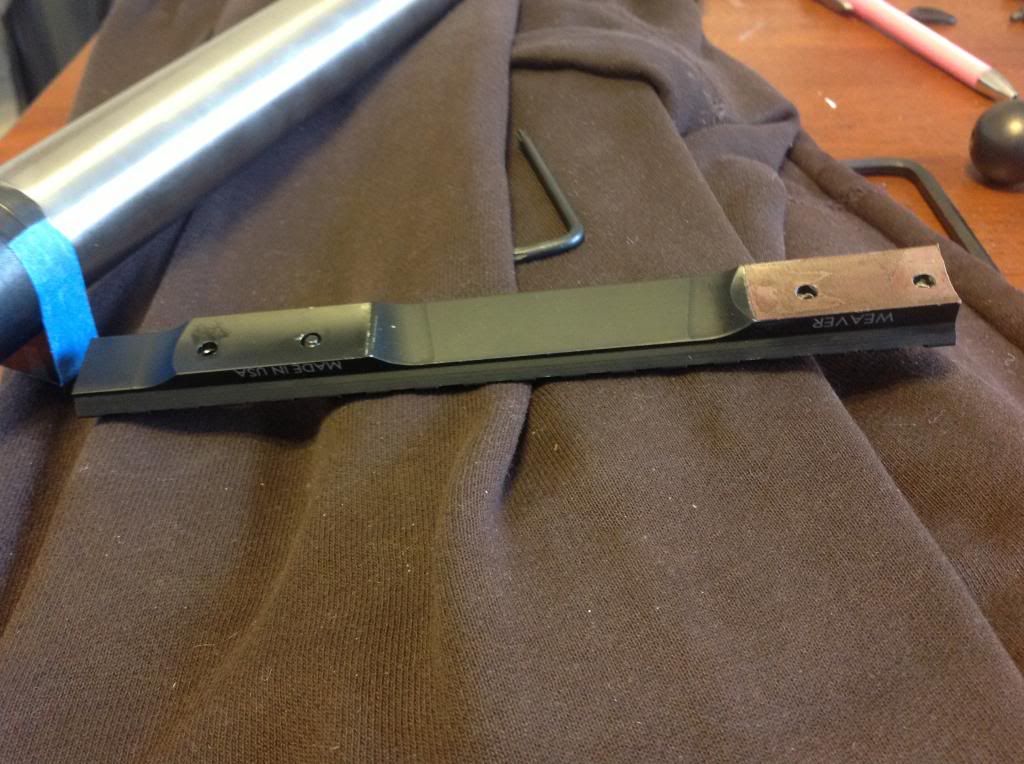
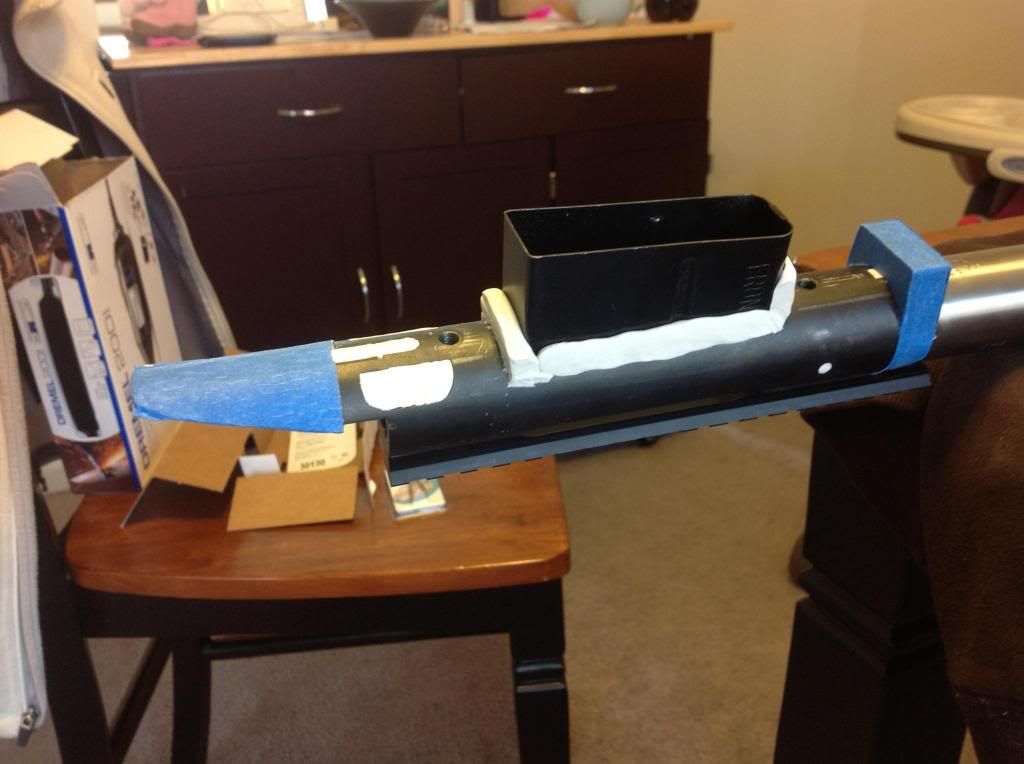
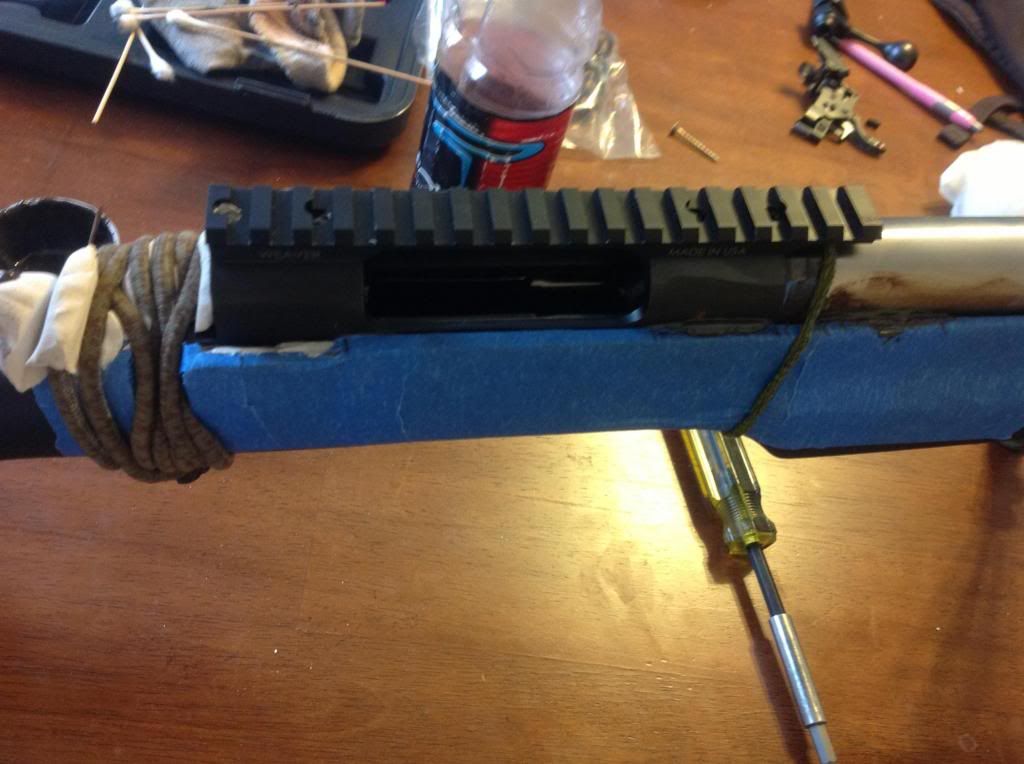
To figure out if I needed to bed front, back or all the scope base I mounted it up by either screwing in the front screws to check the back or back screws to check the contact in the front. With the two screws snugged up in the front of my scope base, I could see light under the rear of my scope base so I knew that needed to be bedded. The front looked tight so I only bedded the rear. I cleaned up the action and sanded the bottom of my scope base. To allow the bedding compound to really get a good grip, I took a flat head screw driver and scrapped deep scratches in the bottom. I put clay in the screw holes in my action and in the holes of my scope base. I used acetone to degrees and I had brown shoe polish for my action. I used jb weld as a compound. I put in on not to thick and snugged my front scope base screws slowly to allow the compound to squeeze out and I could clean it little by little. I also didnt want to force it. Once the screws were snugged all the way, I left it in place, Ill take it off around 5 hours to drill out the holes but Ill screw them back snug and let cure for 24 hours
scope_zps2f8a1276.jpg
 
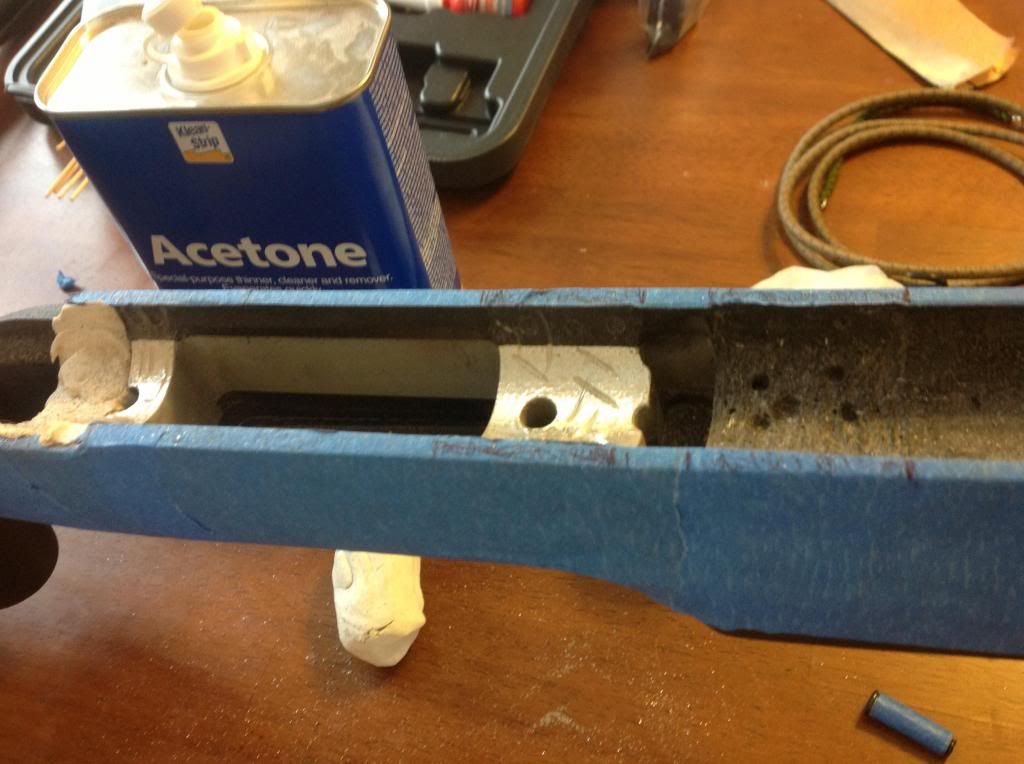
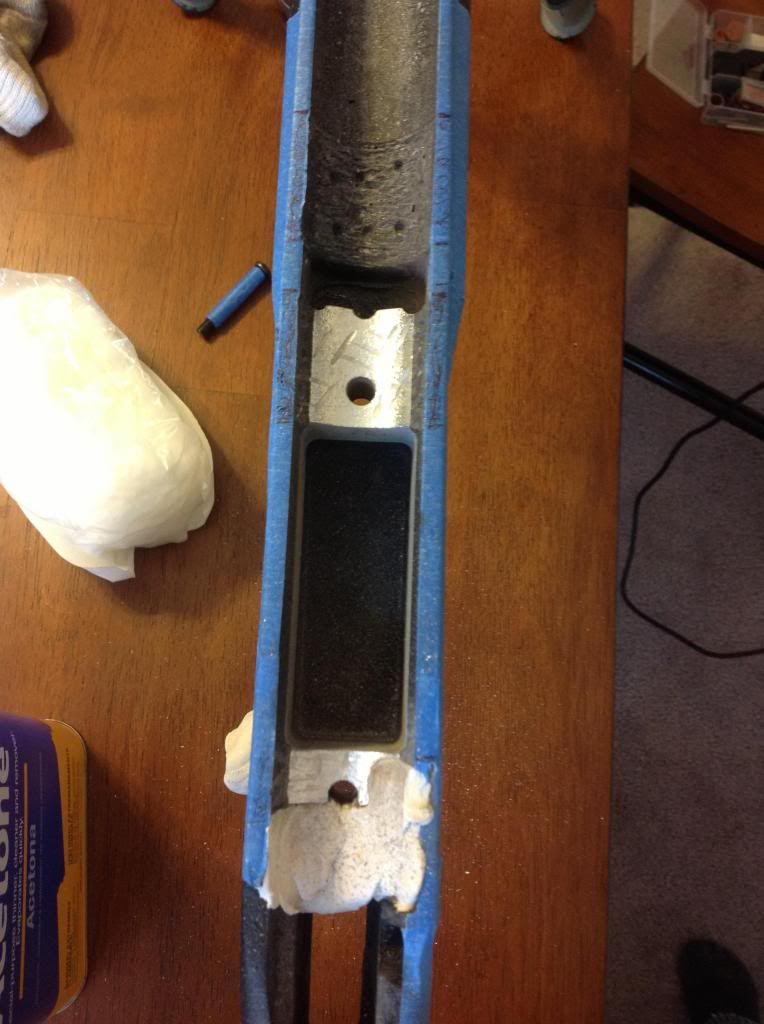
Hardest step to making my Savage a competent and consistent rifle is to bed the action. I started to tape off the action and form a plan while I do it. I want to only put a skim coat in, im not gonna go crazy. Im going to take my time with the planning cause piss poor planning is where mistakes are made. I thought about it over night and I think im only going to skim around the action screws and 1" of my barrel channel to help support the massive barrel. Ill rough up the aluminum a little and drill small holes to allow the compound to really grab. My plan bed the aluminum and to run a straight line of compound up the edges of the stock in line with the bedding block. Im not going to bed the stock around the mag well and im not bedding around my recoil lug, just up against it more or less. The recoil lug is doubled up and it already barely fits in its channel, no compound needs to go in there. Also, the recoil lug and block were previously ground for good contact. At this point, I just want my action to sit snug and not rock. You can see where I put lines on the tape to indicate where compound will go and where I need to dremel
beddingblock2_zpsce46987d.jpg
 
To answer your question Captain, the first gunsmith took to much of the shoulder out because he was clueless. I took my shit back and brought it somewhere else. He pinned the two together. He said it made more sense then pushing the chamber forward.
 
It should be rock ass solid...well thought out project...

Your operating in the same vein I am...you don't have to spend $5K to get CONSISTENT ONE RAGGED HOLE 5 SHOT GROUPS...buy a Savage, spend $$$ where it counts, barrels and glass, take your time, have fun, learn while you do it and drive the Remmy fan boys absolutely nuts at the bench...
 
Last edited:
A kick ass stock inletting tool can be made out of a 18" piece of 1/2 threaded stock, some nuts and lock wachers and a wooden handle and a few fender washers....basically your making a round spoke "shave"...bend the threaded bar at about 4" to about a 30 degree angle, screw the wooden handle on the long end...choose a fender washer that is the size you want your finished barrel channel to be...then sharpen 1/2 the circumference of the fender washer with a file or dremel still maintaining the concentric shape of the washer...thread a 1/2" nut about 3/4 of an inch onto the threaded bar, add a lock washer, place the sharpened washer sharp side down onto the bar stock... place a NyLoc 1/2" nut on and tighten making sure to align and maintain the sharp edge down...

YOu may need to start with a slightly smaller fender washer and work up but the gist of it is...tighten your stock in a vise...draw the rounded sharpened edge down from the action end towards the muzzle end of the stock along the channel...once finished you can give the channel a sanding to remove any roughness or marks left by the tooling and then give it a coat of epoxy paint or thinned epoxy to seal the work...
 
I don't see what's so "turd" about it, it's a perfectly nice gun if it shoots. And you say it does.

However I would like to know how you got such a nice tight clean line for the bedding on the front of that scope base. The 3 exposed edges are obvious, but that one edge up by the port is sharp as well?
 
Yeah, its a nice gun. It does the job. Guess i meant its more for the stock because the guns handicap is the stock. I should rename the title project savage but i cant figure out how.

The front line was dressed up during the setting process. Once it sets a little, use a qtip with wd40 and clean it up. It will come out clean and straight.
 
looks like you put the painters tape on the rear of the recoil lug? That is where you want contact

Did you tape the rear tang to float it or just to keep the bedding off it?

It does look like you taped the rear...me personally I would have waxed or mold released it and gooped bedding compound all over it...now you'll have the thickness of the painters tape in play there....
 
I actually took the tape off. Its so tight that the action wouldnt slide down if I left it on either side. I took the tape off of both sides and put shoe polish on it. I didnt put any compound around the recoil lug that wasnt on the action block. Nothing got gooped around, under or in the recoil lug area. Like I said, it was ground to fit and compound wont fit in there. I put three strips of tape around thr rear tang to help float it and keep everything level. #10 shows this, also not the tape on the barrel to keep it centered,
 
#9 shows lug without tape. Took it apart real quick to do a quick clean before everything gets real hard. Its been about 7 hours and the devcon is pretty hard but it came apart pretty easy and cleaned up nice. Took a firm wack with my palm to loosen it. I put it back together to set for another 17 hours. Once I have it cleaned up real nice, ill post pictues. Then, on to my last adventure.....lapping the rings.
 
I textured the rear, now im gonna decide whether to sand the front edges and texture the front also.

Thanks for the complements guys. Ill be posting up a range report soon to see if theres any improvements. I need to get an operational necking die and some lapua brass for my bergers i purchased.
 
I built a Palma rifle on a Savage action, got to Master class in LR with it, before my eyeball went south. Beat a guy I was scoring for, who had a Grunig/Elmiger rifle (made in Switzerland, big bux), loved every minute of it. With a scope and sandbag, my rifle would make a 5 shot group the size of a 20 ga slug at 100yds. Has a Krieger .3075 barrel, and an old Win52 prone thumbhole stock, with an aluminum bedding block epoxied in. Pretty is as pretty does....yer doing it right!
 
Thanks guys. Yup, the old savages shoot that's fur sure. I can't wait to see how all my effort comes out. The stock floats nicely and I would think the scope would be happier too. Need to test it soon or I'm gonna go nuts