• Watch Out for Scammers!

    We've now added a color code for all accounts. Orange accounts are new members, Blue are full members, and Green are Supporters. If you get a message about a sale from an orange account, make sure you pay attention before sending any money!

Maggie’s The Wood Shop

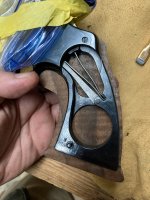
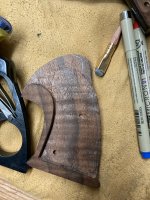
Picking layout for these custom grips for a 6 ft double ended dildo:

IMG_5317.jpeg

IMG_5316.jpeg


Hmmmm. Match the vertical mineral lines or the horizontal curl…damn you Mother Nature!
 
Lace wood…..

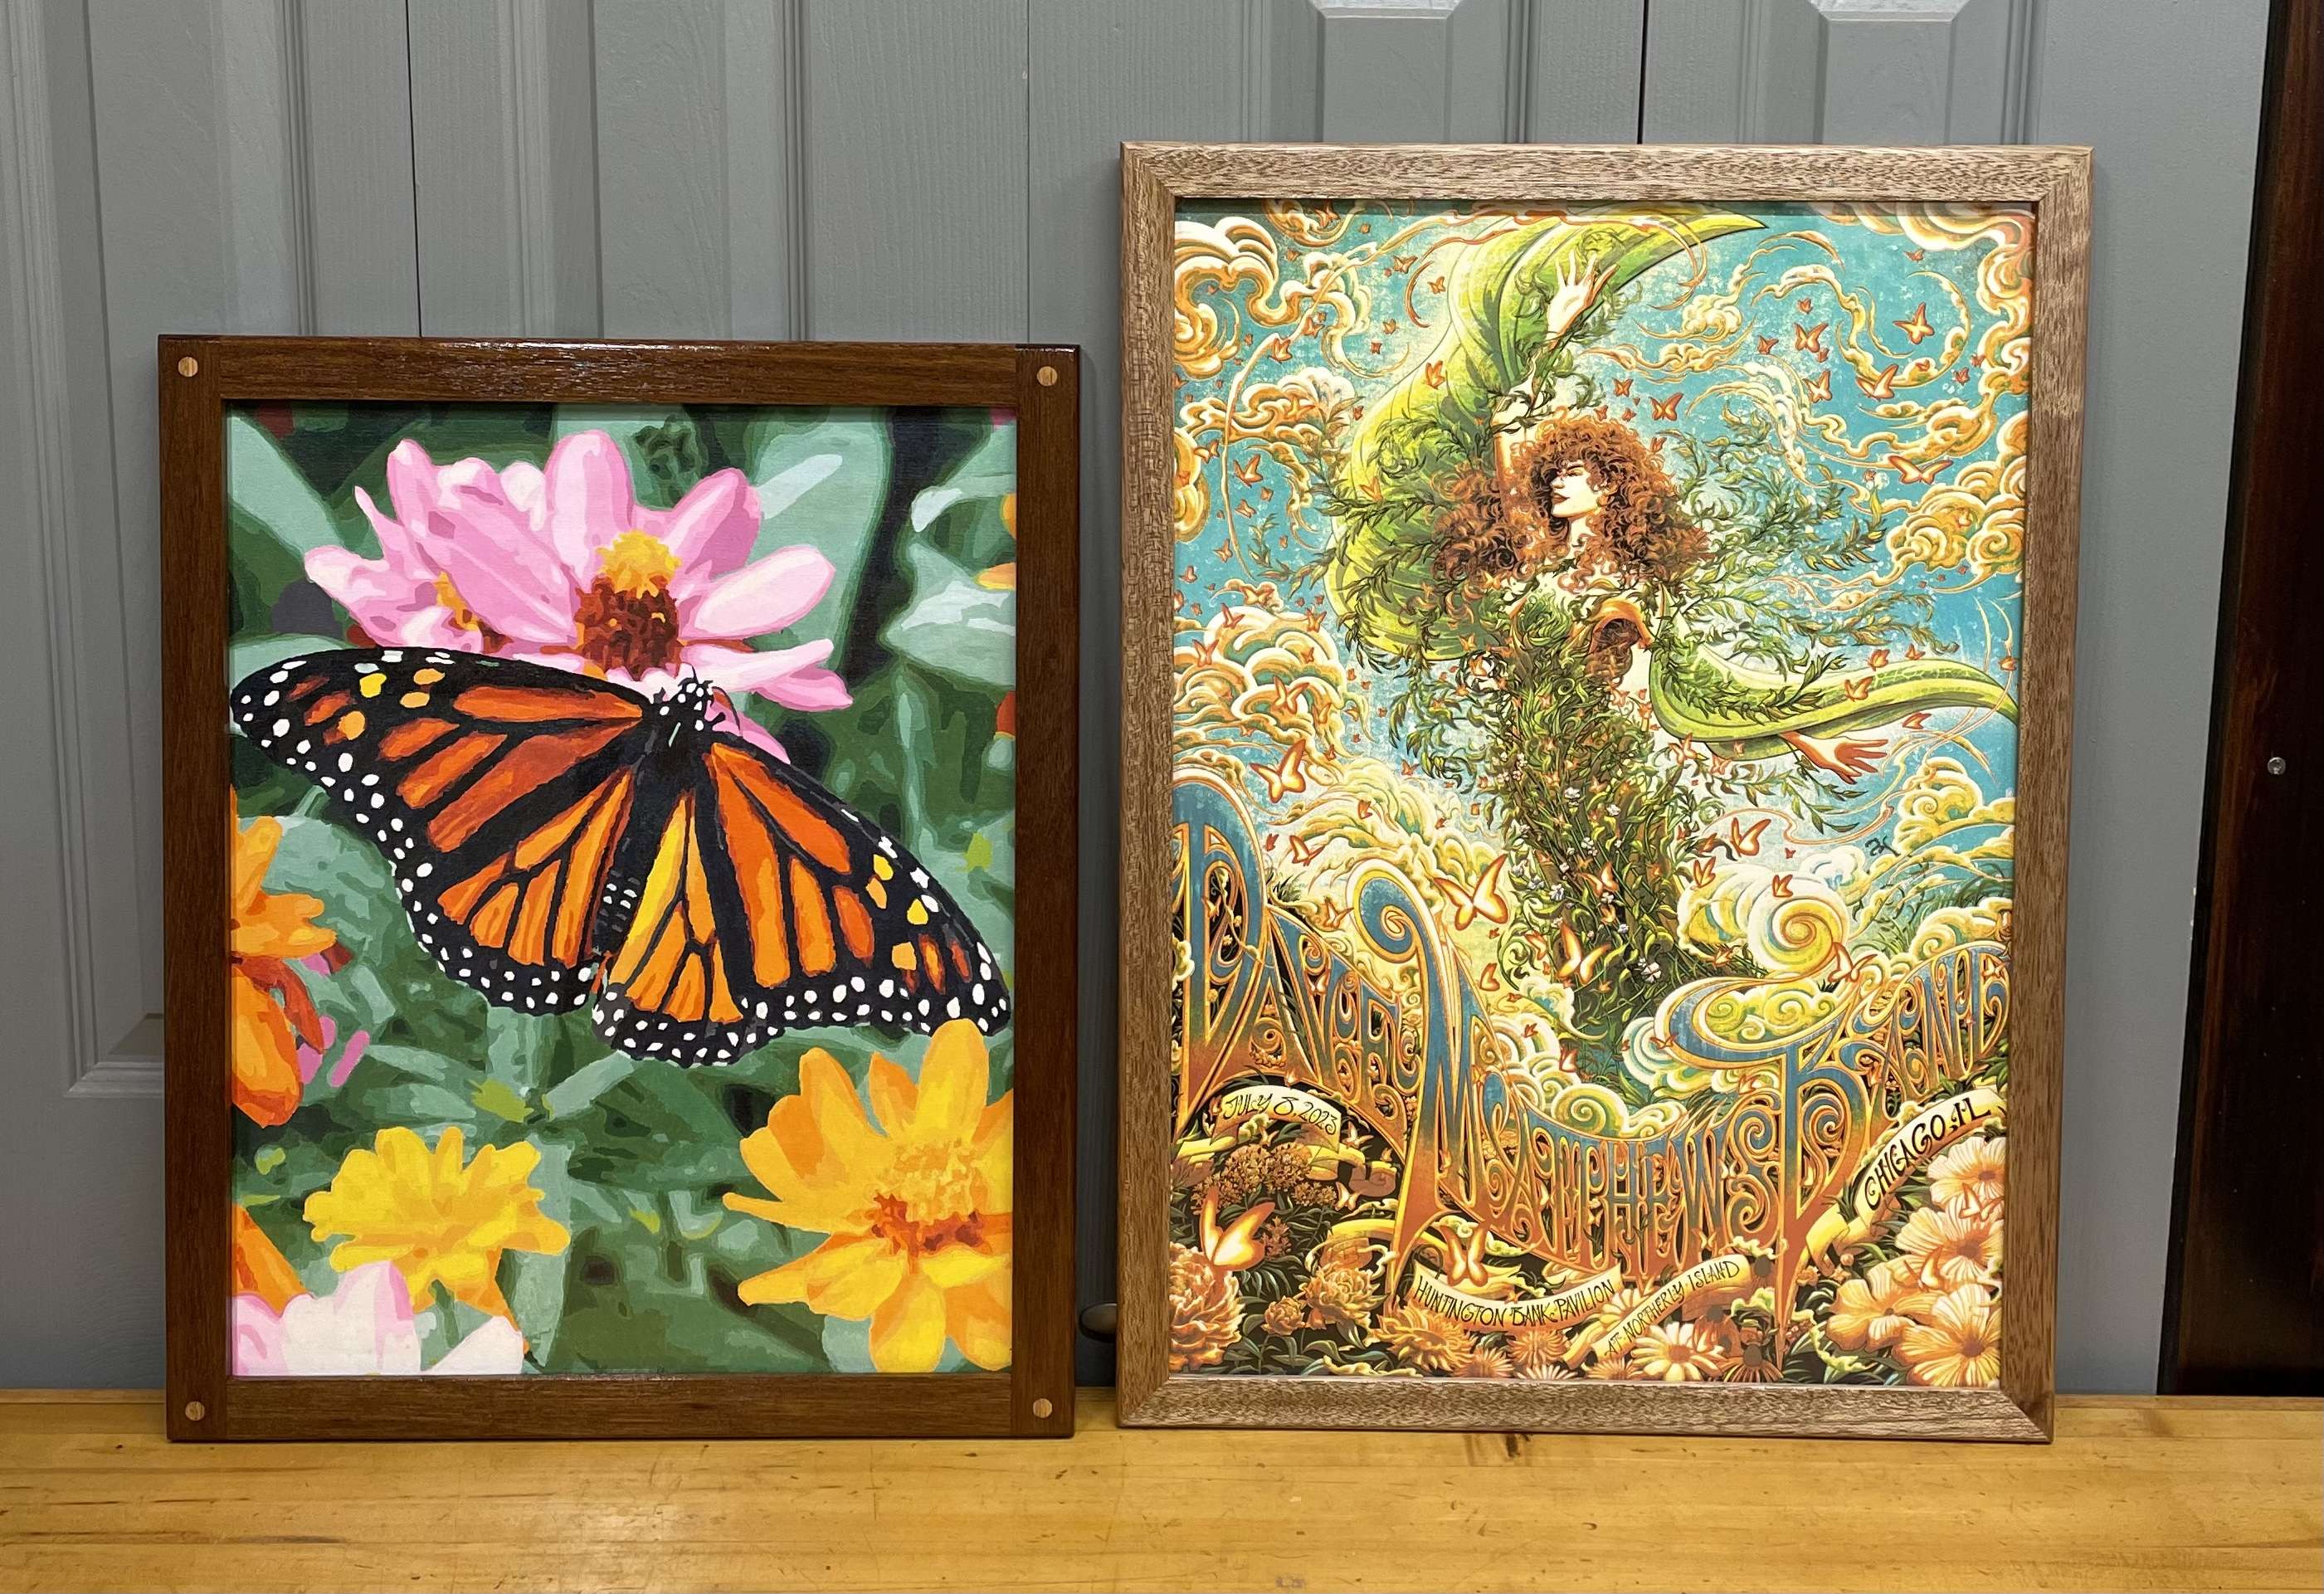
Made a frame for my daughter out of a piece of wood that was unknown to me at the time. From your pix it appears to be Lace wood……thanks!

sHgBqk.jpg


Left frame is mahogany with oak pins and the other Lace wood….
 
Nope, going by what I was told. I wouldn't know the difference if my life depended on it.
What do you think it is?
 
Nope, going by what I was told. I wouldn't know the difference if my life depended on it.
What do you think it is?

My first impression would be 'white oak', but I am NOT the resident woodologist here.
Looking at other internet pictures of fresh cut cherry it doesn't look too off.

Found this on reddit.
FmzORKB.jpeg

Description of pic
SmartSelect_20240109_102014_Reddit.jpg
 
Nope, going by what I was told. I wouldn't know the difference if my life depended on it.
What do you think it is?
Looks like white oak. Grain is too open for cherry.

However, it’s Mother Nature and I’ve been wrong before.
 
  • Like
Reactions: bkglock
Re-sawed some walnut blanks to give them time to move around before Inwork them next month. Got some excellent book match and color.

This is the inside of the block I showed a few posts back. Wonderful match of grain, color, and curl. I was a bit nervous it wouldn’t book match, but I was pleasantly surprised. These will be for the set of Python grips I’m working on:
IMG_5322.jpeg


These are the other block I cut. There is so much color in this set, but not as much curl:
IMG_5321.jpeg
 
Oak will have lines looking at the end grain on a board. They'll stand out generally going perpendicular to the growth ring grain. In the face of a board, oak will look very porous in the rings.

Cherry will not look porous at all.

I do believe from your picture your "cherry" should be oak.
 
  • Like
Reactions: bkglock
Looks like cherry to me. Absolutely my favorite to wood to work with. Over the years built numerous tables and blanket chests and the patina it develops over time is beautiful.
 
  • Like
Reactions: bkglock
Doesn’t look like cherry to me. As others have said, it’s to porous for cherry, but also as others have said, Mother Nature will throw you a curveball every now and then. Regardless, the boards came out beautifully. And those grips are going to be gorgeous!
 
  • Like
Reactions: bkglock
Doesn’t look like cherry to me. As others have said, it’s to porous for cherry, but also as others have said, Mother Nature will throw you a curveball every now and then. Regardless, the boards came out beautifully. And those grips are going to be gorgeous!
Should have clarified myself. I was referring to the picture of the wood with the box sitting on it. The other picture is definitely not cherry. Its a diffuse porous wood which cherry is definitely not. Sorry for the confusion.
 
  • Like
Reactions: bkglock
Very nice! BTW: for the blonde wood, photo 1 and 2 make me wanna guess Ash, but photo 3 (if they're all the same wood...) looks more like Oak (actually looks like Red Oak, with the finish on it.) Either way, definitely not Cherry ;)
 
  • Like
Reactions: bkglock
Light colored wood in photo one is Ash.
Light wood on second board is White Oak.
After speaking to my friend, he thinks the wrongly labeled Cherry is Red Oak.
Very nice! BTW: for the blonde wood, photo 1 and 2 make me wanna guess Ash, but photo 3 (if they're all the same wood...) looks more like Oak (actually looks like Red Oak, with the finish on it.) Either way, definitely not Cherry ;)
 
  • Like
Reactions: lash
Light colored wood in photo one is Ash.
Light wood on second board is White Oak.
After speaking to my friend, he thinks the wrongly labeled Cherry is Red Oak.
That ties with what I see in the photos... again: nice work, now you're hooked... ;)
 
  • Like
Reactions: bkglock
Found a rusted/busted chisel at a garage sale and bought it for 25 cents. After cleaning up the metal it turns out it is an old Keen Kutter.

Turned the handle and incorporated stacked leather to mimic the original handle. Now it’s ready for work.
IMG_1897.jpeg
 
Went and took a class and made this today. Severely suffering from information overload. Many small steps that all get put together, and they all have to be just right or it won't work in the end. This is before final glue up, so don't bust me about the seams. Overall it was a great class and I learned a ton.
20240201_132829.jpg
 
Went and took a class and made this today. Severely suffering from information overload. Many small steps that all get put together, and they all have to be just right or it won't work in the end. This is before final glue up, so don't bust me about the seams. Overall it was a great class and I learned a ton.
View attachment 8338485
That's one hell of a board.

I can just imagine what the chess pieces are gonna look like!
 
Went and took a class and made this today. Severely suffering from information overload. Many small steps that all get put together, and they all have to be just right or it won't work in the end. This is before final glue up, so don't bust me about the seams. Overall it was a great class and I learned a ton.
View attachment 8338485
Wow, what a cool use of grain
 
I’ll be honest, I never once looked at the grain. You are cutting pieces, and glueing them into blocks, and cutting the blocks and inverting pieces and glueing them into bigger blocks, planing them square and then cutting them into strips for the final glue up. I couldn’t have kept up with the grain if I tried!
 
Finally started on the real set of Colt Python grips. These will be made in the Roper style which have a ton of interesting details to them.

Here is a test finish on walnut from the same blank as the grips:

IMG_5375.jpeg


I did most of the heavy lifting with the electric sanders and bandsaw, and am doing final profile shaping with $1,000,000 worth of files and rasps:

IMG_5389.jpeg

IMG_5387.jpeg

IMG_5390.jpeg
IMG_5391.jpeg


All edges are even and at 90 degrees to the reference face. Next up will be doing the inlet for the frame which I’ll start tomorrow.

Sneak peak at what the finished product will likely look like since the grain and curl carry through very well on these slabs.
IMG_5394.jpeg
IMG_5395.jpeg
IMG_5396.jpeg


Not seen are the boring weeks of cut, wait, cut again, and wait to make sure the blanks don’t warp in between cutting processes.
 
Last edited:
Finally started on the real set of Colt Python grips. These will be made in the Roper style which have a ton of interesting details to them.

Here is a test finish on walnut from the same blank as the grips:

View attachment 8346818

Nice work and great material. I use a 50/50 MS and BLO or tung initial wash coat (usually two) to make the chatoyance deep. Adds at least an extra day for the BLO (longer for tung) to set up up but the thinner wash allows deeper penetration before it does and it won't pull out when you wipe it down as you finish it out. I do mostly boxes but I've done a couple of claro rifle stocks with this process as well. Np pistol grips though. That's some mighty fine wood! I like the AF treated side but that wood will stand on it's own.
 
Working on inlet for the Python grips today @sirhrmechanic .

Got my layout drawn in:
IMG_5405.jpeg


Drilled where I wanted round endpoints to avoid fractures over time:
IMG_5406.jpeg


Set up in my super duper complicated fixture for routing out the inlet:
IMG_5407.jpeg


The inletting progression:
IMG_5408.jpeg

IMG_5409.jpeg


Taking off waste at the backstrap end:
IMG_5410.jpeg

IMG_5411.jpeg


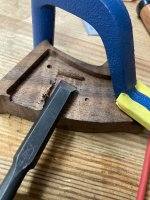
Cleaned up everything with a chisel and Inletting about 80% done:
IMG_5412.jpeg


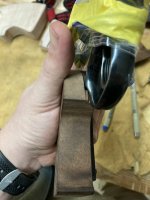
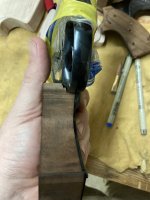
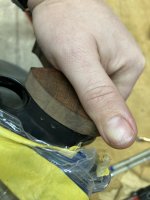
Tomorrow I will work on fit to frame. I could have hogged it all out today, but that would have given a generic fit. I really want to improve the fit to frame compared to a set of off the shelf grips.
 
One of my weekend projects was to make a modern Assegai using a Cold Steel blade and a cool bit of padauk wood. Bright orange before staining. Turned on a metal lathe which works great on hardwood!

Came out really nice but nothing compared to BFC’s skill level!

IMG_9094.jpeg


Now, bring on the 24th Regiment of Foot!

Sirhr
 
Another thought on grip making.

Nothing ever, ever, ever, ever, ever comes out perfect. You can find flaws in grips from even the most renowned grip makers going back as far as you can find examples of their work. By hand or CNC, nothing ever comes out perfect.

Just the nature of the beast.

Out of flat frames, rounded where they should be square, not on plane, etc.

Wood moves, and chips, and just doesn’t want to play nice sometimes.

Sometimes all you can do is get it as good as you can or you’ll be chasing things forever. Know when to move on from a particular step.

When you get stuck, take a break for a day. What you want to achieve as at making your own grips is a perfect fit, but the reality is you’re likely only going to achieve a BETTER fit compared to off the shelf grips.

It’s still worthwhile though.

ETA: Oddly enough you’re most likely to find near perfect grip fit on factory Single action revolvers with factory grips. They fit the grips to the frames in the white and sand the grips and metal. Then they blue.
 
Last edited:
Another thought on grip making.

Nothing ever, ever, ever, ever, ever comes out perfect. You can find flaws in grips from even the most renowned grip makers going back as far as you can find examples of their work. By hand or CNC, nothing ever comes out perfect.

Just the nature of the beast.

Out of flat frames, rounded where they should be square, not on plane, etc.

Wood moves, and chips, and just doesn’t want to play nice sometimes.

Sometimes all you can do is get it as good as you can or you’ll be chasing things forever. Know when to move on from a particular step.

When you get stuck, take a break for a day. What you want to achieve as at making your own grips is a perfect fit, but the reality is you’re likely only going to achieve a BETTER fit compared to off the shelf grips.

It’s still worthwhile though.

ETA: Oddly enough you’re most likely to find near perfect grip fit on factory Single action revolvers with factory grips. They fit the grips to the frames in the white and sand the grips and metal. Then they blue.

Computer driven CNC machines make repeatable things that are as perfect as programming can make them.

Artists create art and all art is unique… often because of its flaws. It’s why we love handmade things with their character and, yes, flaws. but find mass-produced items to be dull and… mass produced!

Sirhr
 
  • Like
Reactions: shotgunslade
Another thought on grip making.

Nothing ever, ever, ever, ever, ever comes out perfect. You can find flaws in grips from even the most renowned grip makers going back as far as you can find examples of their work. By hand or CNC, nothing ever comes out perfect.

Just the nature of the beast.

Out of flat frames, rounded where they should be square, not on plane, etc.

Wood moves, and chips, and just doesn’t want to play nice sometimes.

Sometimes all you can do is get it as good as you can or you’ll be chasing things forever. Know when to move on from a particular step.

When you get stuck, take a break for a day. What you want to achieve as at making your own grips is a perfect fit, but the reality is you’re likely only going to achieve a BETTER fit compared to off the shelf grips.

It’s still worthwhile though.

ETA: Oddly enough you’re most likely to find near perfect grip fit on factory Single action revolvers with factory grips. They fit the grips to the frames in the white and sand the grips and metal. Then they blue.

Remember a Python can be re-blued…
 
ETA: Oddly enough you’re most likely to find near perfect grip fit on factory Single action revolvers with factory grips. They fit the grips to the frames in the white and sand the grips and metal. Then they blue.
you probably havent seen a recently made ruger then. the grips are embarrassingly ill fitted.

the freedom arms on the other hand....
 
Last edited:
Different end tags from a recent diy project with pressure treated wood. My local big box store is Lowe’s
they are selling the red and blue color tag with “ not intended for ground contact”. The yellow tag is from HD
has “ground contact/general use” same price as the lumber from Lowe’s. The bottom tag is from a local lumber yard
and also is marked “ ground contact general use, and was the cheapest to purchase.

Is it wrong to consider pressure treated lumber marked for ground contact to be superior to a product marked not intended for ground contact?

IMG_0160.jpeg
 
Different end tags from a recent diy project with pressure treated wood. My local big box store is Lowe’s
they are selling the red and blue color tag with “ not intended for ground contact”. The yellow tag is from HD
has “ground contact/general use” same price as the lumber from Lowe’s. The bottom tag is from a local lumber yard
and also is marked “ ground contact general use, and was the cheapest to purchase.

Is it wrong to consider pressure treated lumber marked for ground contact to be superior to a product marked not intended for ground contact?

View attachment 8351790
You're looking for retention of the treatment in pounds per cubit foot. The red label your example appears to be 0.019, the green label lists 0.15, assuming the same treatment, more is better. The green label lists MCA = Micronized Copper Azole, the Lowes product lists EL2 = Ecolife, which, as far as I know, is above-grade only. ETA: I believe the YellaWood product is also treated with MCA.
 
Last edited: