• Watch Out for Scammers!

    We've now added a color code for all accounts. Orange accounts are new members, Blue are full members, and Green are Supporters. If you get a message about a sale from an orange account, make sure you pay attention before sending any money!

Your 1st AR15 Build. Self Taught or Taught by Another?

RLinNH

Sergeant of the Hide
Full Member
Minuteman
Mar 23, 2019
333
194
All the pieces for my 6.5 Grendel build are coming together nicely (it's only been 8 months, but who's counting :rolleyes: ). I am getting ready to start assembling her. Waiting on that magical brown truck with my barrel and BCG as I type. I have done some research on building one and it seems like youtube is the way I am going to go. Although, I say that with tongue in cheek. I really don't like to use youtube for anything as detailed as an AR build is going to be. Having someone teach me is not an option. Can someone recommend a book or some sort of media that they have used and worked well?
 
I watched a ton of YouTube videos. It's fairly easy to differentiate who does it right, and who is a hack. Steer clear of guys trying to show you shortcuts, or ways around using the proper tools.

I've put seven together, so I'm no expert. All but one went together and shot perfectly...the one bad apple was due to two faulty parts that were new and had to be fixed/replaced.

Invest in the right tools and the process is a lot easier.

I suggest watching the manufacturer's videos for each part of the assembly process if available.

Good luck.
 

That may help. Been building mine for a while, so it comes half natural. But that guide will help you from scratching things or working backwards. A bench block can be your best friend also.
 
100% self taught with google and youtube and just finished my 3rd build. Don't knock youtube, its a decent resource, especially if you're a visual/hands on learner like I am. In my opinion ar's aren't really that detailed tho, most pieces only fit together one way and its pretty obvious how things go together. You really only have to worry about torqueing things down and you can find out the torque specs online
 
Google and YouTube. And, a lot of surfing around here too.
 
Searching youboob and Google for ar how-to, is probably what will get your your very own alphabet door knocker in 2021......🤣
 
  • Haha
Reactions: Daleteam6
I watched a ton of YouTube videos. It's fairly easy to differentiate who does it right, and who is a hack. Steer clear of guys trying to show you shortcuts, or ways around using the proper tools.

I've put seven together, so I'm no expert. All but one went together and shot perfectly...the one bad apple was due to two faulty parts that were new and had to be fixed/replaced.

Invest in the right tools and the process is a lot easier.

I suggest watching the manufacturer's videos for each part of the assembly process if available.

Good luck.
What are the right tools? According to Midway USA, I'm going to need another tool box for the tools I "need" to purchase from them to build my AR.
 
  • Like
Reactions: diggler1833
What are the right tools? According to Midway USA, I'm going to need another tool box for the tools I "need" to purchase from them to build my AR.

Depends on what you're building. Let me preffice this by stating I am not in anyway way a gunsmith or have any gunsmith training. I bought a wheelers tools armorers set which is nice to have but in all honesty I could build one with like 3 tools and you can get them at home depot. If you're doing a free float rail system then its even easier because most nowadays have a barrel not you can torque down with a normal wrench/torque wrench and thats honestly the hardest part. (if youre doing non free float then there are specific tools you will need but i have no experience with that because I only do free float) Other than that an allen wrench set is always good to have as a lot of parts use allen screws, though a lot of parts like rails and muzzle brakes that use allen screws usually come with a small allen wrench in them. The wheeler kit came with a pretty nifty tool thing for putting in the take down pins which actually is notoriously hard, at least for me, but I'm pretty sure they sell it separately and its not terribly expensive and tbh you dont 100% need it it just makes things easier. Another place you might need specific tools is the end plate if you're doing an adjustable stock, but even then Primary weapons makes a ratchet end plate, whcih is fuckin awesome i have one, that doens't require a tool to put on and locks just as well, if not better. So yeah it all depends on what route you want to go but you dont need to shell out a ton of money on some expensive tool kit right off the bat like i did. It's cool to have, but I honestly feel like i wasted my money at times because I legit don't use most of the tools
 
  • Like
Reactions: AMGtuned
Now if you're doing a precision build then that's a little different in that because you have to deal with leveling the scope in which case there are tools for that and levels, but even with that certain brands like spuhr come with a little thingamajig that slides into the mount and levels the scope for you
 
What are the right tools? According to Midway USA, I'm going to need another tool box for the tools I "need" to purchase from them to build my AR.

Hahahaha. I recommend a good vice, vice block, AR specific wrench, ft/lb torque wrench, small rubber mallet (if the barrel extension needs a little help getting into the receiver... don't hammer on it hard, some are designed to be thermo fit).

A standard wrench set will help with installing the muzzle brake, I've had either 3/4 or 13/16 devices. A roll pin starter is a good idea for the gas block, but not necessary...however many who have shot a pin into the depths of their shop may disagree. I also recommend a brass and steel punch set if you don't already have one.

I used 609 (IIRC) green Loctite to bed the barrel extension into the receiver, anti-sieze for the barrel nut and barrel threads.

Needle nose pliers if for some reason you don't already have those.

I use a flat hair clip of my daughters to hold the forward detent pin on while I seat the takedown pin...I really should make a patent on those it is so much easier.

Ah yeah I forgot about a vice/vice block and a hammer/punch kit. Those are quite nice to have and are one of the few tools from my set that I do use. I use valvoline non graphite grease on my barrel ends and a dab on the barrel nuts also
 
  • Like
Reactions: drewthebrave
Now if you're doing a precision build then that's a little different in that because you have to deal with leveling the scope in which case there are tools for that and levels, but even with that certain brands like spuhr come with a little thingamajig that slides into the mount and levels the scope for you
Line levels, or a plumb bob. Done.
 
My first was done before there were YouTube videos. I wanted to build the lightest AR at the time. Found parts over a year's time and then wet to work. Having another AR (Colt) to look at, I determined how it went together. Had a Colt Armor's Guidebook and completed it in a weekend. Not having a barrel vice was the worst thing I had to overcome.
 
self taught but i did have problems. aftermarket on aftermarket on aftermarket may not function well. my first had double triple fire, slam fire and failure to feed. no one taught me how to fix problems and internet groups were worthless.

i found that i was sold a full length stock ( i use carbine butstock) 308 spring. i cut it a few times only to realize i needed to buy the right spring. that took care of the slam fires.

the double triple fire took longer to eork out and i just removed the 2 stage ebay trigger and put in a good trigger.

then i gave the rifle to my daughter.
 
What are the right tools? According to Midway USA, I'm going to need another tool box for the tools I "need" to purchase from them to build my AR.
Hollow tip Roll pin punches, standard steel and brass punches, nylon head hammer, AR barrel wrench, torque wrench, needle nose pliers, AR bench armorers block, magazine well vise block, upper receiver vise block, red and blue loctite, screwdriver set (flat and philips), Allen key set, a couple small Tupperware containers.

Thats about it off the top of my head.
 
Thanks to all for your insightful recommendations. At least I found the "Glen Zedigers" book and the magpul armorers wrench. Seems like all the other tools are on the same boat from China as our primers...
 
My first was done before there were YouTube videos. I wanted to build the lightest AR at the time. Found parts over a year's time and then wet to work. Having another AR (Colt) to look at, I determined how it went together. Had a Colt Armor's Guidebook and completed it in a weekend. Not having a barrel vice was the worst thing I had to overcome.
Barrel vise?

You mean a regular vise and piece of 1/8" leather? 😂😂😂
 
  • Like
Reactions: drewthebrave
Self taught so long ago that all of my components were well "within spec".... It went together well and functioned flawlessly......... My last build was much more challenging due to so many "out of spec" components from reputable sources.....

I wish I had an answer... I'm thinking the Quality Control Departments are a thing of the past.

Hobo
 
  • Like
Reactions: MidNite WolfMan
Self taught so long ago that all of my components were well "within spec".... It went together well and functioned flawlessly......... My last build was much more challenging due to so many "out of spec" components from reputable sources.....

I wish I had an answer... I'm thinking the Quality Control Departments are a thing of the past.

Hobo
Build a 1911. Talk about "tolerance stacking" and "hand fitting"!
 
The way I parts-select and assemble an AR today is so different compared to what I did 20 years ago, it literally feels like working on a different gun. You could hand me the same parts in 2000 and the same parts today, and I would approach it so differently, if I were to make 2 separate videos of those processes, you would see what I mean.

Along the way, I’ve acquired more tools specific to the AR, or made my own.

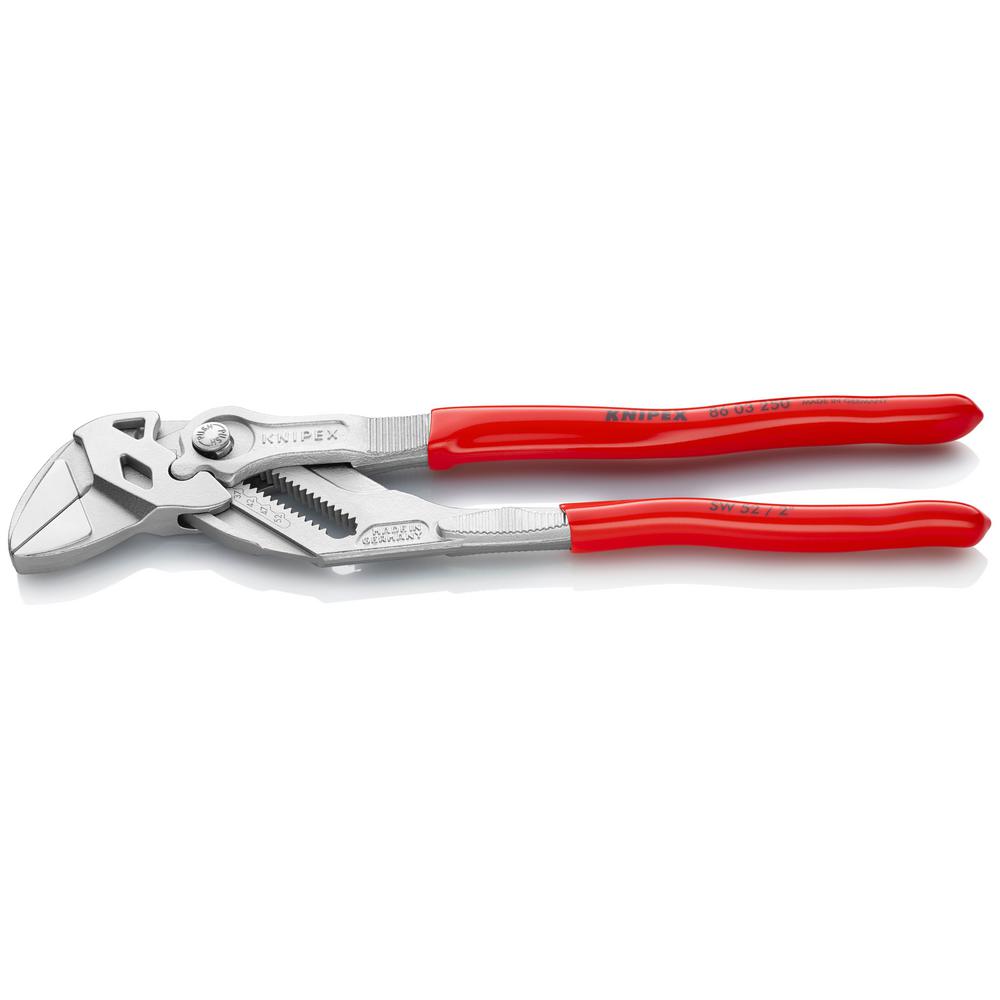
One of the tools that sticks out the most is the receiver face lapping tool. Anodizing thickness varies on the faces, even though the machining is square. The anodized surface needs to be made square again on some receivers, though I’m seeing more and more that are square from the package.

The most important components in a build are the barrel, followed by the bolt, then the carrier, carrier parts, and receivers, then the gas block.

The critical things I look at on the barrel are:

Chamber dimensions-do they fit a fully-seated factory cartridge and my dummy rounds, then allow the cartridges to drop-free with gravity, or come out with a small tap in my hand? I’m basically checking to see if SAAMI spec COLs with common loads jam the lands or not. Jamming the lands is a bad condition to have in a gas gun.

I then check the gas port to make sure it’s an optimal diameter for what I’m doing. I see a lot of oversize gas ports in 5.56 and 6.5 Grendel, usually ports bigger than .076” at MLGS on both. A 5.56 MLGS .094” port even at 14.5” will recoil hard and break weaker optics in short order. A 14.5” MLGS with .076” runs like a pussycat, very easy to control.

There are a lot of after-market 18” and 16” “Grendel” barrels with .094” gas ports at MLGS and even CLGS on the 16” guns. The cyclic rate is way out of control on them as a result, with early unlocking, trashing the brass, don’t run well. With a .076” port MLGS on both 16” and 18”, they run like pussycats.

Muzzle threads need to be square and concentric to the bore if you care about accuracy and/or are going to suppress.

Barrel extension index pin needs to be press-fit into the extension without being canted or drilled into the barrel tennon threads. Some barrel makers like to drill into the barrel tennon, which is not in the TDP. If they control the process tightly with a staff who holds themselves to higher standards than seem capable of most current workers and leadership, then they can be done ok that way. As soon as they drill too deep, they just compromised the chamber walls. Have seen it where upon firing, the brass comes out with weird round marks right at that location down on the case body. The brass is actually pushing the steel chamber wall outwards and leaving huge circular extrusions. Some like that will FTExtract due to the added case adhesion to the walls.

Bolts: I can already see this will be too long-winded, so I’m going to bed. Sorry for the derail if all you were looking for was assembly instructions. Zeideker’s book is excellent on the matter. There are some great videos from Joe Carlos from the AMU worth watching. It will feel like he’s not even talking about the AR-15, compared to most of what else is out there.

If you just want to slap parts together and have something that looks like an AR-15, there are thousands of videos done by amateurs who have been at it for a few years, and now think themselves as experts. Then there are guys who have been at it for 20-40years who recognize that they are still learning new things all the time. I am one of and listen to the latter group.

Check out InstructorChad’s videos on gauging. That will fast-forward you past all the amateurs and much closer to the latter group of builders.
 
If you are mechanically inclined, it is easy with YouTube. like others, I built mine before YouTube. If you want accuracy, everything being perfect matters. Here are some things I have learned in addition to the above:
  1. Buy the right punches. Roll pin starter punches are the best thing that ever happened to at builders.
  2. best receiver block is the JP Enterprise vise jaws. I haven’t tried a reaction rod.
  3. barrel to receiver fit. If you can push the barrel into a cold receiver, you need to bed it with Loc-tite green. I can’t remember the exact name. It is not thread locker, but some people do use their thread locker. I usually have to use a propane torch to heat the receiver so the barrel can be pressed in.
  4. torque and loosen the barrel nut 3 times before doing your final torquing.
  5. the gas tube needs to be centered in the receiver. Tweak it until it is dead center in the hole. I do this by use first looking and then by using pressure to ensure equal play in all directions.
  6. grendels are very sensitive to being over gassed. You can try to get the exact dimension gas port. Or, just get an adjustable gas block.
 
  • Like
Reactions: MidNite WolfMan
Don’t overlook the DVD about building one from AGI. I picked one up from Midway, along with one about doing AR trigger jobs. I learned a ton from those. Im sure YT can give you the same info, but, I don’t know, I trust the AGI videos, a little more.
 
  • Like
Reactions: MidNite WolfMan
I was 100% self taught on my build, used google to figure out what I wanted. I did cheat and got a preassembled BCM upper and barrel. Don't know if that still counts as that is about the only part of the process that requires more than the most basic of mechanical skills. I guess I picked parts well because everything went together easy as Legos and the gun runs great without any tweaking.
 
One thing I do with all my roll pins is chamfer them before even trying to set and push them in. I chuck them in a drill, spin the starter ends on a file, then Oxy Blue the end. They go in easily after doing that, although the gas tube roll pin is the main PITA.

I chamfer the trigger guard, bolt catch, and gas tube roll pins. I modified my Brownell’s bench block for putting in gas blocks, since I always am using low-profile gas blocks, not M16/M4 FSBs anymore.

There’s a great thread on here that goes over a precision build in-detail, for both small and large frame rifles.

Another good tool to have is a bolt disassembly tool.

Make sure extractors have the relief cut along the inside so you don’t get the sharp corners on the lip that like to hold onto brass.

For 6.5 Grendel and 6mm AR/ARC, you need to chamfer the ejector face so that it doesn’t bind against the side of your case rims when fed from the RH side presentation out of the magazine.

There are dozens of little things I do with a build that I take for granted, but looking back now, they would seem extensive and elaborate if I were just starting out.
 
Last edited:
Aside from the tools mentioned, I really like to use a Knipex plierswrench to press in any pins. Bolt catch, roll tube and trigger guard pins are super easy to install with little to no marring.

knipex-all-trades-slip-joint-pliers-86-03-250-64_1000.jpg
 
I might catch some shit for this...but its not complicated. I put my 6.5 grendel build together in about 3 hours give or take. I already knew a little from taking my parts apart and putting them back together. Ive said this and i'll say it again. My mother has been a teacher for 30 years. You can get a better education off of youtube in half the time and skip the indocteination portion. Youtube if your friend. Some parts I didnt agree with in videos while watching, so I watched multiple, until I had a few people who did the same procedure the same way. Midway USA (forgot owners name) does videos on every single facit of building an ar15. Hes a master gunsmith and been doing it 30 plus years. Watch his videos.