
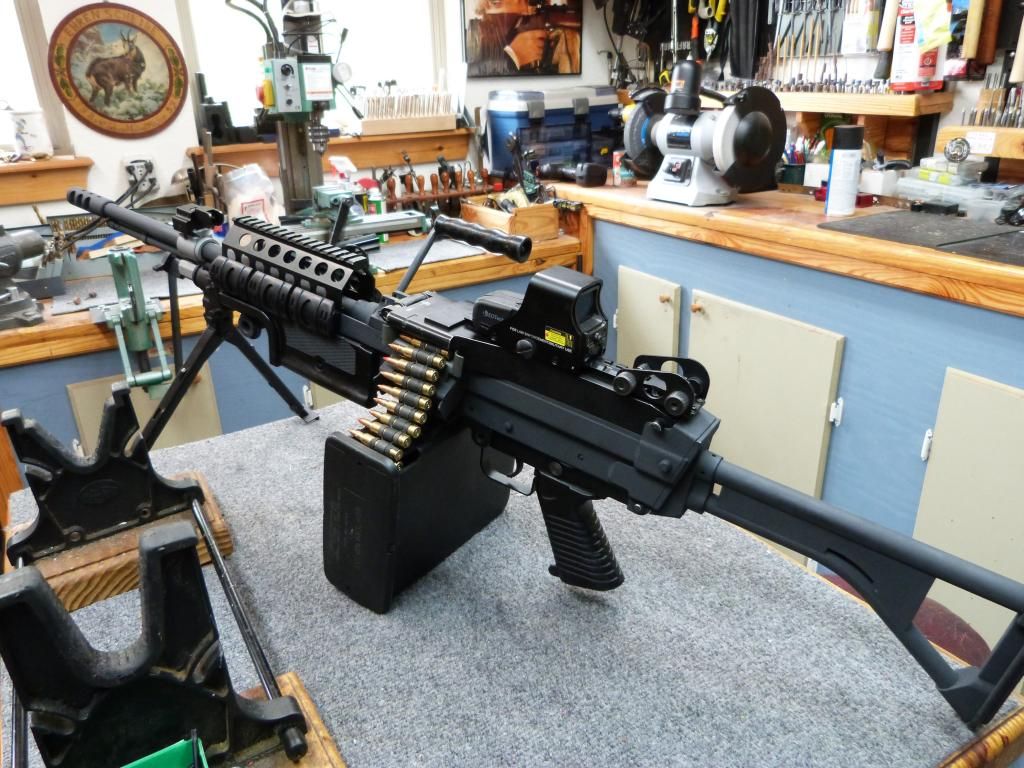
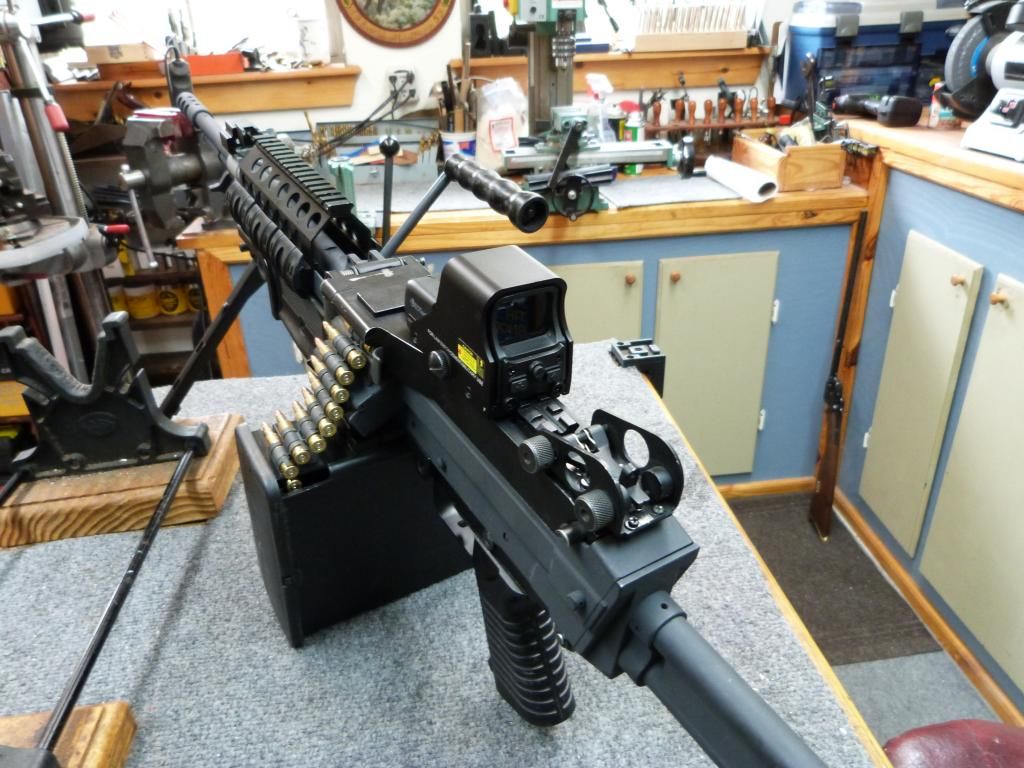
After seeing other peoples work I decided to build an M249 saw replica in .22LR...just for fun. Here is the finished product:
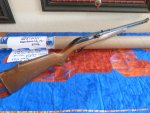
I started out as a broken Airsoft M249 and a Marlin 60 ($55), shown here:
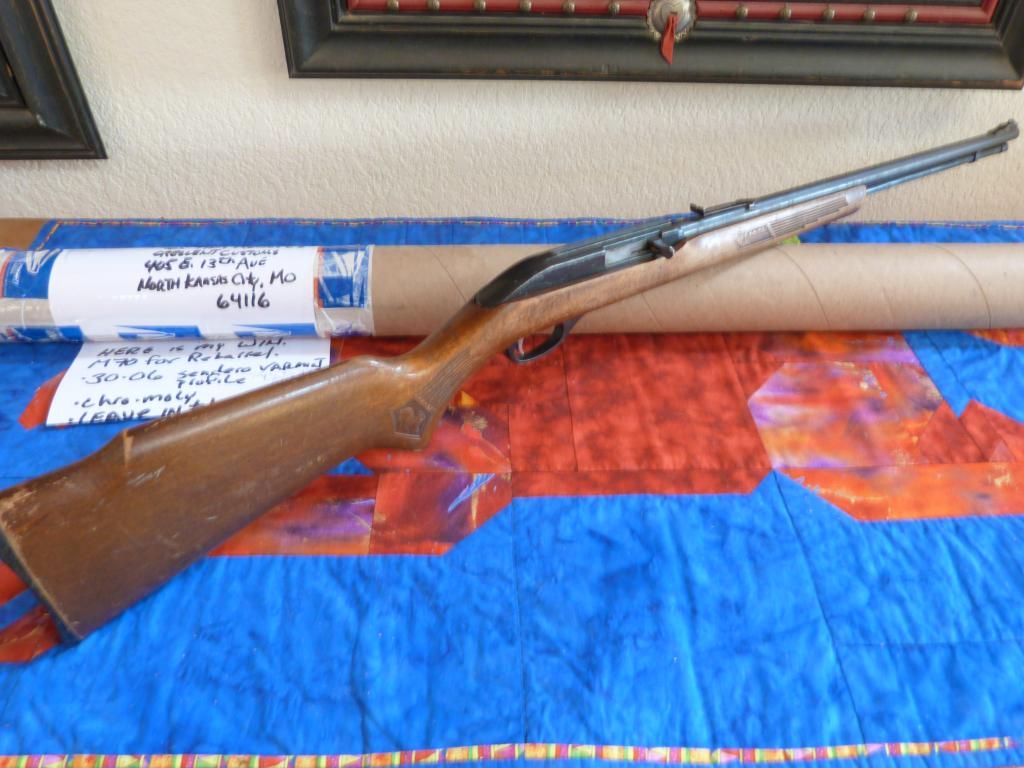
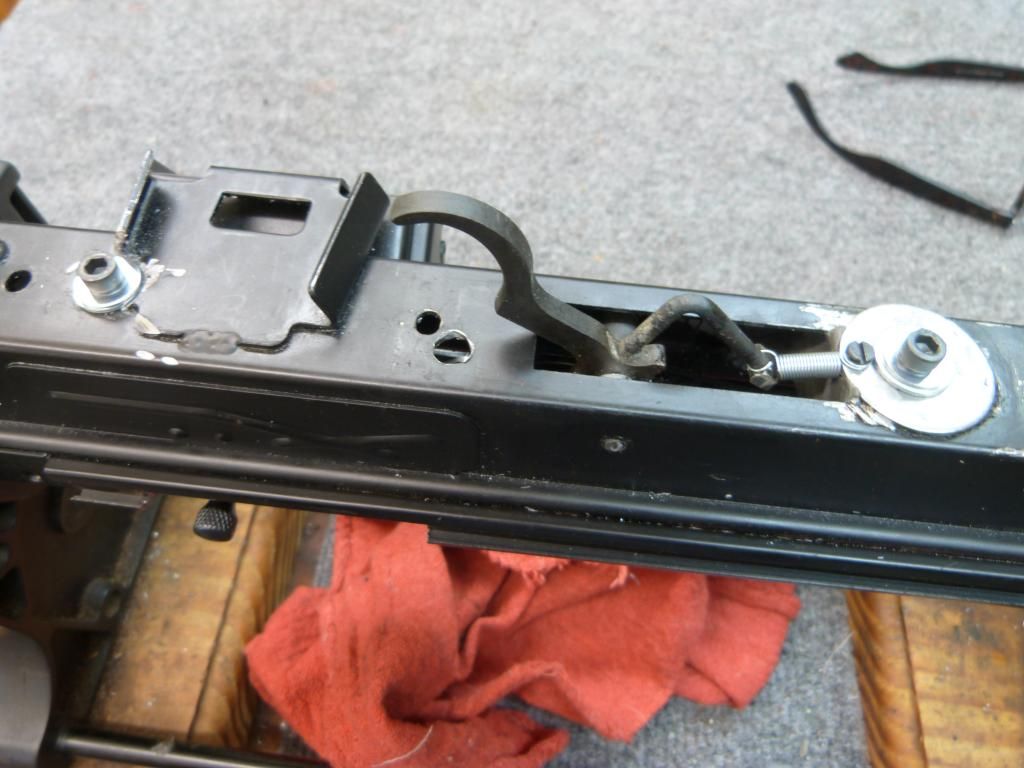
I chose the Marlin 60 because of its tube feed. It was easier to hide and easier to access. There is no good way to hide and have ready access to a box magazine. I used the trigger from a Mauser 98 and modified it to actuate the Marlin sear. The biggest problem was how to access the bolt release...it was situated right above the trigger housing axle. There was no good way to access the bolt release. Finally, I hit upon what Col. Kalashnikov realized...who needs it. I ground off the bolt stop, so the action closes on an empty magazine...who cares, one less thing to break or go wrong. I pillar bedded the whole thing and re-drilled the action to take larger bolts.
I fit the original SAW bolt handle to the Marlin:

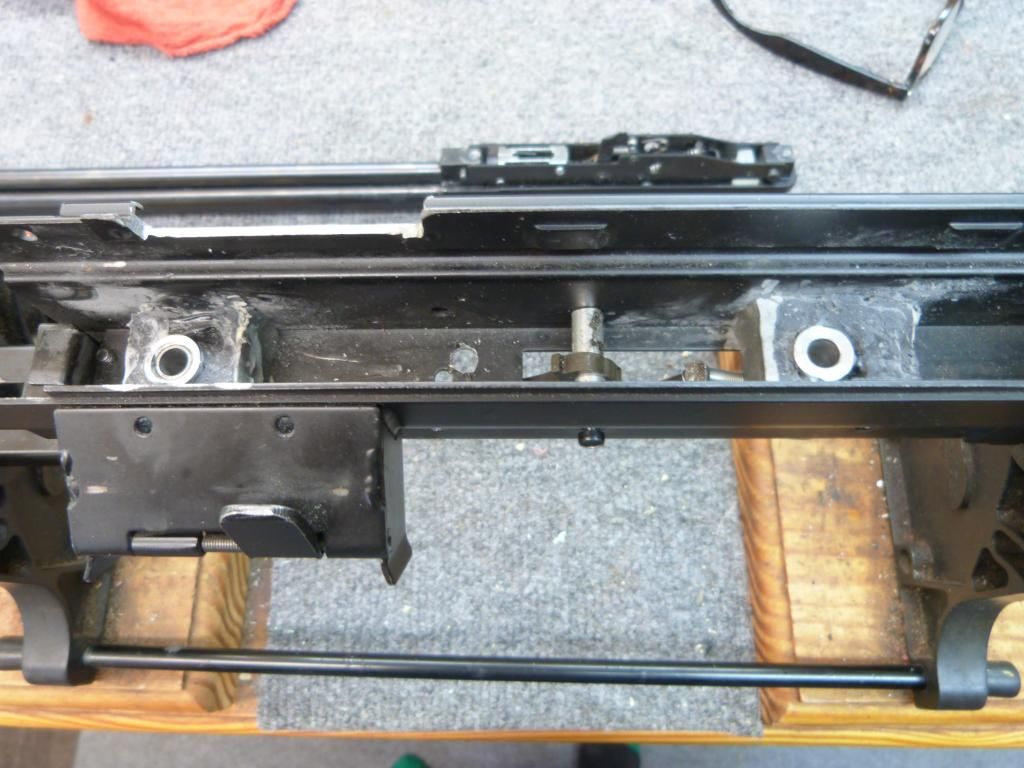
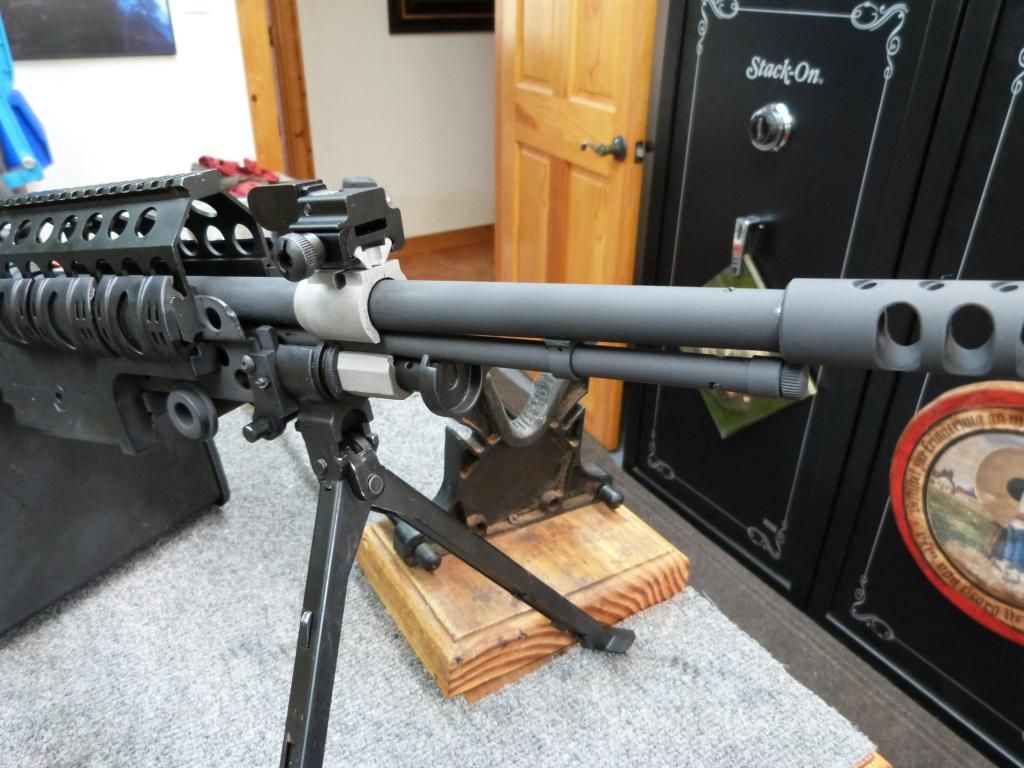
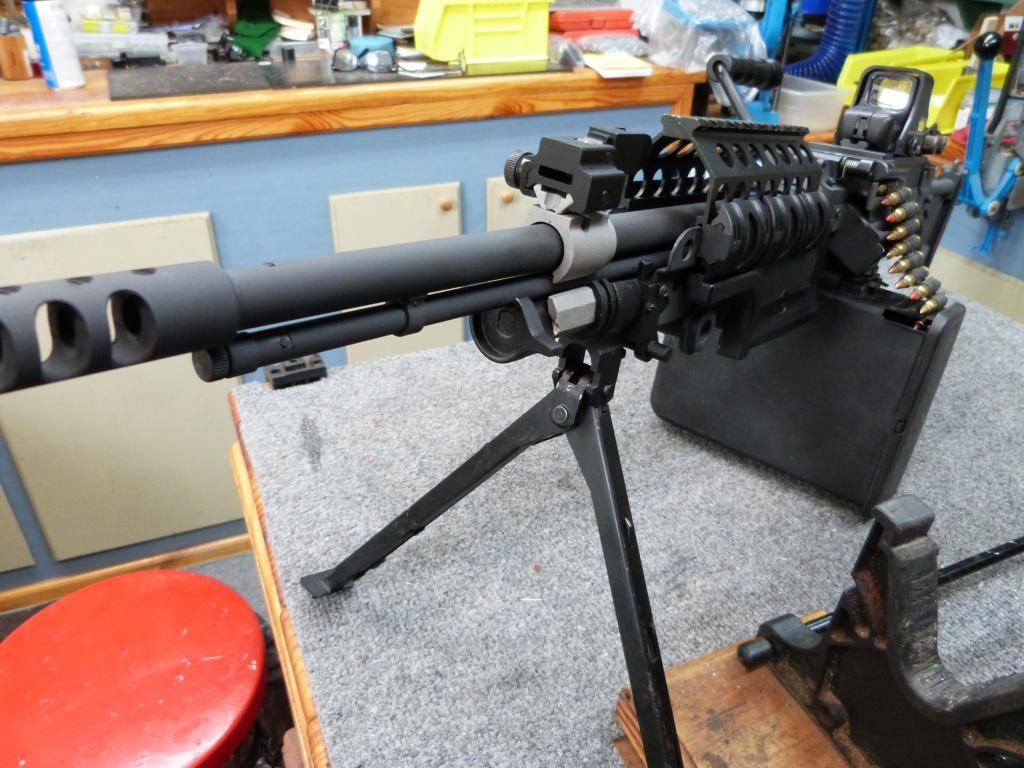
I did a lot of work on the gas tube assembly. I had to cut it in two and attach half to the barrel and the other half to the chassis:
I did extensive milling to the carry handle shroud to get the Marlin to fit inside it:
Finally, I added a muzzle brake...yes I know it's the wrong kind, but I wanted to add some length to the barrel.
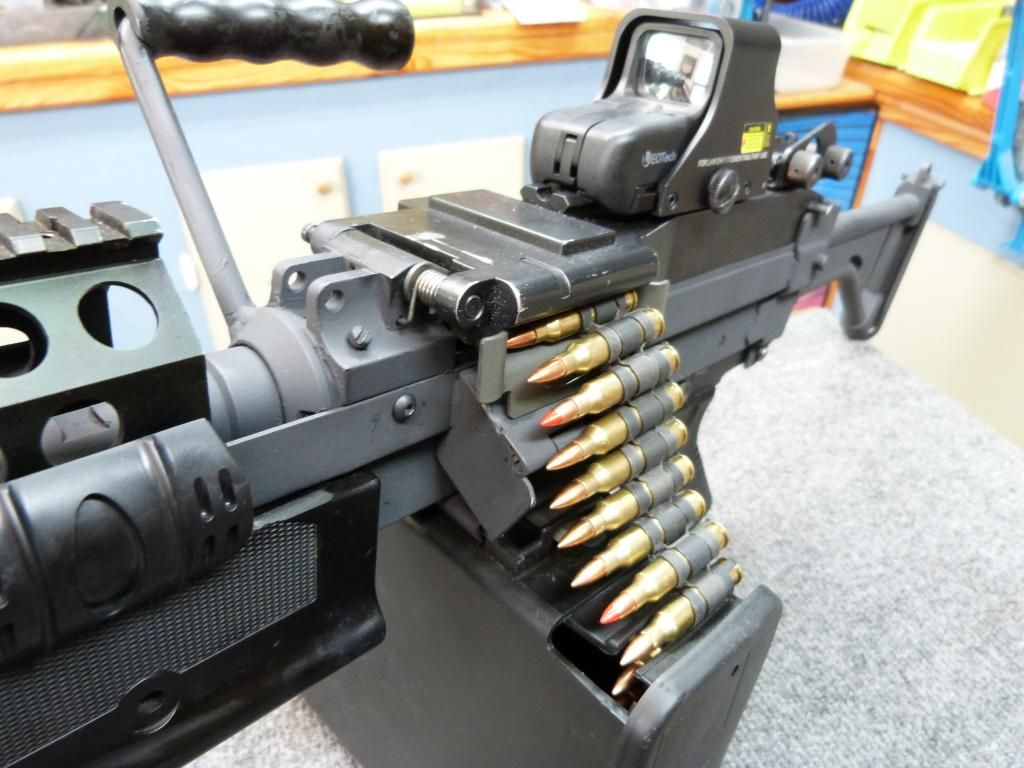
An Airsoft EOTECH sight...works great for .22 , a Picatinny upper hand-guard, rail covers, modified lower hand-guard, re-mounted rear sight (also incorrect), and flip up front sight (again, incorrect). The whole thing weighs about 15 pounds and hefts like a real saw (near as I can remember):
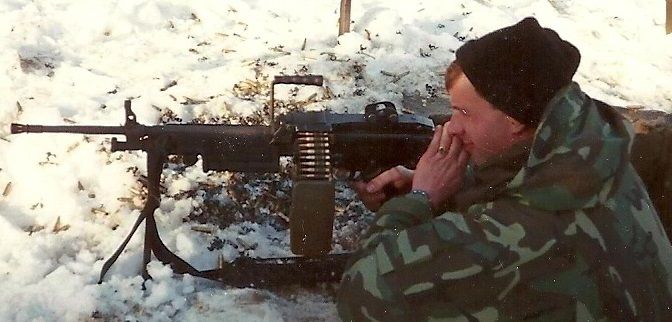
And, lastly, the real thing. One of the first M249's issued to the Army. SF units were the first units to be fielded new small arms. This photo was taken in 1987, 10th SFG(A).

I started out as a broken Airsoft M249 and a Marlin 60 ($55), shown here:

I chose the Marlin 60 because of its tube feed. It was easier to hide and easier to access. There is no good way to hide and have ready access to a box magazine. I used the trigger from a Mauser 98 and modified it to actuate the Marlin sear. The biggest problem was how to access the bolt release...it was situated right above the trigger housing axle. There was no good way to access the bolt release. Finally, I hit upon what Col. Kalashnikov realized...who needs it. I ground off the bolt stop, so the action closes on an empty magazine...who cares, one less thing to break or go wrong. I pillar bedded the whole thing and re-drilled the action to take larger bolts.


I fit the original SAW bolt handle to the Marlin:

I did a lot of work on the gas tube assembly. I had to cut it in two and attach half to the barrel and the other half to the chassis:

I did extensive milling to the carry handle shroud to get the Marlin to fit inside it:

Finally, I added a muzzle brake...yes I know it's the wrong kind, but I wanted to add some length to the barrel.

An Airsoft EOTECH sight...works great for .22 , a Picatinny upper hand-guard, rail covers, modified lower hand-guard, re-mounted rear sight (also incorrect), and flip up front sight (again, incorrect). The whole thing weighs about 15 pounds and hefts like a real saw (near as I can remember):

And, lastly, the real thing. One of the first M249's issued to the Army. SF units were the first units to be fielded new small arms. This photo was taken in 1987, 10th SFG(A).

Attachments

Last edited:
") It shoots fine, I haven't shot it for groups yet, just function fire...but I shoot at a 12" steel plate at about 25 yds for function testing and it rings the plate every time. I noticed that I seemed to have about a 6 inch group for thirty rounds on the plate and that's firing fast, offhand, with an EOTECH just testing function and not really caring about groups size. I do have some final tweaking to do on the size of the ejection port. I've had a couple empties hit the forward edge of the SAW frame and bounce back into the action and jam it up.
It shoots fine, I haven't shot it for groups yet, just function fire...but I shoot at a 12" steel plate at about 25 yds for function testing and it rings the plate every time. I noticed that I seemed to have about a 6 inch group for thirty rounds on the plate and that's firing fast, offhand, with an EOTECH just testing function and not really caring about groups size. I do have some final tweaking to do on the size of the ejection port. I've had a couple empties hit the forward edge of the SAW frame and bounce back into the action and jam it up.


