• Watch Out for Scammers!

    We've now added a color code for all accounts. Orange accounts are new members, Blue are full members, and Green are Supporters. If you get a message about a sale from an orange account, make sure you pay attention before sending any money!

Annealing brass pics

Re: Annealing brass pics

here ya go

IMG_20120224_034940.jpg

IMG_20120224_035001.jpg

IMG_20120224_035023.jpg
IMG_20120224_035052.jpg
 
Re: Annealing brass pics

I always hold the case in my bare hand, heat case neck and shoulder till the blue line creeps just below the shoulder, then drop into cold water. If it gets too hot to hold on to, you have overheated it. THROW IT AWAY!
 
Re: Annealing brass pics

If you can still hold them, then you're not getting near enough heat to the neck.

Here's my latest batch (done with a socket chucked in a drill at low speed, a standard propane torch and quenched in a water bath). You can clearly see the delineation where the deep-well socket shields the lower part of the case:

 
Re: Annealing brass pics

Get the flame as small as possible and aim the tip at the base of the case neck (the first tip not the small bright flame).

Water quenching stops the heat from spreading and if you're as un-scientific as I am about it use a single source of low light. Just enough to see where the flame is hitting as well as the color of the case.

Cleanest possible brass is easiest to see changes.

I gave up on this for a while since I wasn't seeing a purpose and then I noticed neck cracks in a batch of 308 that were on their 6th cycle. Scrapped those and now going to anneal every other loading.

 
Re: Annealing brass pics

<div class="ubbcode-block"><div class="ubbcode-header">Originally Posted By: Gene Poole</div><div class="ubbcode-body">If you can still hold them, then you're not getting near enough heat to the neck.


</div></div>
That sir is a fact.
 
Re: Annealing brass pics

With annealing it's a very small window of time!

After ruining cases by using case color as the judge. I did 2 things.

I used the vise grip spring back method as my judge on the case necks. That worked well until I bought some Tempilaq 700 degree. The trick with the Tempilaq is to adjust the annealing machine so it melts just before the case leaves the flame.


Read this http://www.accurateshooter.com/technical-articles/annealing/
 
Re: Annealing brass pics

tumblr_lzwneqicuL1qbrl9ao1_400.jpg


In the right light, you can see just as the last bit of red fades to blue/grey from the neck/shoulder. Drop immediately in cold water and they are uniform and clean. No burns, no color shift any lower than 1/4" on the body.

And by red I do not mean GLOWING red, if anything is glowing you've goofed.

Also found that with the drill/chuck method the slowest possible speed gives the fastest results. Closer to 10 seconds in a small flame.
 
Re: Annealing brass pics

<div class="ubbcode-block"><div class="ubbcode-header">Originally Posted By: OFIS</div><div class="ubbcode-body">
tumblr_lzwneqicuL1qbrl9ao1_400.jpg


In the right light, you can see just as the last bit of red fades to blue/grey from the neck/shoulder. Drop immediately in cold water and they are uniform and clean. No burns, no color shift any lower than 1/4" on the body.

And by red I do not mean GLOWING red, if anything is glowing you've goofed.

Also found that with the drill/chuck method the slowest possible speed gives the fastest results. Closer to 10 seconds in a small flame. </div></div>

One of the few, here, that's got it figured out....

Annealing, how much more beating can this dead mule take?
 
Re: Annealing brass pics

Although certain subjects get beat down over & over here & the Google search function would have yielded a half dozen prior posts on this subject, the occasional rehashing of a given subject does give new light to members that don't know all the old Salts tricks yet. Just think if a newbie never saw a post about annealing how would he ever know about it.

I do miss the beat downs that used to follow the rehashing posts they were quit amusing and to a degree, after your ego bruising went away, it did foster a greater intellectual approach for further posts.

Once again tempilaq is your only indicator here, small flame slow speed. Search it use it perfect it. Good luck fellas.
 
Re: Annealing brass pics

I've Googled this topic till everything seemed like it was repeating itself.
These cases were 9 times fired and i figured they need to be annealed.
it seems like the only visual conformation method for a noob like me is to buy some tempilaq 700 degree and apply some below the neck.
As for the cases in my pictures they seem safe since the blueish line hasn't gone down to far.

Thanks for the knowledge!
smile.gif
 
Re: Annealing brass pics

The problem with using temiplac is that the heat from the raw flame of the torch WILL influence your percieved results. The theory of using the tempilac, or a temp stick, is that it will indicate the temp of the brass. Well, if the tempilac itself is rotating through a wash of heat that is MUCH hotter than the brass itself, it's going to indicate "temp" much sooner than the brass itself getting to that temp.

Savvy?

Some try to circumvent this by trying to fool physics with placing the temilac inside the neck....this might help some, but the raw heat still curls around and flows into the case mouth, still yielding skewed feedback.

And then you have to clean that garbage off of your brass when you are done....fuck that.

Tempilac, or a temp stick, is NOT meant for direct heat from the heat source. When I was doing boiler code work and fooling with all kinds of high chromium alloy, we had to preheat the material before welding it, and in some cases post heat it after welding it. If the great all powerful QC gods had caught us applying direct heat to our temp indicator they would have fired us on the spot.

No....you heat, pull the flame back, then strike the temp indicator on the hot metal; if it doesn't melt you need more heat, until a quick strike of the temp indicator just melts without a spattering boil and smoke. The ONLY way we got away with applying the temp indicator before heating was on the back side of a piece completely sheilded from the direct heat of the torch. This was how we knew our heat was completely soaking through a heavy piece of work.

Doing this properly on every piece of brass in a run of annealing is just not practical. The only reason people get away with doing it improperly is because the window of temperatures to anneal cartridge brass is wide enough to allow it. So, if you apply a little common sense to the equation, then it's easy to see that temilac is just a feel good that really serves no legitimate purpose.

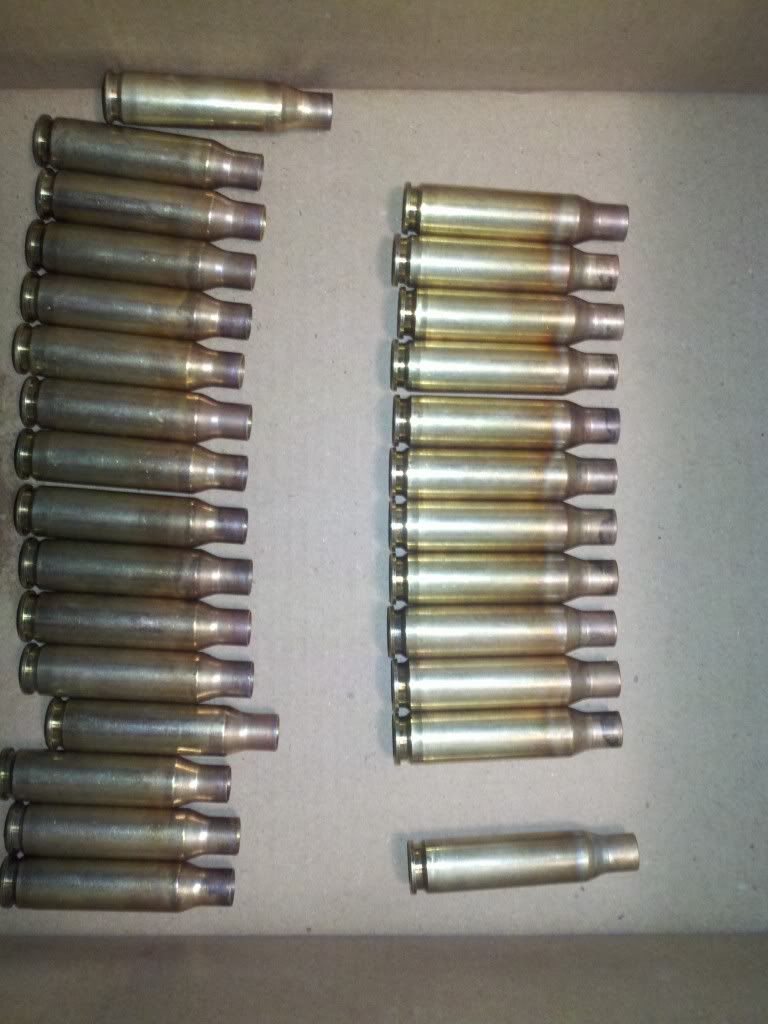
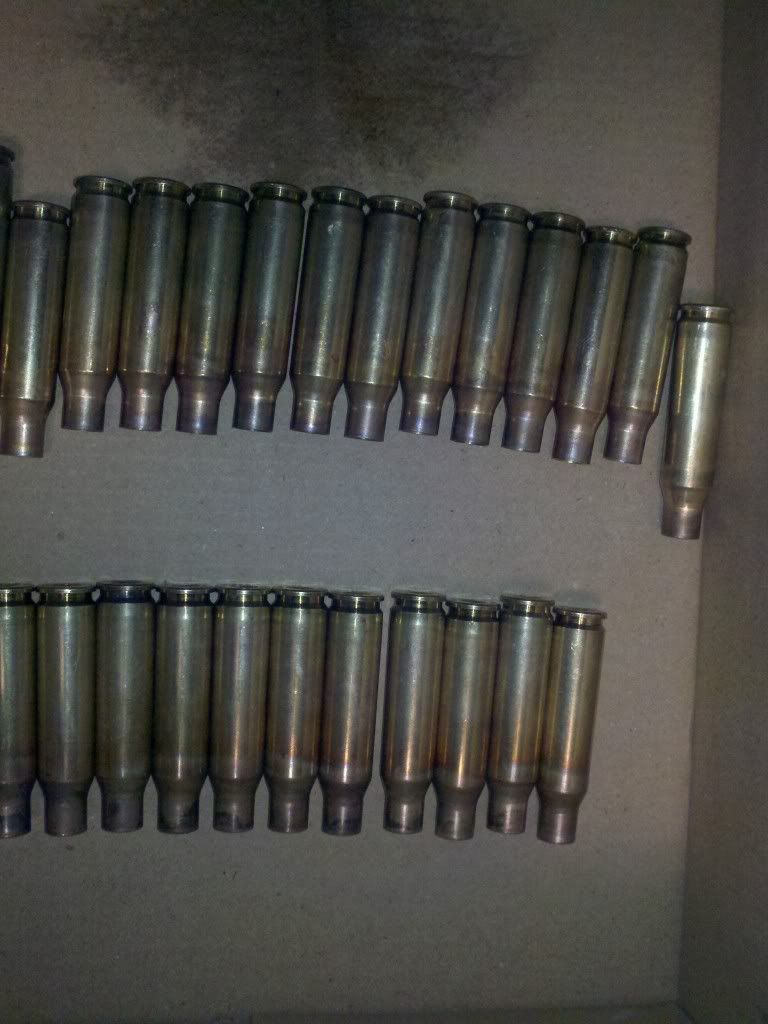
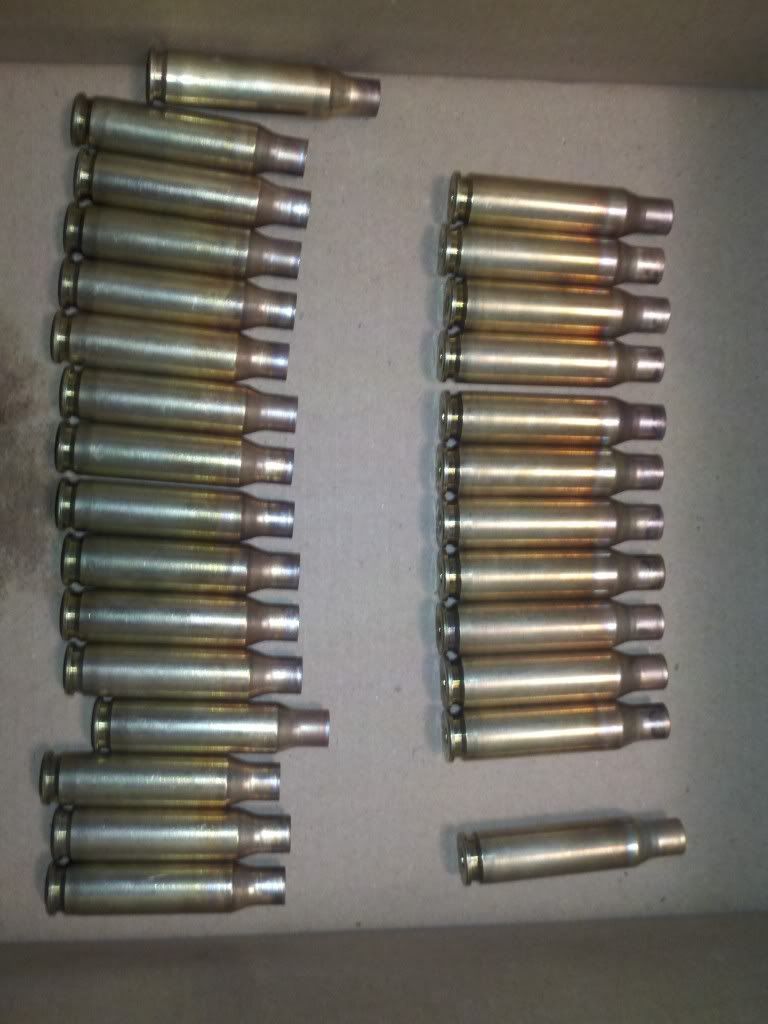
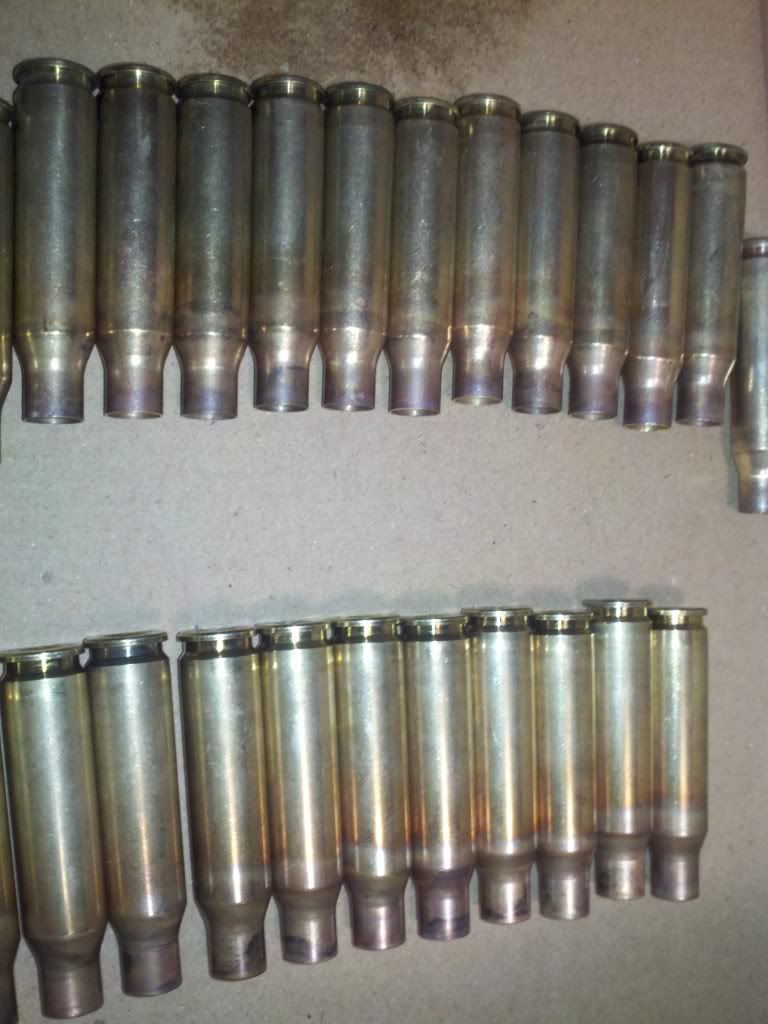
It's not that hard to just cut the damn lights off, and with a sharp eye watch the brass turn from bright shiney gold color to the very first indication of a very dull vague red, which is the first color change you will see.....bang it's done, quench it.

It's just that fucking simple..........
 
Re: Annealing brass pics

<div class="ubbcode-block"><div class="ubbcode-header">Originally Posted By: Mark S</div><div class="ubbcode-body"><div class="ubbcode-block"><div class="ubbcode-header">Originally Posted By: Gene Poole</div><div class="ubbcode-body">If you can still hold them, then you're not getting near enough heat to the neck.


</div></div>
That sir is a fact. </div></div>

unless you two can prove it your both wrong.

<div class="ubbcode-block"><div class="ubbcode-header">Originally Posted By: Tripwire</div><div class="ubbcode-body">The problem with using temiplac is that the heat from the raw flame of the torch WILL influence your percieved results... then it's easy to see that temilac is just a feel good that really serves no legitimate purpose.

</div></div>

nice tripwire