

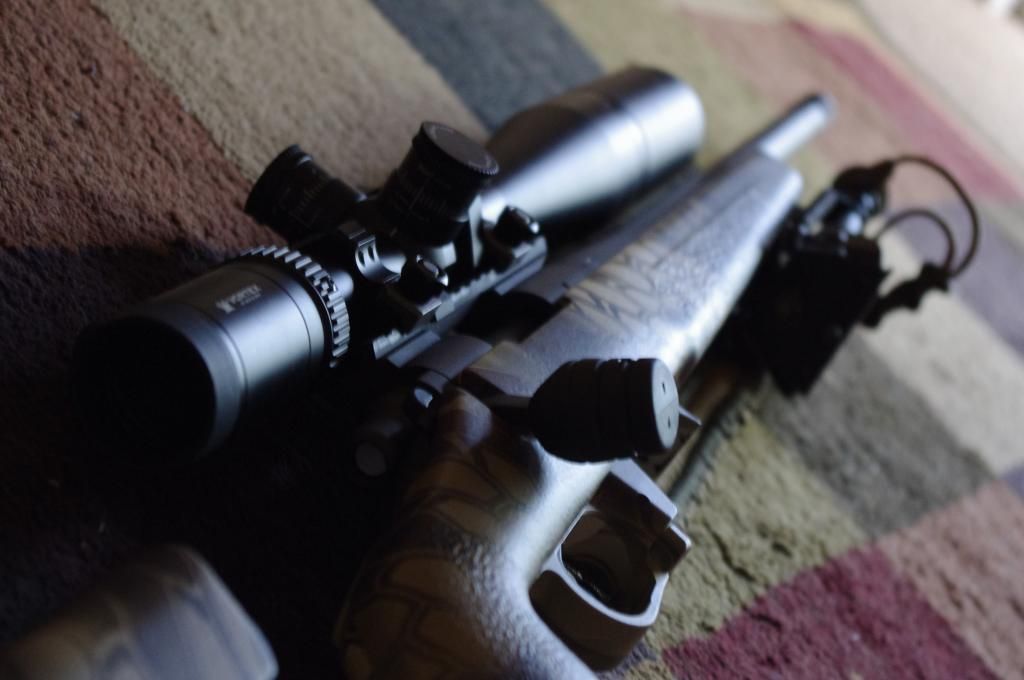
Hey guys. I just finished my build as of this morning when the FedEx delivery showed up with my optic and I mounted it up. I have been shooting in the ranges of 0-500 for the last 5 years or so through hunting, but I was finally bit by the long range (and tacticool) bug, and this build is what I ended with. I can't wait to start shooting in the 600-1100 yard range. I went with the .308 since I don't plan to reload any time in the near future (being a college student has some financial limitations), but I hear these guns like 168 and 175 FGMM, so i'll start there. Let me know what you think of it, and whether you might have done something differently (or the same). I had a high end AR build that I sold/traded/parted out to fund this project, and I couldn't be happier. Also, if any of you are local-ish to me (Bozeman, MT) and know of a place I can take this out to stretch its legs, please let me know, as well if you know of any LR matches in the area this summer. I hope to get enough trigger time in to be a good competitor at the 2015 SH Cup!
Without further adieu, here she is.
Remington 700 AAC-SD
McMillan A3-5
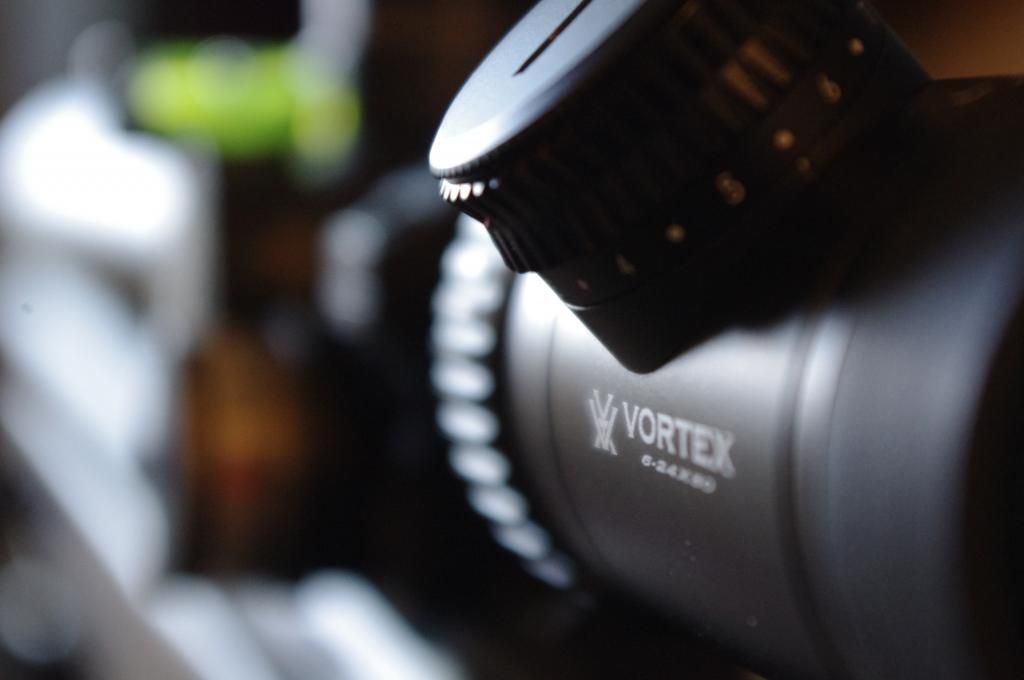
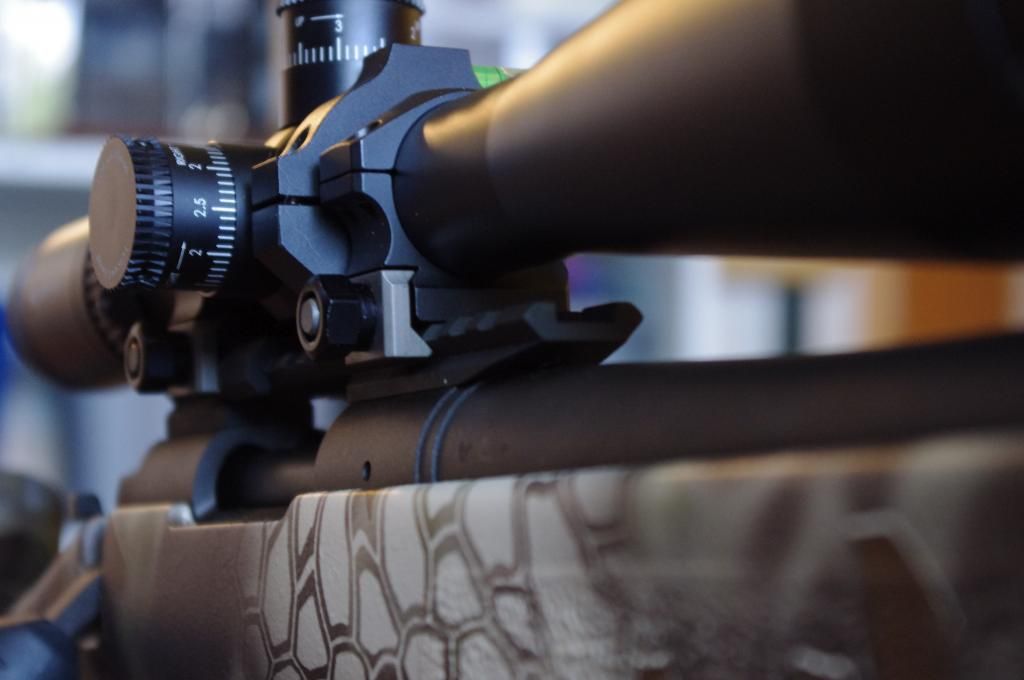
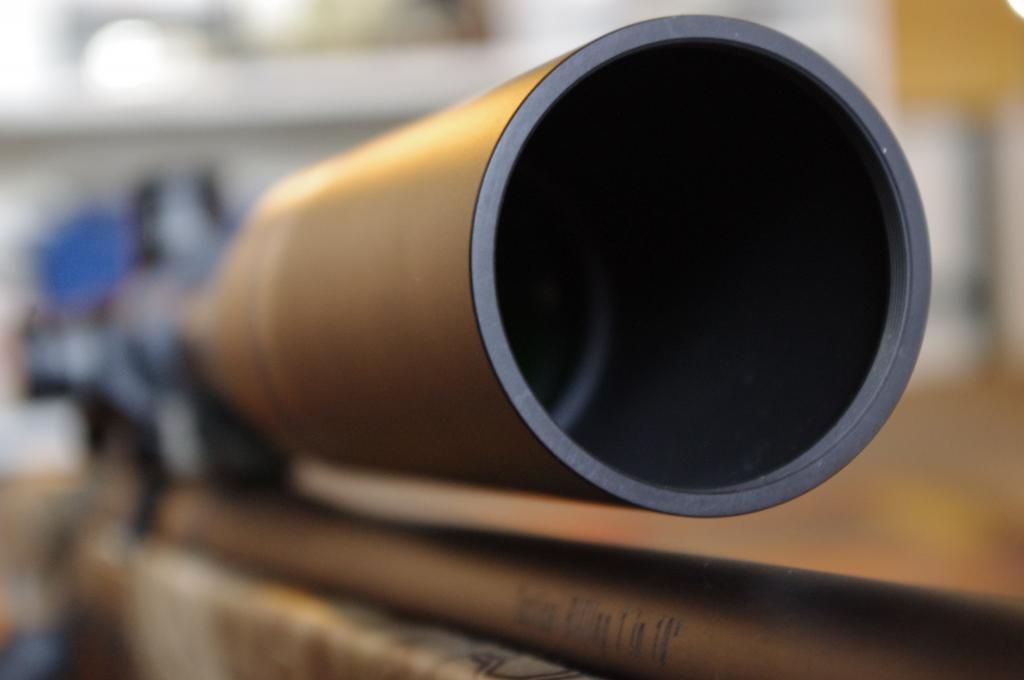
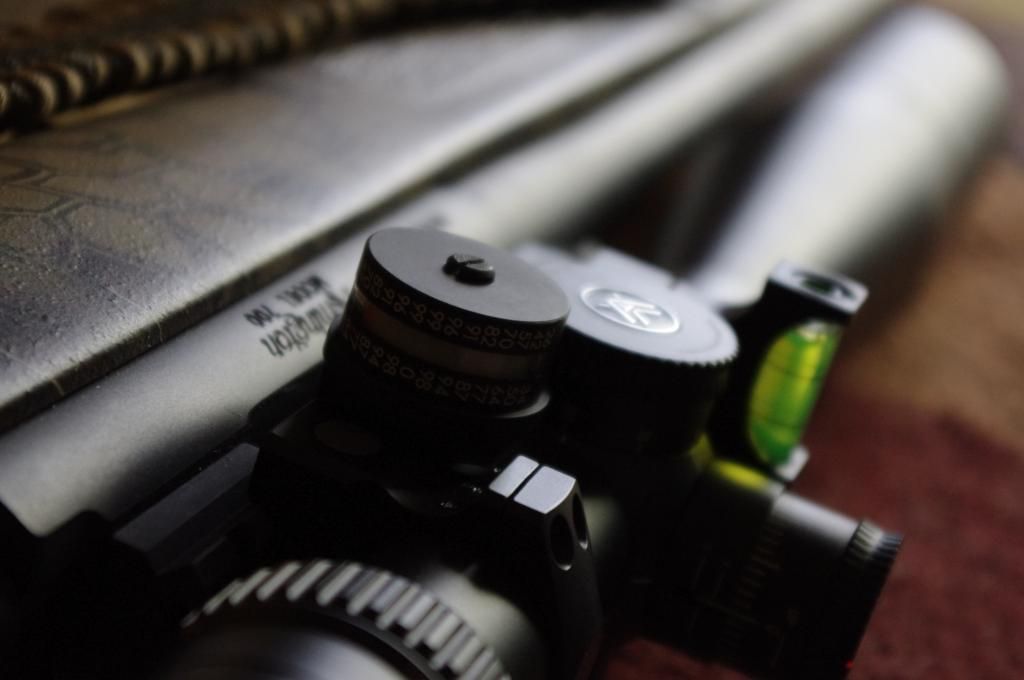
Vortex Viper PST 6-24x FFP Mil/Mil
Surgeon DBM
Timney Flat Trigger
Nightforce Rings (Matched w/base)
Nightforce 20MOA
Seekins Precision ATC
Vortex Bubble Level
Badger ACI
KRG Bolt Lift
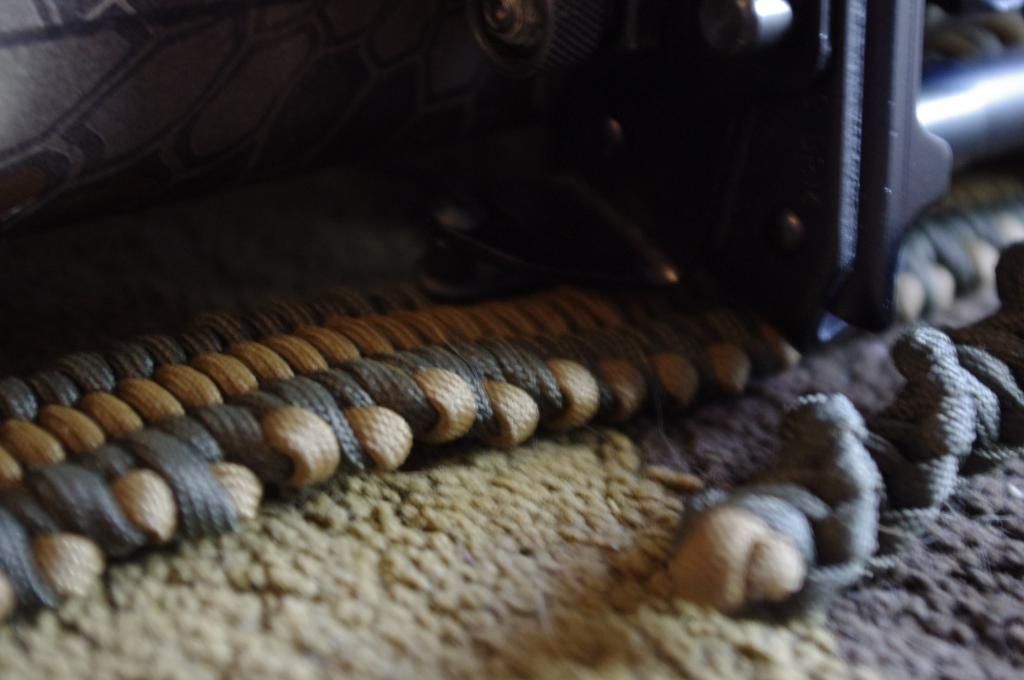
Kryptec Hydrodip
Harris 6-9" Bipod
DIY Sling w/Troy QD's (Para-Mountain Survival Gear)
DIY Bipod Pull (Para-Mountain Survival Gear)
I also have a Pelican 1700, 2 AI 5rnd mags in the same kryptec, a nice DIY rear bag (not a sock!), and a data book is in the works.
In the future I plan to have it blueprinted, have the lugs lapped, and have the bolt fluted.


Without further adieu, here she is.
Remington 700 AAC-SD
McMillan A3-5
Vortex Viper PST 6-24x FFP Mil/Mil
Surgeon DBM
Timney Flat Trigger
Nightforce Rings (Matched w/base)
Nightforce 20MOA
Seekins Precision ATC
Vortex Bubble Level
Badger ACI
KRG Bolt Lift
Kryptec Hydrodip
Harris 6-9" Bipod
DIY Sling w/Troy QD's (Para-Mountain Survival Gear)
DIY Bipod Pull (Para-Mountain Survival Gear)
I also have a Pelican 1700, 2 AI 5rnd mags in the same kryptec, a nice DIY rear bag (not a sock!), and a data book is in the works.
In the future I plan to have it blueprinted, have the lugs lapped, and have the bolt fluted.


Last edited:
")

