• Watch Out for Scammers!

    We've now added a color code for all accounts. Orange accounts are new members, Blue are full members, and Green are Supporters. If you get a message about a sale from an orange account, make sure you pay attention before sending any money!

DIY Chest Rigs with Integrated Hydration

LRRPF52

Sergeant
Full Member
Minuteman
Mar 13, 2012
2,383
3,816
SLC, Utah
I've been making my own gear since the 1980s, always looking at new ways to solve a lot of the problems I had with the old LC-1, LCS-88 LBV, Land Warrior MOLLE 1 & 2, and started making my own MOLLE kit before it was generally issued.

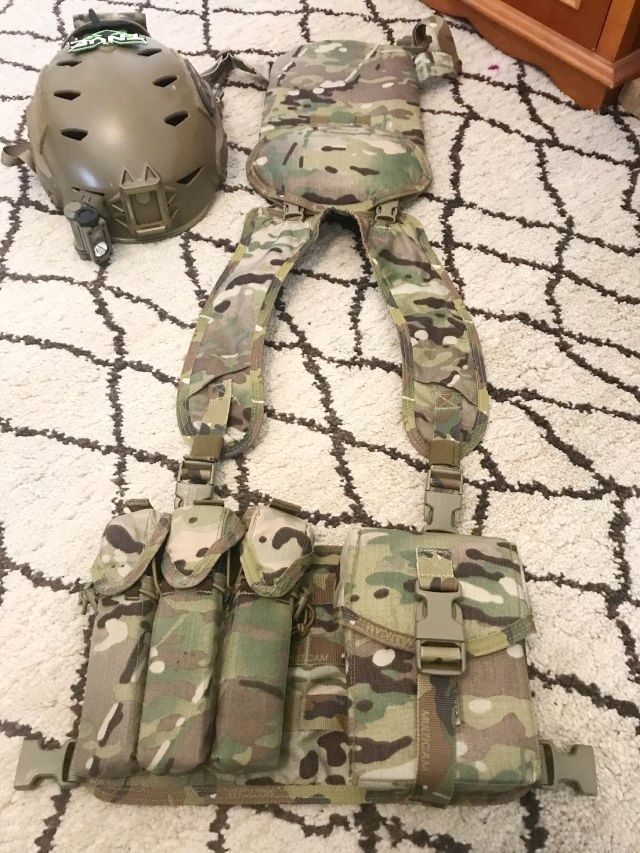
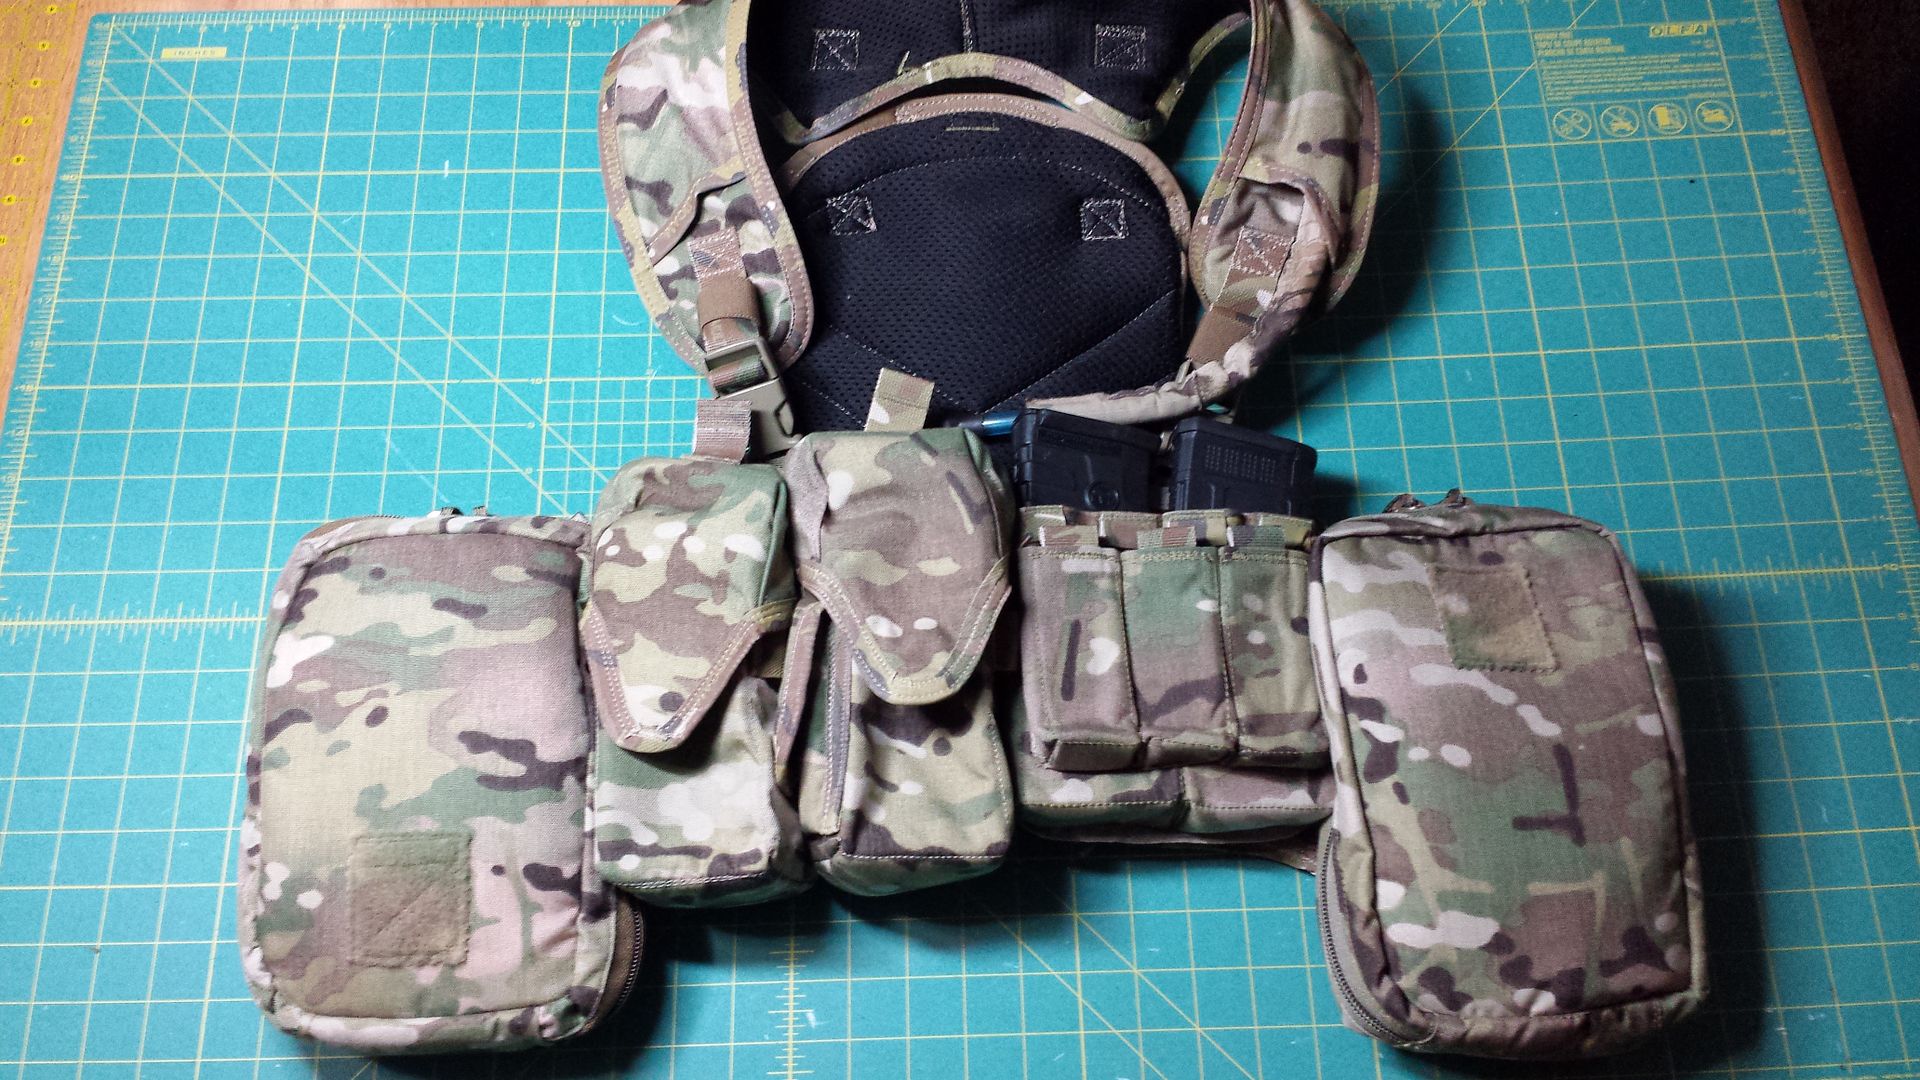
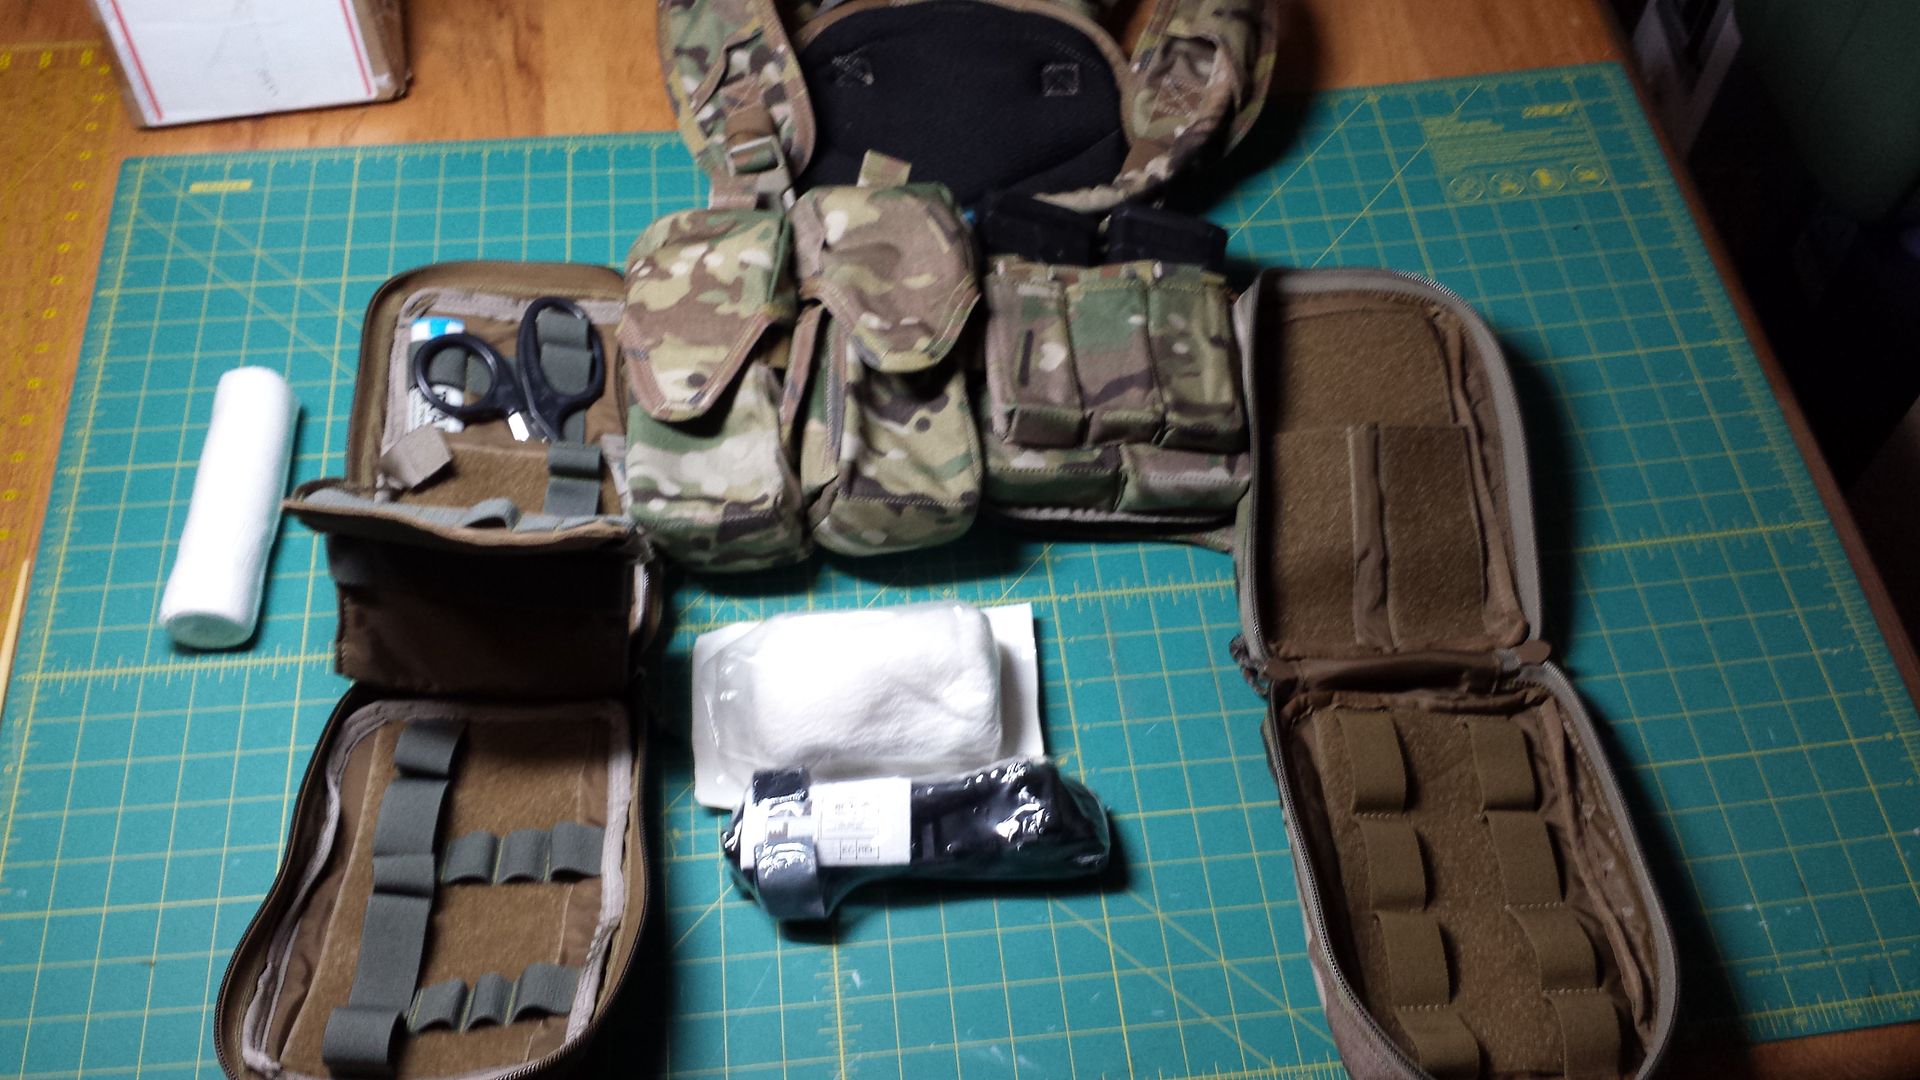
A buddy of mine asked for a simple little Micro Rig for him and his kids when coyote hunting or just blasting with his CZ Scorpion.


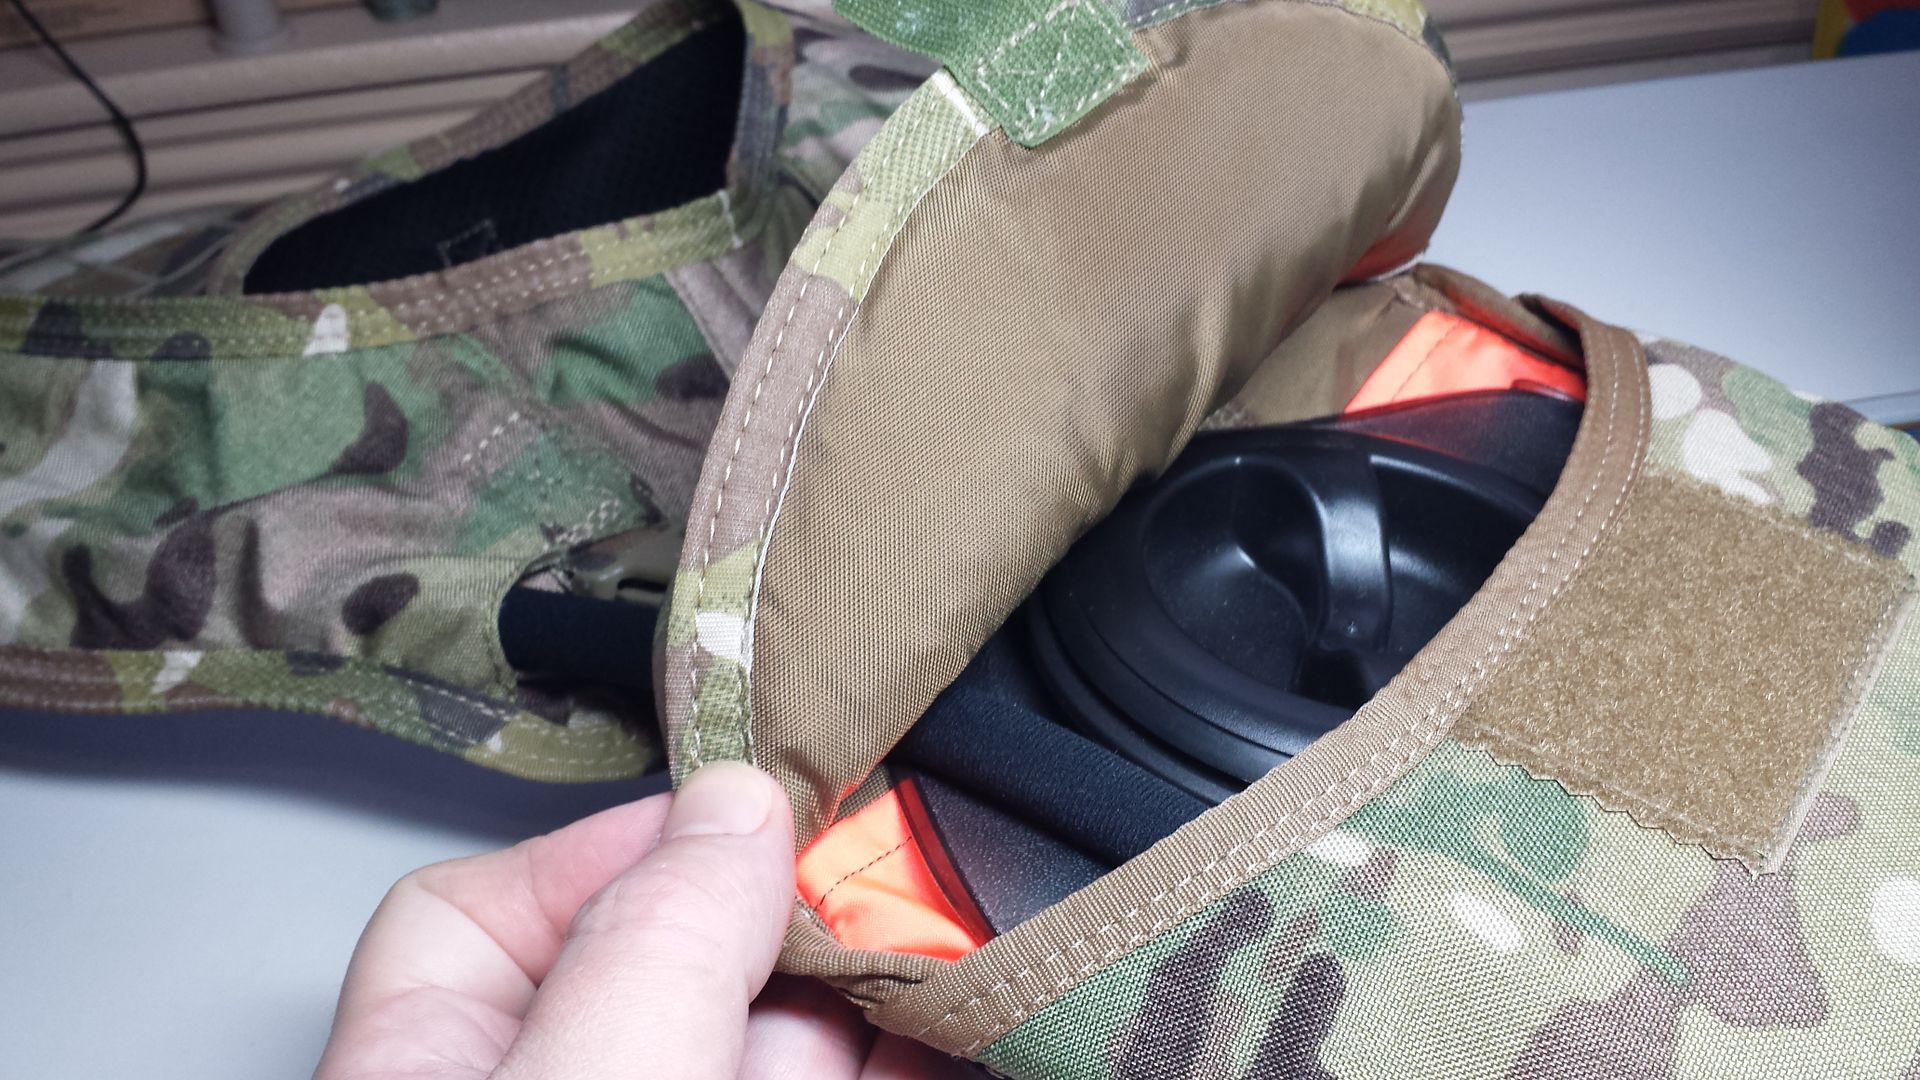
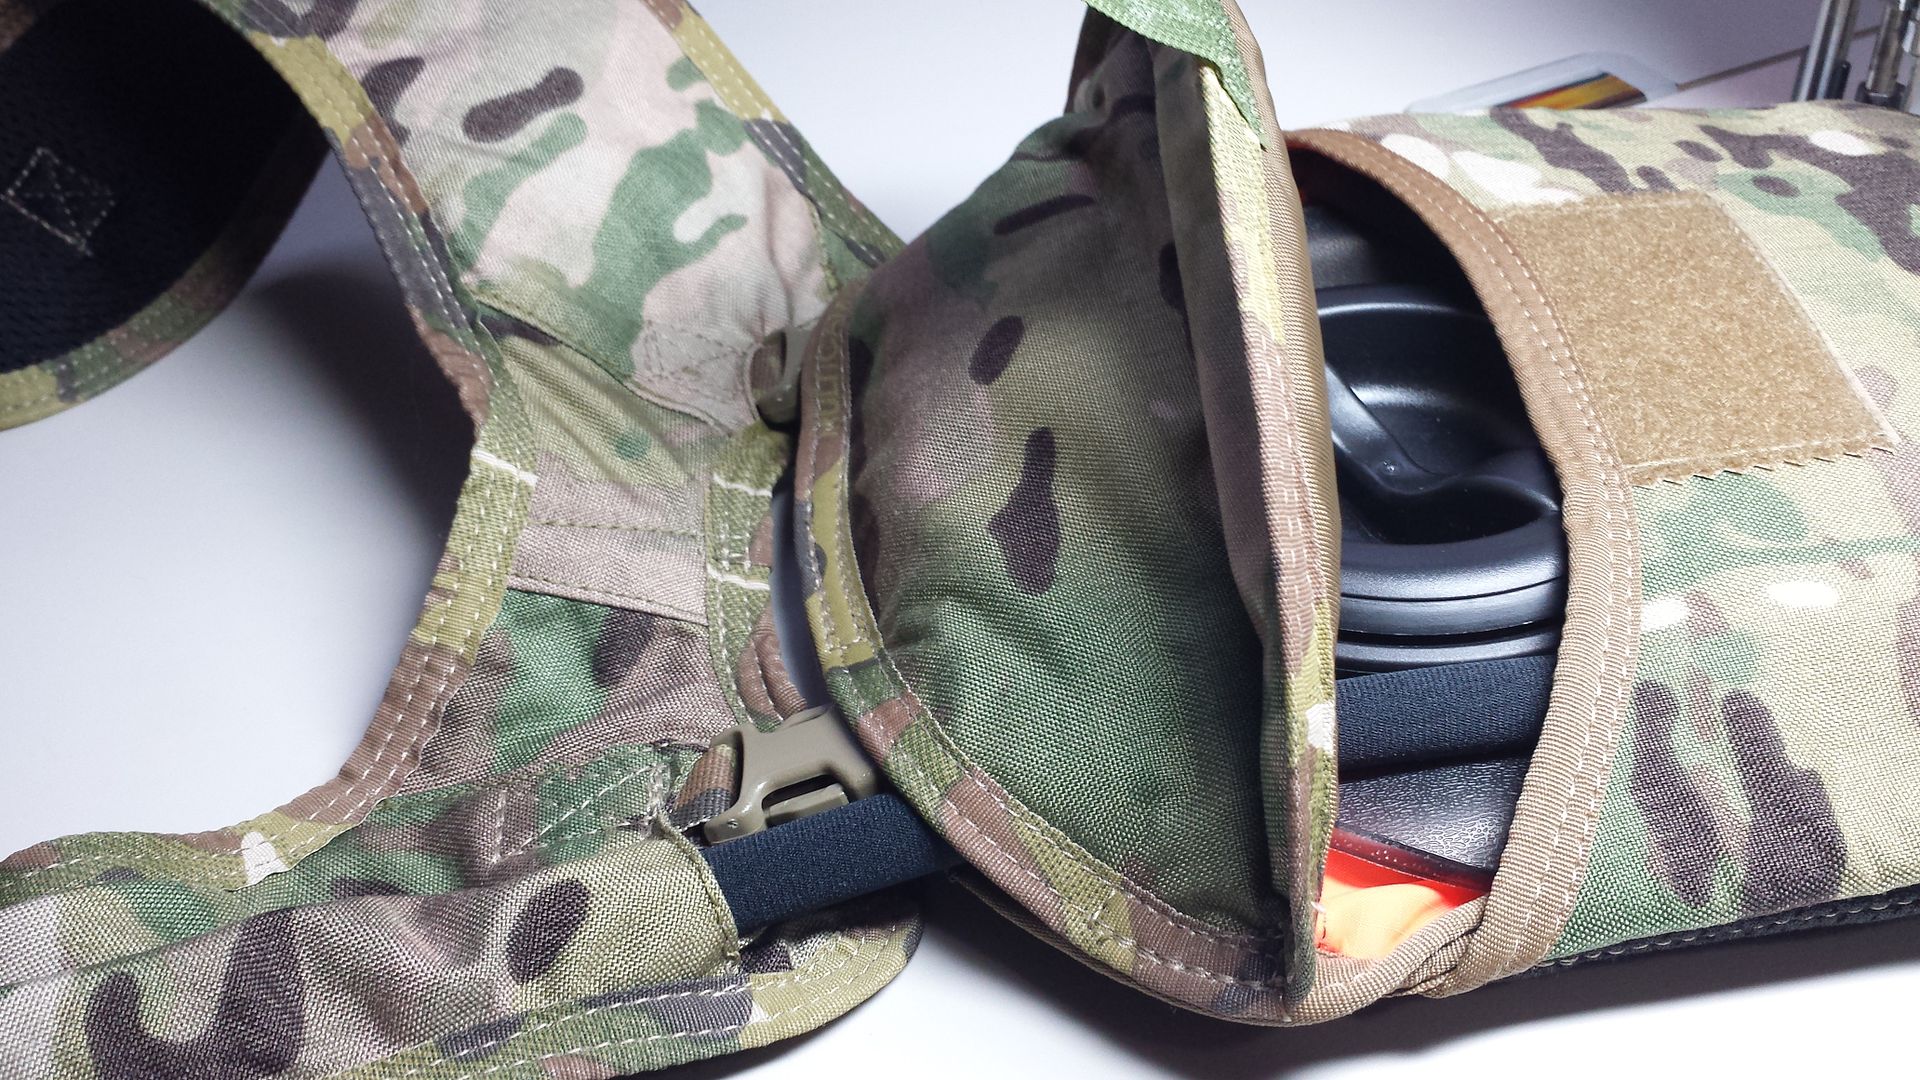
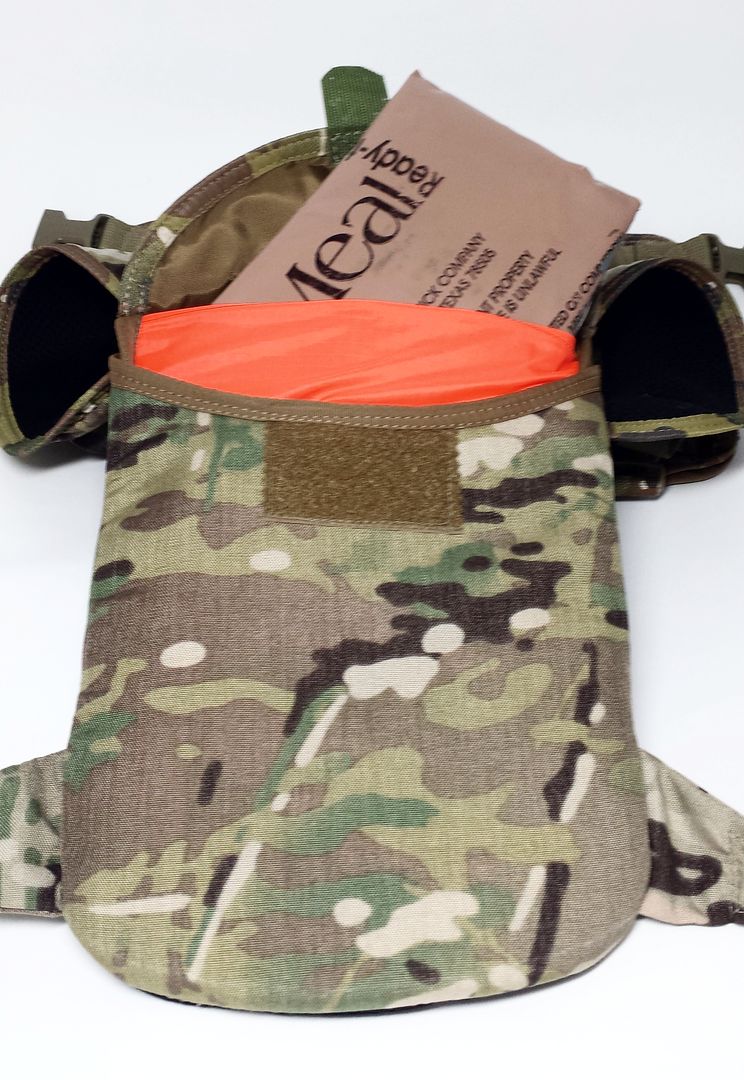
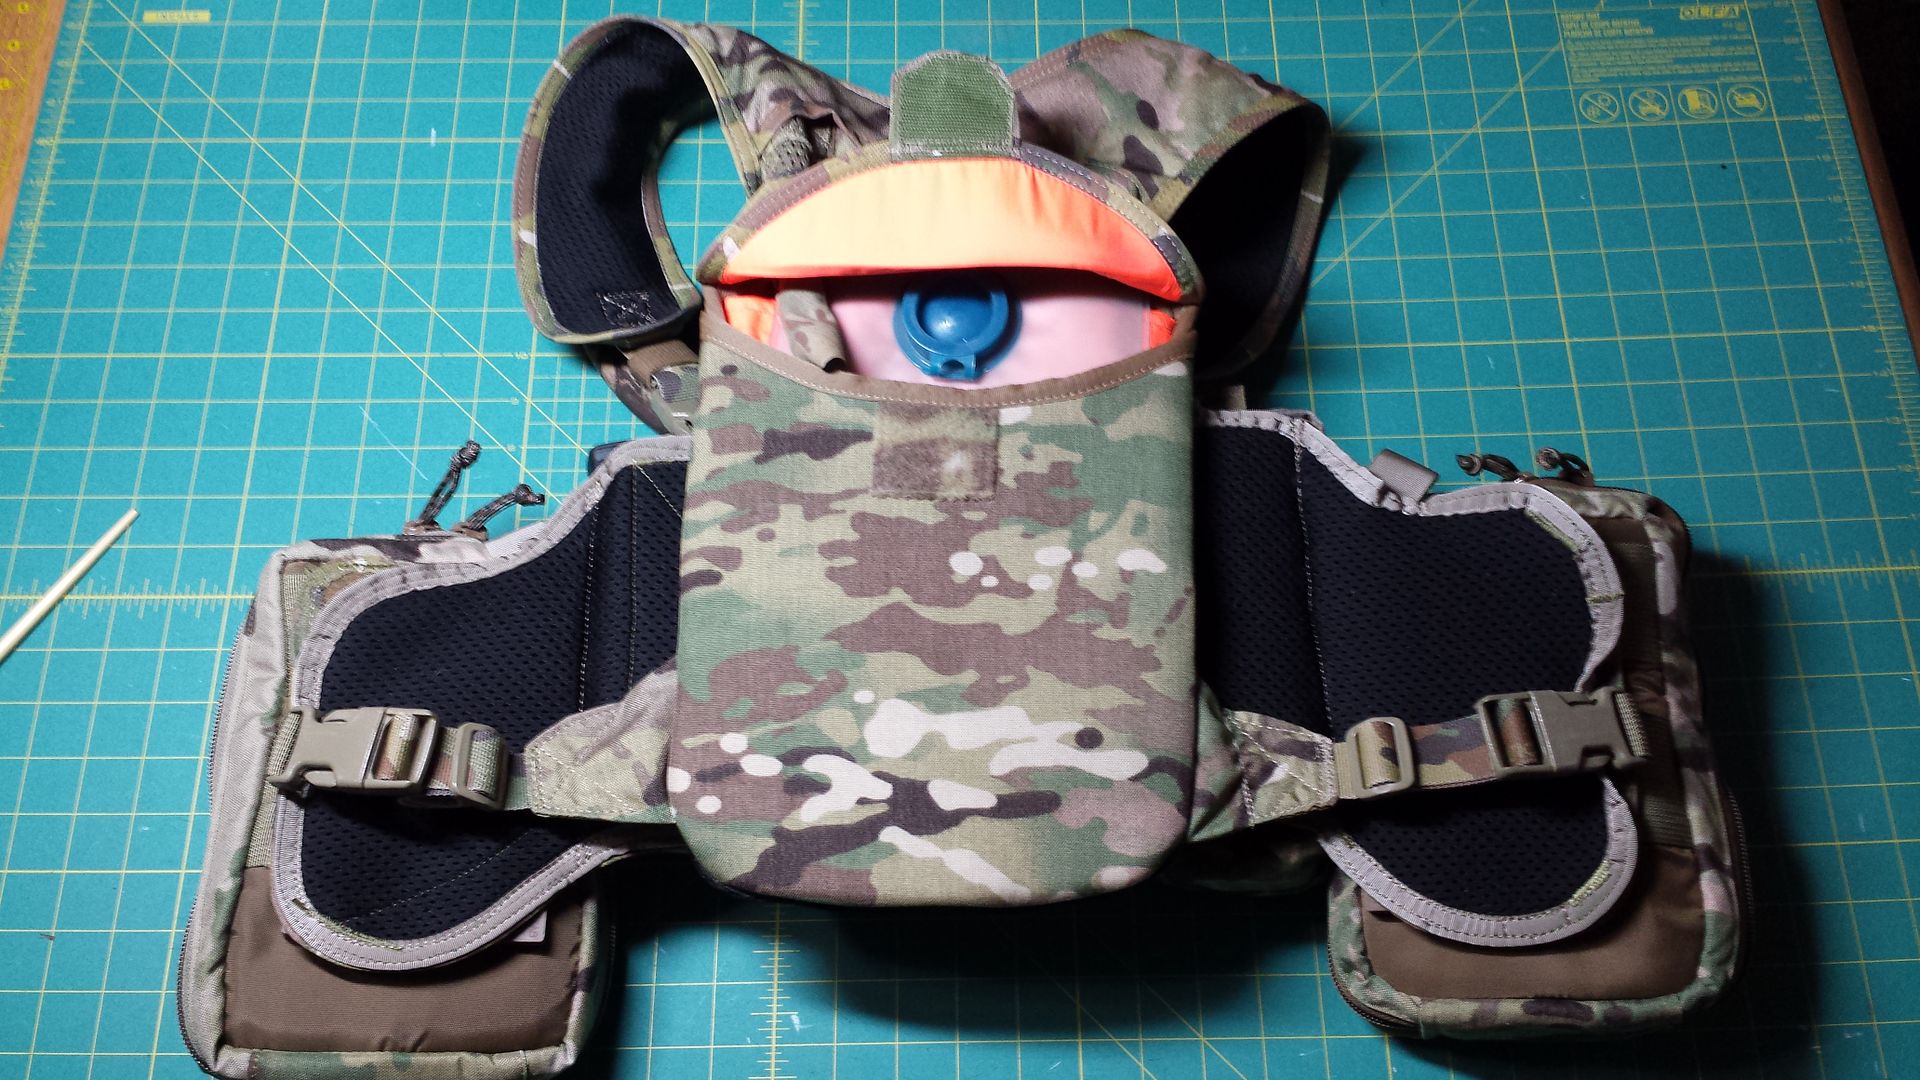
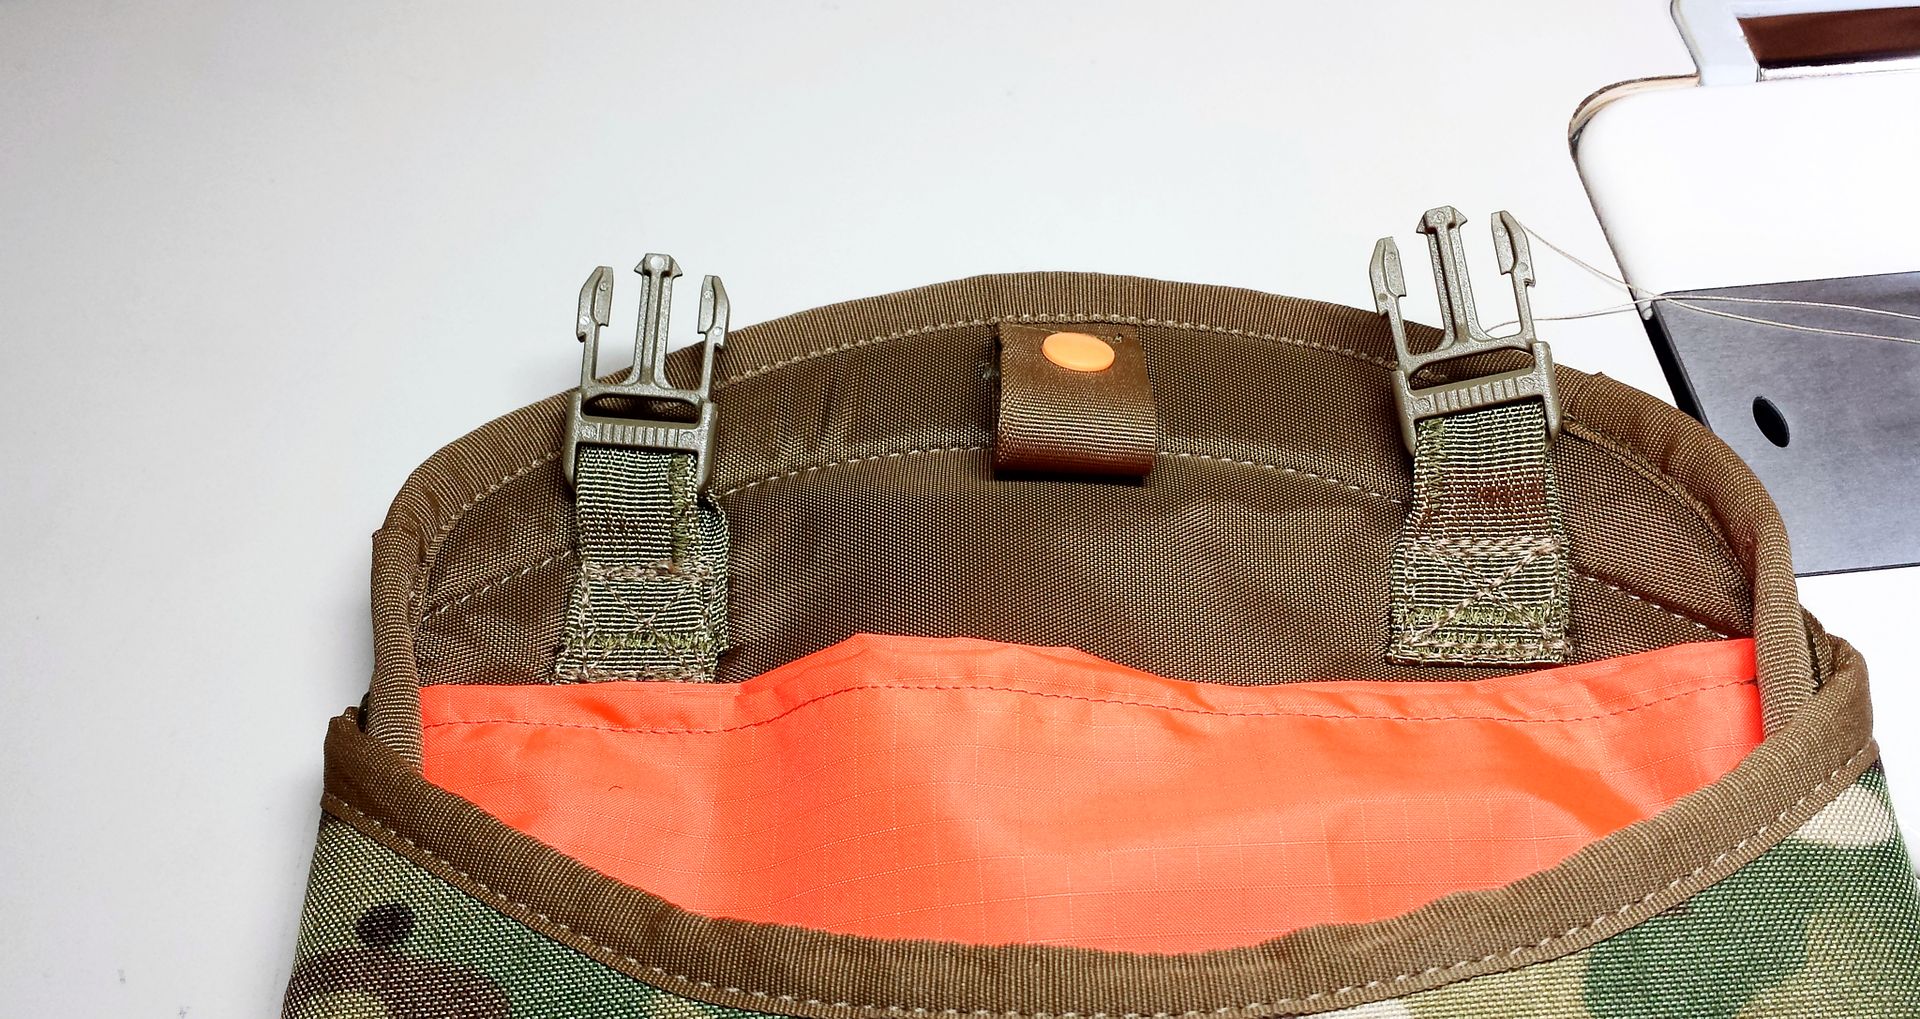
Hydration pouch is insulated with 3 layers and has an internal emergency meal pouch made from Aviator's Day Glo Orange lightweight ripstop:


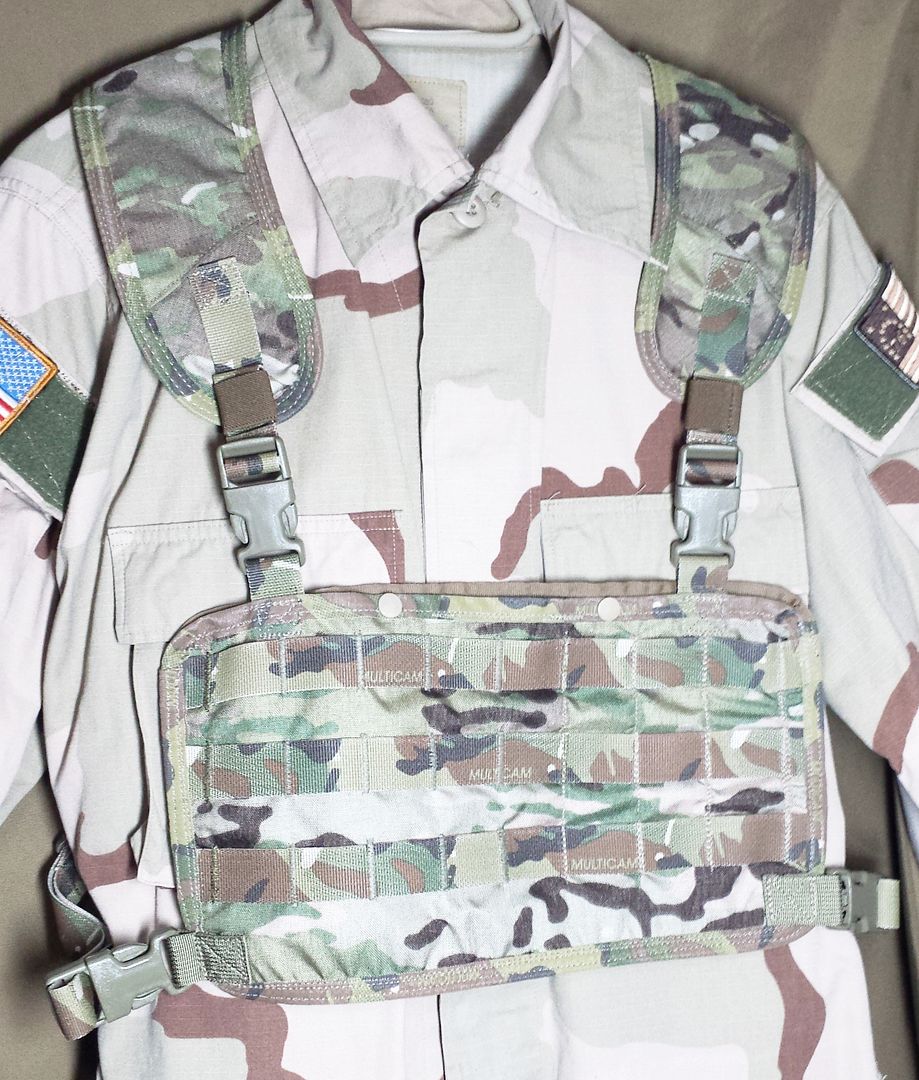
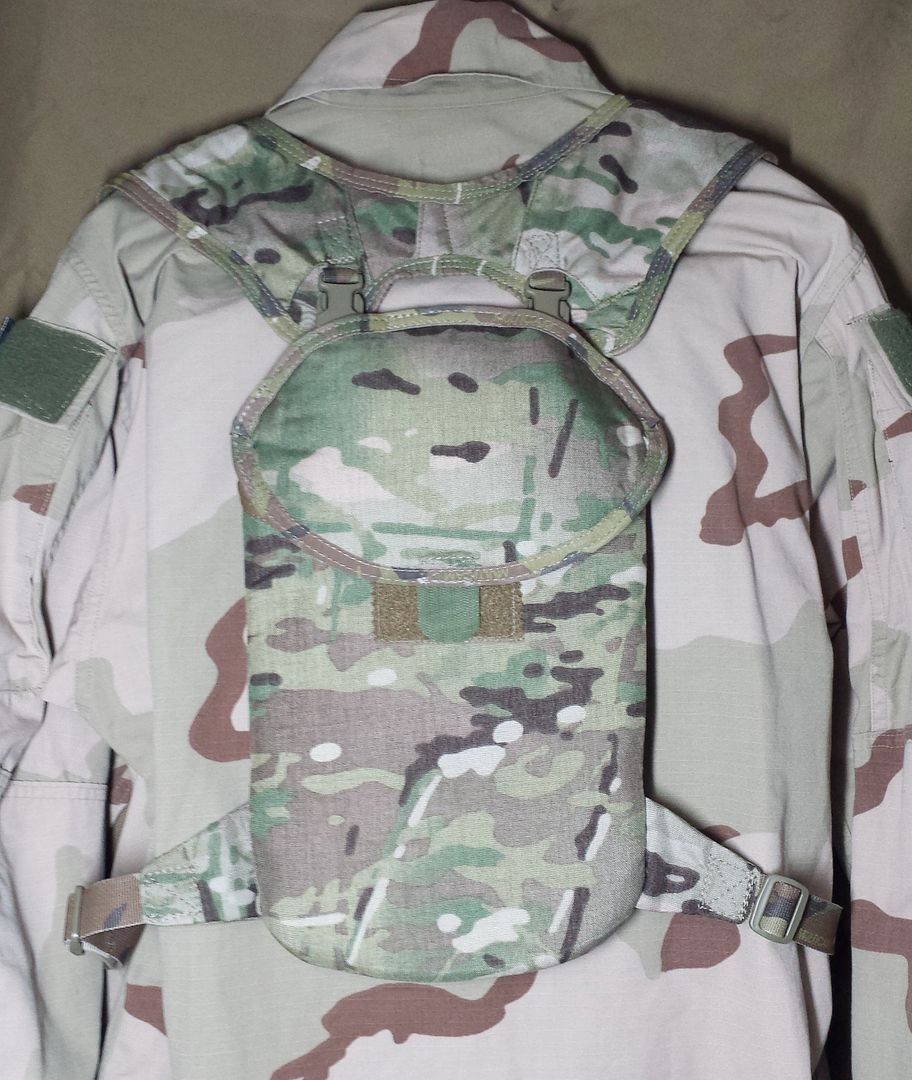
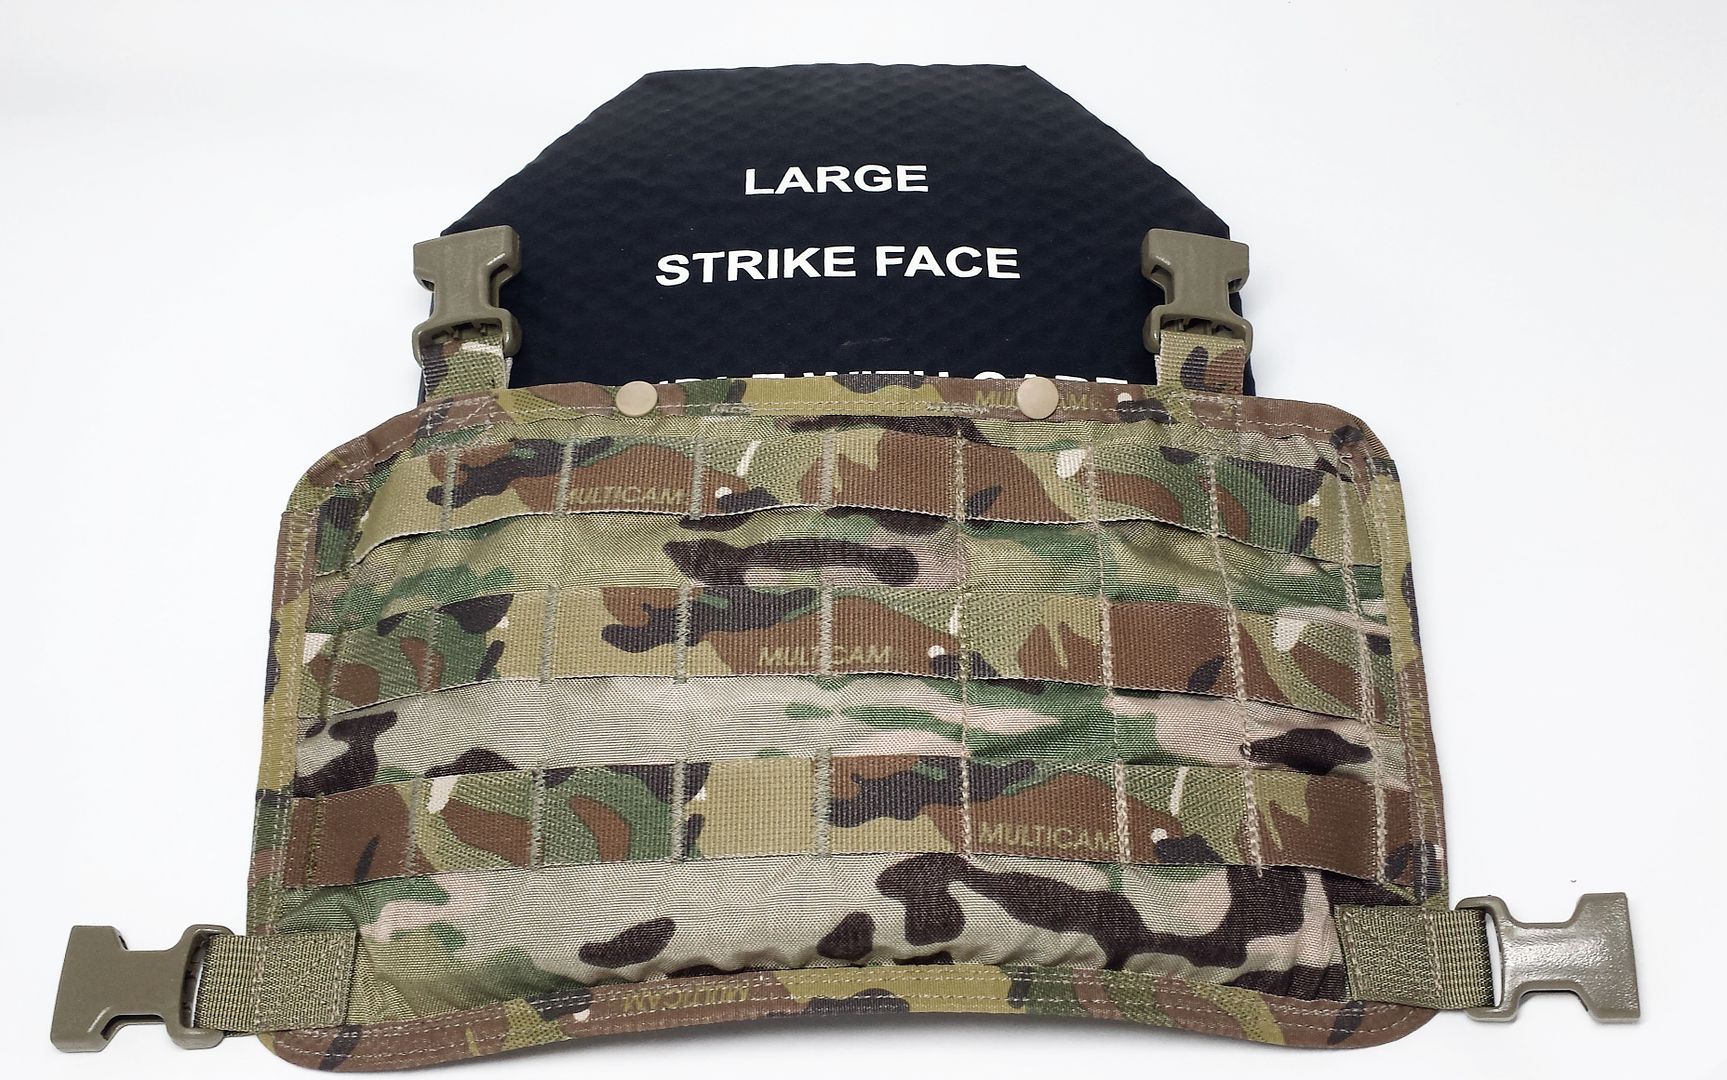
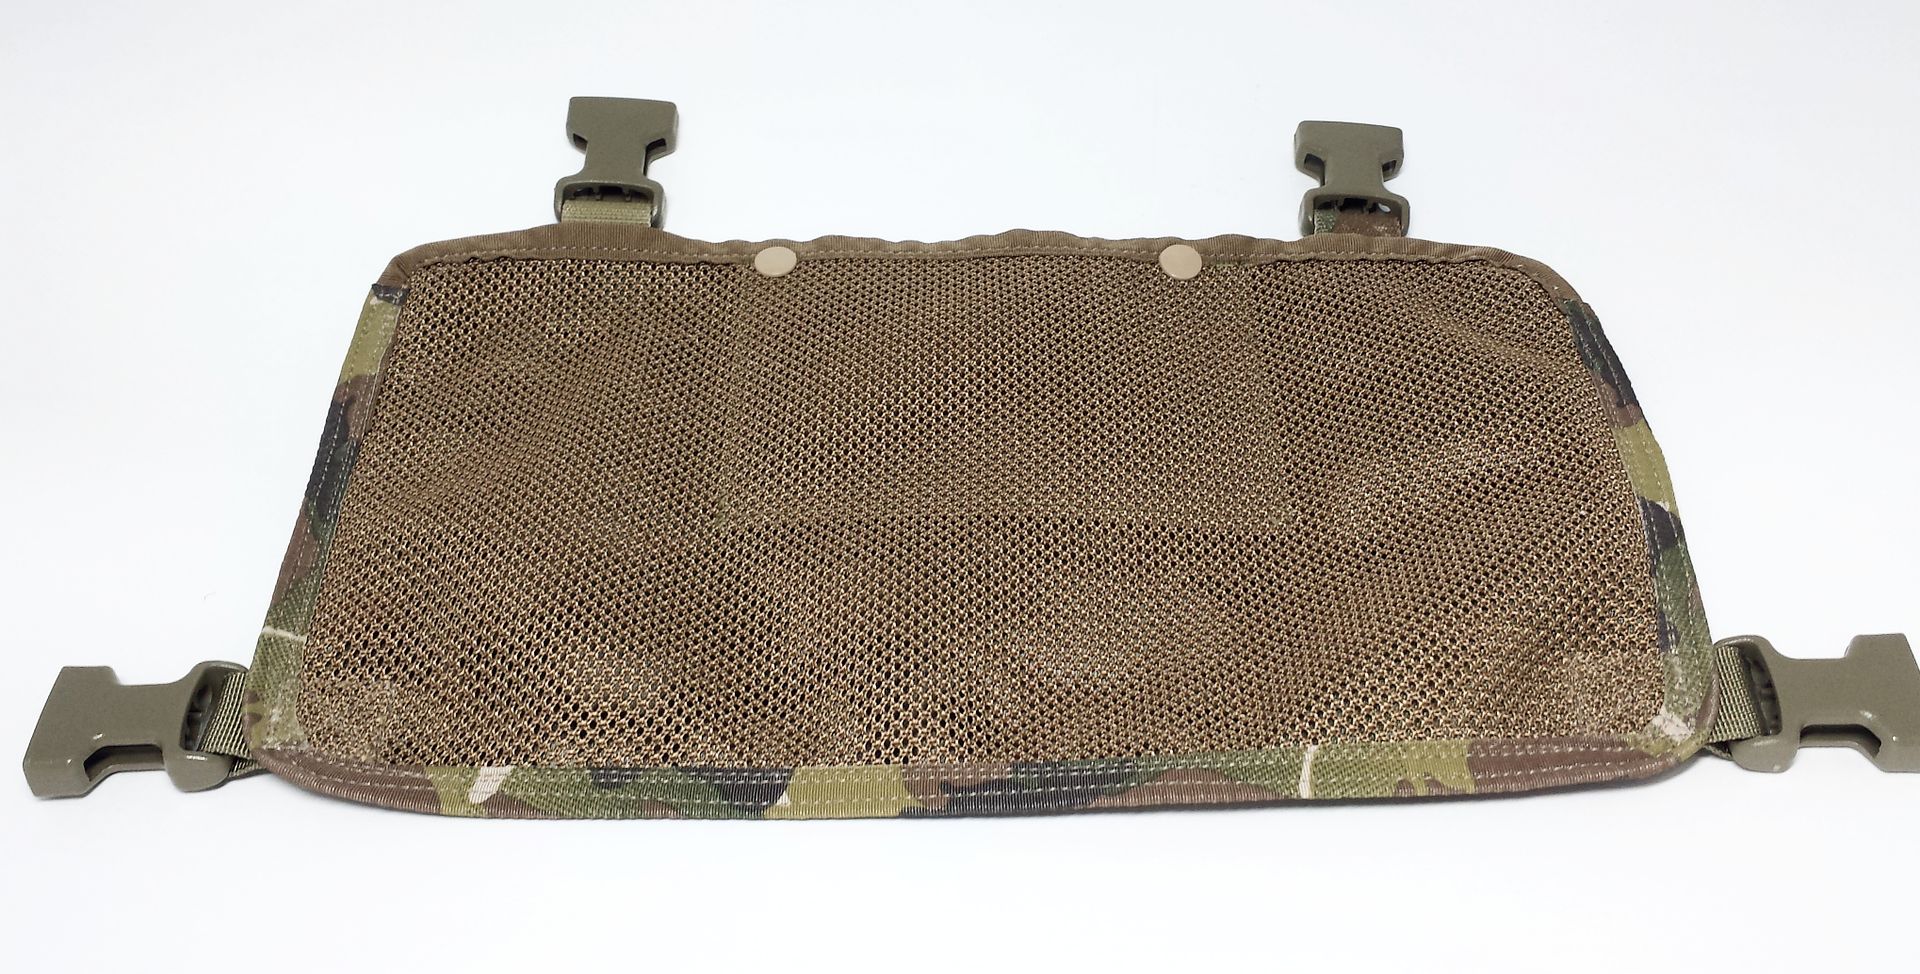
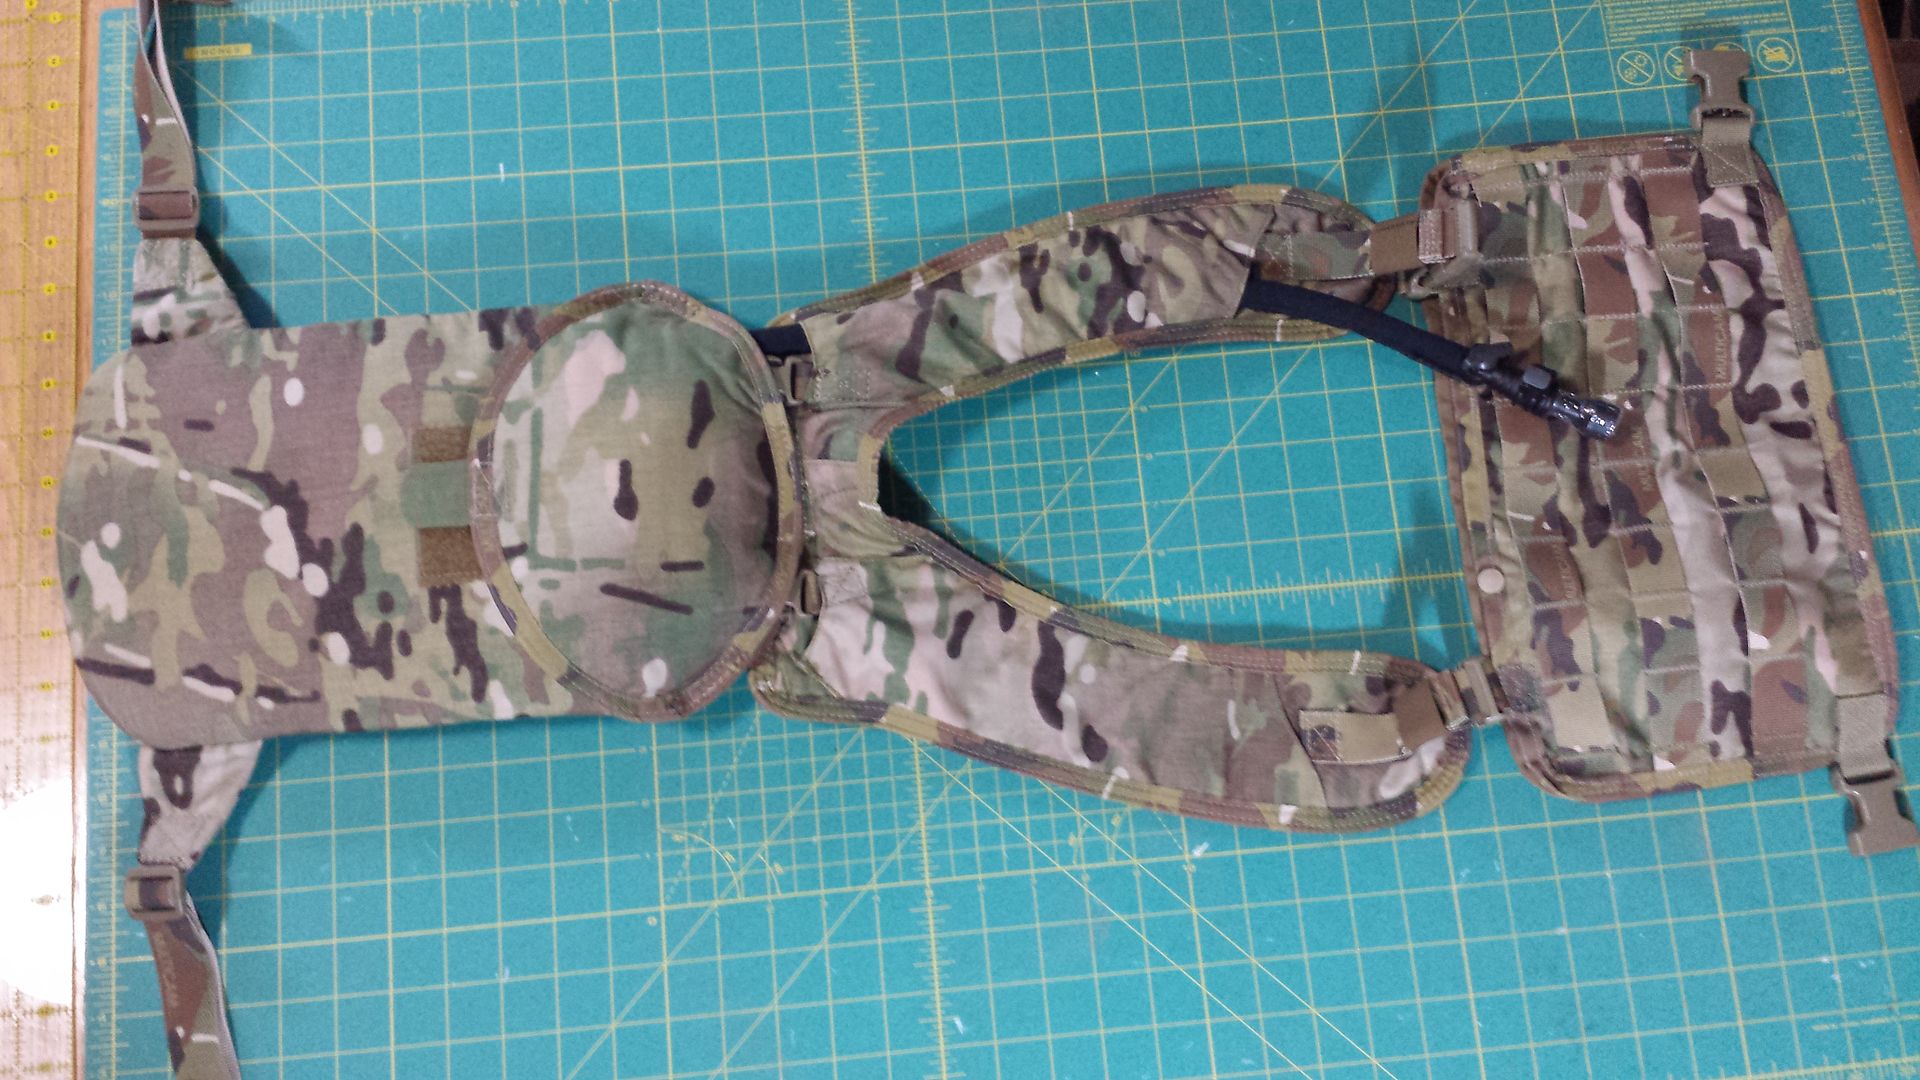
I just finished this one that is a split-front chest rig with the same integrated hydration, very comfortable to wear. These both have a smaller hydration pouch so the bladder doesn't get smashed by your rucksack kidney pad. The hydration really balances out the load so you don't get the typical webbing harness chest rig load on your front, with pressure on the back of the neck feeling like you have to lean forward.


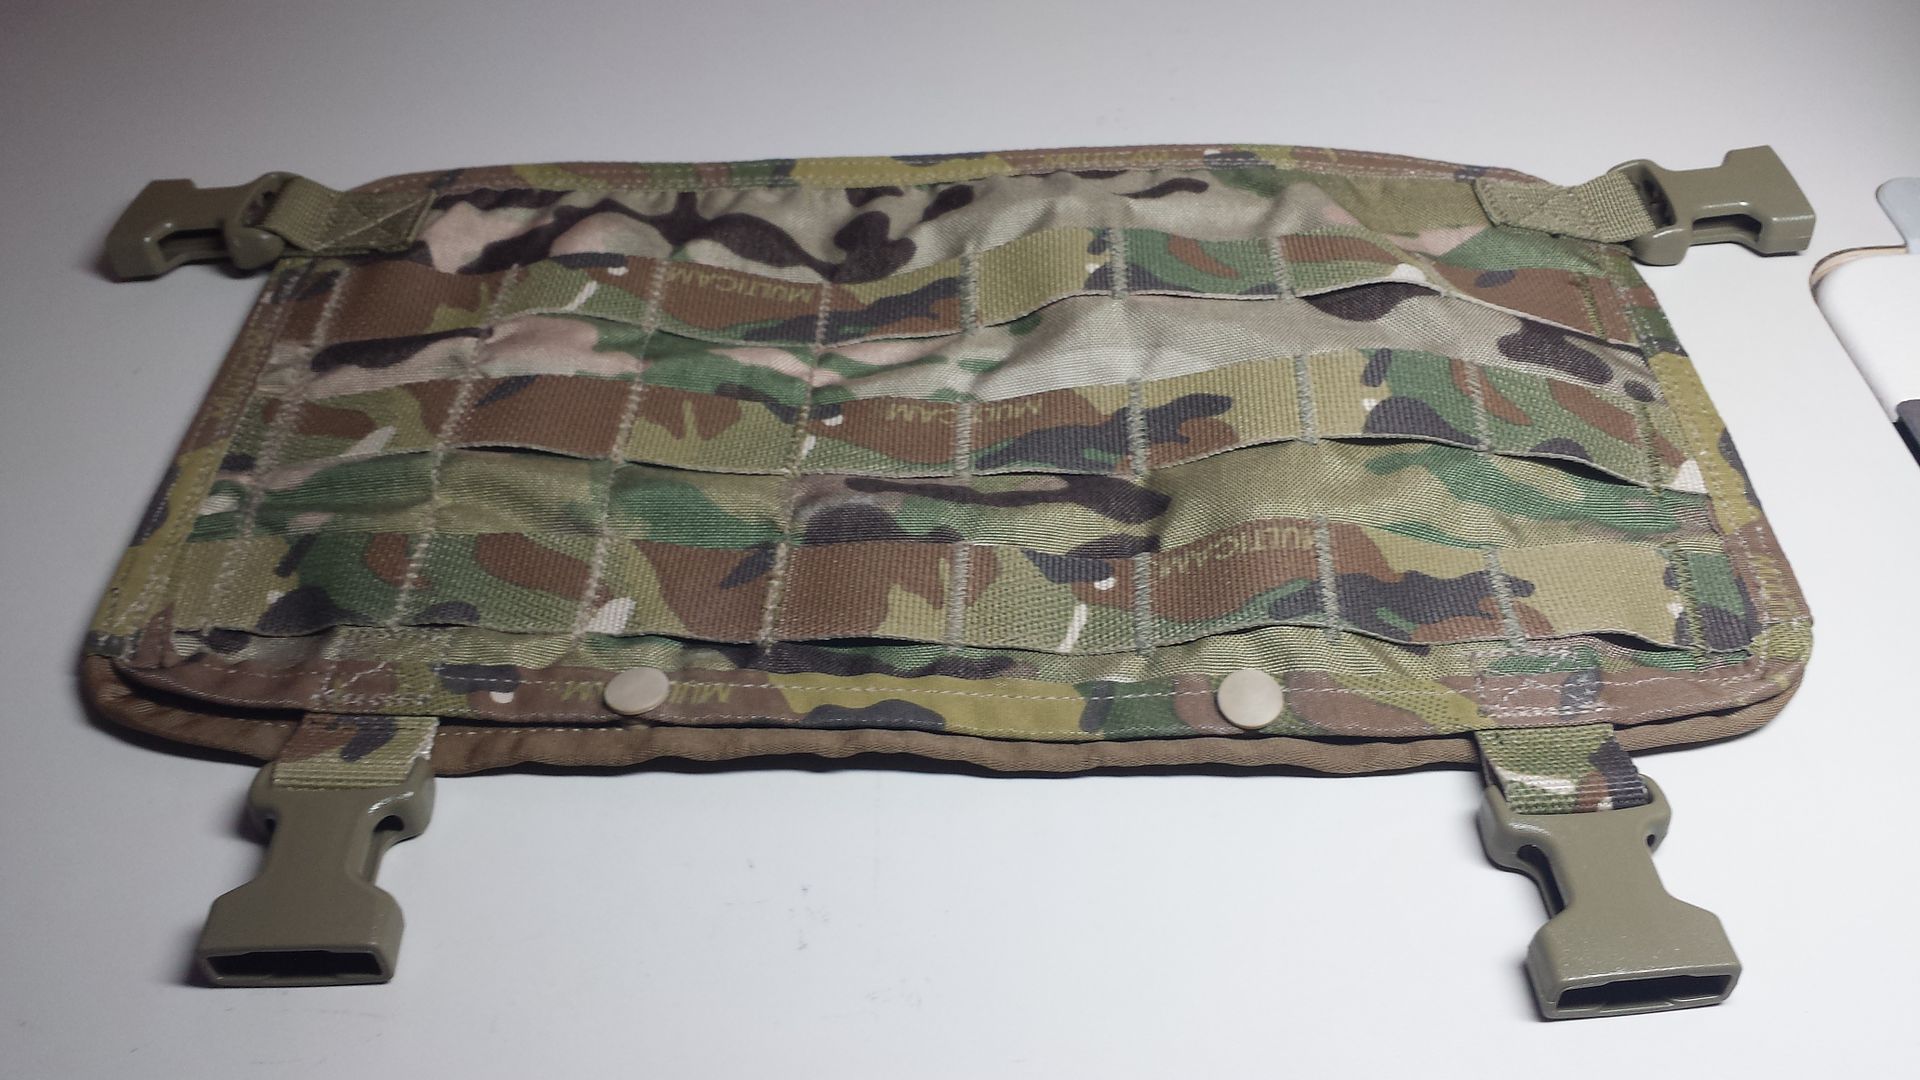
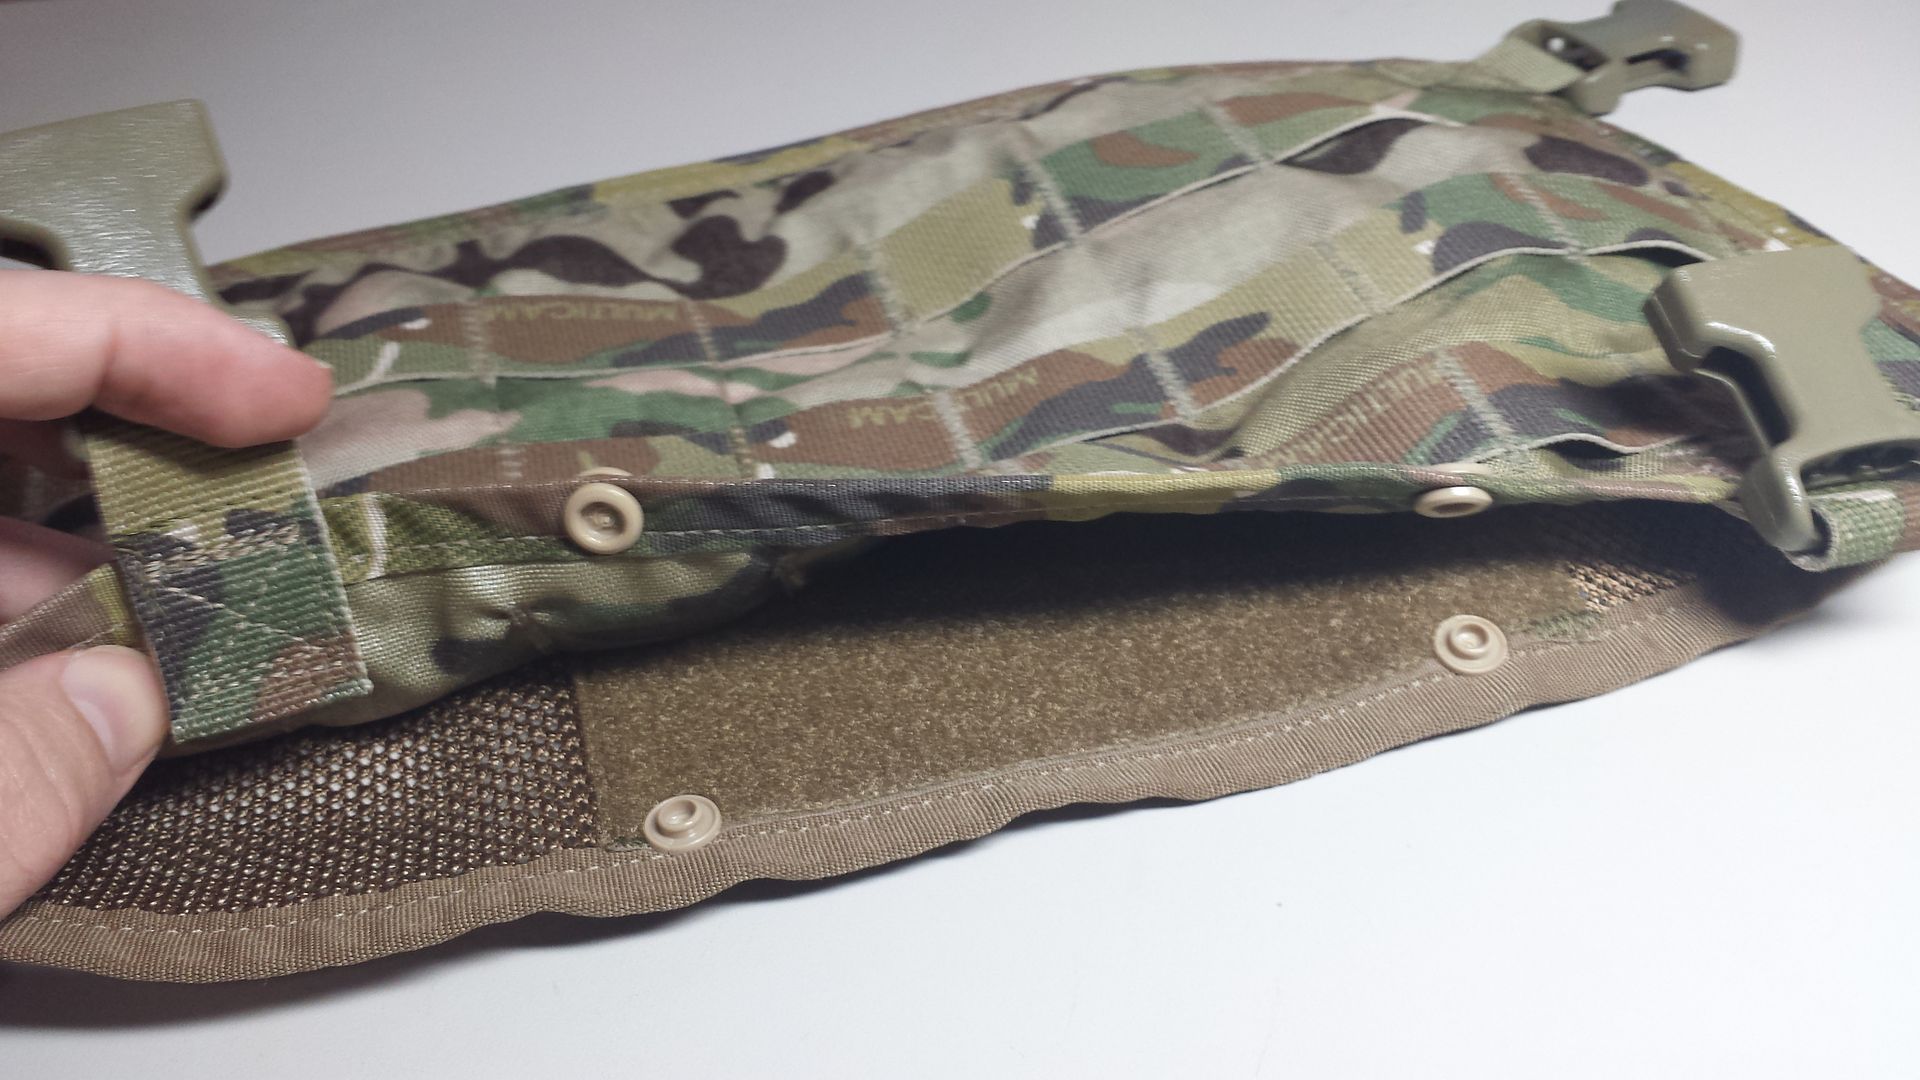
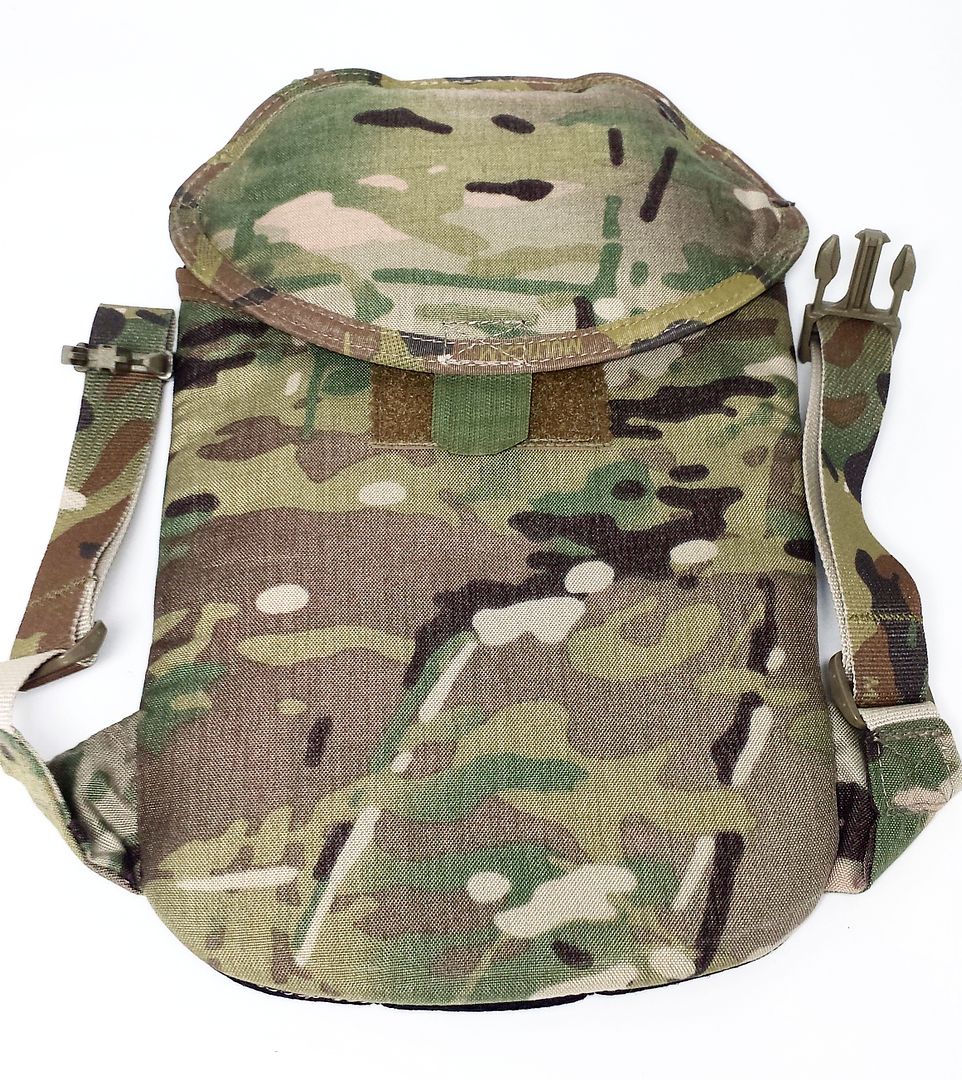
Before sewing the lid on the Camelbak pouch. I put a hangar loop in it with snap fastener. The Camelbak pouches are semi-rigid since the foam insulation lies between the internal packcloth and the outer layers of Cordura or spacer mesh. You can QD the hydration pocket for ease of refill or convert it to a stand-alone pouch.


Looks great.

I do something very similar using an older LBT 6034.

I see we share the same taste in original gangster RAID mod DCU too.
 
Thanks for the complements.

I'm thinking about making some 40mm bomb blow-out pouches. I just slapped an IFAK and a breecher kit pouch on the 2 panel chest rig to see how it would load out. You can route your firing wire/shock tubing in the breecher pouch, and store the initiation system in the pocket with a padded insulator for the caps.

I have a shotgun blow-out pouch already that I made.

There are some subtleties to the split-front rig that most won't catch at first or second glance that really make a difference in comfort and ease of access to the side pouches.

One thing that people might find odd that really helps with making your templates (the hardest part of gear design and fabrication) is that I made a lot of 3D crafts out of construction paper as a kid, to include working out math for specific shapes I was trying to do. It got to be habitual, but I didn't think much of it until I went to design my first pouch. Everything kinda re-booted from earlier days.

I use a lot of small clamps to hold things in place before sewing, otherwise it would be extremely difficult to keep layers aligned when sewing. I normally use 2 different machines, a lighter duty all-metal gear machine for flat work, and then a Juki 1541S for multiple layer flatwork and final assembly, which is usually done wrong-side out and bound with tape using a binder attachment.

I also like to double or triple stitch the areas that are stressed most, and even bartack over them on corners and webbing.
 
Wow, nice work! I wish I had your skill. I need to fix the straps on a Hill People gear chest rig but I don't do sewing work. Your rig looks awesome.
 
Wow, nice work! I wish I had your skill. I need to fix the straps on a Hill People gear chest rig but I don't do sewing work. Your rig looks awesome.

What's wring with your HPG chest rig? They make great products, I've used them and seen them in use by the other CD Staff for many years now at SAC and Steel Safari.
 
What's wring with your HPG chest rig? They make great products, I've used them and seen them in use by the other CD Staff for many years now at SAC and Steel Safari.


It's a great pack and allows me to run with a pistol, I just have one problem and it's the straps. They are way too long and the elastic bands that retain the rolled up hanging straps don't hold them. I find that they constantly fall out of the retainment bands and the pack falls out of adjustment. This is very frustrating while it happens in the middle of a run, the pack starts loosening and flopping around so I have to stop my run and put it all back together. I think they made it so that it can be dropped down to waist level more like a fanny pack but I'll never wear it that way and the other two straps under the arms are way too long as well. So there's just too much unneeded strap material, and no good way to contain it.

I think the easiest way to fix this design would be to shorten the straps and sew in hook and loop to retain the excess length. This would also allow for fast adjustments. (maybe you wear it over a jacket one day and need to quickly adjust) I ran an experiment that proves it out. I put adhesive backed hook and loop on and it worked great...no more coming apart while running. The only issue is that the adhesive is starting to come off so I would like to get some sewn in and then cut off the excess unused strap length.

Otherwise, it's an awesome concept and I really like it. Having a place to put a carry gun, phone, wallet, keys, etc. on my daily run is incredible.
 
Last edited:
What I usually like to do to deal with the excess webbing problem is make them closed-loop systems. You simply route it all through a Tri-glide, sewn to the 2 different pieces the webbing is connecting, and you're done. The webbing is boxed to one side, routes through the Tri-glide, then to the other piece, through a Looploc, back to the underside of the Tri-glide and around, then sewn onto itself.

Now you have an adjustable length, closed loop, no excess system. The biggest disadvantage with it is that you don't have anywhere near the adjustment length, but I've found that if you make it a certain length, it works for all my needs, to include stripped down hot weather and extreme cold weather clothing requirements.

This is a very easy fix if you want it custom tailored. I'd be happy to set it up like that for you if you send it adjusted to how you want it. It will still have plenty of adjustment above your running lite configuration, and a little below. The HPG runner's kit bag has 1.5" ITW Nexus Fastex quick release buckles on the sides, which can act as the Looploc on one end. This is an easy job. I already have the 1.5" Mil-Spec Tri-glides in Coyote.
 
Last edited:
I added a 1.5" piece of elastic webbing to route my exposed Camelbak hose 90˚ towards my sternum so it won't dangle.

 
What I usually like to do to deal with the excess webbing problem is make them closed-loop systems. You simply route it all through a Tri-glide, sewn to the 2 different pieces the webbing is connecting, and you're done. The webbing is boxed to one side, routes through the Tri-glide, then to the other piece, through a Looploc, back to the underside of the Tri-glide and around, then sewn onto itself.

Now you have an adjustable length, closed loop, no excess system. The biggest disadvantage with it is that you don't have anywhere near the adjustment length, but I've found that if you make it a certain length, it works for all my needs, to include stripped down hot weather and extreme cold weather clothing requirements.

This is a very easy fix if you want it custom tailored. I'd be happy to set it up like that for you if you send it adjusted to how you want it. It will still have plenty of adjustment above your running lite configuration, and a little below. The HPG runner's kit bag has 1.5" ITW Nexus Fastex quick release buckles on the sides, which can act as the Looploc on one end. This is an easy job. I already have the 1.5" Mil-Spec Tri-glides in Coyote.

You are very generous. I'm sending you a PM.