
I've been waiting to get on this project but with Africa and everything else going on I haven't had the time until today. Thought you guys might want to see the results:
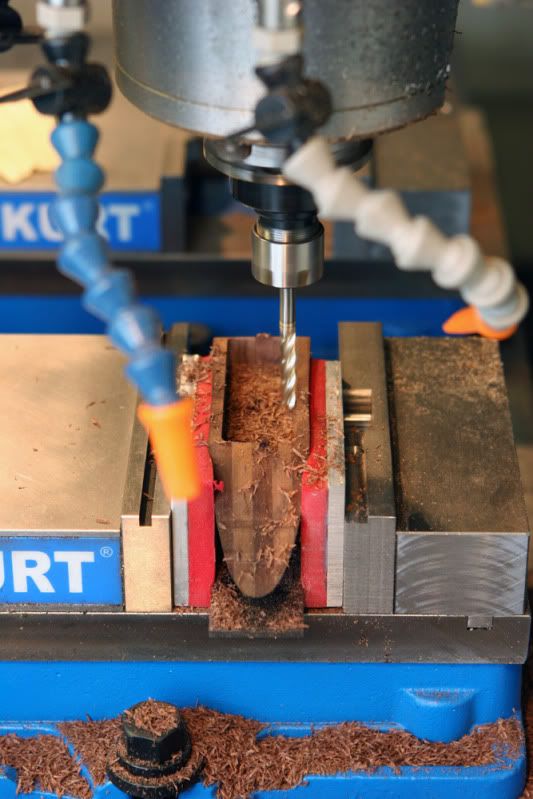
The first step is obviously cutting out the cheek piece itself.
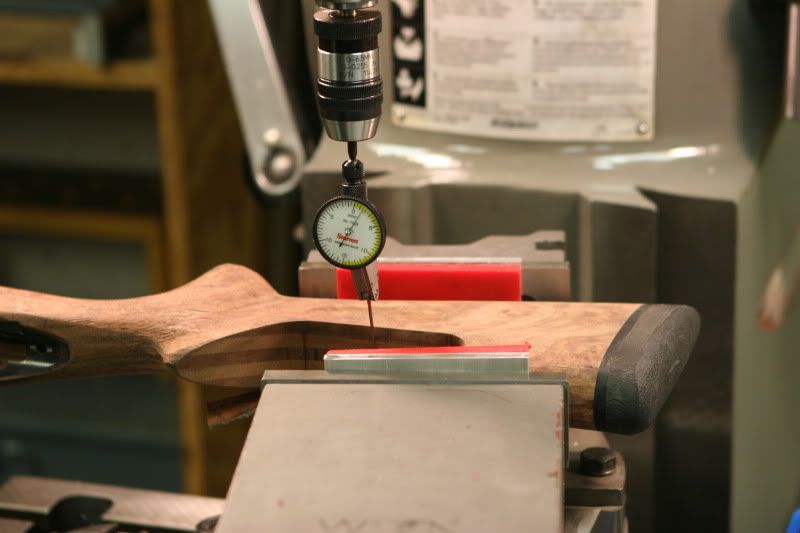
Step two find the location of the screw hole since it's the one common denominator that has no room for error. You have to indicate the stock in very well in order to go straight through.
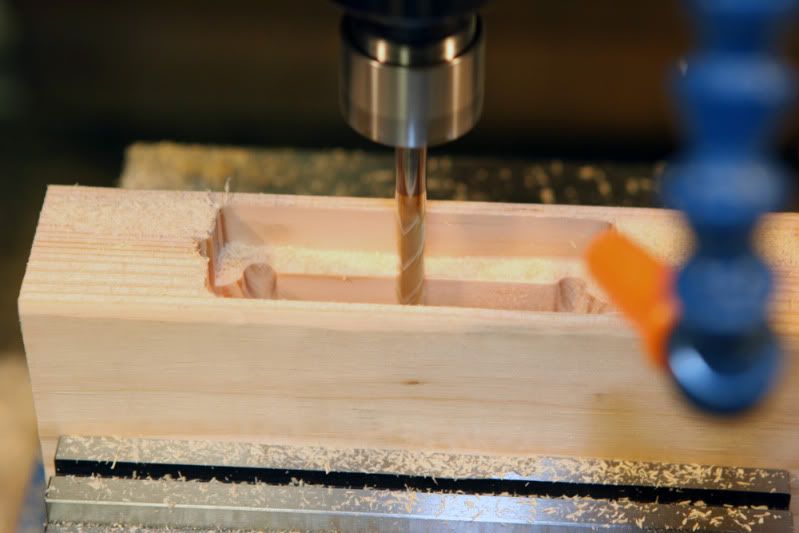
Step two was practice on a 2x4 so we knew it would work. You can't patch these babies like fiberglass.
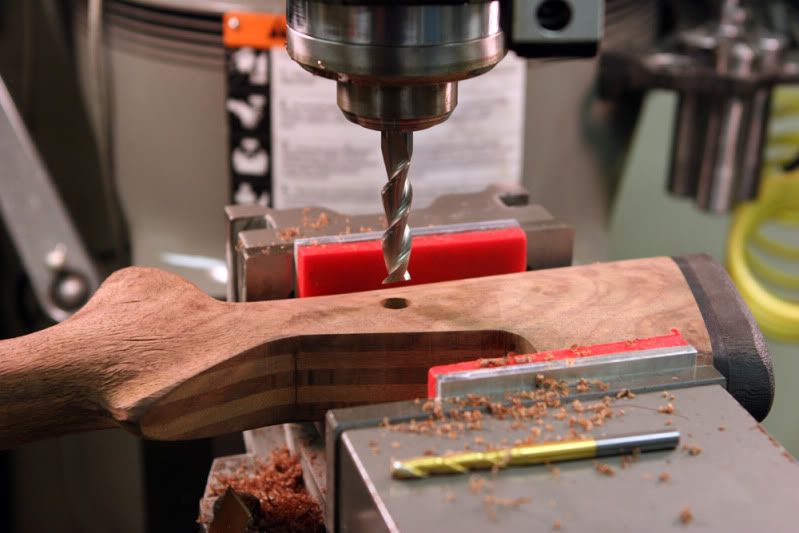
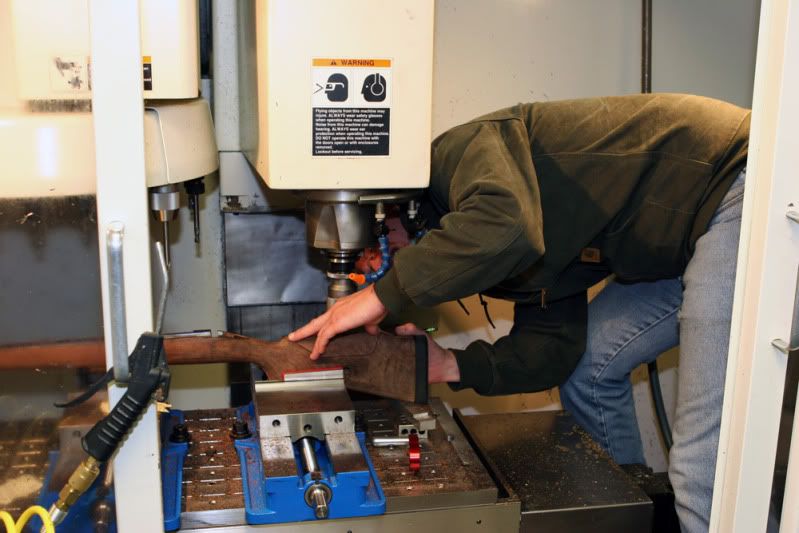
Step 3 was to actually cut the stock. Instead of just cutting out a circle Jeff wrote a program to match Terry's cheek hardware. You can see the hole is sticking out behind the vise. We put a 1/2 gauge pin to indicate off of in order to insure proper alignment.
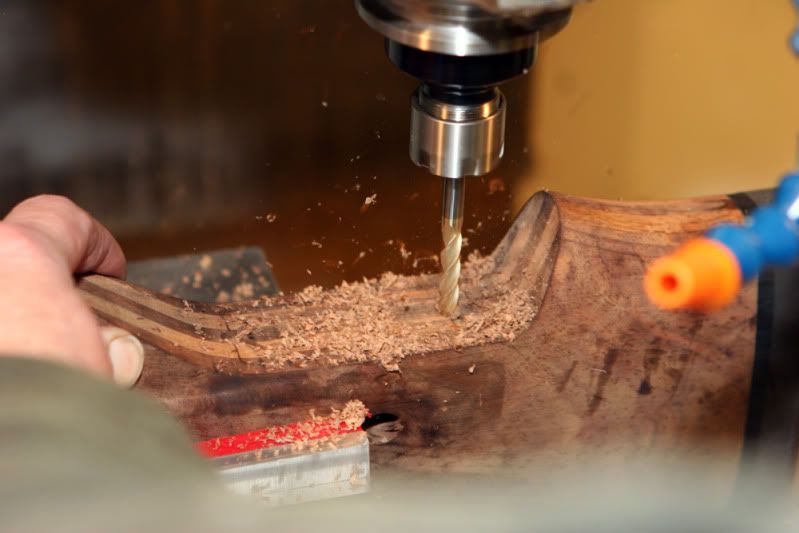
Step 4 is not as easy as it looks. Getting the cheek piece itself lined up so when it drops in place the wood grain matches up perfectly.
Jeff actually climbed in the machine to mark the other side. I thought the one we had was sufficient but he insisted. I don't really recommend this step

Anyway............Once we got Jeff to quit goofing off in the machine we were able to assemble it and here are the results:
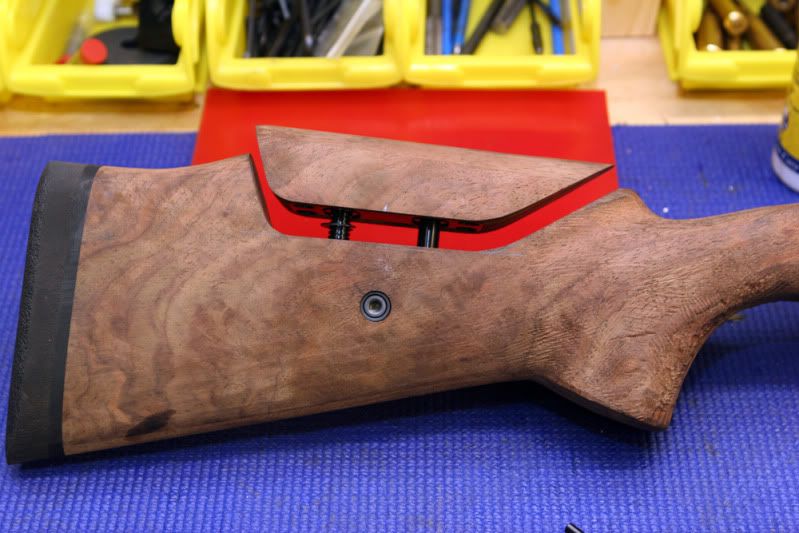
I've got some other upgrades planned for it but this will work for now so I can get the wood finished up.
It would have been easier with a better set up to hold the stock but we've been running latches for our trigger guards and we didn't want to brake everything down just for this. Either way it worked out.
The first step is obviously cutting out the cheek piece itself.
Step two find the location of the screw hole since it's the one common denominator that has no room for error. You have to indicate the stock in very well in order to go straight through.
Step two was practice on a 2x4 so we knew it would work. You can't patch these babies like fiberglass.
Step 3 was to actually cut the stock. Instead of just cutting out a circle Jeff wrote a program to match Terry's cheek hardware. You can see the hole is sticking out behind the vise. We put a 1/2 gauge pin to indicate off of in order to insure proper alignment.
Step 4 is not as easy as it looks. Getting the cheek piece itself lined up so when it drops in place the wood grain matches up perfectly.
Jeff actually climbed in the machine to mark the other side. I thought the one we had was sufficient but he insisted. I don't really recommend this step
Anyway............Once we got Jeff to quit goofing off in the machine we were able to assemble it and here are the results:
I've got some other upgrades planned for it but this will work for now so I can get the wood finished up.
It would have been easier with a better set up to hold the stock but we've been running latches for our trigger guards and we didn't want to brake everything down just for this. Either way it worked out.

