<span style="color: #330099">Other links to get the most out of your AR:</span>
http://www.snipershide.com/shooting...00yard-semi-auto-6group-30round-shootout.html
http://www.snipershide.com/shooting...0yard-semi-auto-6groups-30round-shootout.html
http://www.snipershide.com/shooting...on-red-dot-6xmax-only-king-hill-shootout.html
http://www.snipershide.com/shooting...ic-info-ar-101-7-62-lmt-mws-example-pics.html
http://www.snipershide.com/shooting...t-semi-auto-precision-shooters-reloaders.html
http://www.snipershide.com/shooting...learning-experiences-live-learn-pictures.html
http://www.snipershide.com/shooting...08476-bye-bye-bi-pod-hello-mega-benchbag.html
http://www.snipershide.com/shooting...chargemaster-optional-pen-straw-mod-pics.html
http://www.snipershide.com/shooting...ing-scopes-when-mounted-pics.html#post2680977
***************************************************************
First and foremost.. This is me reloading for MY LMT MWS semi-auto....!! NOT YOU reloading for your semi auto AR-10 or whatever rifle!! I'm in no way telling you this is right or wrong... Hell, I'm not even telling you that you should even use this info.... This is just what I do with MY LMT MWS / AR's!!... Take this info as you want. Those reloading for bolt actions will need to do more homework above and beyond this thread if you don't want to full length resize and do neck only!! Also, the amount of shoulder bump back is different for a bolt action in comparison to a semi auto. I am in no way telling you to follow this thread! Everyone has their own way of doing things.
***************************************************************
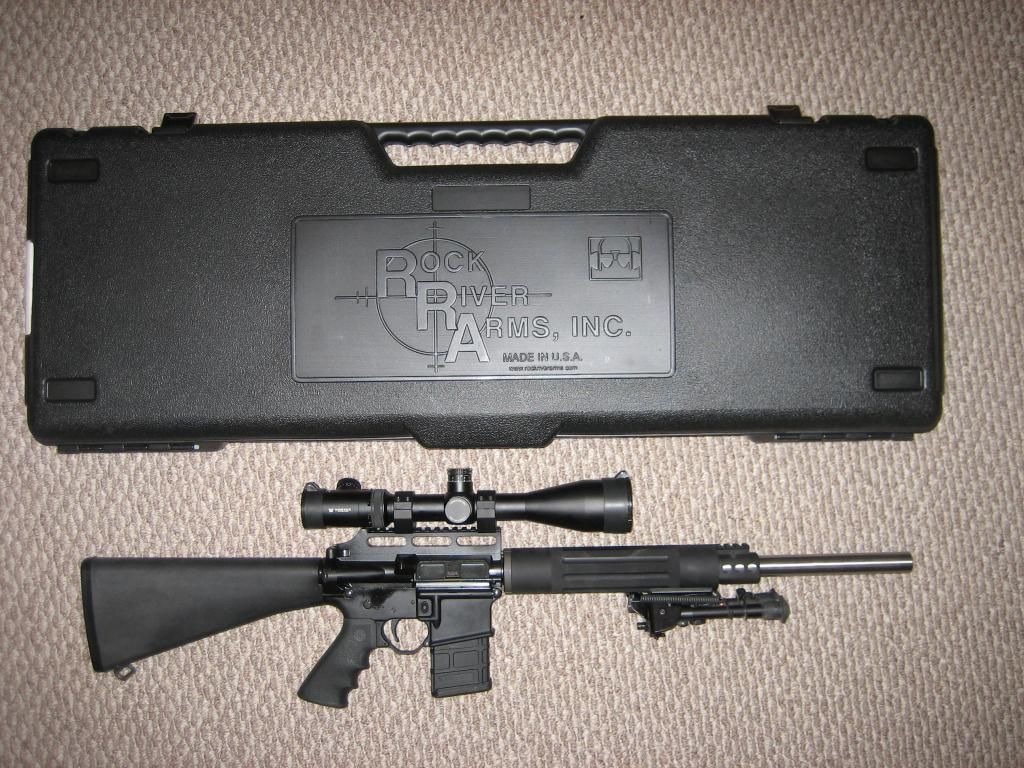
EDIT 07/11/13, the AR-15 5.56 accuracy journey with my rock river arms varmint rifle was just added below the original post!
***************************************************************
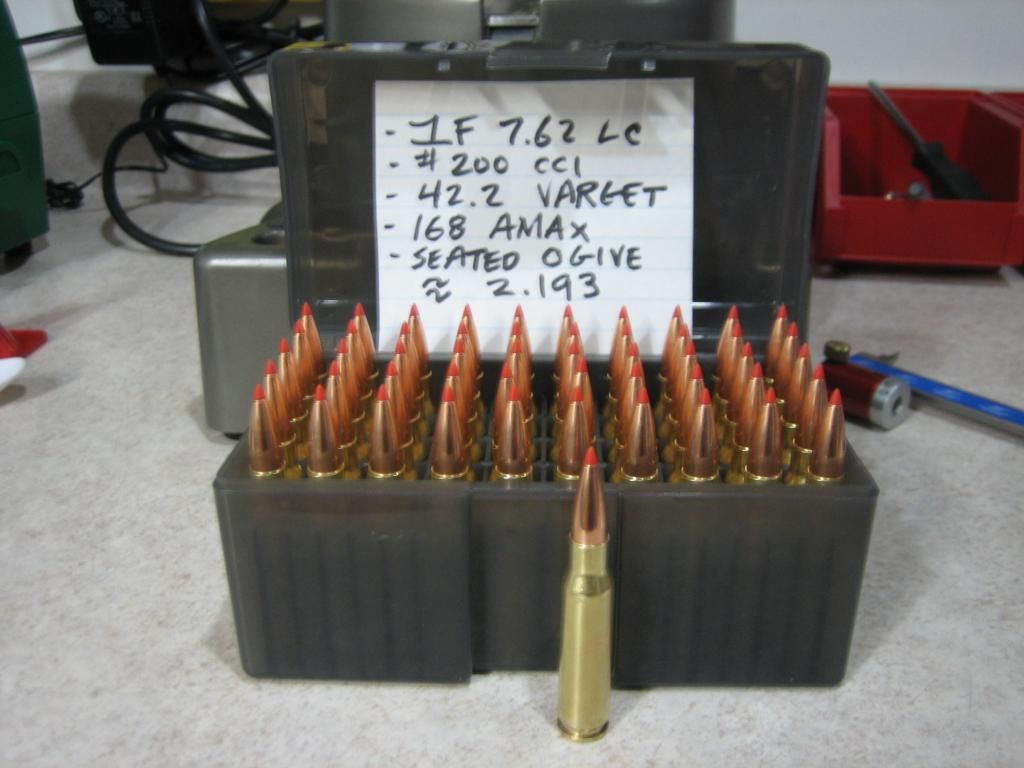
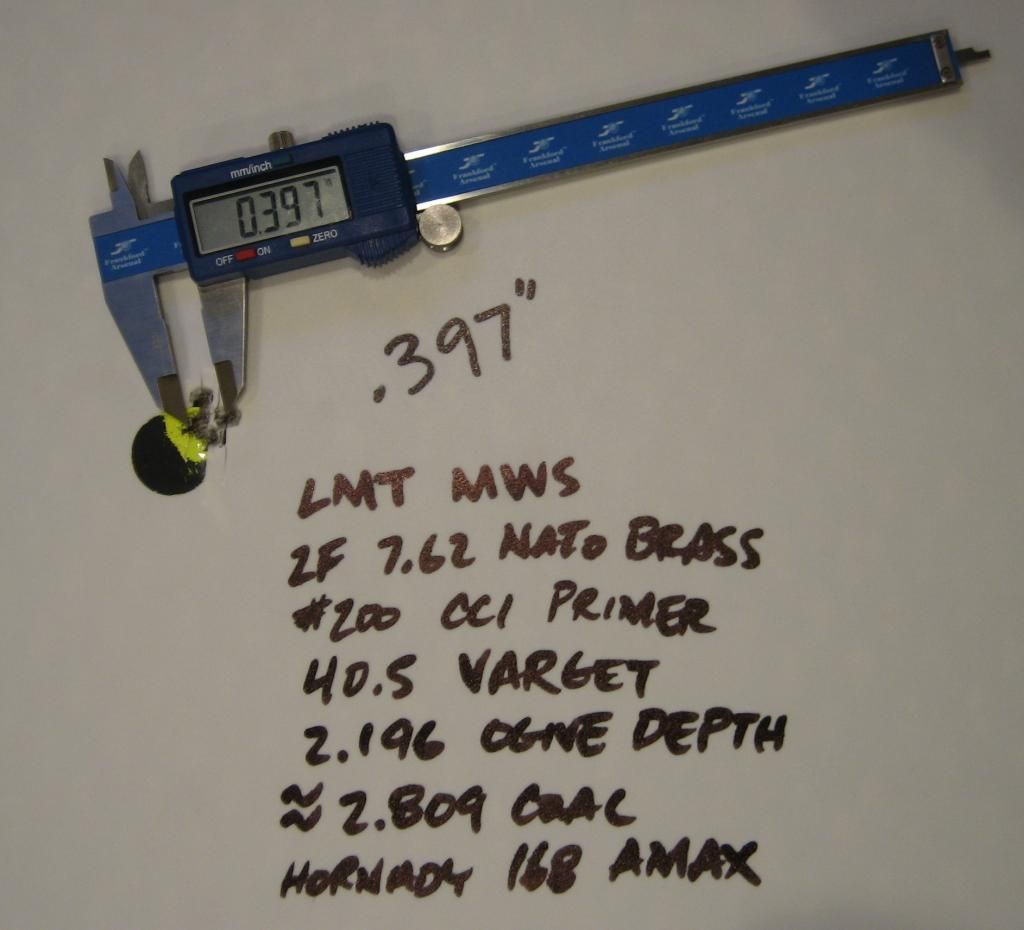
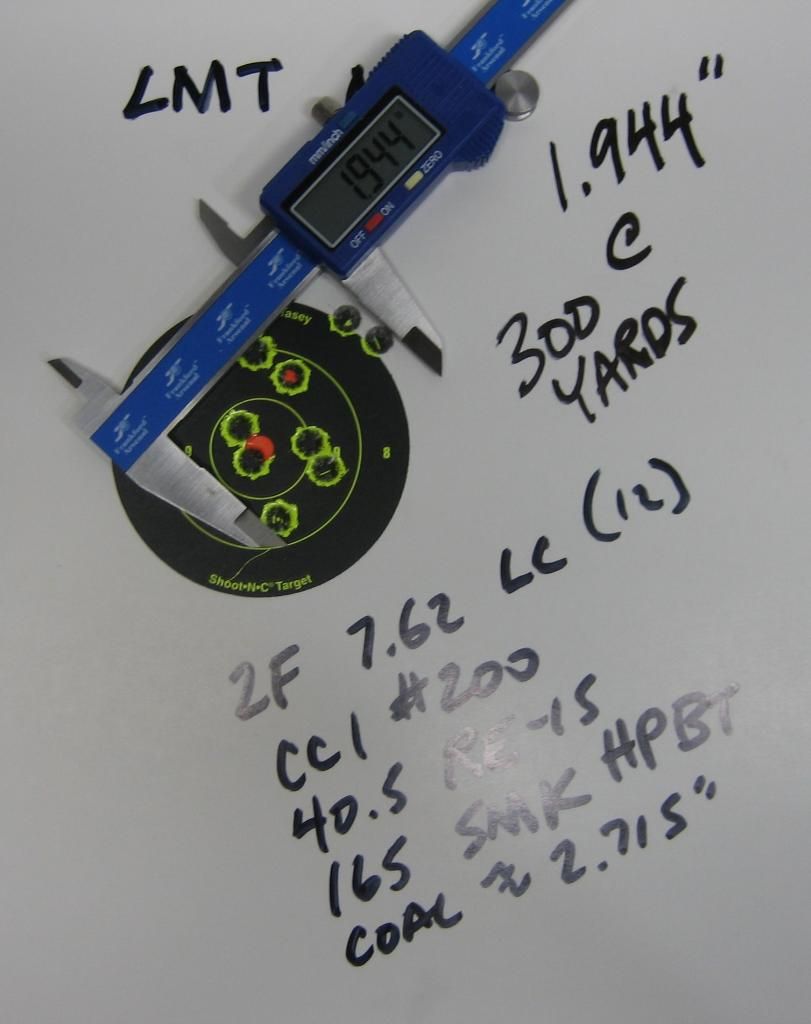
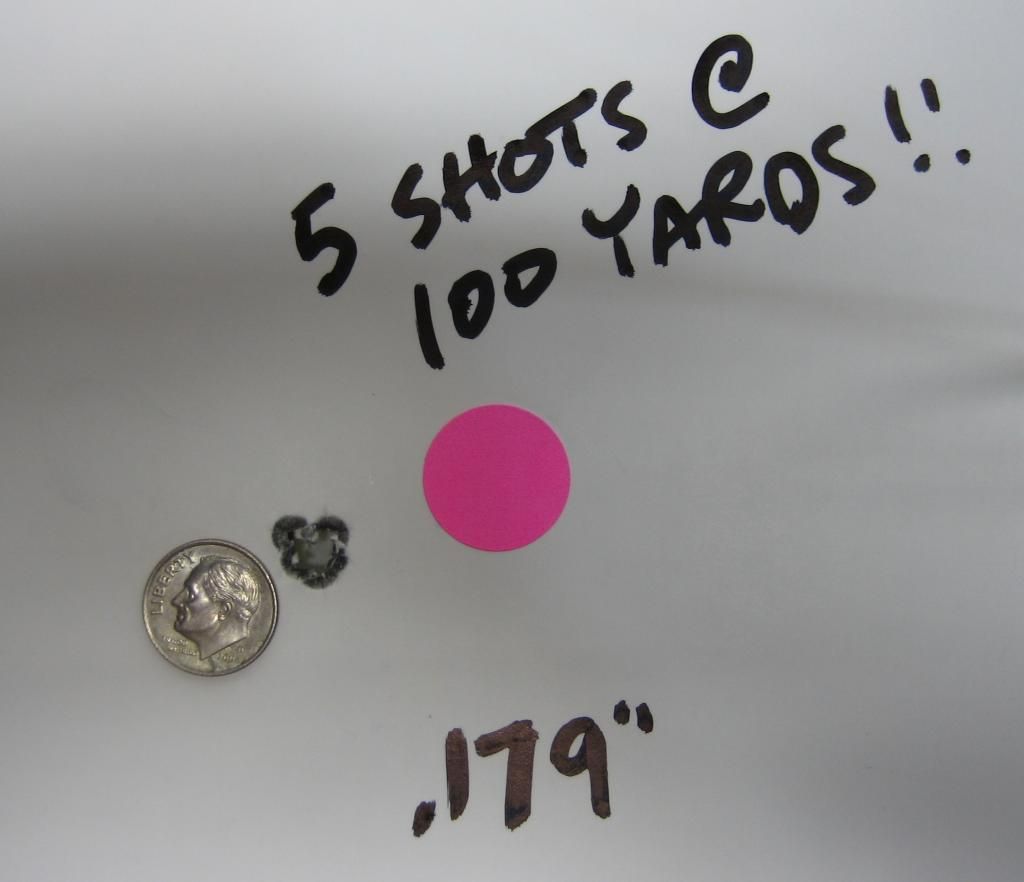
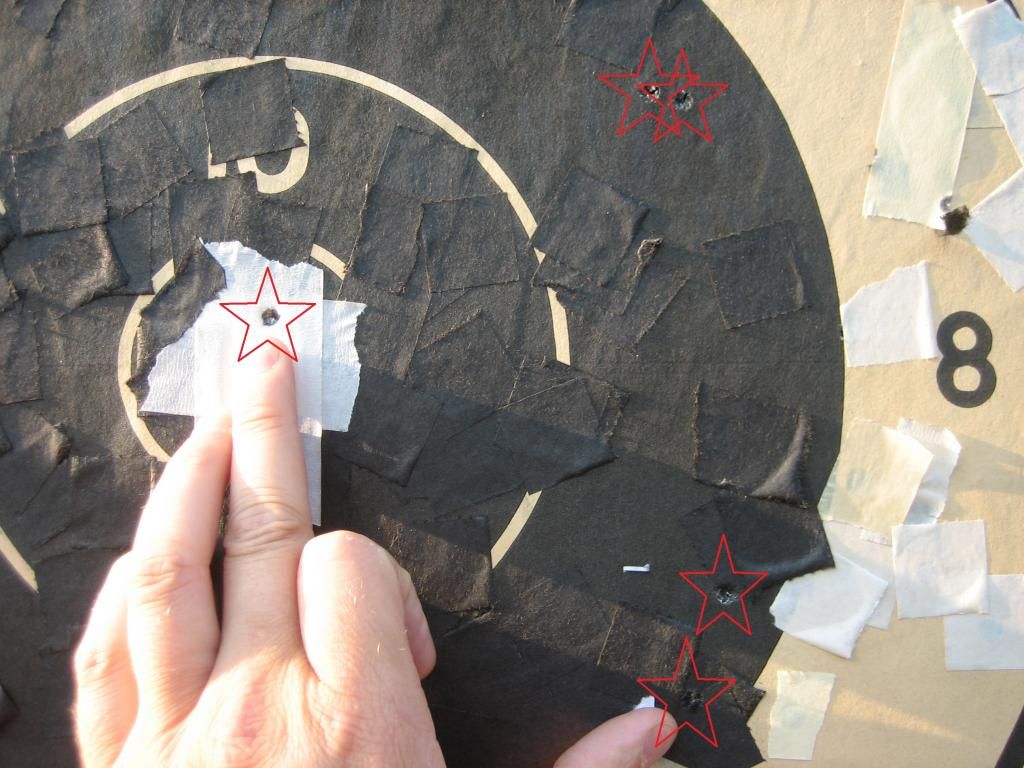
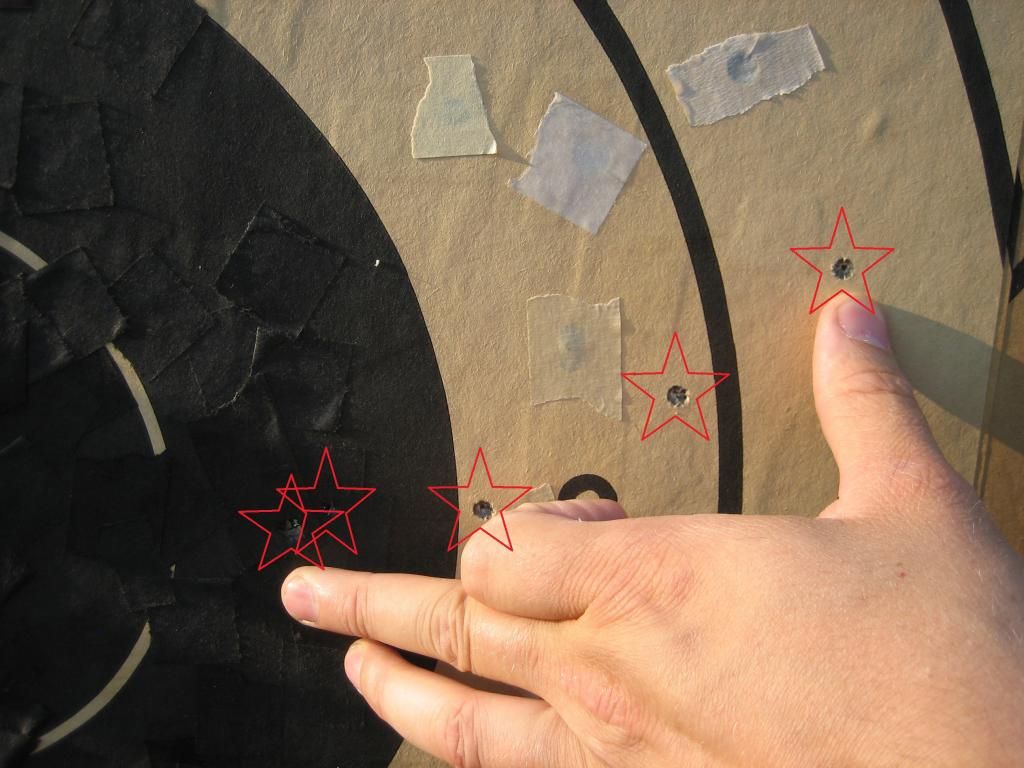
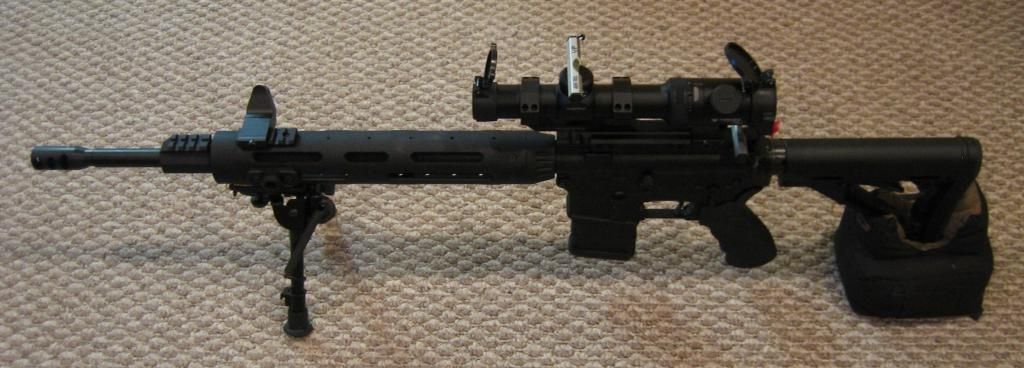
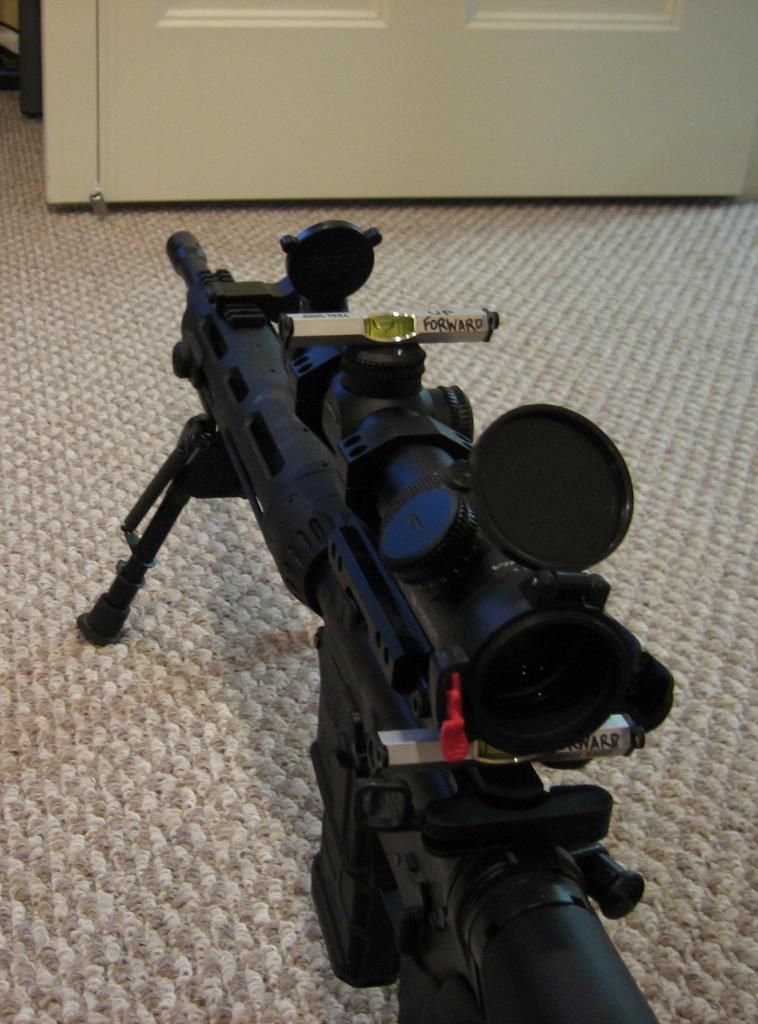
This is "MY" EPIC AR ACCURACY JOURNEY that starts in my reloading room with components & will end up on the 600yard range with my LMT MWS and two total 5shot groups...... YOUR journey starts with YOU and your own methods! What I'm sharing with you right now is my life experiences / knowledge reloading for my AR's & trying to get the most out of the semi-auto AR platform.... That is what this thread is all about. Please join me on my quest for the perfect 5shot group. Sit back and relax & enjoy the show. It starts right now......
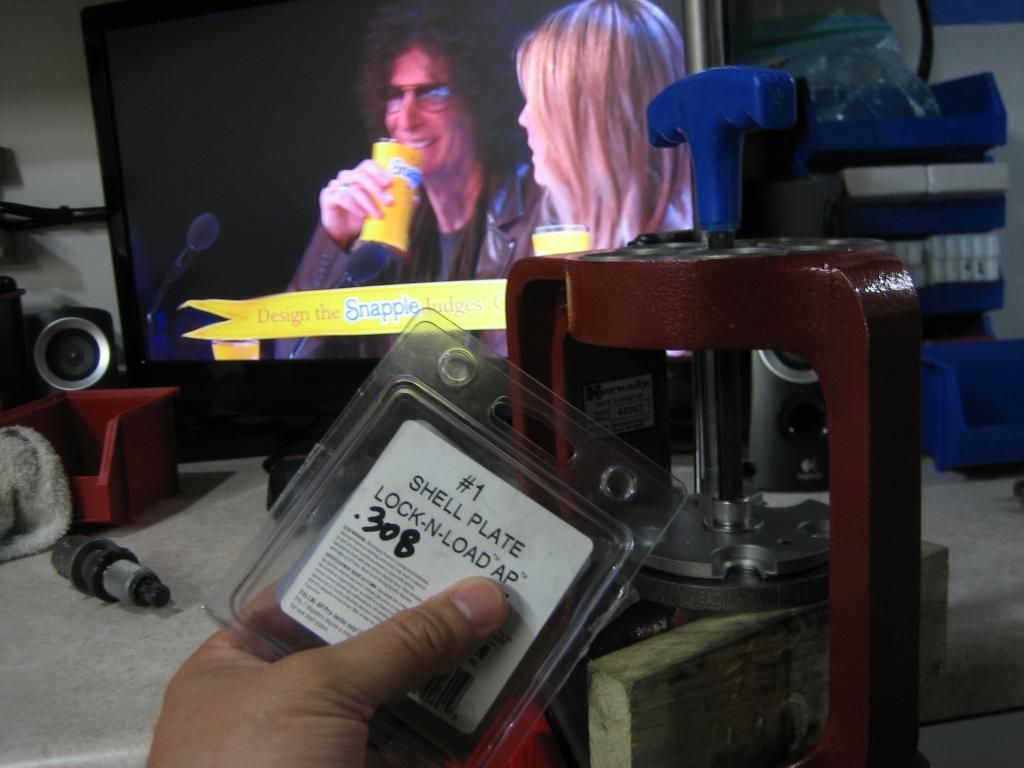
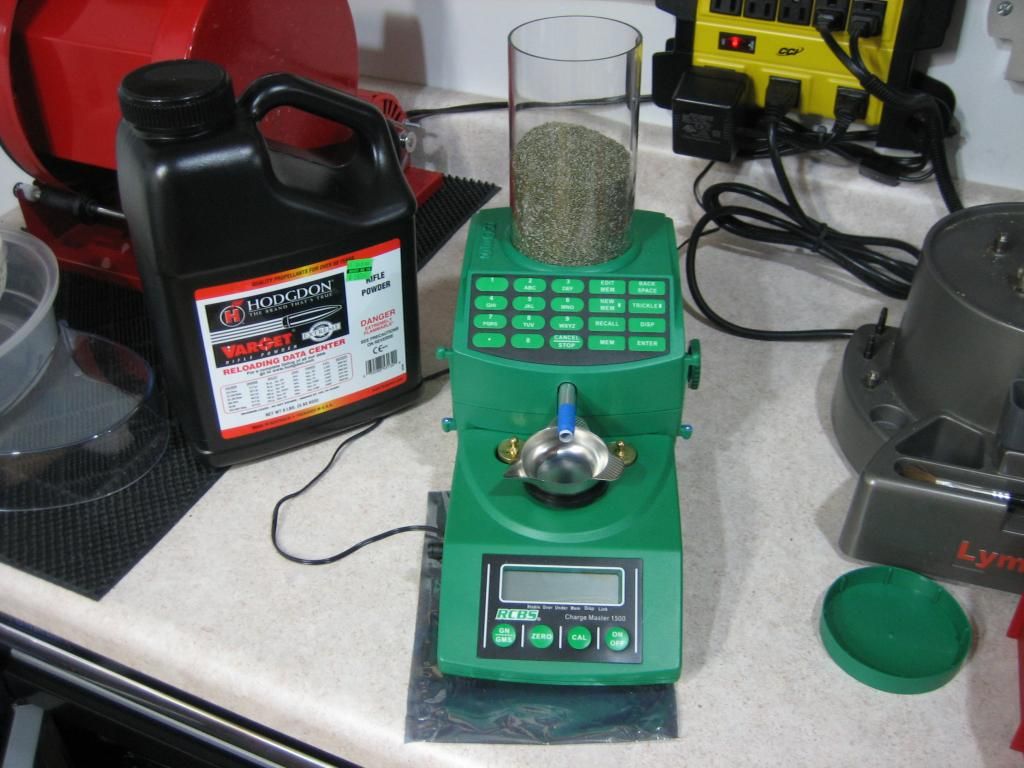
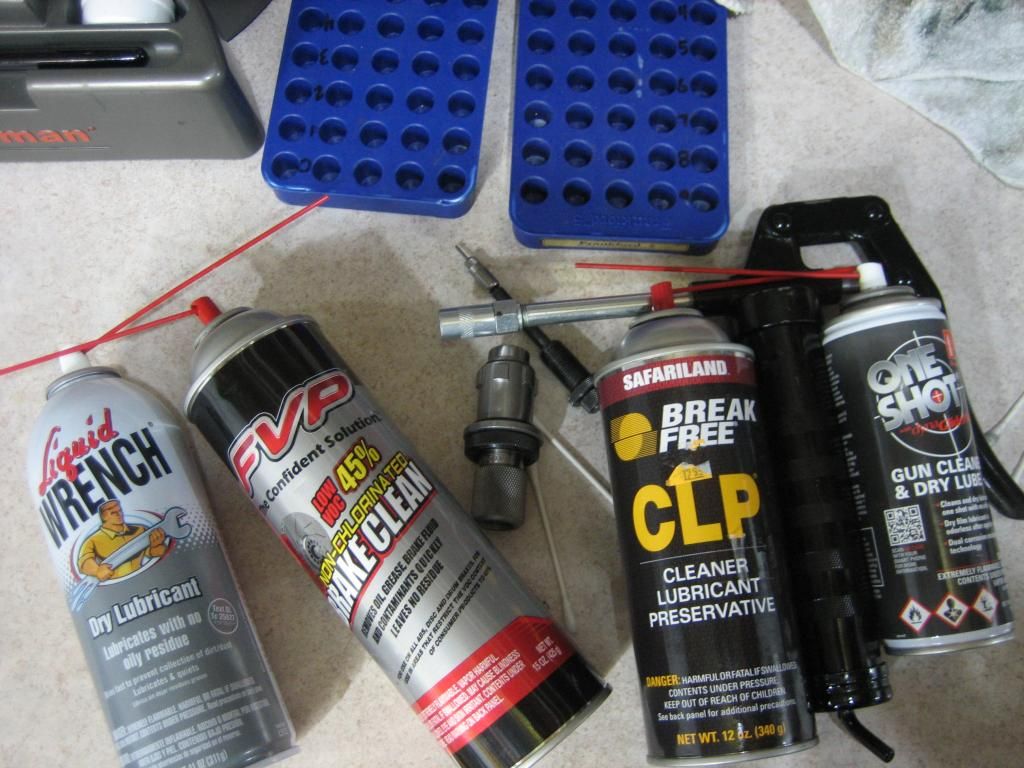
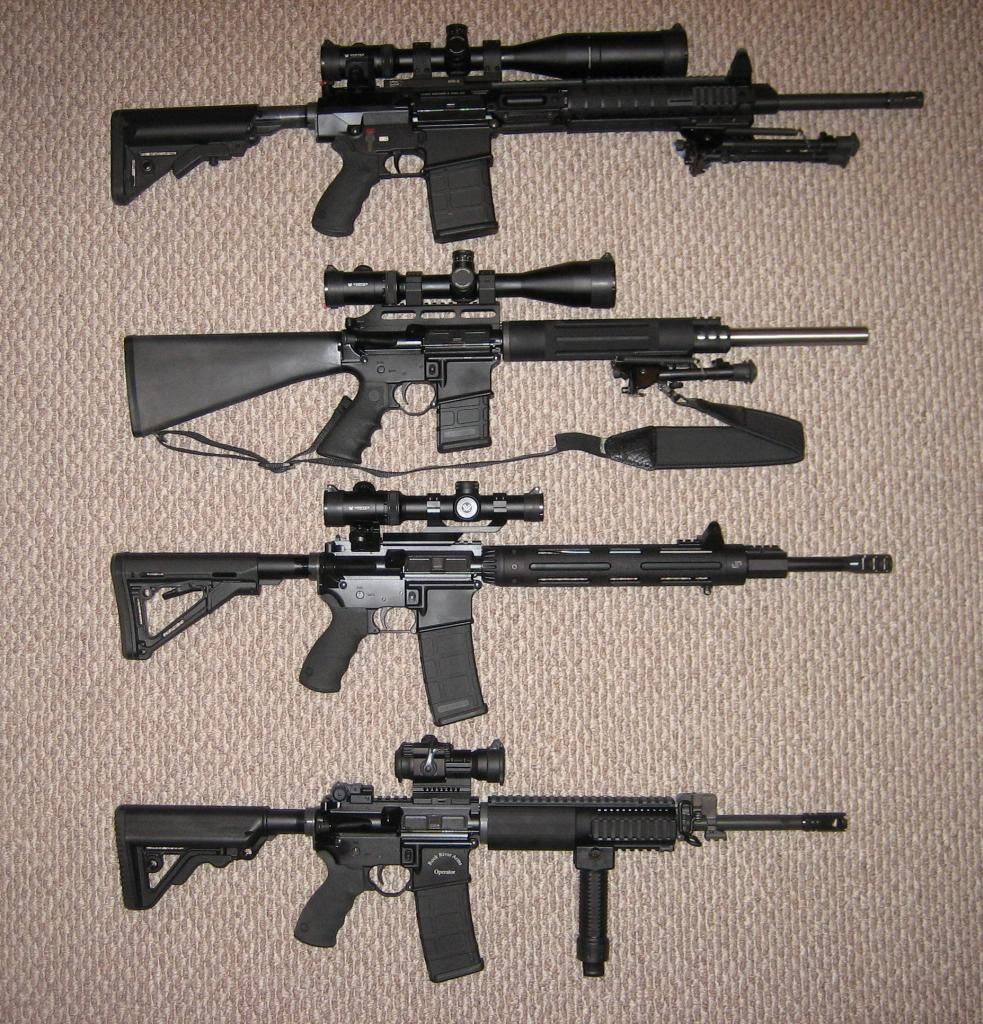
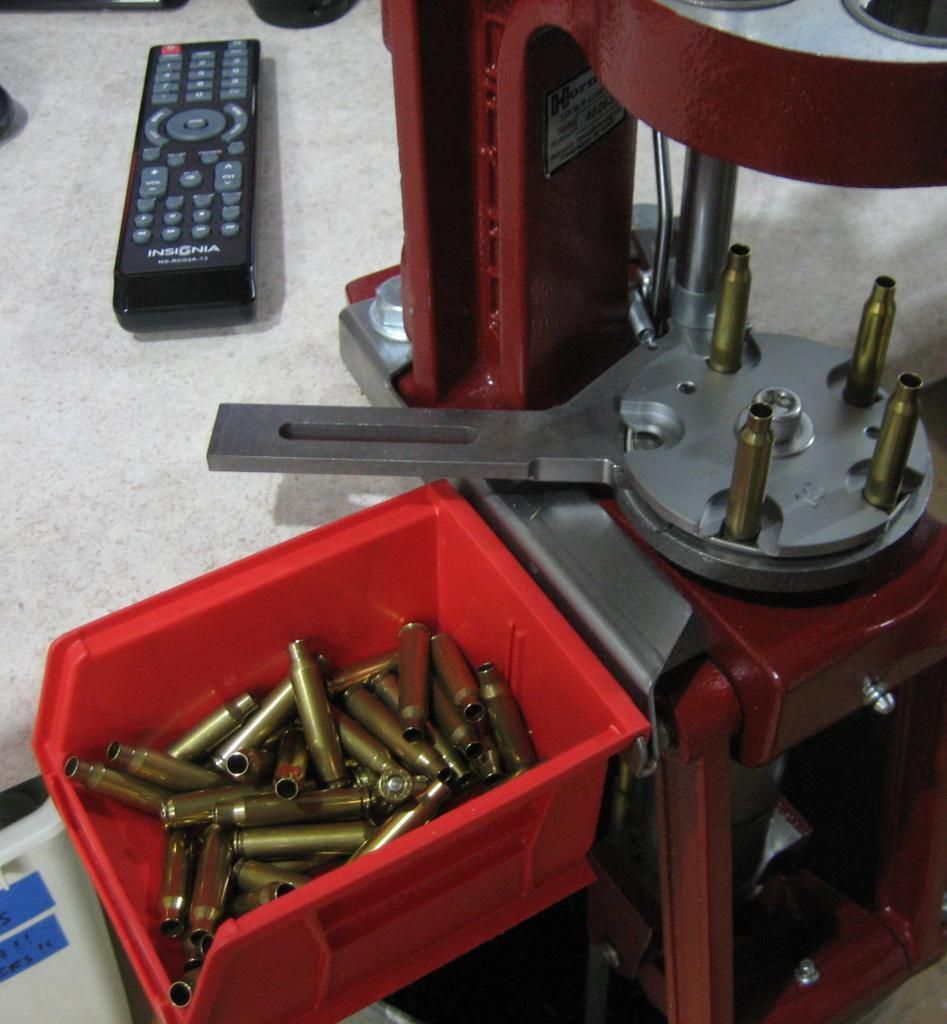
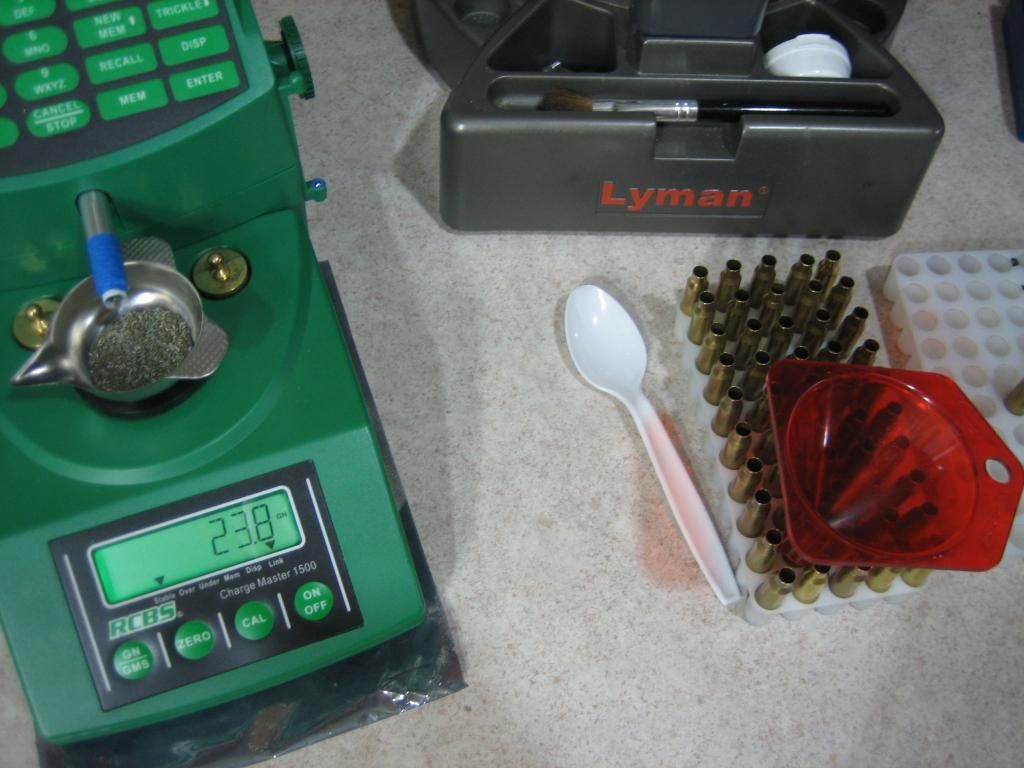
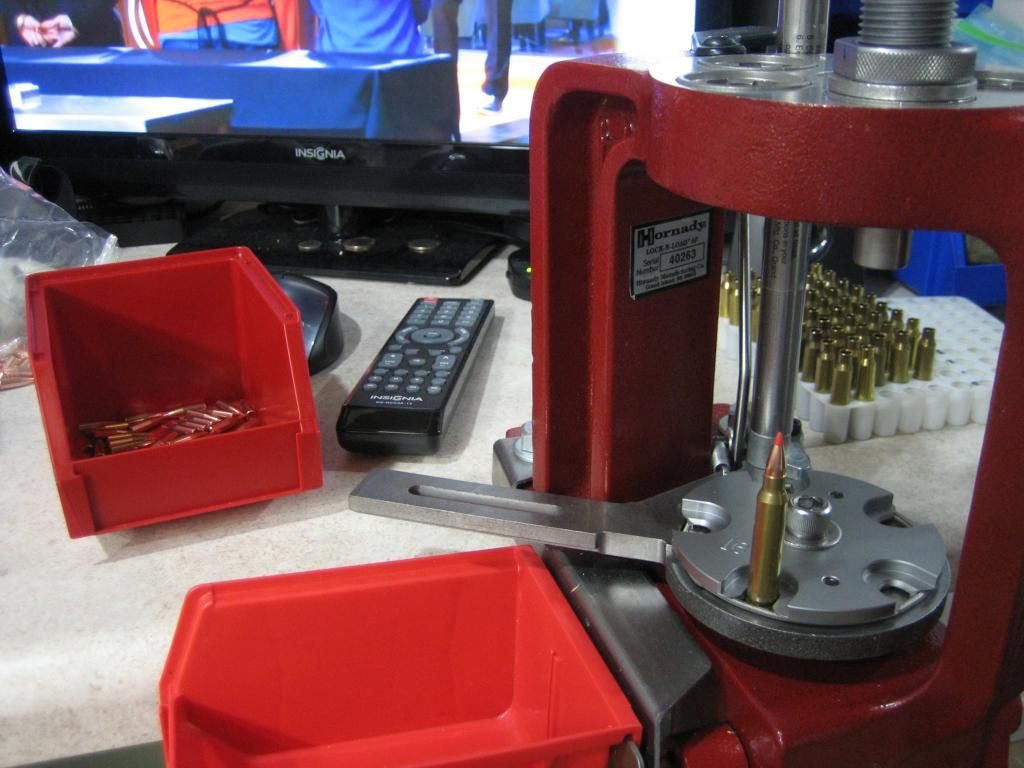
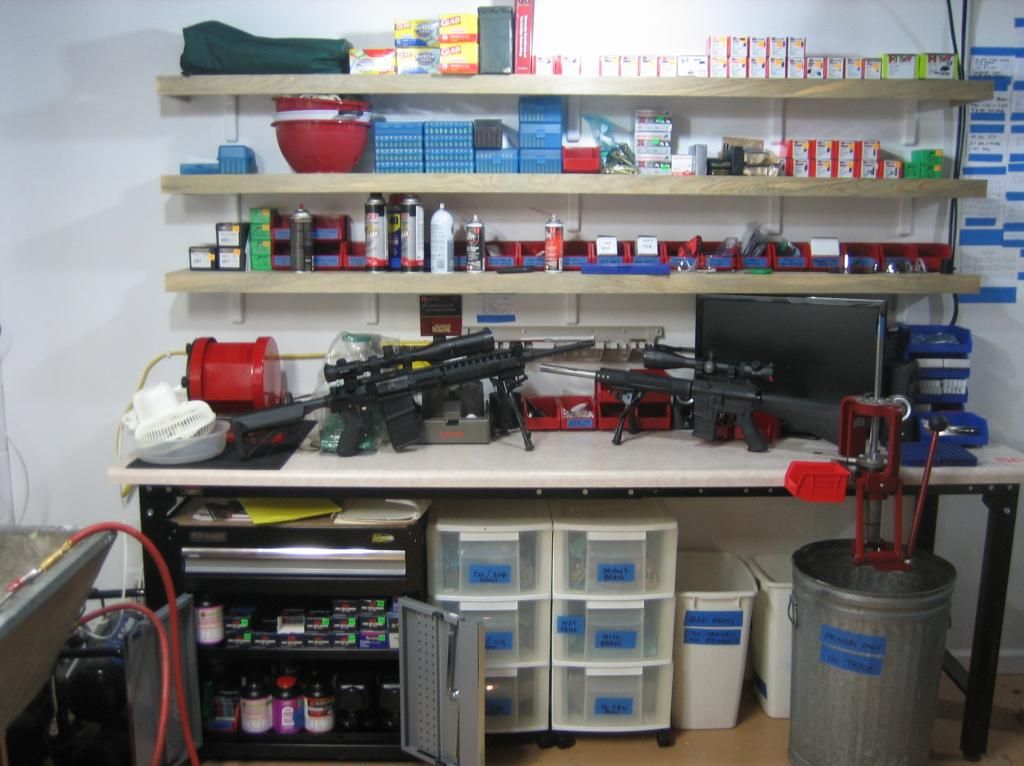
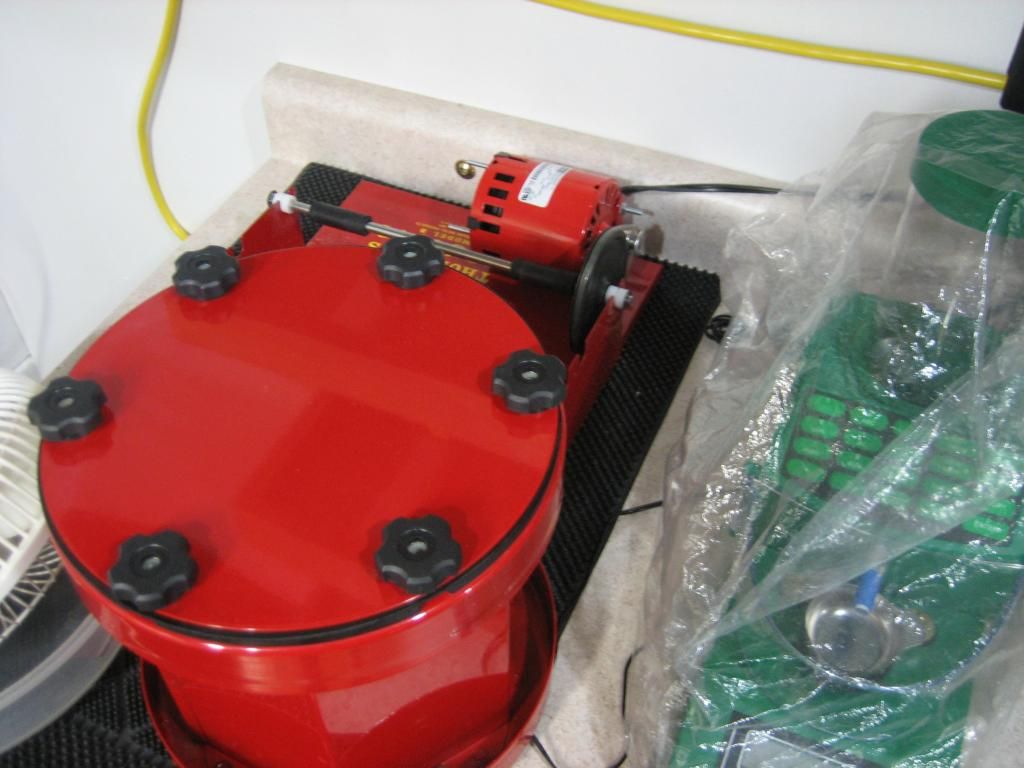
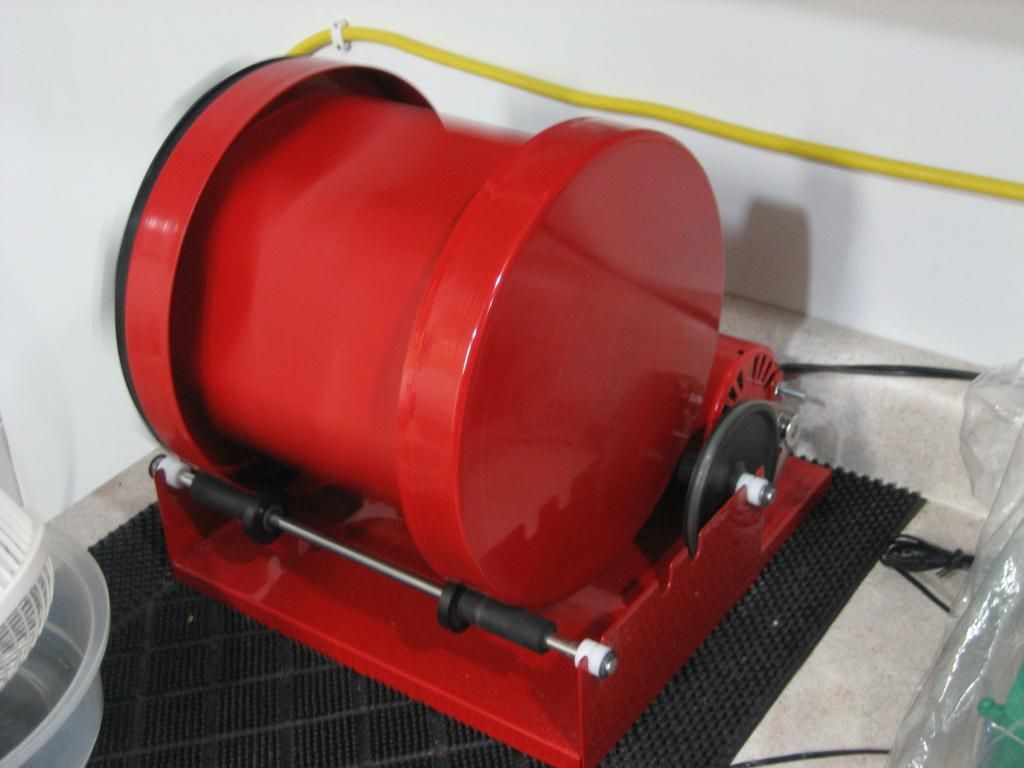
This is where the show starts. My AR rifles & my reloading room of fun.....
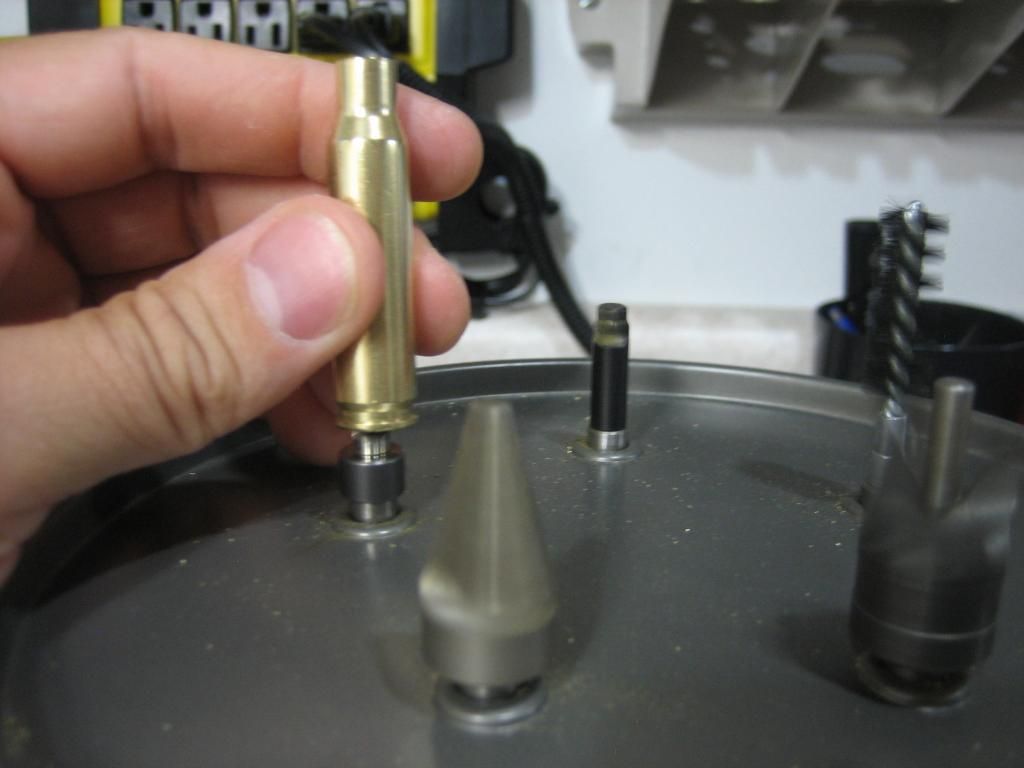
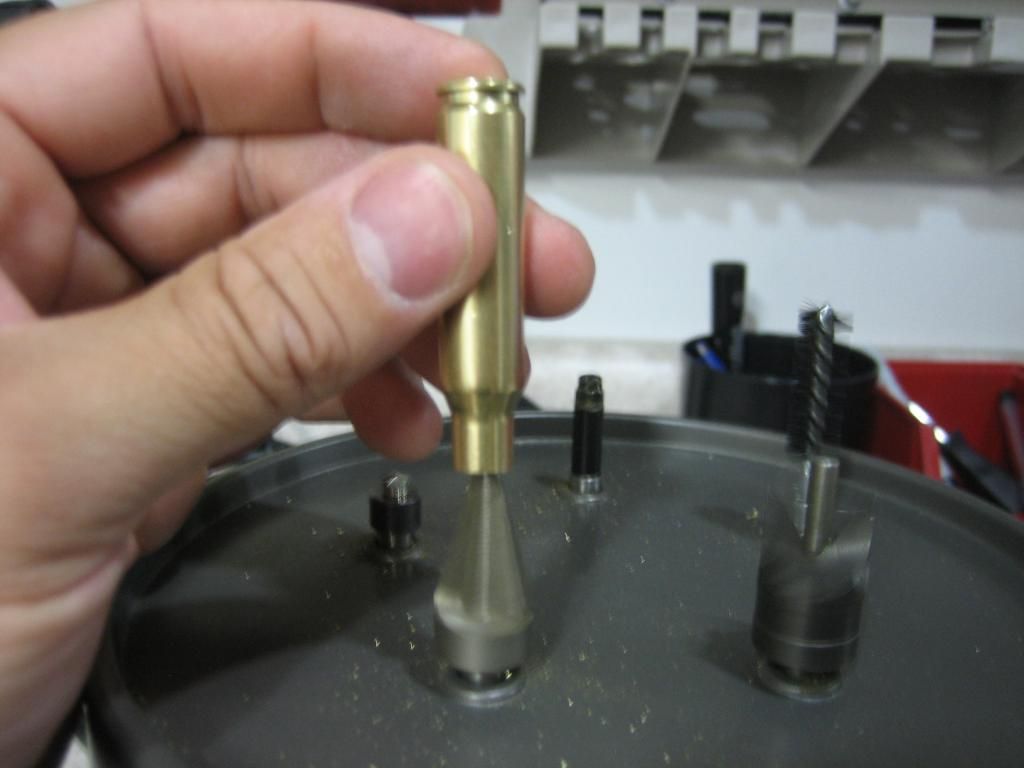
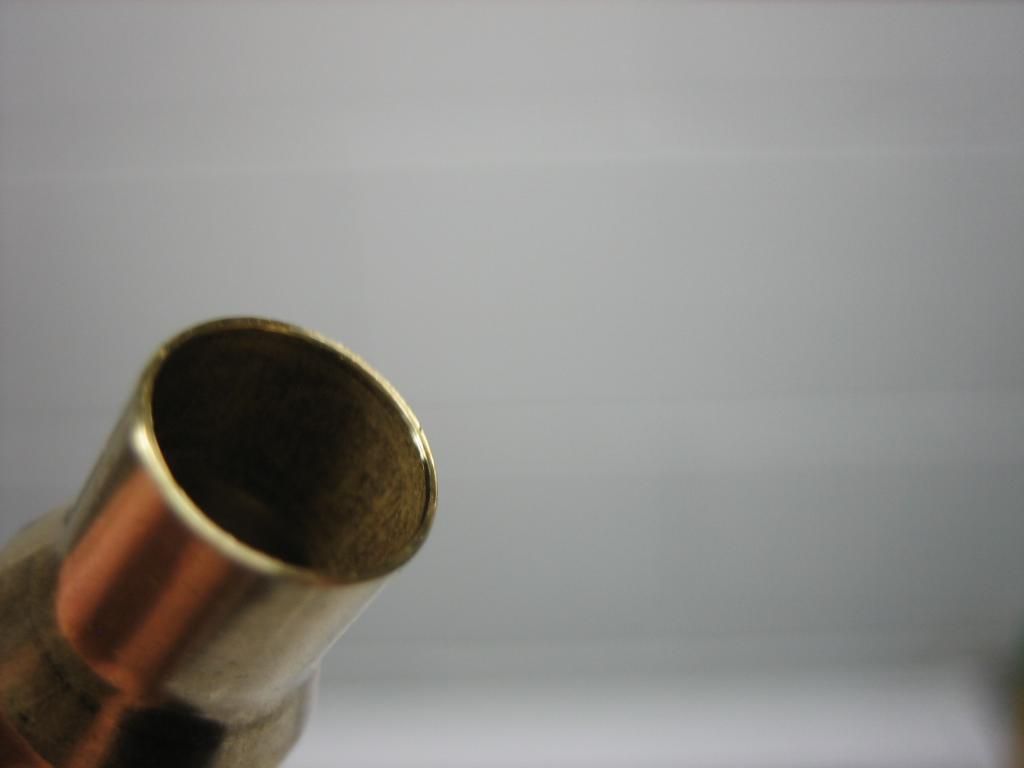
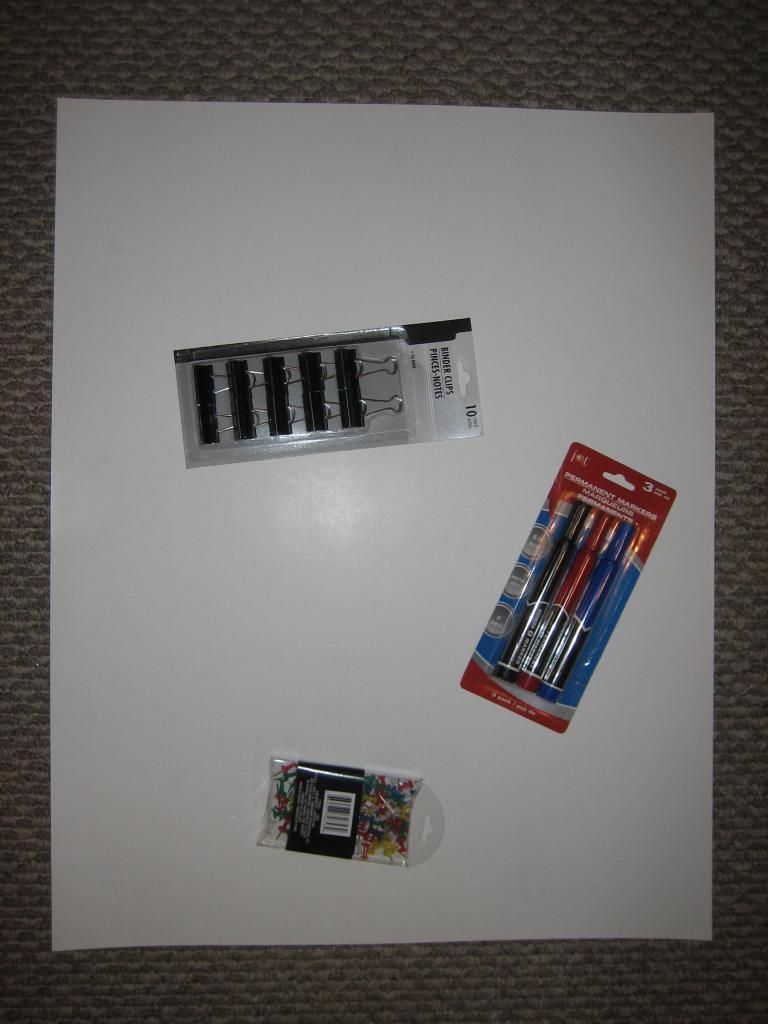
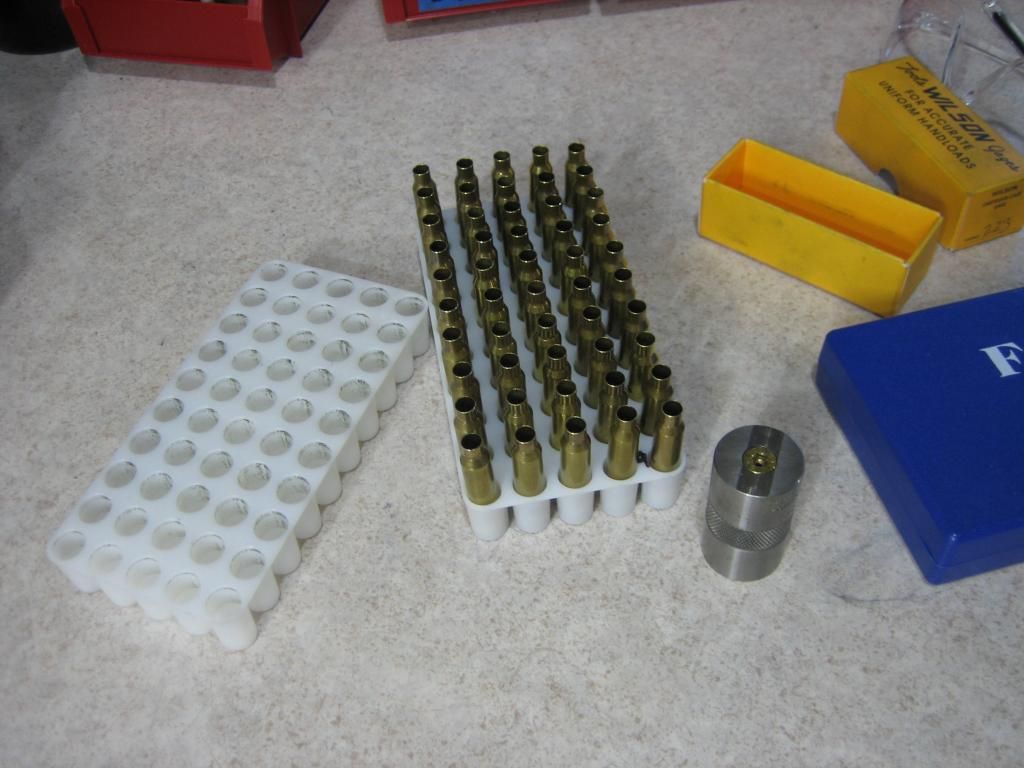
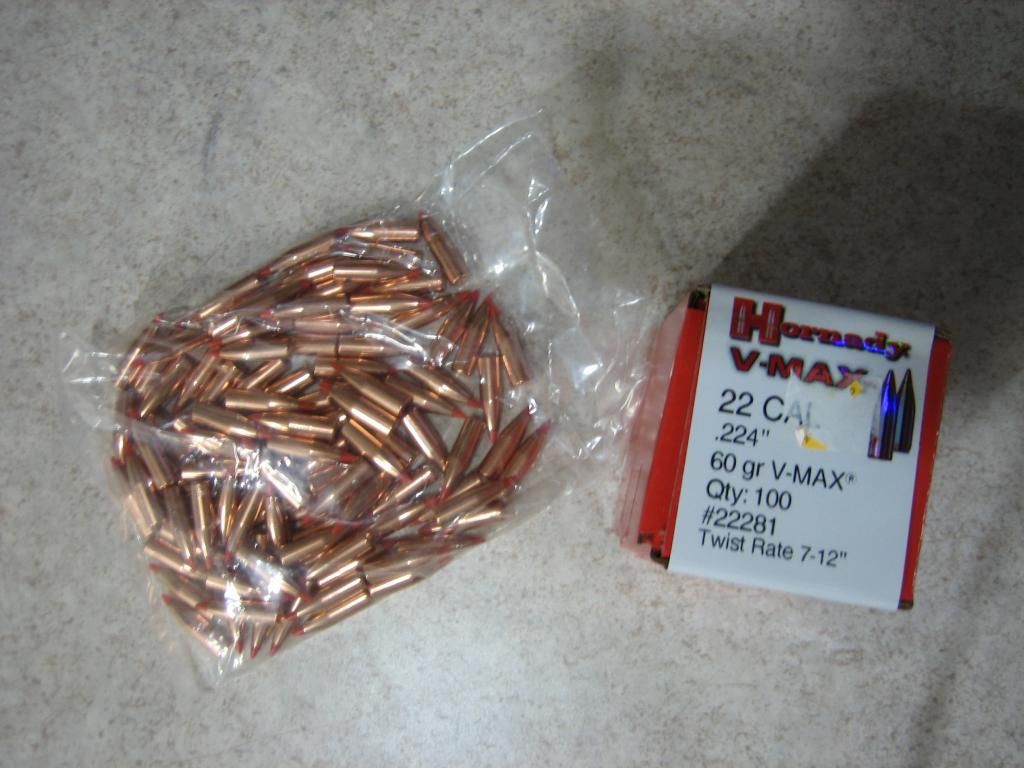
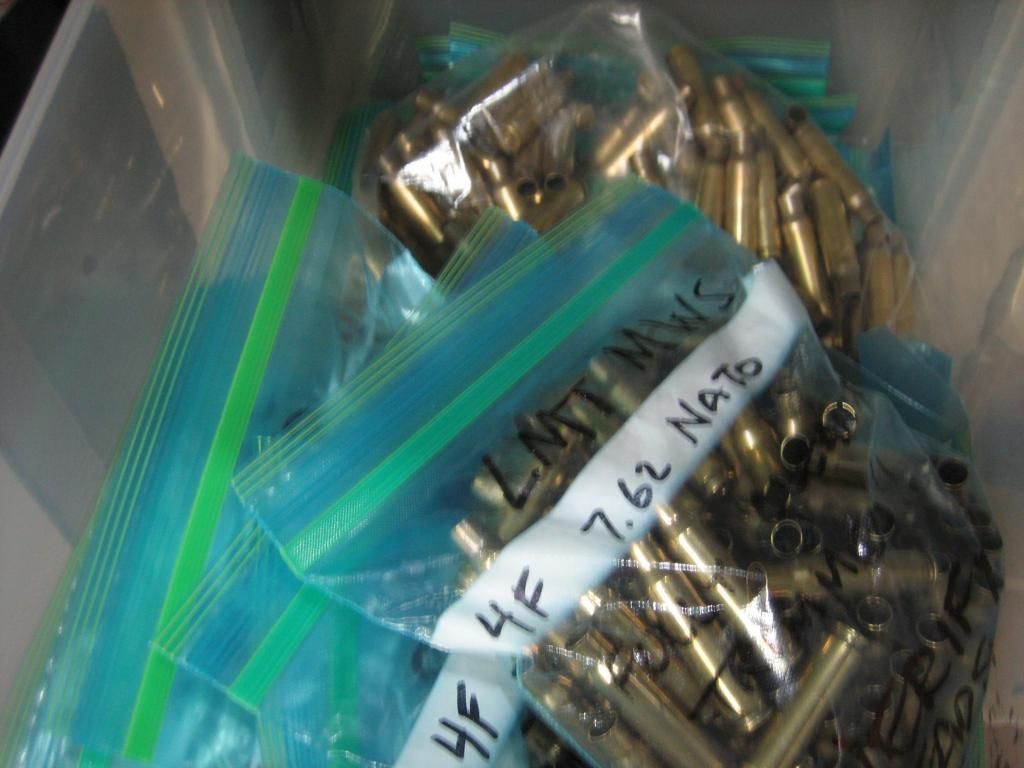
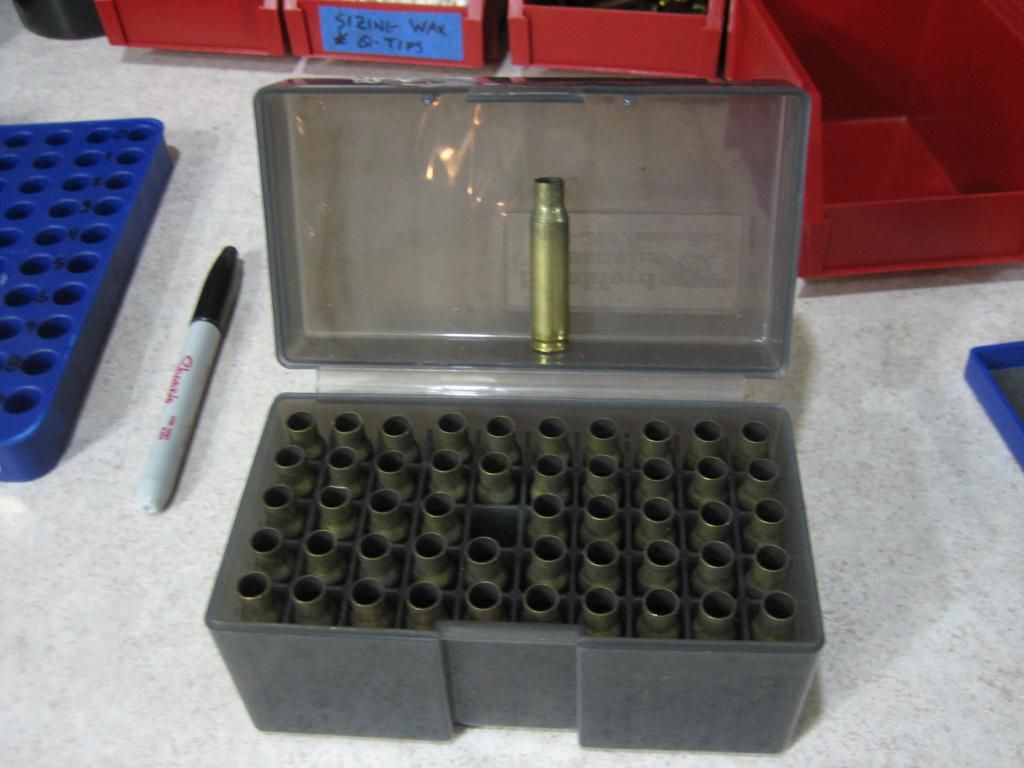
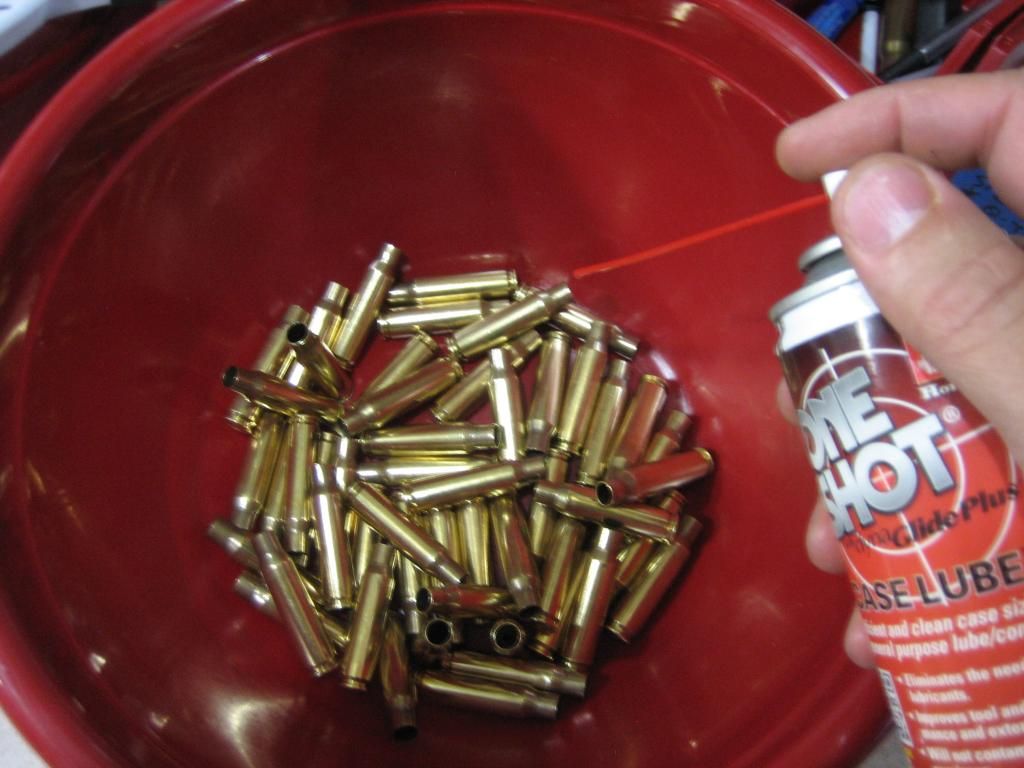
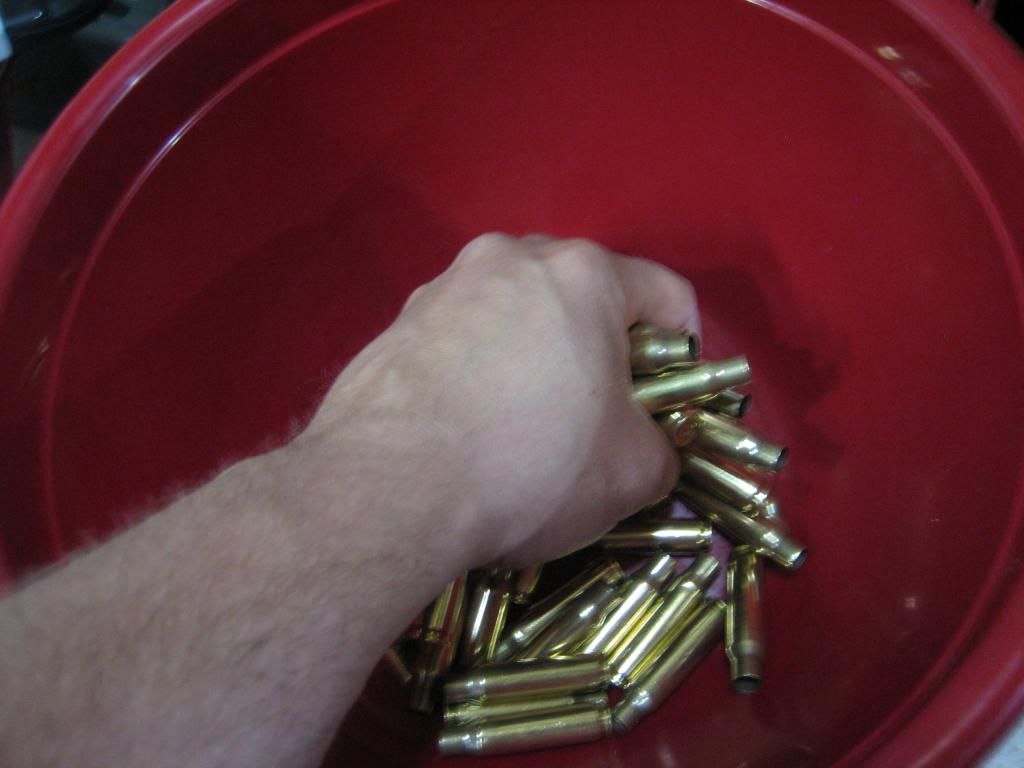
I like to purchase my once fired lake city 7.62x51 brass in lots of 500pcs or 1000pcs. I will NOT prep the entire batch of 500 to 1000pcs of brass in one shot... I'll usually pull 51 to 101pcs of brass in small batches at a time (as bullets usually come in 100pc boxes). This makes it easy to keep track of my number of fires on that batch of brass reloaded & also if I need to make small adjustments on the next batch of 51 to 101pcs reloaded down the road. I'll store my brass in zip lock bags and mark those zip lock bags with magic marker as shown in these pics (very important in order to keep track the # of times the brass has been reloaded & other general information)... Also, the more sealed & less air in the zip lock bag = less tarnishing of brass! The amount of times you can reload this brass is up to you! It is very important to keep an eye on over pressure signs, case head separation, cracked necks, blah blah blah = time for YOUR HOMEWORK!
***************************************************************
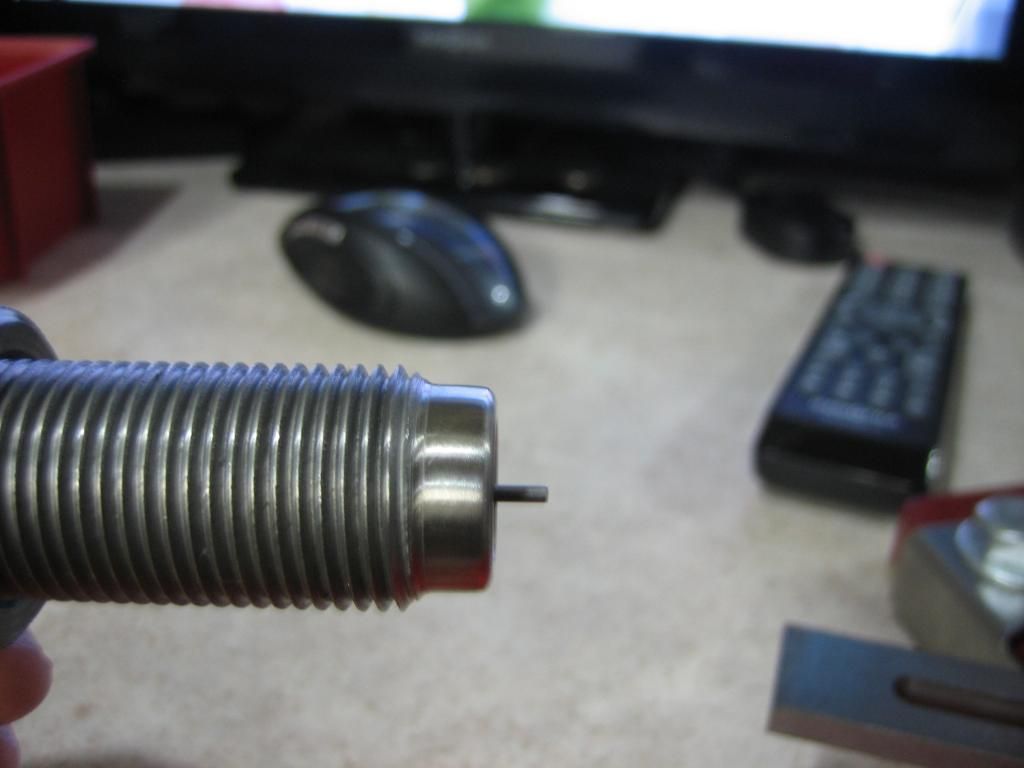
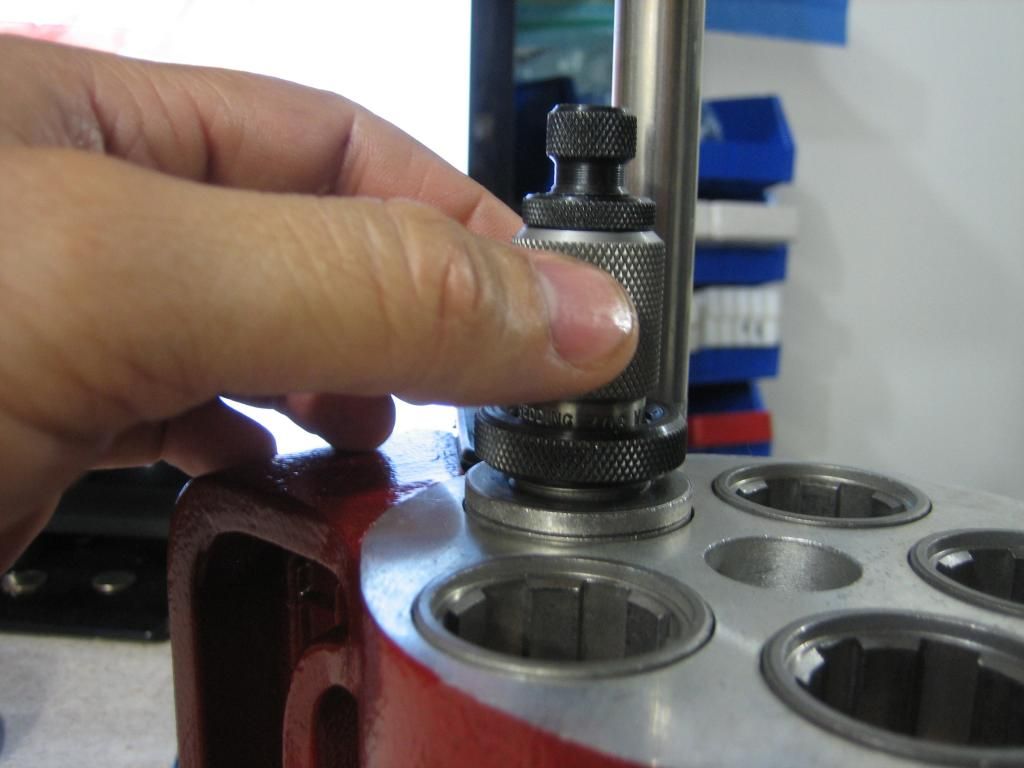
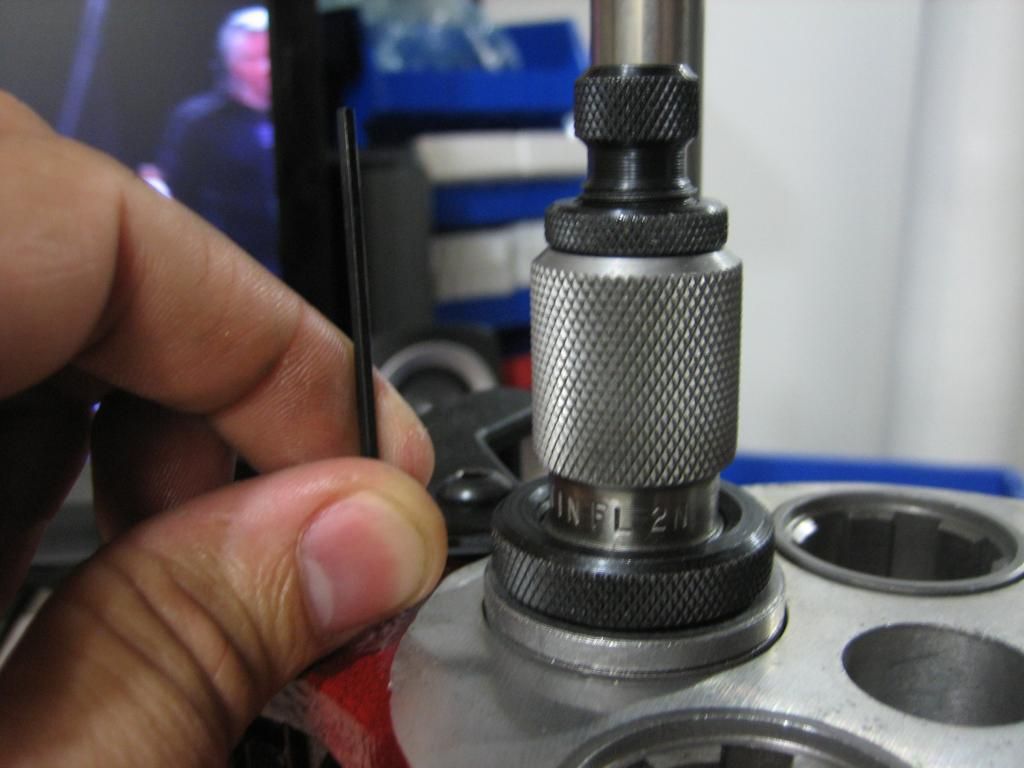
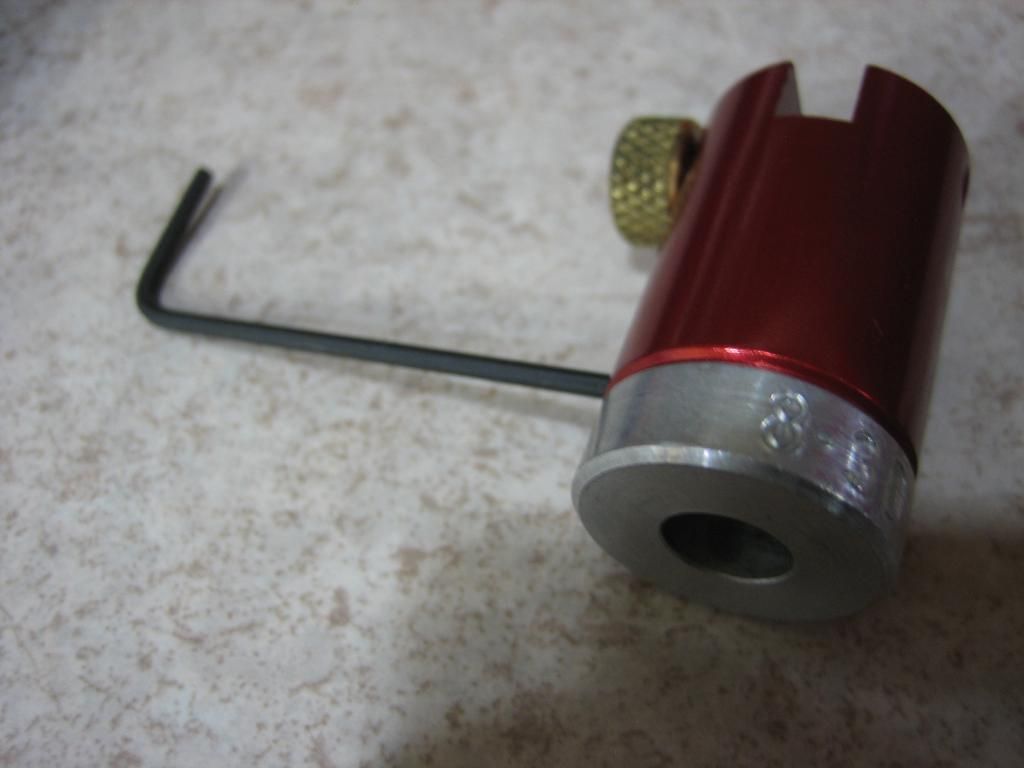
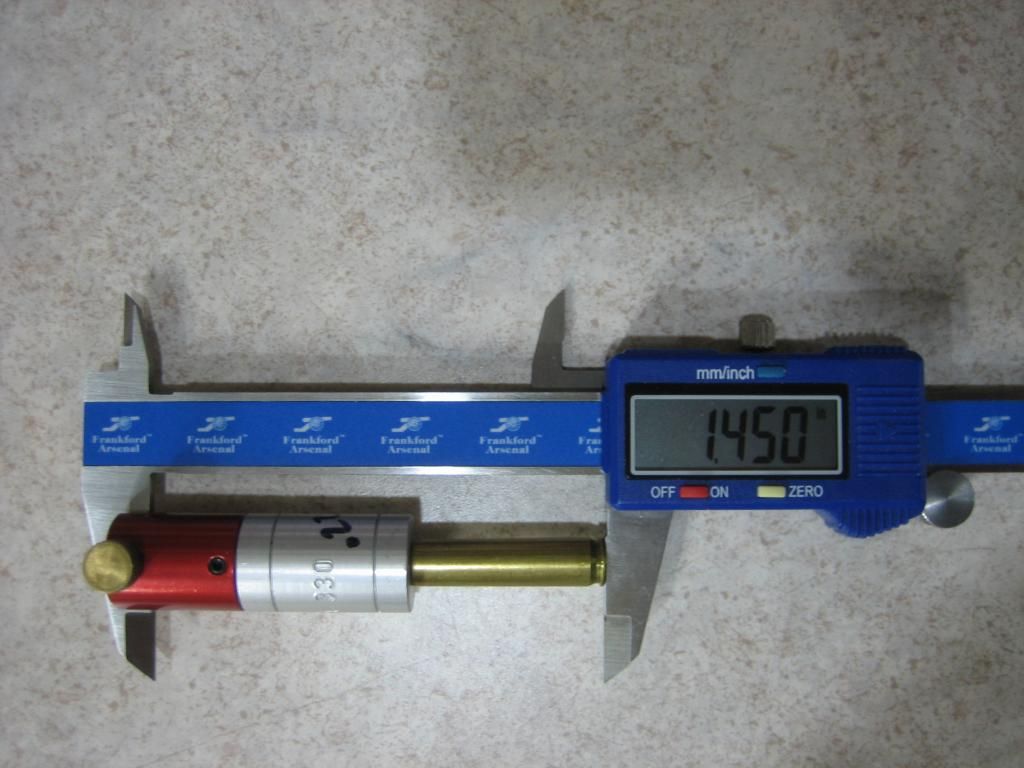
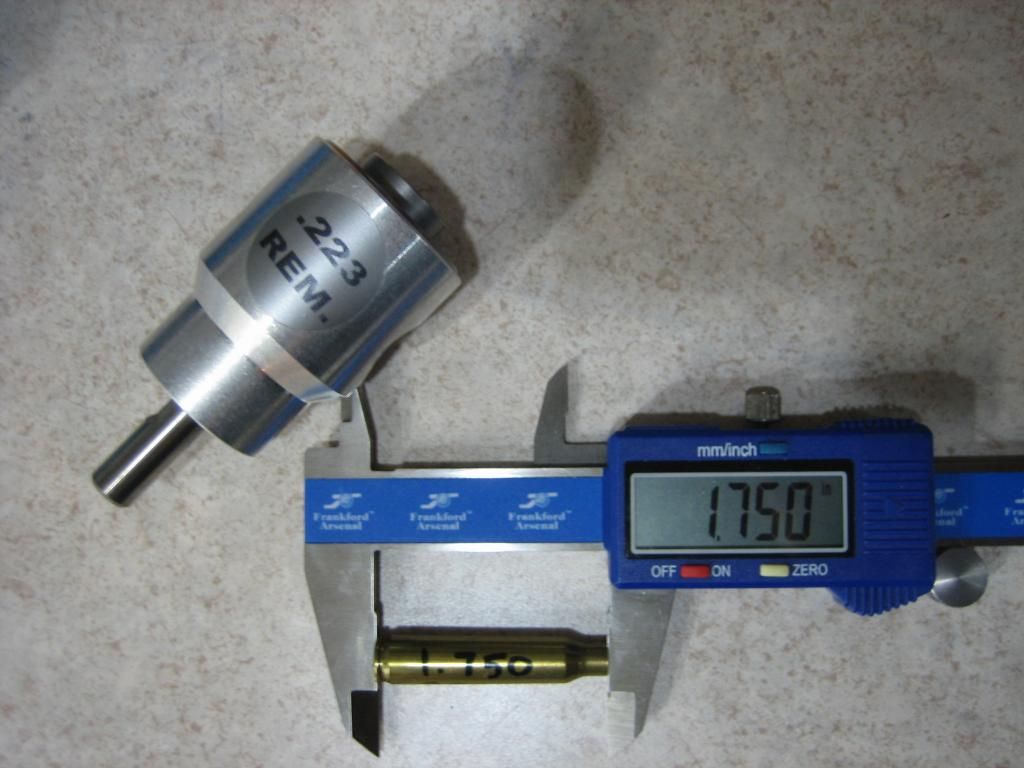
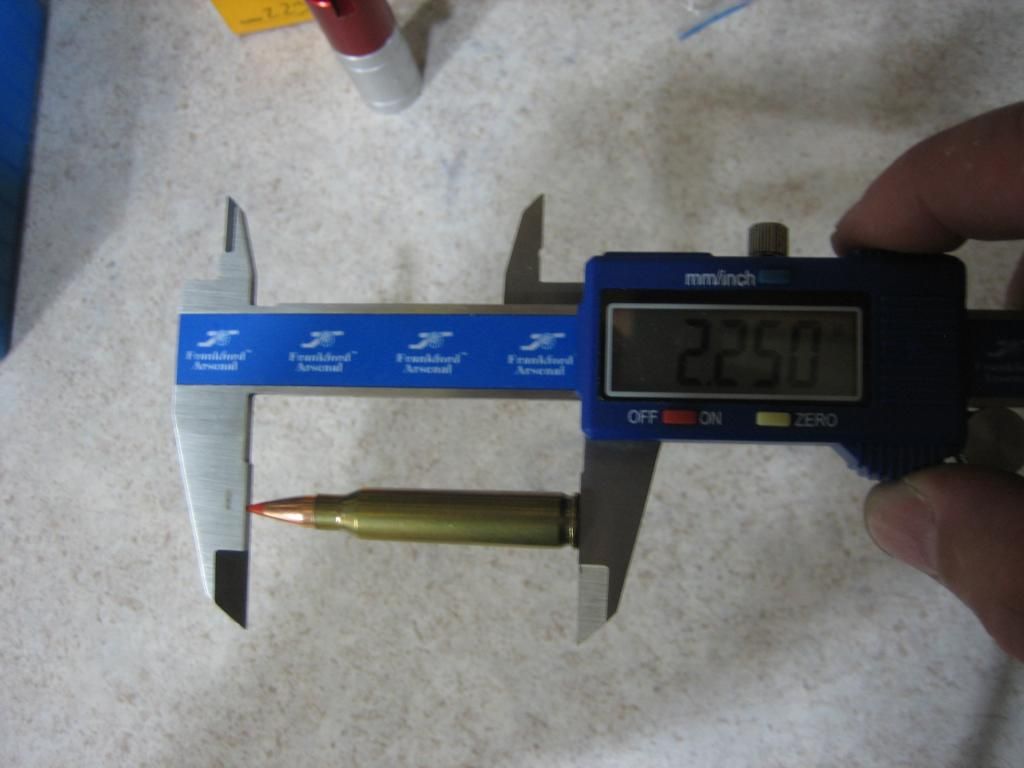
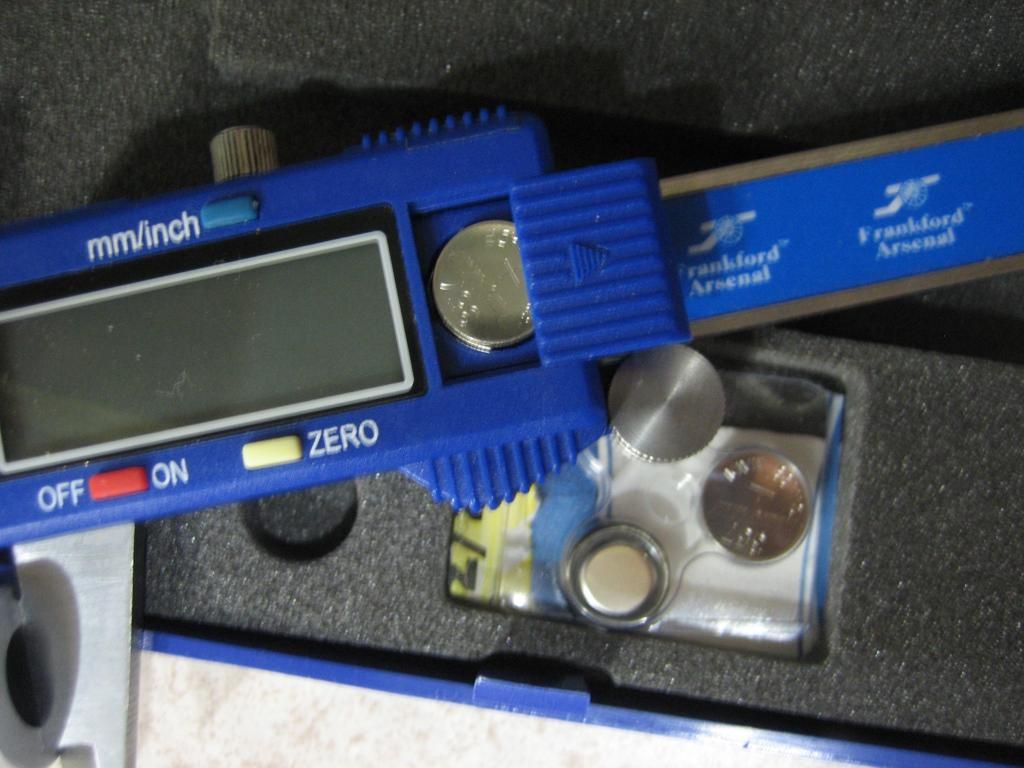
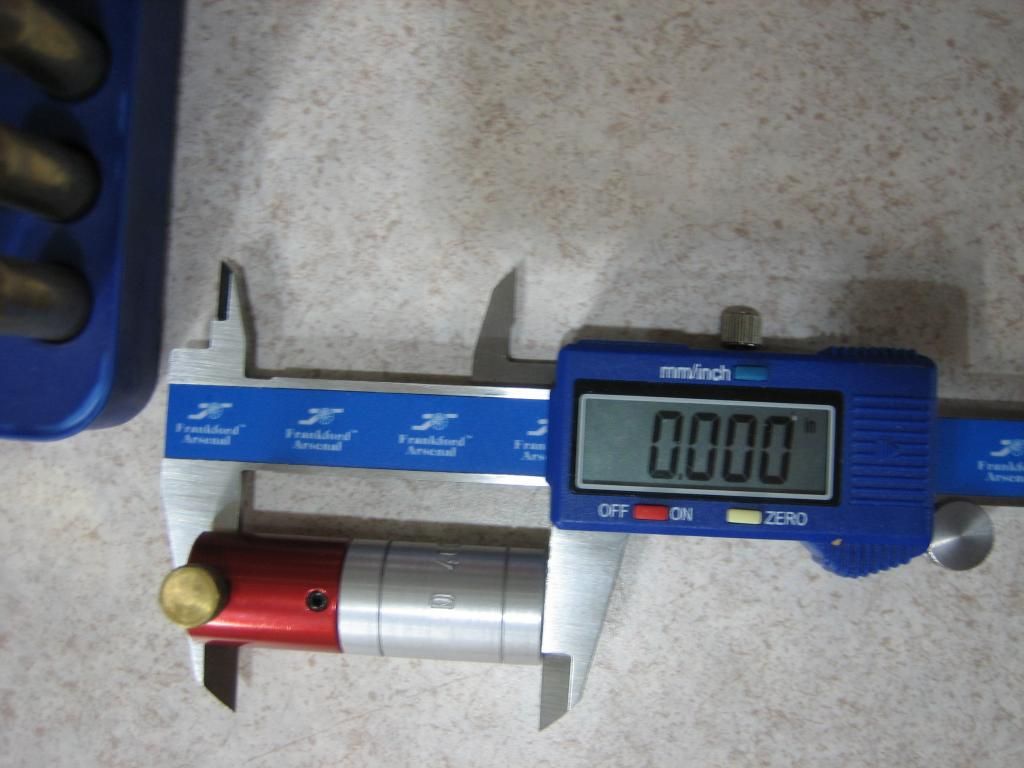
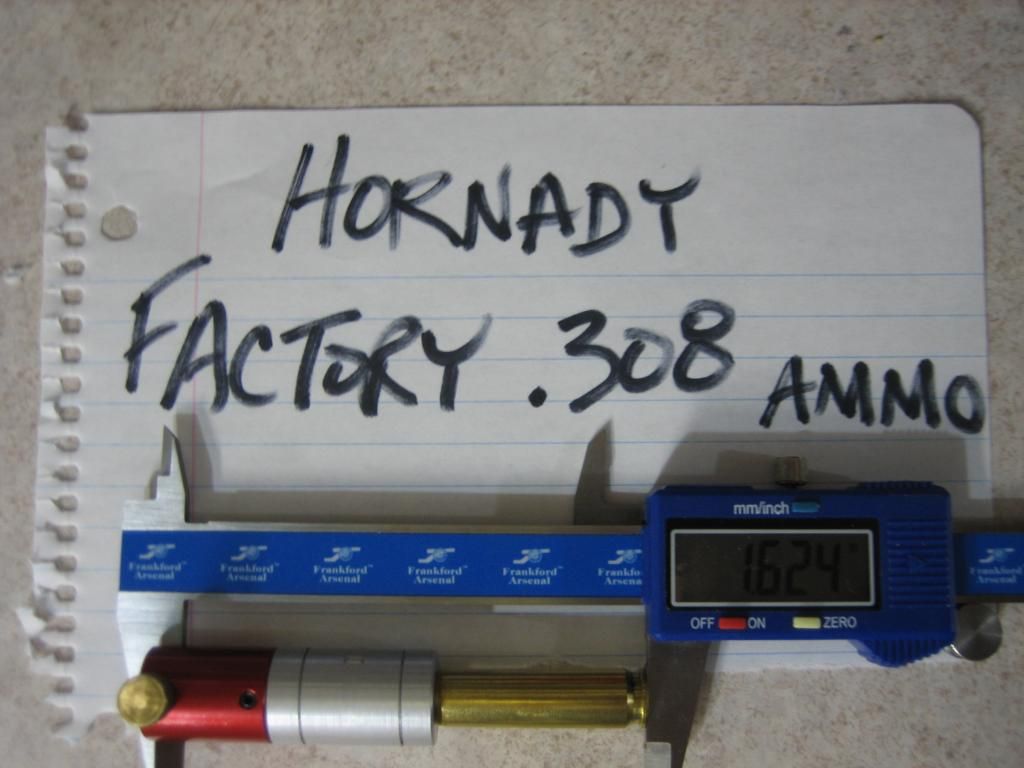
First and foremost, make sure the battery in your calipers is good and fresh. Maybe even measure an item you know is 100% true to test your calipers before you start. Attach the hornady headspace guage to your calipers and zero the calipers on the headspace guage.
HORNADY HEADSPACE GUAGE HERE: Hornady Lock-N-Load Headspace Gage 5 Bushing Set Comparator
***************************************************************
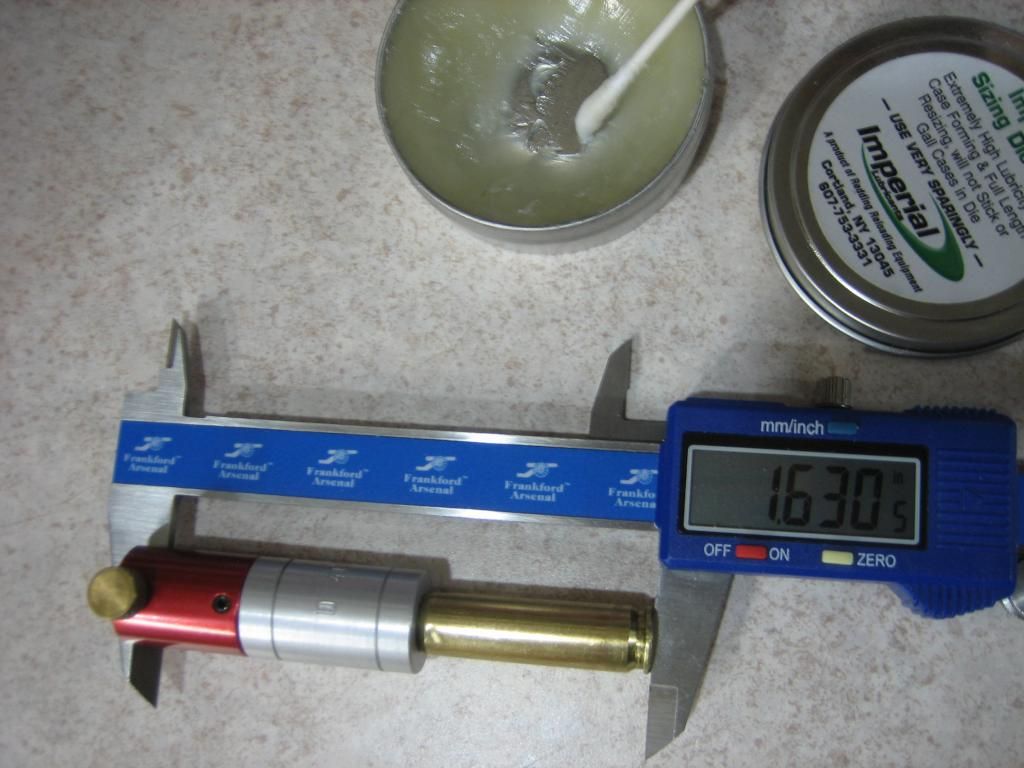
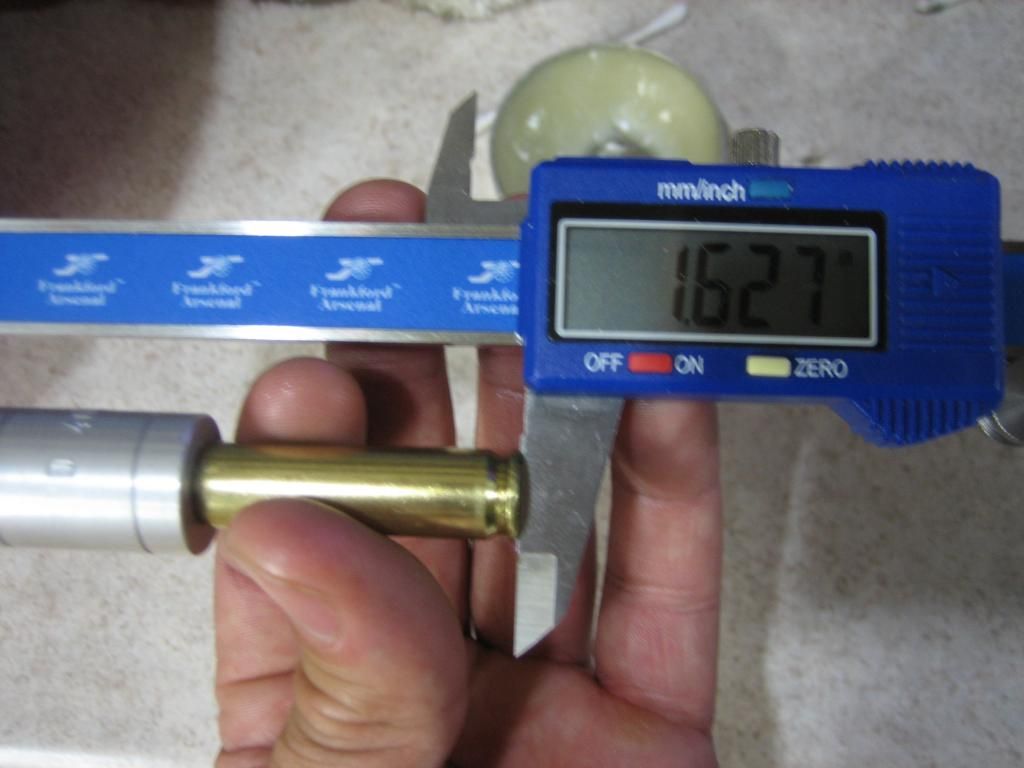
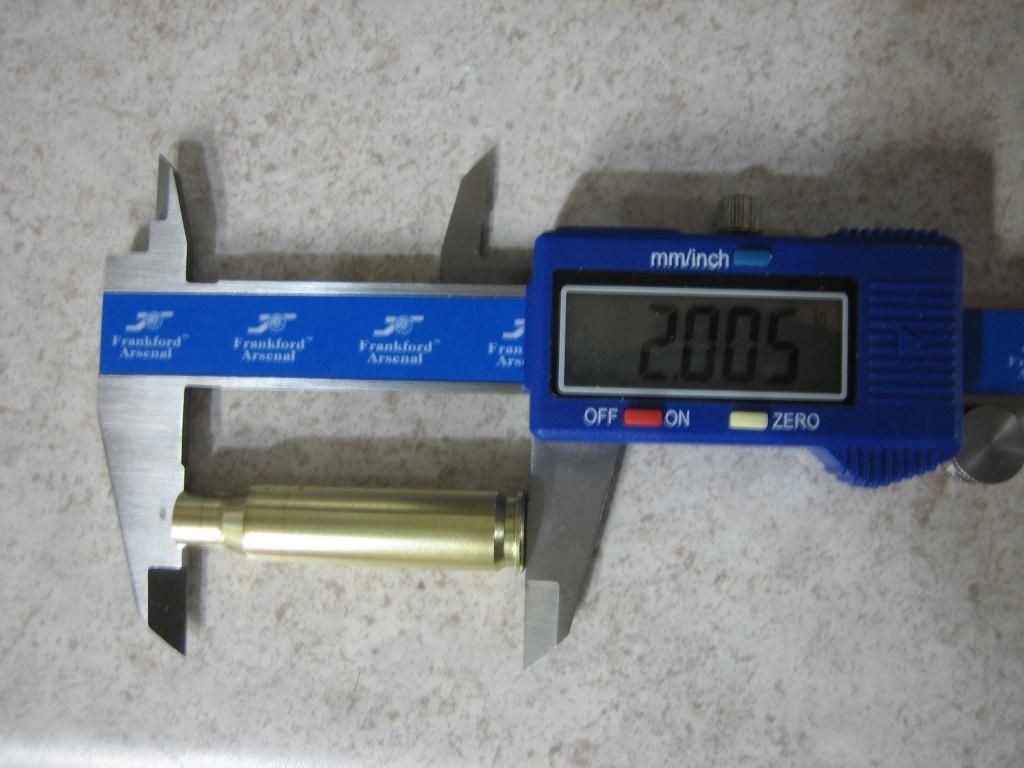
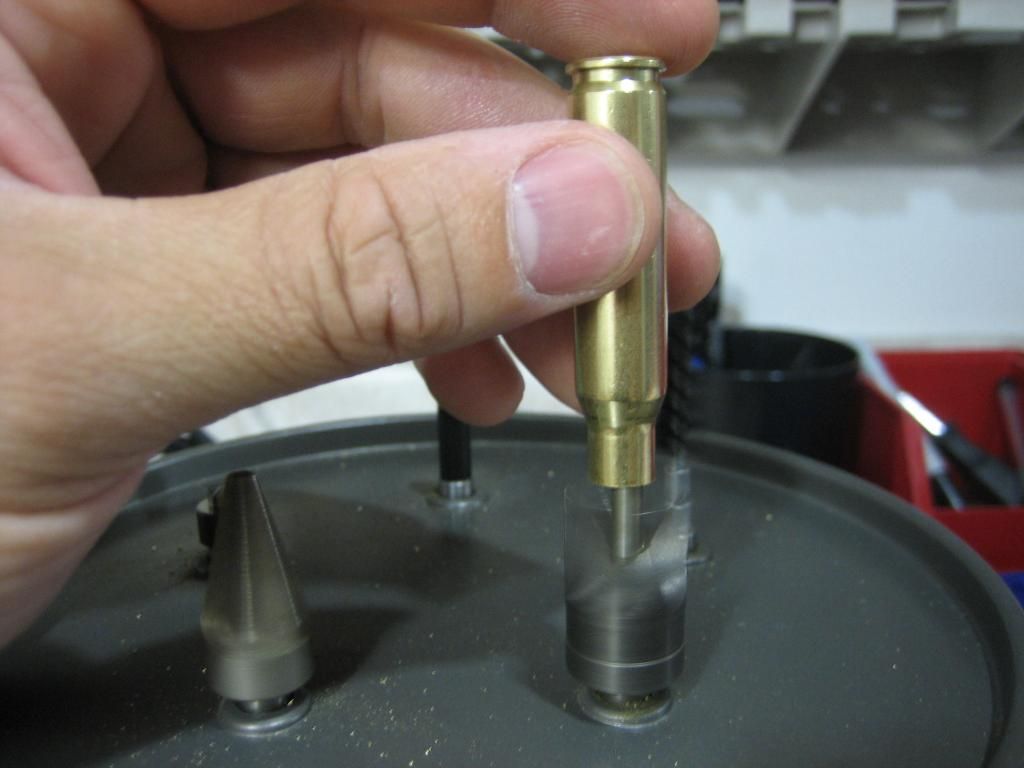
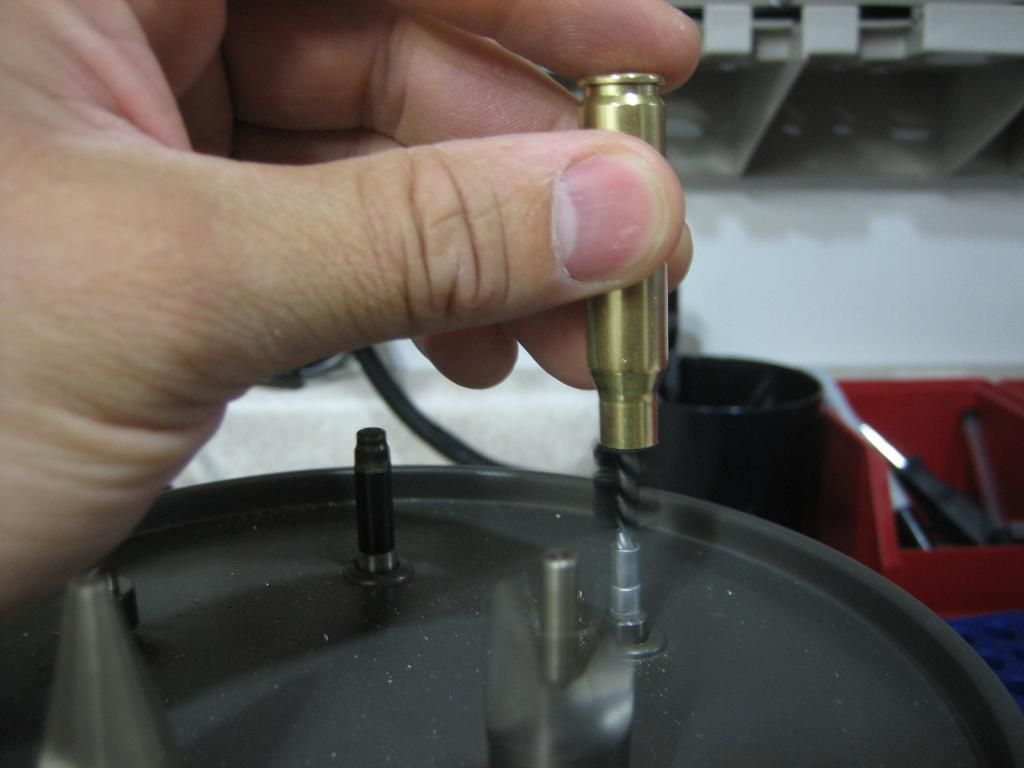
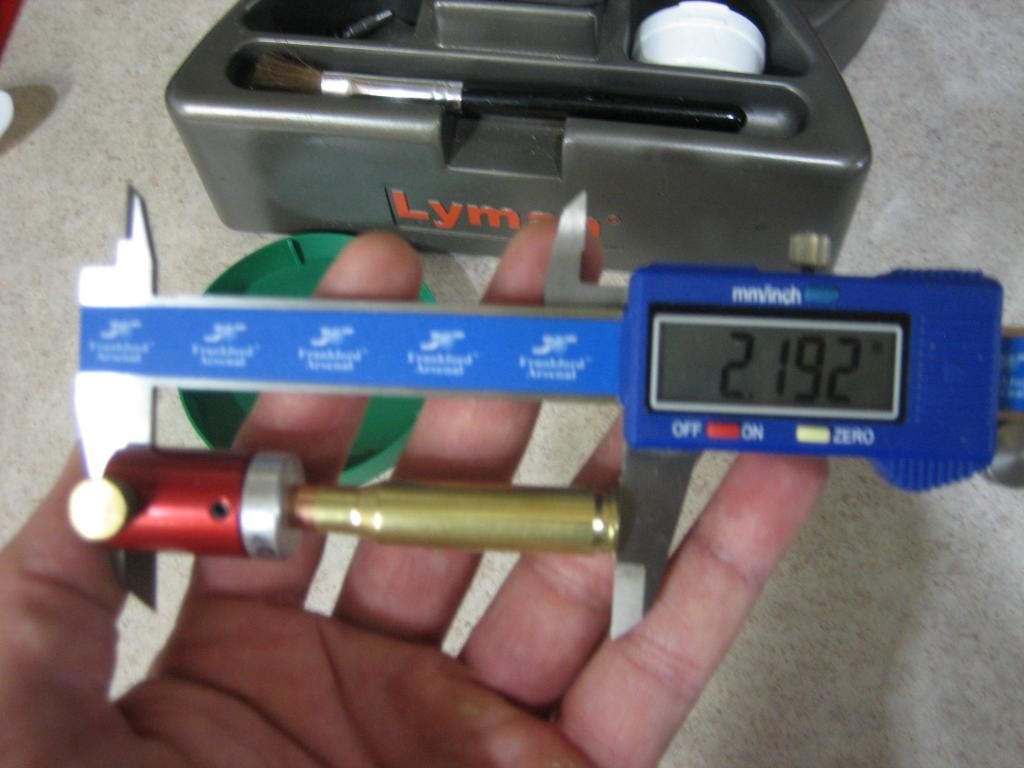
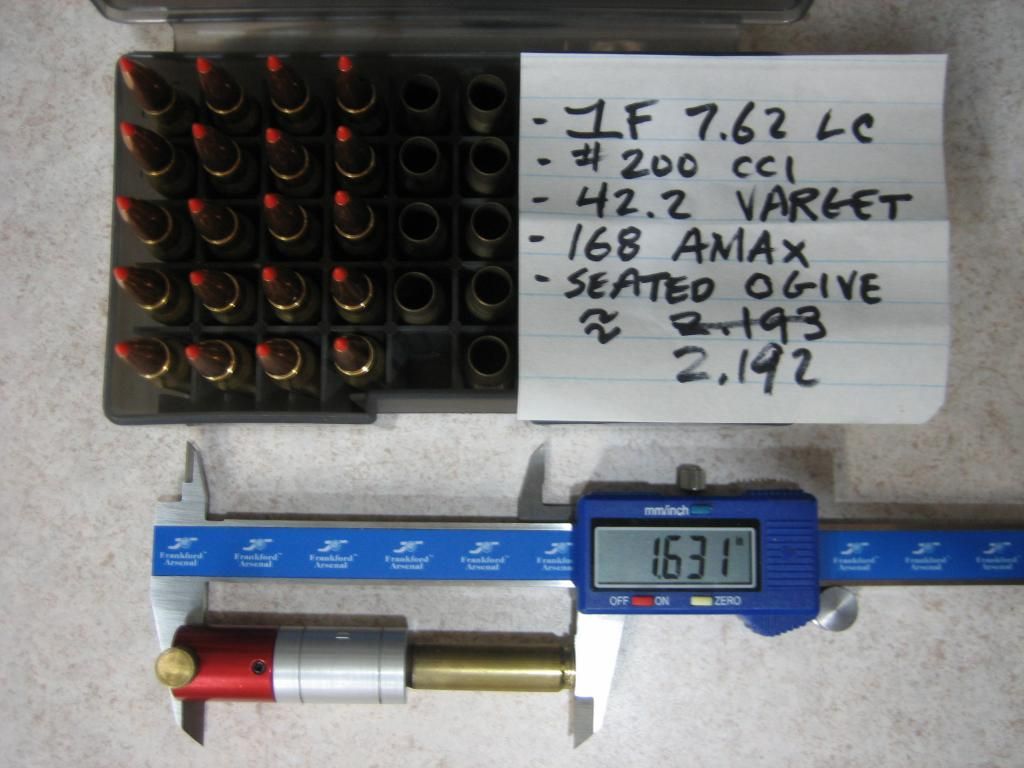
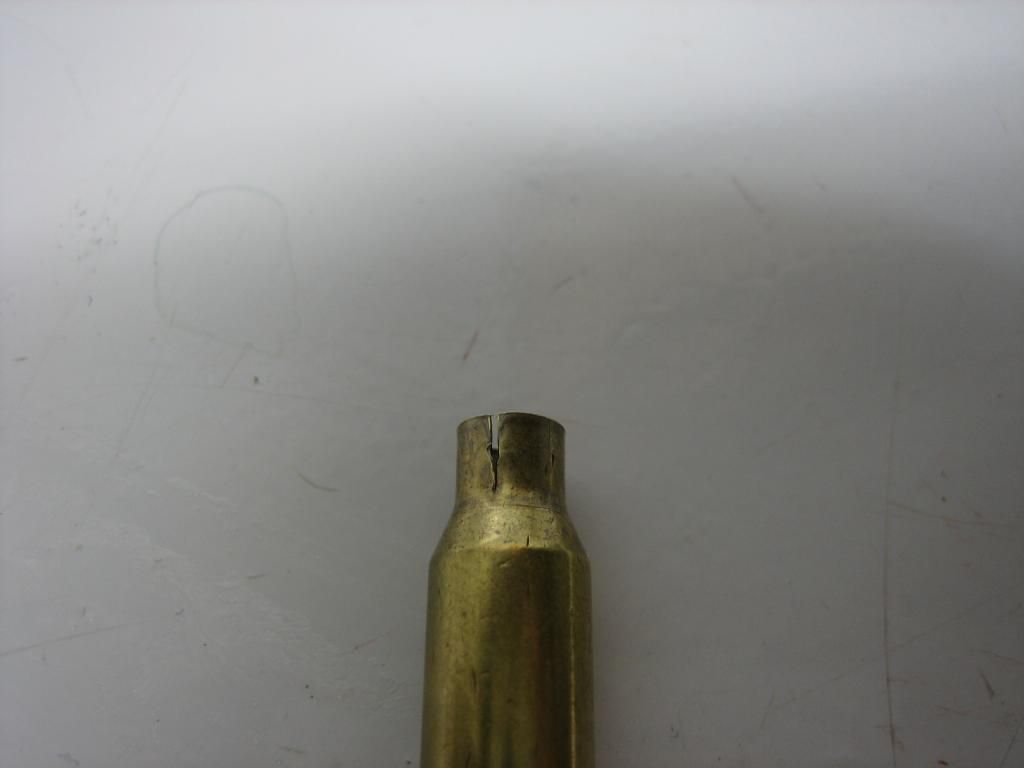
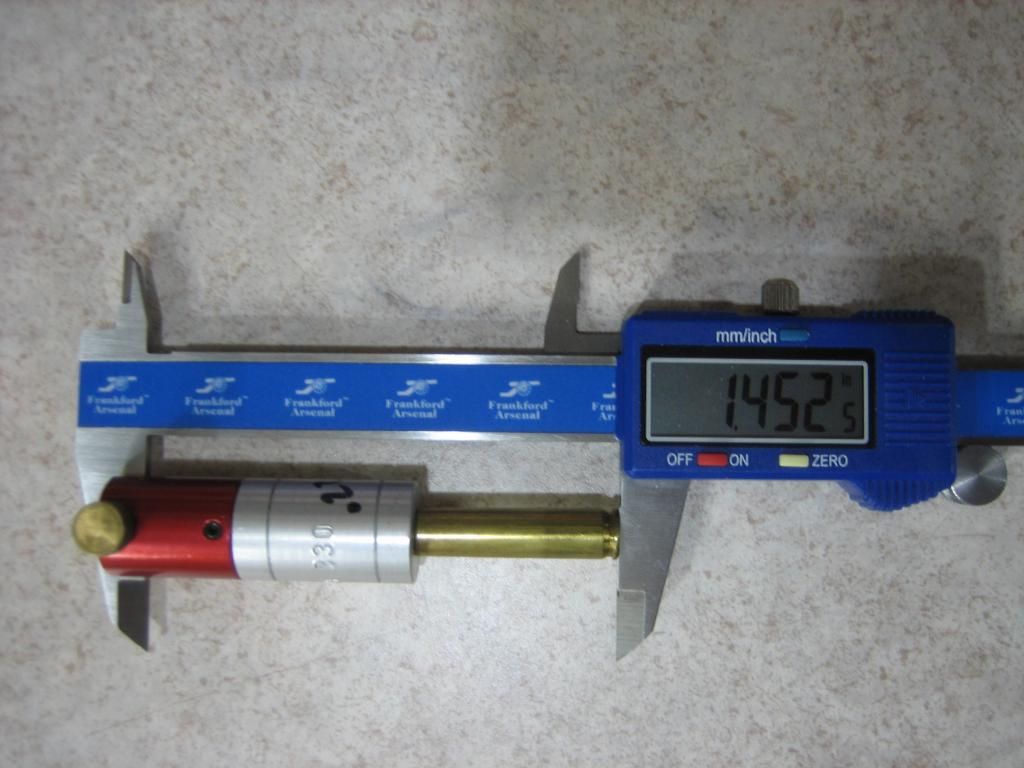
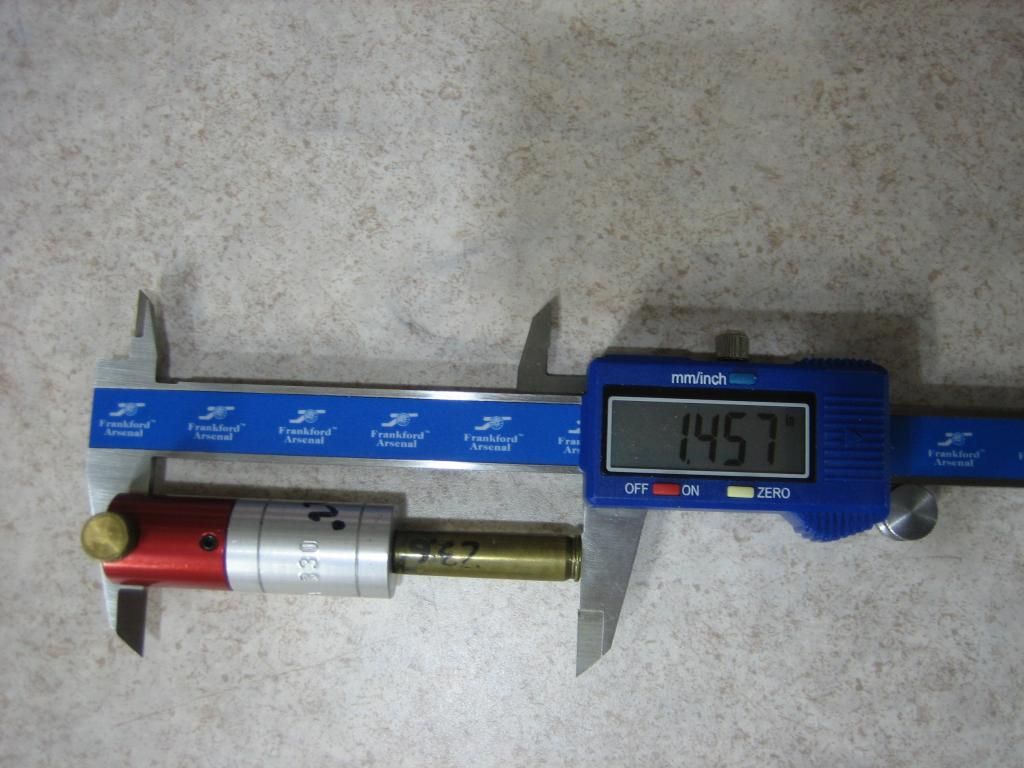
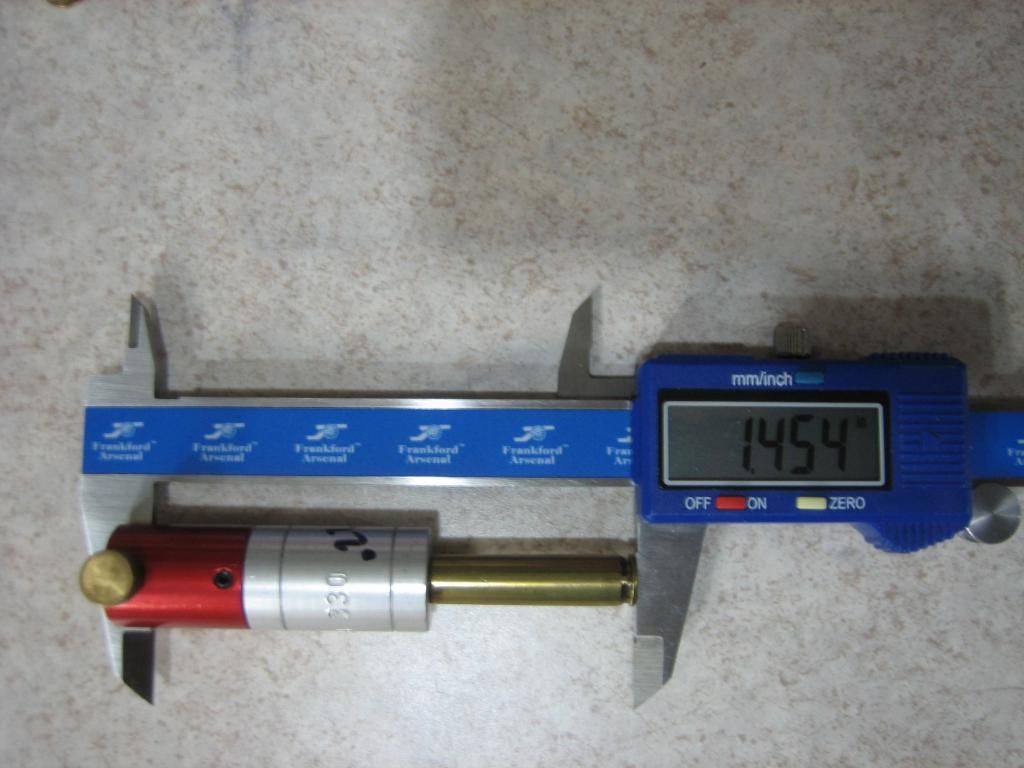
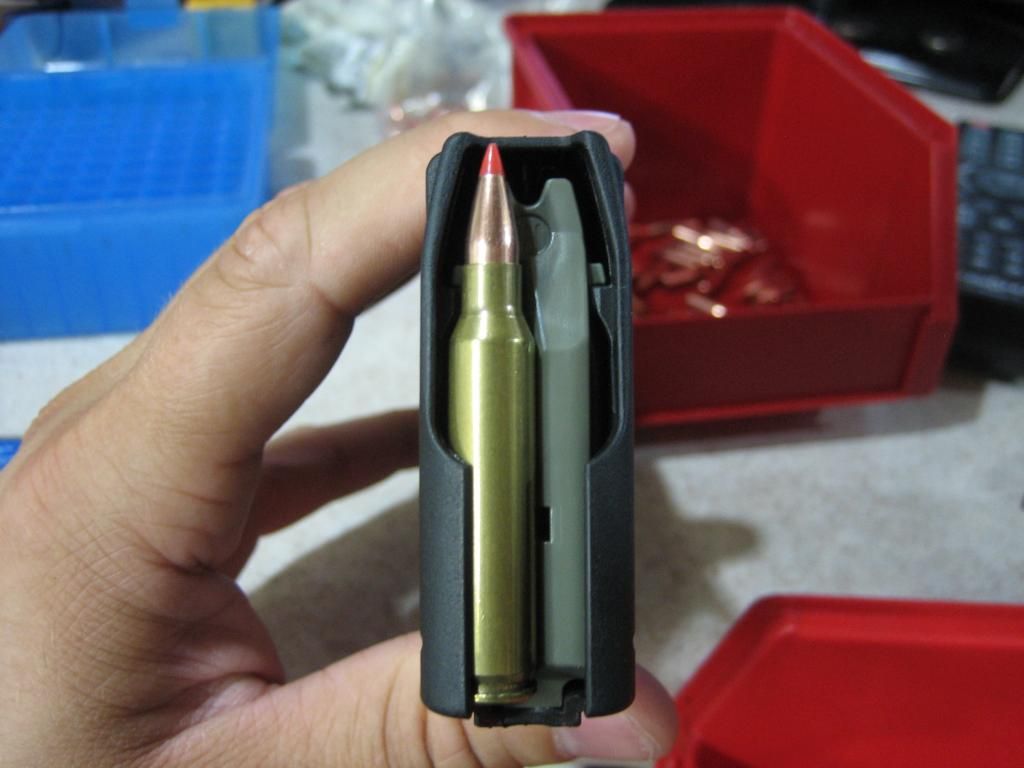
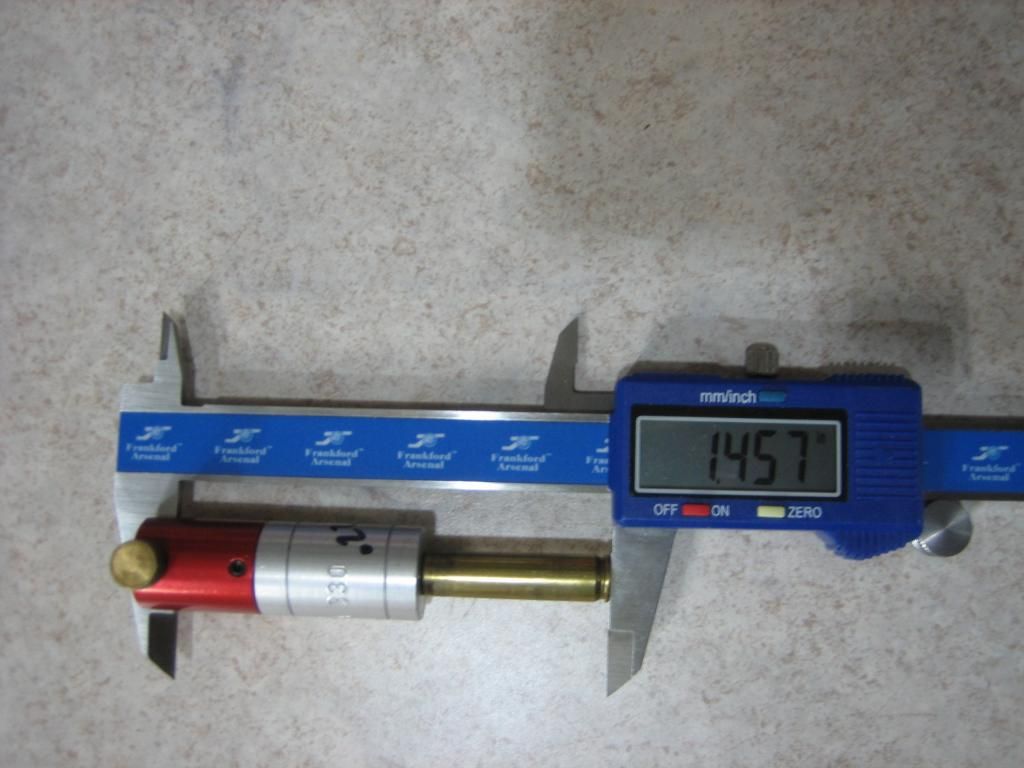
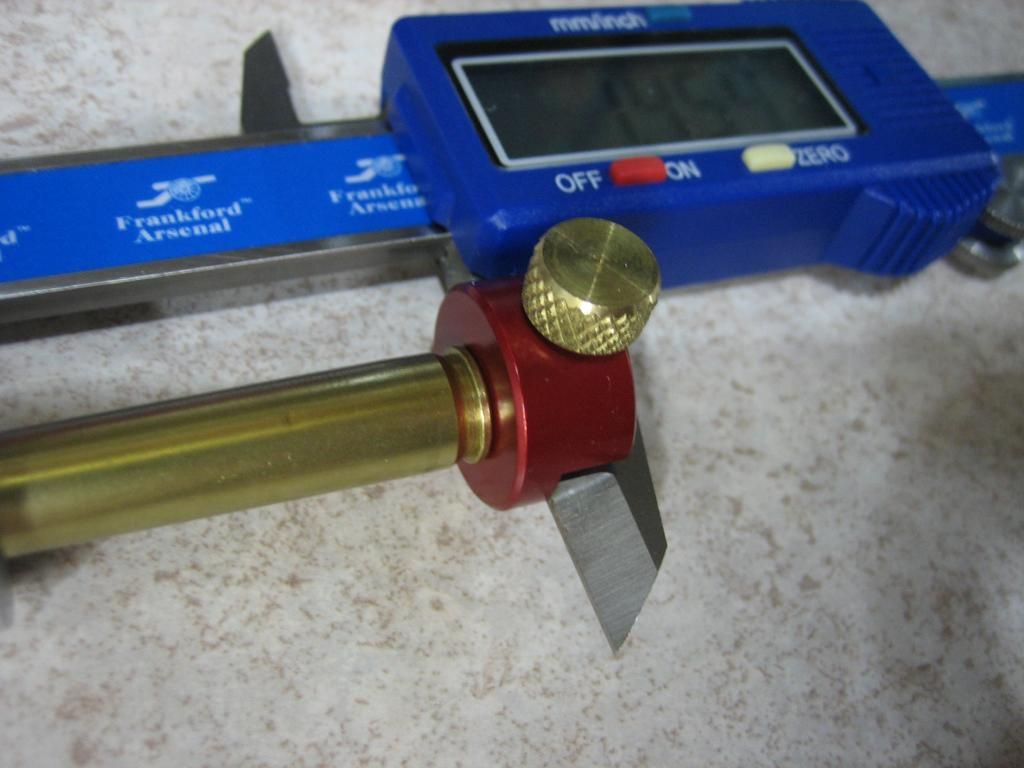
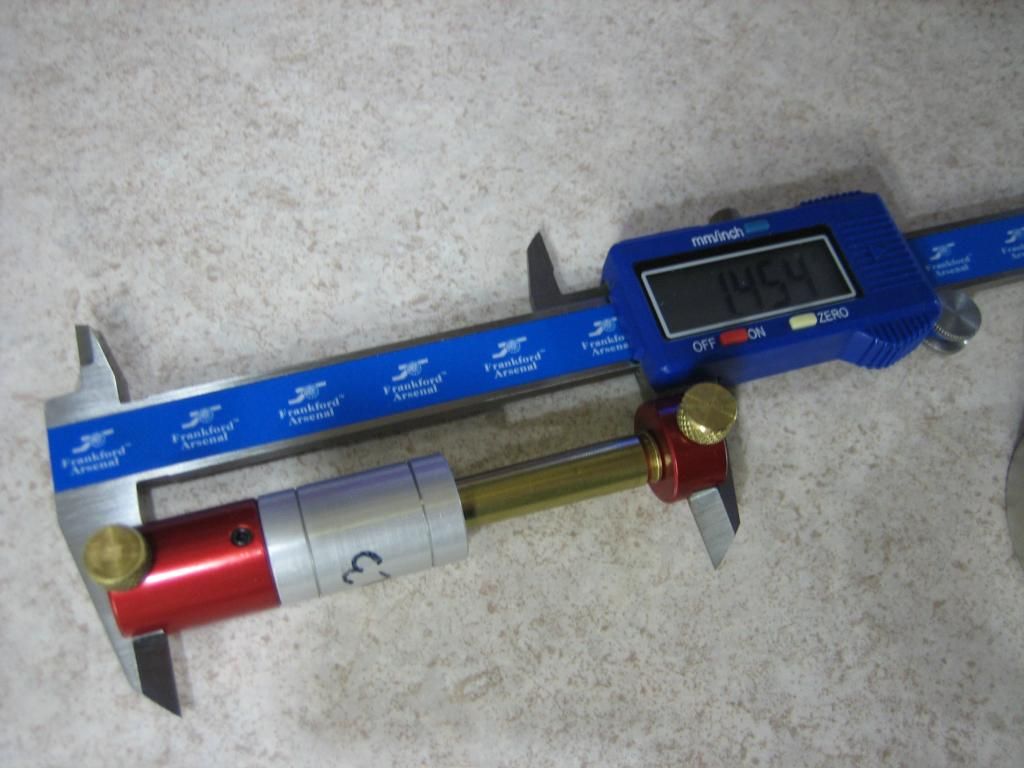
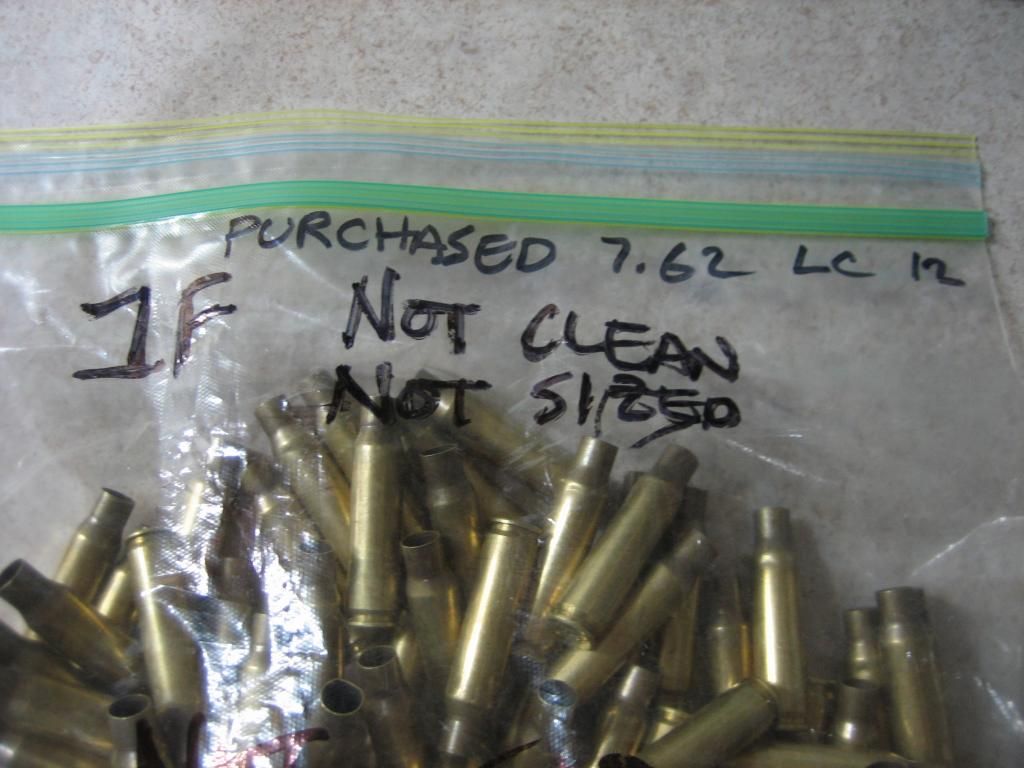
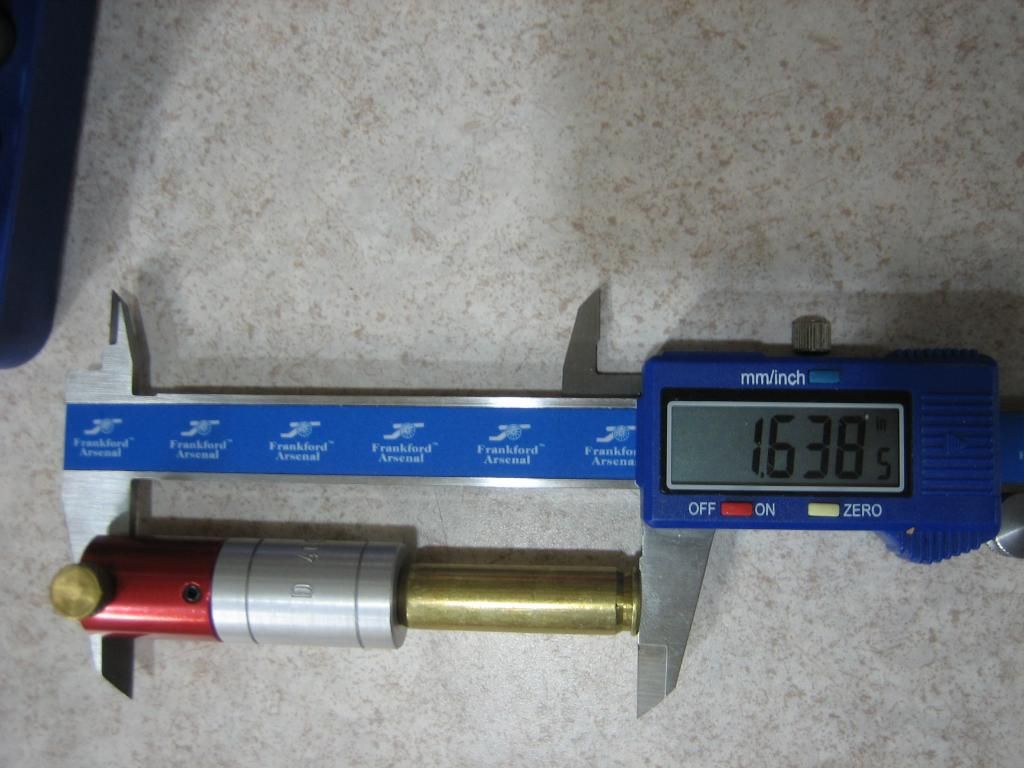
The once fired lake city 7.62x51 brass I purchased online is usually fired out of a military grade semi-auto / full auto & will usually arrive at your front door step with a HUGE headspace measurement as shown in the picture below........ The weapon this brass was fired out of typically has a very generous headspace chamber to insure function and reliability so their are no issues on the field of battle. Make note in the below (not resized yet by me) once fired military 7.62 brass picture in MY headspace gauge shows a HUGE 1.6385 measurement!! I have measured some 1F military brass well over 1.64!!
note the HUGE headspace measurement of this 1fired brass I purchased online!
***************************************************************
http://www.snipershide.com/shooting...00yard-semi-auto-6group-30round-shootout.html
http://www.snipershide.com/shooting...0yard-semi-auto-6groups-30round-shootout.html
http://www.snipershide.com/shooting...on-red-dot-6xmax-only-king-hill-shootout.html
http://www.snipershide.com/shooting...ic-info-ar-101-7-62-lmt-mws-example-pics.html
http://www.snipershide.com/shooting...t-semi-auto-precision-shooters-reloaders.html
http://www.snipershide.com/shooting...learning-experiences-live-learn-pictures.html
http://www.snipershide.com/shooting...08476-bye-bye-bi-pod-hello-mega-benchbag.html
http://www.snipershide.com/shooting...chargemaster-optional-pen-straw-mod-pics.html
http://www.snipershide.com/shooting...ing-scopes-when-mounted-pics.html#post2680977
***************************************************************
First and foremost.. This is me reloading for MY LMT MWS semi-auto....!! NOT YOU reloading for your semi auto AR-10 or whatever rifle!! I'm in no way telling you this is right or wrong... Hell, I'm not even telling you that you should even use this info.... This is just what I do with MY LMT MWS / AR's!!... Take this info as you want. Those reloading for bolt actions will need to do more homework above and beyond this thread if you don't want to full length resize and do neck only!! Also, the amount of shoulder bump back is different for a bolt action in comparison to a semi auto. I am in no way telling you to follow this thread! Everyone has their own way of doing things.
***************************************************************
EDIT 07/11/13, the AR-15 5.56 accuracy journey with my rock river arms varmint rifle was just added below the original post!
***************************************************************
This is "MY" EPIC AR ACCURACY JOURNEY that starts in my reloading room with components & will end up on the 600yard range with my LMT MWS and two total 5shot groups...... YOUR journey starts with YOU and your own methods! What I'm sharing with you right now is my life experiences / knowledge reloading for my AR's & trying to get the most out of the semi-auto AR platform.... That is what this thread is all about. Please join me on my quest for the perfect 5shot group. Sit back and relax & enjoy the show. It starts right now......
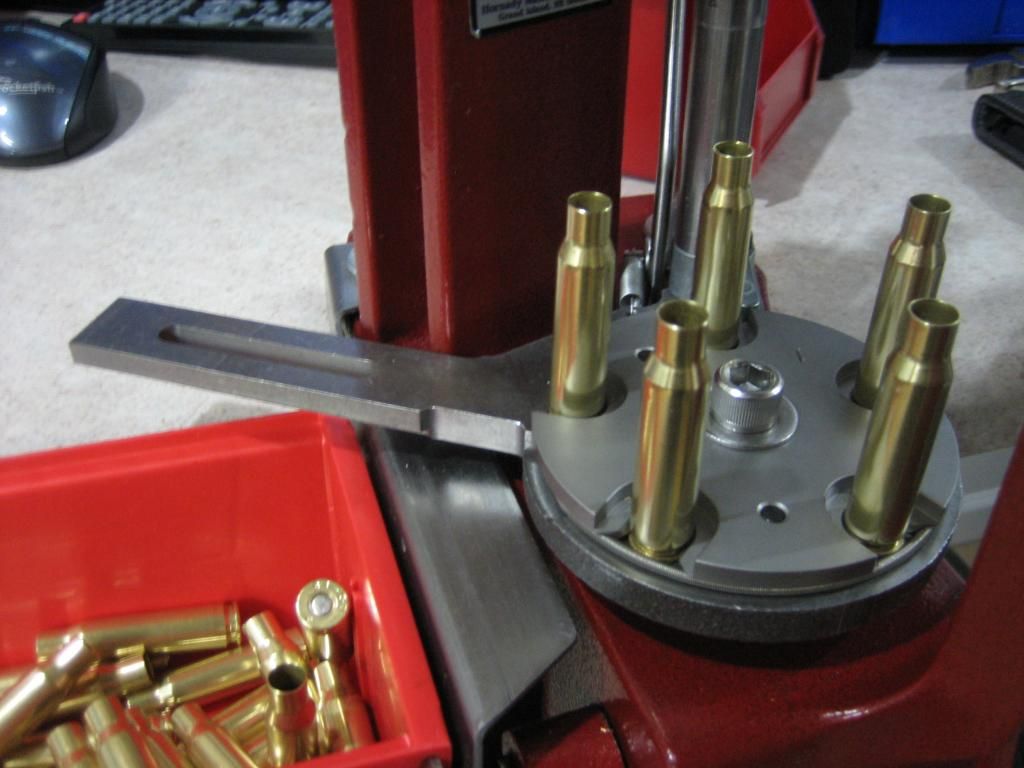
This is where the show starts. My AR rifles & my reloading room of fun.....
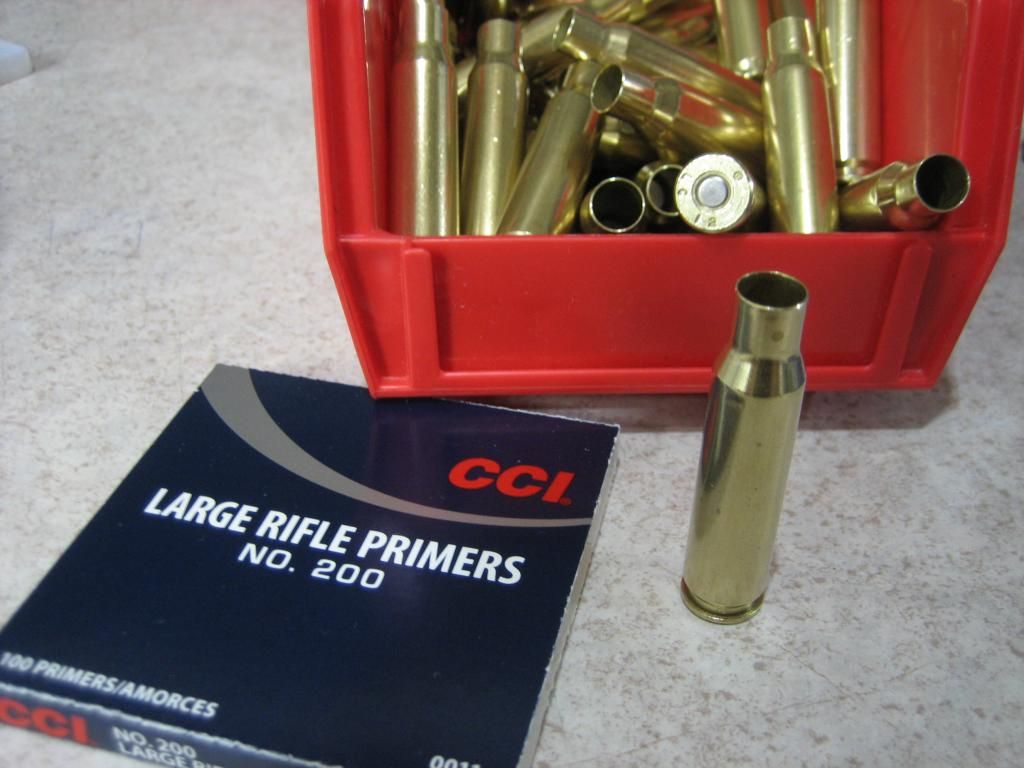
I like to purchase my once fired lake city 7.62x51 brass in lots of 500pcs or 1000pcs. I will NOT prep the entire batch of 500 to 1000pcs of brass in one shot... I'll usually pull 51 to 101pcs of brass in small batches at a time (as bullets usually come in 100pc boxes). This makes it easy to keep track of my number of fires on that batch of brass reloaded & also if I need to make small adjustments on the next batch of 51 to 101pcs reloaded down the road. I'll store my brass in zip lock bags and mark those zip lock bags with magic marker as shown in these pics (very important in order to keep track the # of times the brass has been reloaded & other general information)... Also, the more sealed & less air in the zip lock bag = less tarnishing of brass! The amount of times you can reload this brass is up to you! It is very important to keep an eye on over pressure signs, case head separation, cracked necks, blah blah blah = time for YOUR HOMEWORK!
***************************************************************
First and foremost, make sure the battery in your calipers is good and fresh. Maybe even measure an item you know is 100% true to test your calipers before you start. Attach the hornady headspace guage to your calipers and zero the calipers on the headspace guage.
HORNADY HEADSPACE GUAGE HERE: Hornady Lock-N-Load Headspace Gage 5 Bushing Set Comparator
***************************************************************
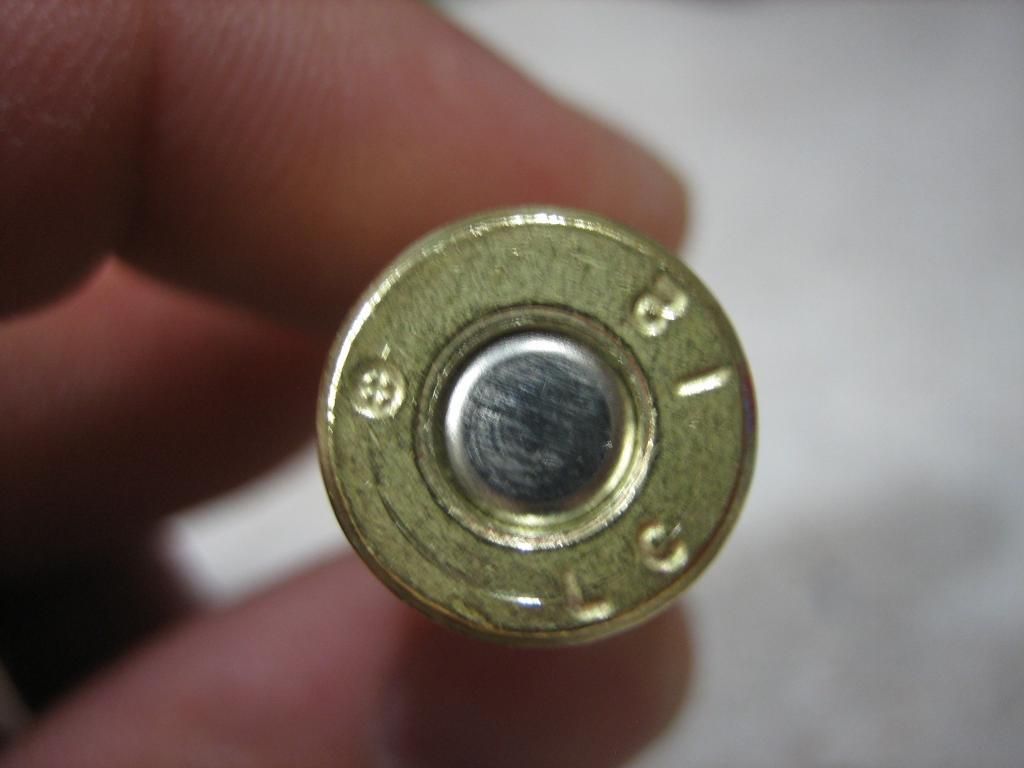
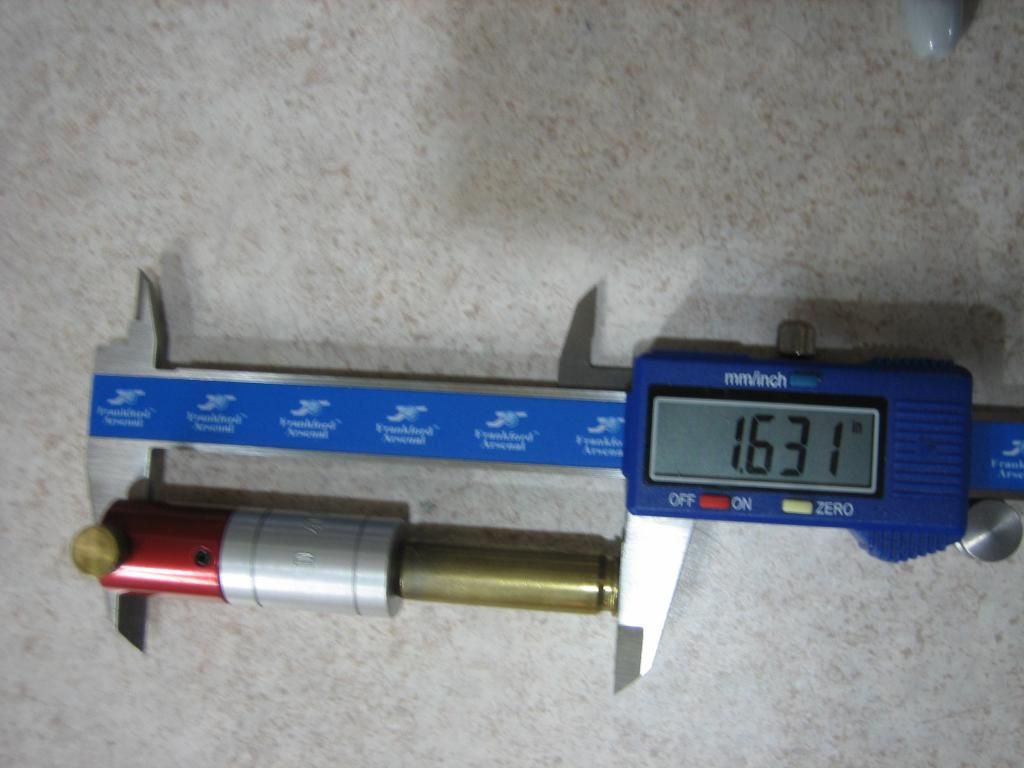
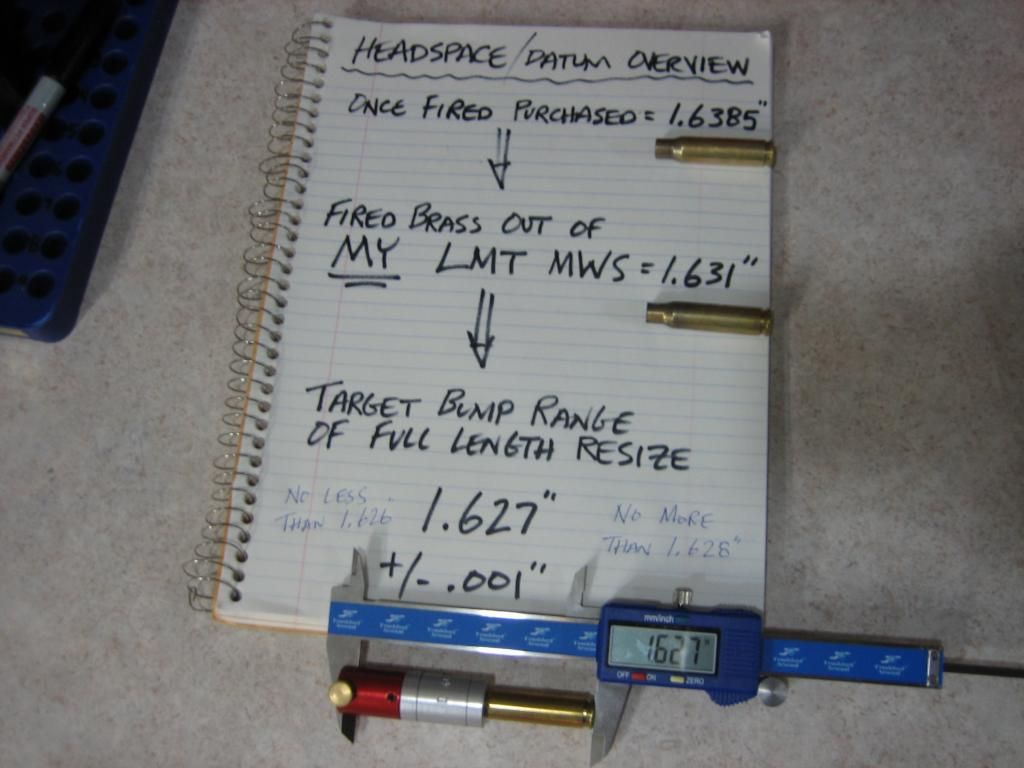
The once fired lake city 7.62x51 brass I purchased online is usually fired out of a military grade semi-auto / full auto & will usually arrive at your front door step with a HUGE headspace measurement as shown in the picture below........ The weapon this brass was fired out of typically has a very generous headspace chamber to insure function and reliability so their are no issues on the field of battle. Make note in the below (not resized yet by me) once fired military 7.62 brass picture in MY headspace gauge shows a HUGE 1.6385 measurement!! I have measured some 1F military brass well over 1.64!!
note the HUGE headspace measurement of this 1fired brass I purchased online!
***************************************************************
Last edited:

")