I have read a lot of threads about how to finish a Laminate stock, so I thought I would put together a step by step with pictures on how I do it.
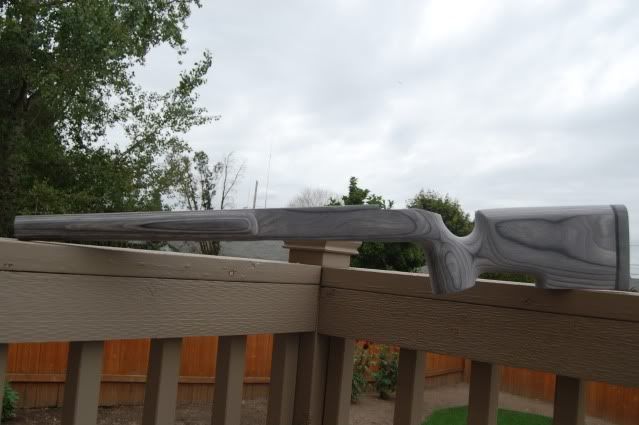
First I start with a great product (thanks Joel http://russoriflestocks.com/). You will not find a better guy to deal with than Joel. I have used many of his stocks and they all have been great. His do NOT look or feel like they were carved with a chain saw. It makes getting to the final product much easier.
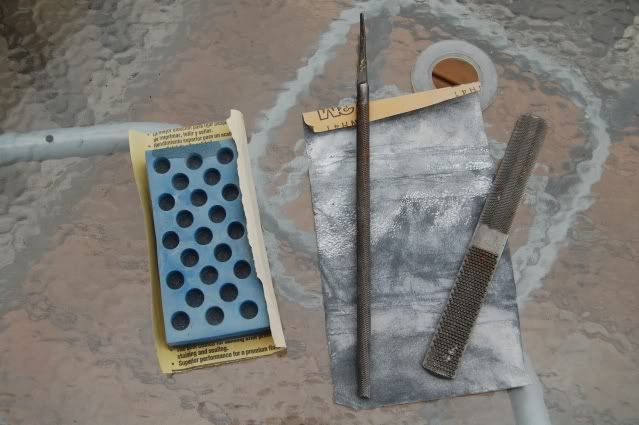
Tools you will need.
Sanding Block—keeps everything smooth and flat.
File/rasp—helps in final shaping. I have a round, semi round, and flat.
Sandpaper---220, 320,400, 1500, 2000 grit, and rubbing compound
Sand able sealer
Auto clear coat ( Dupli Color has a all in one Auto clear that has worked well)
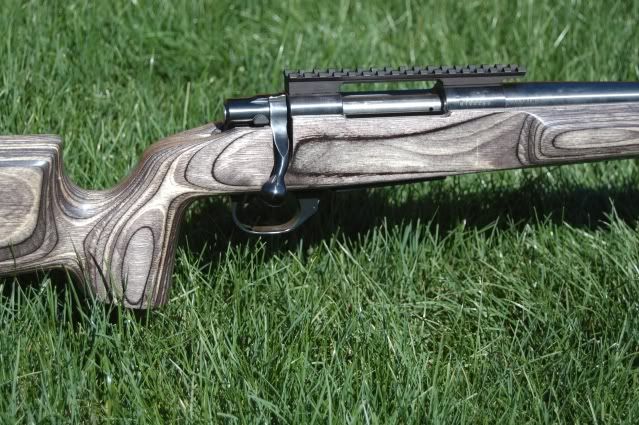
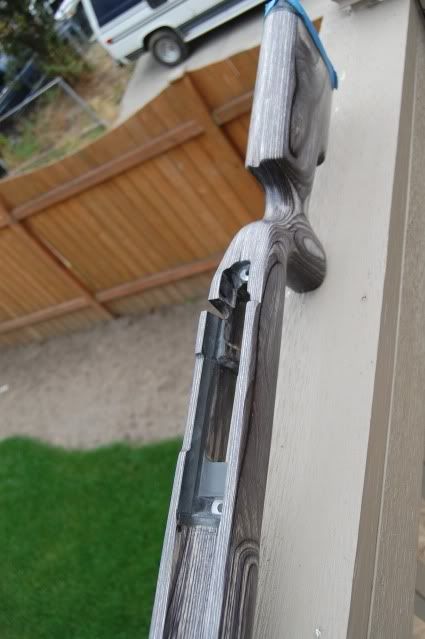
First I sand the stock with 220 and then 320 grit sandpaper with a sanding block. I am trying to sand out any rough spots and sanding scratches. At this point I will set the action in and do some preliminary shaping and remove wood where I want to change the fit. Some of this can be done with a palm sander (be careful, if you remove too much wood you can not put it back). I also do the fit of the bolt handle and knob at this point to make sure there is enough clearance.
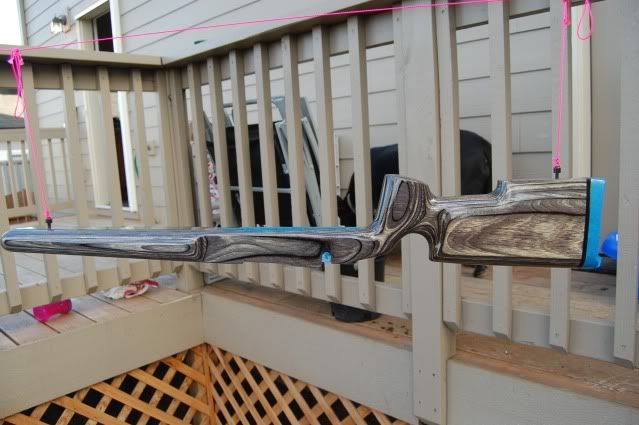
After first fitting I will sand it with 400 grit, checking for scratch marks and taking out most of the sanding scratches. When I am happy with the results I apply my first coat of Sandable sealer (found at your local woodworking shop). Make sure it is one that is compatible will all types of finishes! I thin this first application with 50% denatured alcohol. It helps dry faster and seep in the wood further (what I was told at the wood working shop).
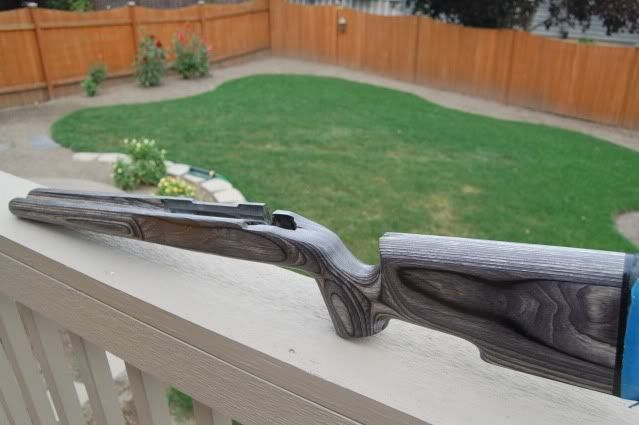
At this point the stock looks shiny and nice, I then set pillars and glass bed. This can be done right off the start due to scratches that happen during this processes. I just like to get the sealer on all surfaces first. Just how I do it. The bedding compound will seal the wood. I used this thread for tips on bedding http://www.snipershide.com/forum/ubbthreads.php?ubb=showflat&Number=1167022&nt=6&page=1
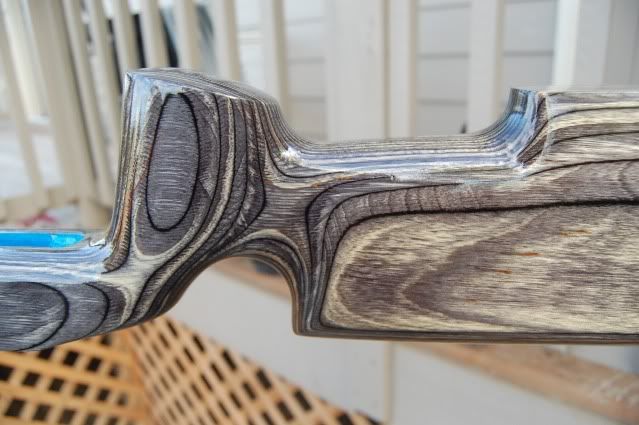
After the Pillars and glass bedding is cured, were ready for final fit! I make sure the rear tang looks right and shape the forend. At this point I start back at 220 grit sand paper and work my way back to 400 grit. The sandable sealer allows you to see any low spots (they will still be shinny). Sand all the shiny spots off with a sanding block, this helps keep the final finish flat.
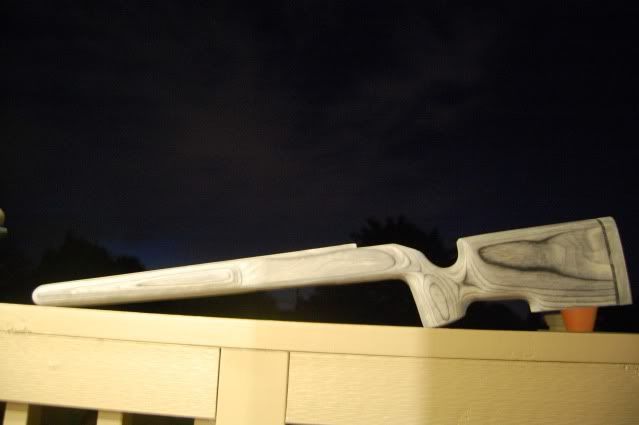
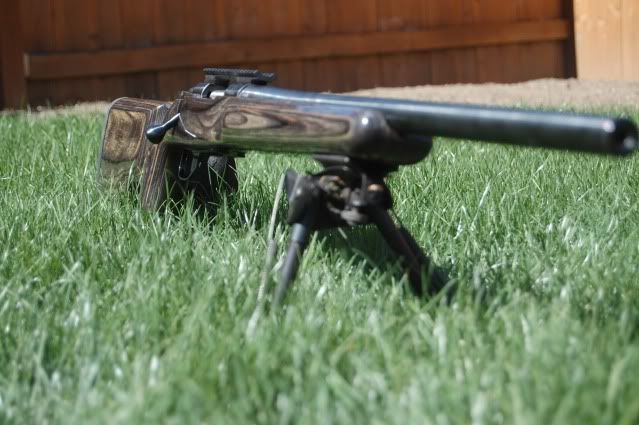
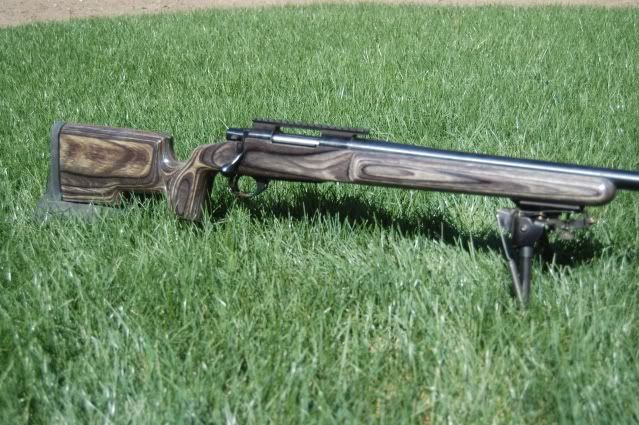
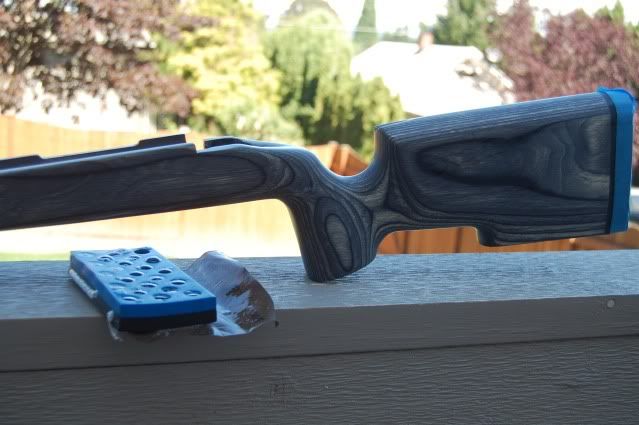
I then apply a second coat of Sandable sealer (probably not necessary) and repeat the above process. This time it goes really quick and the surface should be smooth and flat ready for Paint. Here it is with my model

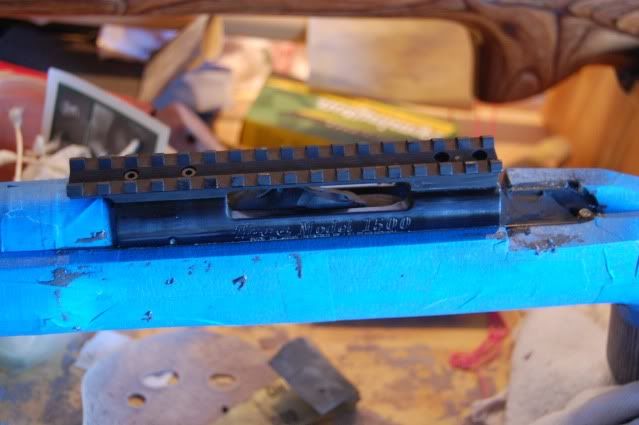
Now I mask everything off that I do not want painted. I will set the masking line below the edges about 1/16 inch. I find if I put it right on the edge it can pull up the paint when you are done.
Now for paint
I did this stock with a Rattle can of auto clear I got at a paint shop. This is not how I normally do it, but wanted to show that it can be done without a spray gun. Habor freight sells a touch up spray gun for $14.00 that I use. Works great! I apply atleast 12 coats, but 16 is much better. Spray a new coat about every 15 min or tell the last coat is tacky. You are trying to build up a layer of clear coat, so you can wet sand it off for a great finish. If you get a run let it dry!
Wet sanding
If you did get a run, which you probably will, take a razor blade and hold it perpendicular to the surface and scrape the run off. Bring it down close to the rest of the finish and then start wet sanding. I mix dish soap with water and start at 1500 grit paper and sand with a block. You will be taking most of the orange peel off and the stock will look like crap. After you have done 1500 tell most of the shin is gone, switch to 2000 grit. Be careful around the sharp edges or rounded surfaces, you will sand through really quickly.
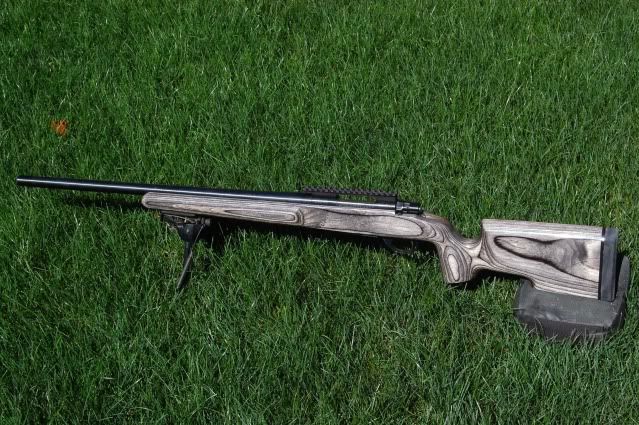
Once you have no shiny spots left and the surface is dull, use rubbing compound to bring the shin back. You can polish to high gloss if you want, you can always take it back to a matte finish if you want.
That is my step by step process. With cure times and waiting to get time on a milling machine for in letting the pillars. It was completed in 5 days.
Hope this is helpful to some, if not sorry I wasted your time.
Next post for final product
Enjoy,
Willys46
First I start with a great product (thanks Joel http://russoriflestocks.com/). You will not find a better guy to deal with than Joel. I have used many of his stocks and they all have been great. His do NOT look or feel like they were carved with a chain saw. It makes getting to the final product much easier.
Tools you will need.
Sanding Block—keeps everything smooth and flat.
File/rasp—helps in final shaping. I have a round, semi round, and flat.
Sandpaper---220, 320,400, 1500, 2000 grit, and rubbing compound
Sand able sealer
Auto clear coat ( Dupli Color has a all in one Auto clear that has worked well)
First I sand the stock with 220 and then 320 grit sandpaper with a sanding block. I am trying to sand out any rough spots and sanding scratches. At this point I will set the action in and do some preliminary shaping and remove wood where I want to change the fit. Some of this can be done with a palm sander (be careful, if you remove too much wood you can not put it back). I also do the fit of the bolt handle and knob at this point to make sure there is enough clearance.
After first fitting I will sand it with 400 grit, checking for scratch marks and taking out most of the sanding scratches. When I am happy with the results I apply my first coat of Sandable sealer (found at your local woodworking shop). Make sure it is one that is compatible will all types of finishes! I thin this first application with 50% denatured alcohol. It helps dry faster and seep in the wood further (what I was told at the wood working shop).
At this point the stock looks shiny and nice, I then set pillars and glass bed. This can be done right off the start due to scratches that happen during this processes. I just like to get the sealer on all surfaces first. Just how I do it. The bedding compound will seal the wood. I used this thread for tips on bedding http://www.snipershide.com/forum/ubbthreads.php?ubb=showflat&Number=1167022&nt=6&page=1
After the Pillars and glass bedding is cured, were ready for final fit! I make sure the rear tang looks right and shape the forend. At this point I start back at 220 grit sand paper and work my way back to 400 grit. The sandable sealer allows you to see any low spots (they will still be shinny). Sand all the shiny spots off with a sanding block, this helps keep the final finish flat.
I then apply a second coat of Sandable sealer (probably not necessary) and repeat the above process. This time it goes really quick and the surface should be smooth and flat ready for Paint. Here it is with my model
Now I mask everything off that I do not want painted. I will set the masking line below the edges about 1/16 inch. I find if I put it right on the edge it can pull up the paint when you are done.
Now for paint
I did this stock with a Rattle can of auto clear I got at a paint shop. This is not how I normally do it, but wanted to show that it can be done without a spray gun. Habor freight sells a touch up spray gun for $14.00 that I use. Works great! I apply atleast 12 coats, but 16 is much better. Spray a new coat about every 15 min or tell the last coat is tacky. You are trying to build up a layer of clear coat, so you can wet sand it off for a great finish. If you get a run let it dry!
Wet sanding
If you did get a run, which you probably will, take a razor blade and hold it perpendicular to the surface and scrape the run off. Bring it down close to the rest of the finish and then start wet sanding. I mix dish soap with water and start at 1500 grit paper and sand with a block. You will be taking most of the orange peel off and the stock will look like crap. After you have done 1500 tell most of the shin is gone, switch to 2000 grit. Be careful around the sharp edges or rounded surfaces, you will sand through really quickly.
Once you have no shiny spots left and the surface is dull, use rubbing compound to bring the shin back. You can polish to high gloss if you want, you can always take it back to a matte finish if you want.
That is my step by step process. With cure times and waiting to get time on a milling machine for in letting the pillars. It was completed in 5 days.
Hope this is helpful to some, if not sorry I wasted your time.
Next post for final product
Enjoy,
Willys46