• Watch Out for Scammers!

    We've now added a color code for all accounts. Orange accounts are new members, Blue are full members, and Green are Supporters. If you get a message about a sale from an orange account, make sure you pay attention before sending any money!

Gunsmithing my home shop .284 win build (pic heavy)

300sniper

Gunny Sergeant
Full Member
Minuteman
Jan 17, 2005
3,438
23
Greenwood, Ca
i had a long action 700p in 300 wm that i haven't shot in over 5 years. i have been wanting to do a rifle build myself for quite some time and decided now is the time. after seeing the results of some gap built .284s during our local long range match i decided to build a .284 for myself.

i bought for this project a broughton 7.1 barrel, ptg bolt, badger recoil lug, and an aics 1.5 stock. i already had a nightforce 20 moa base, badger rings, and leupold 4.5-14 veri-x iii (i just sent it in to have m1 knobs installed)and timney trigger.

after ordering the parts, the first thing i did was start making tools.

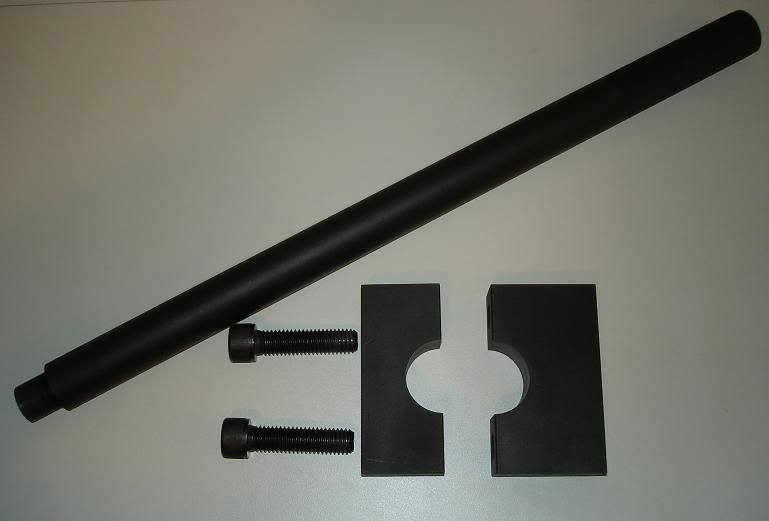
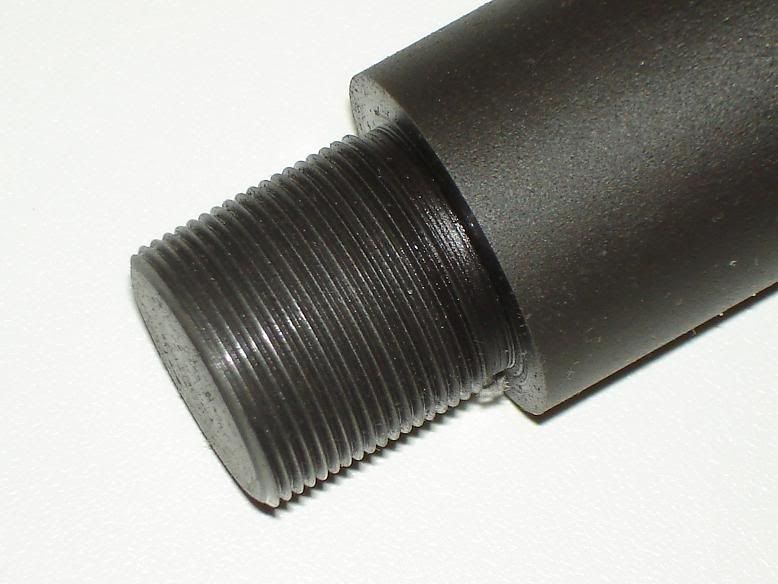
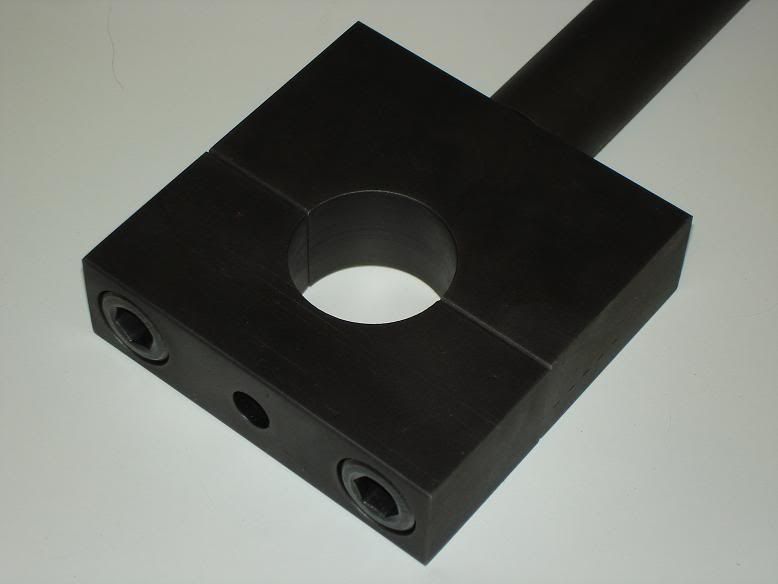
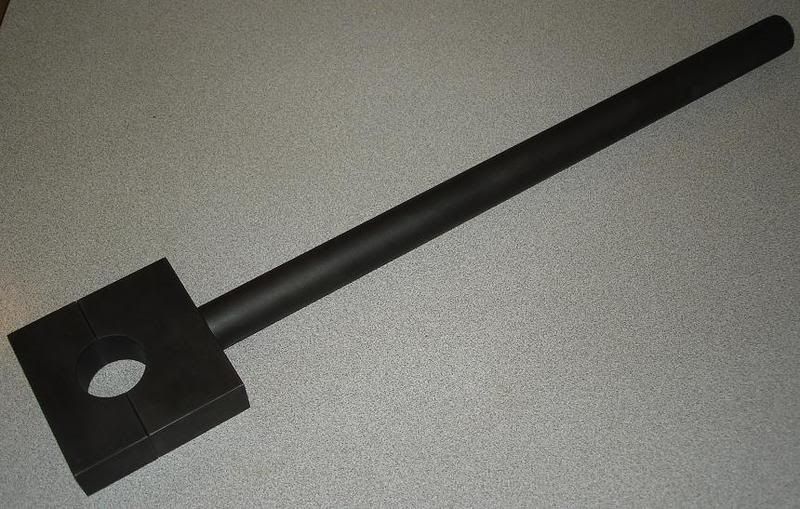
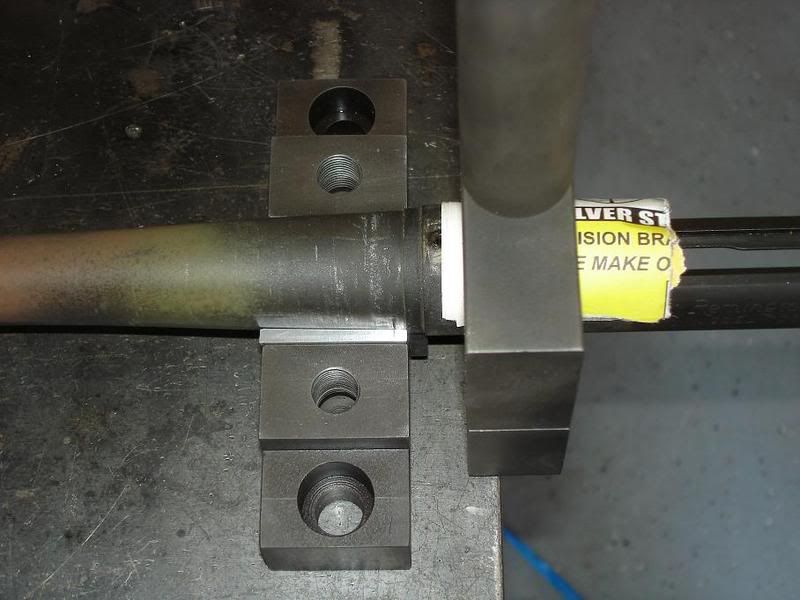
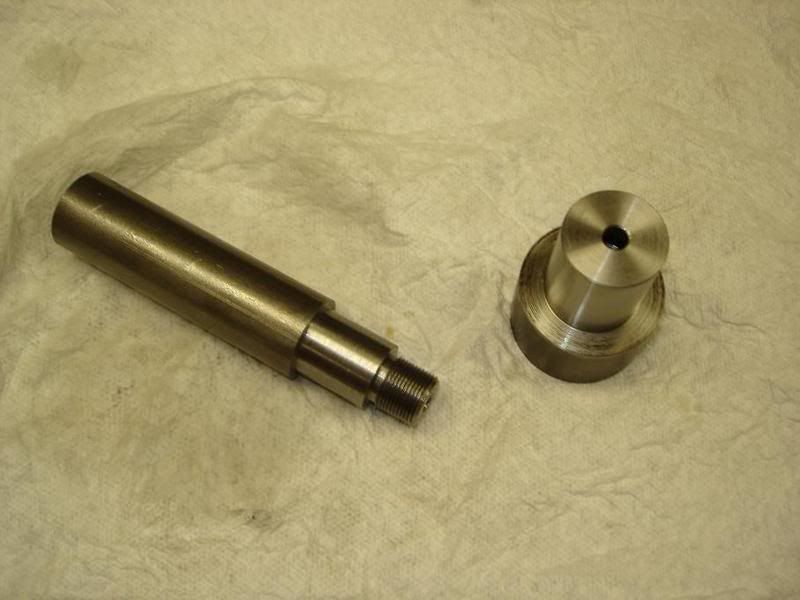
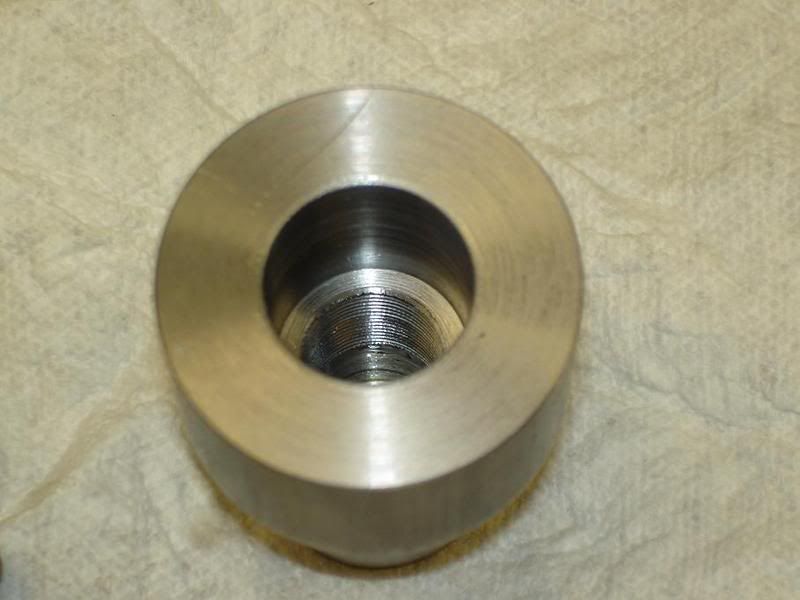
here is the action wrench. it was made from crs and finished with caswell's black oxide. the handle was threaded 3/4-28.


receiverwrench3.jpg


receiverwrench4.jpg


receiverwrench6.jpg


receiverwrench8.jpg
 
Re: my home shop .284 win build

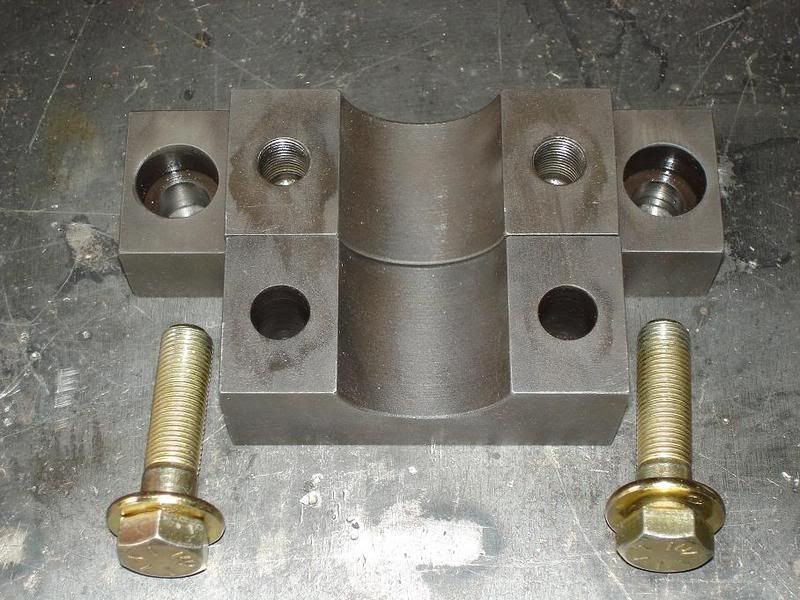
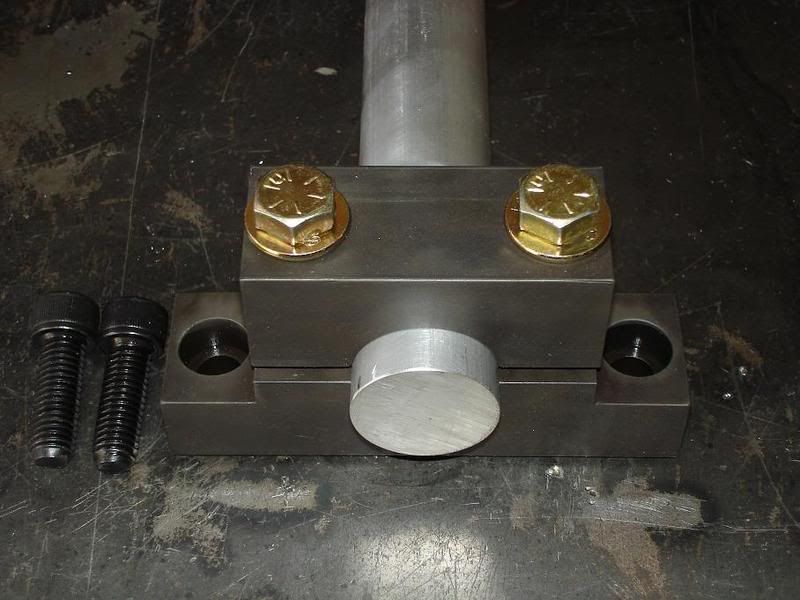
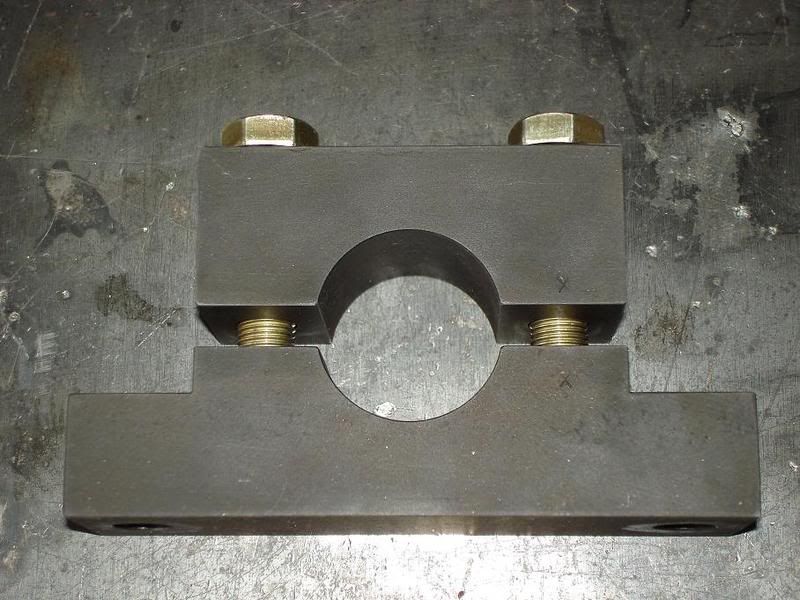
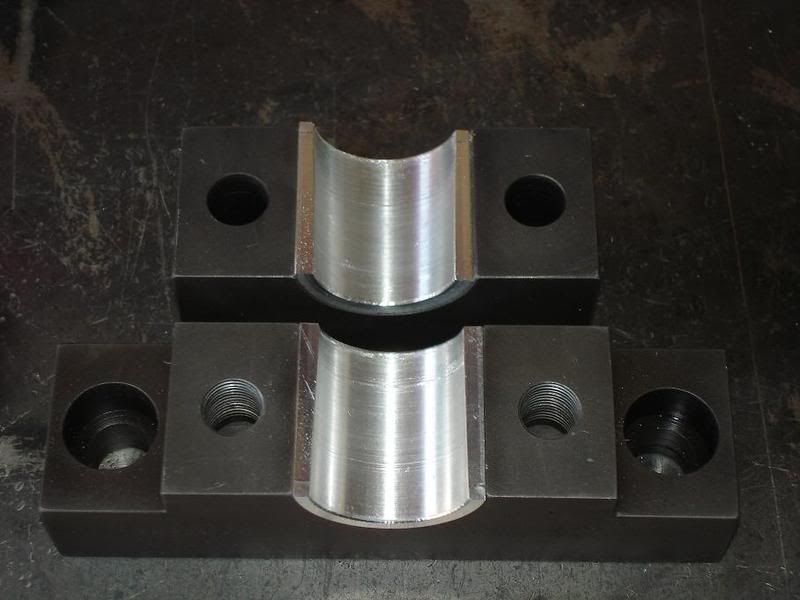
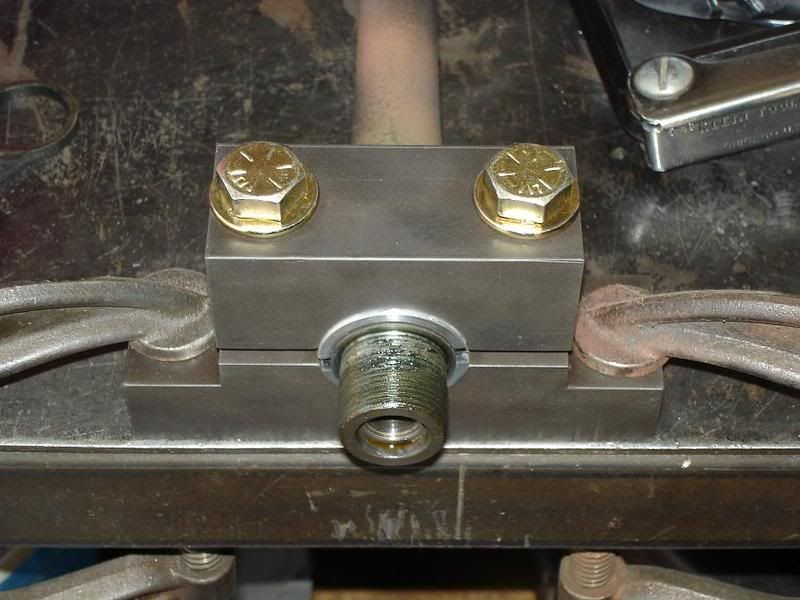
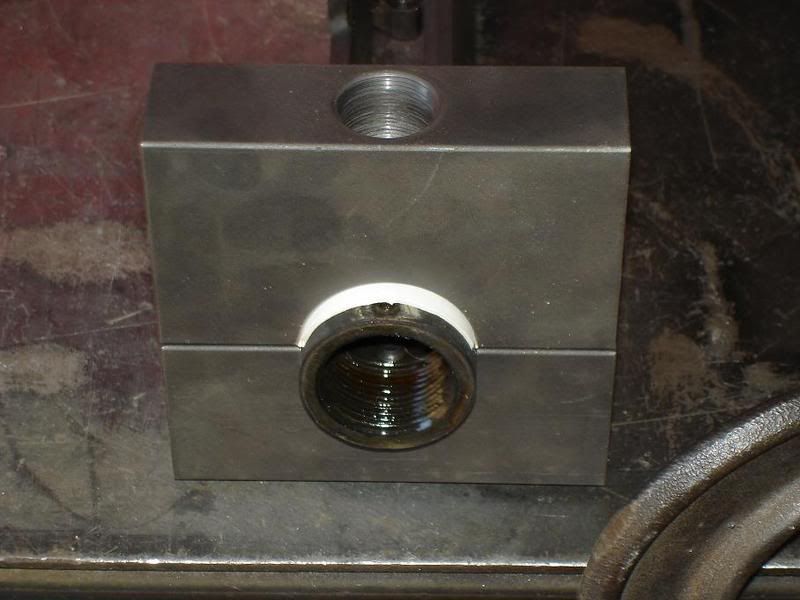
then i made the barrel vise. it was also made from crs and finished in black oxide. the bolts are 1/2-20 but i plan on changing them out for studs. i made barrel specific bushings out of 1.5 od aluminum. i plan on bolting it to my bench with socket head cap screws.

barrelvice3.jpg


barrelvice2.jpg


barrelvice4.jpg


barrelvice5.jpg
 
Re: my home shop .284 win build

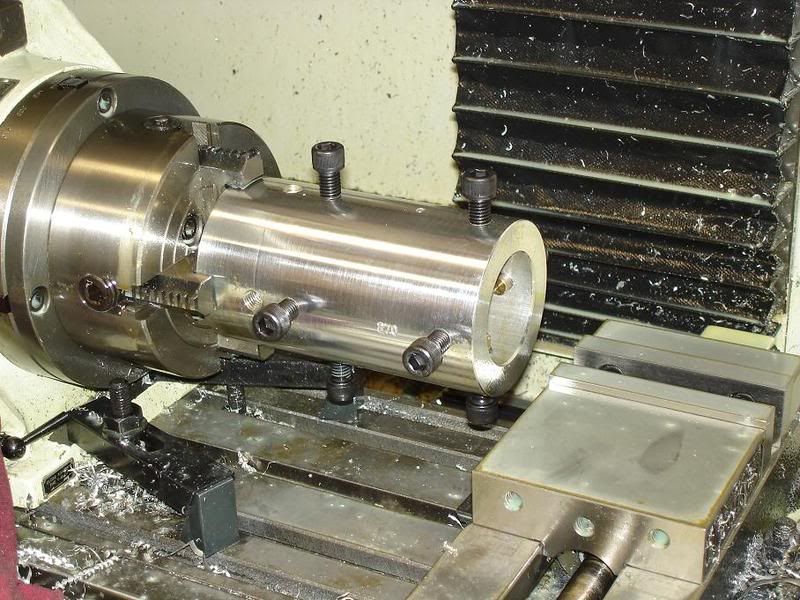
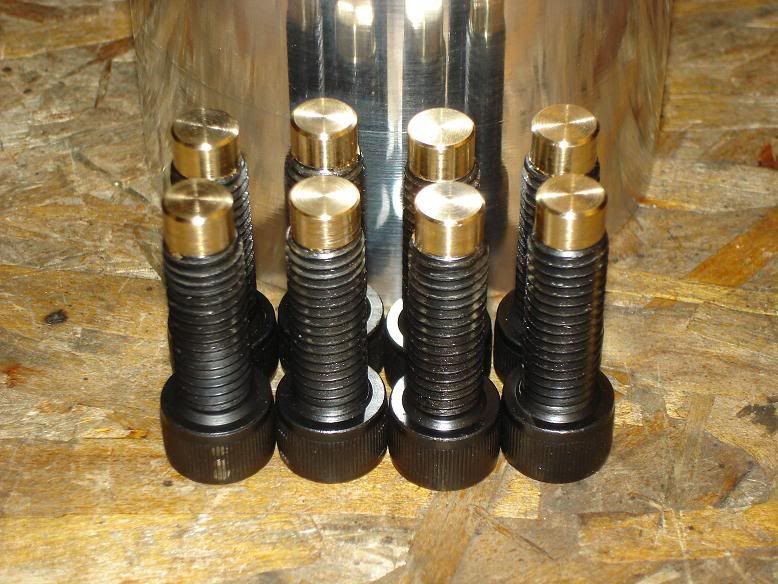
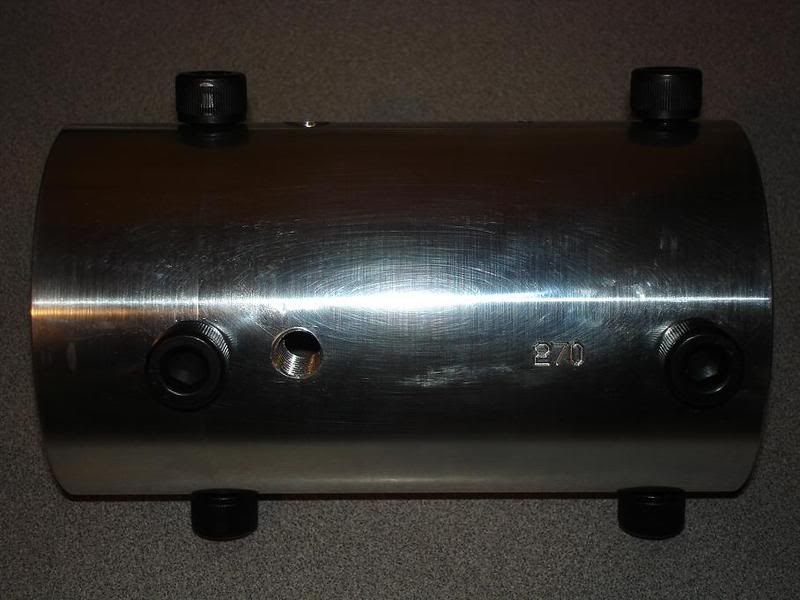
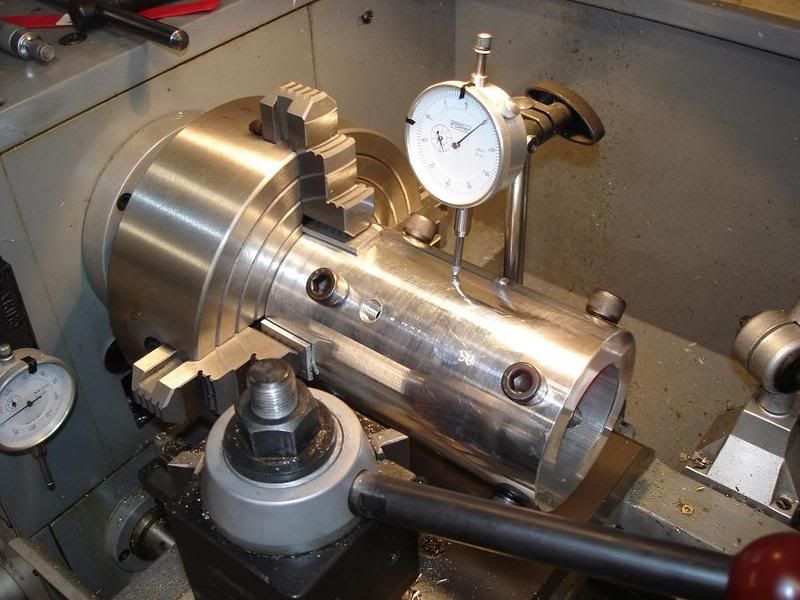
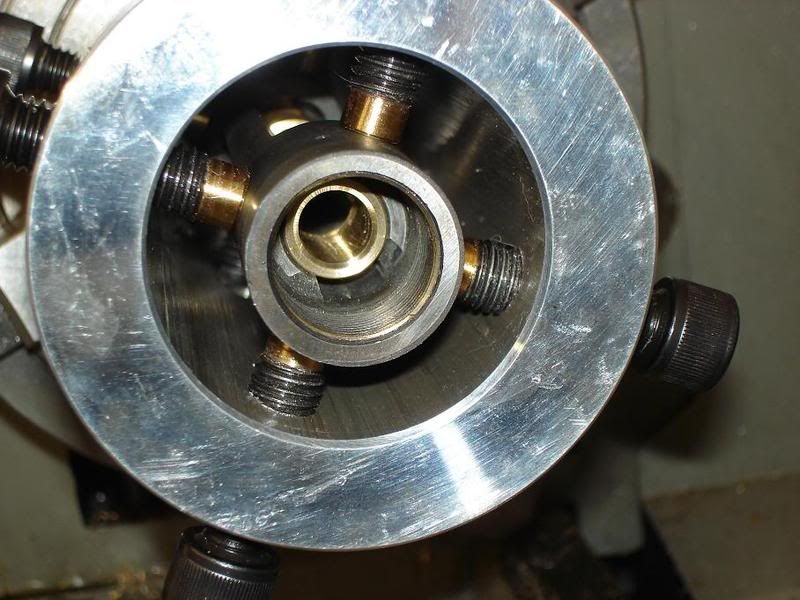
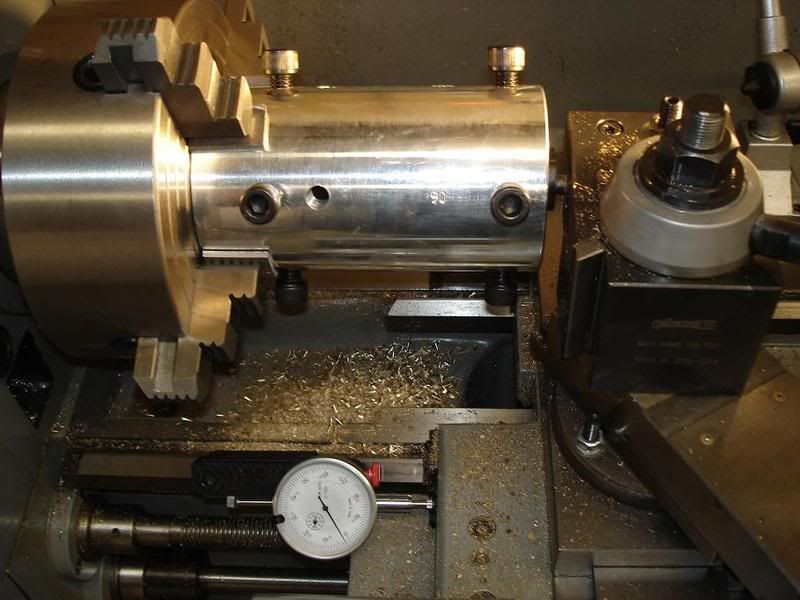
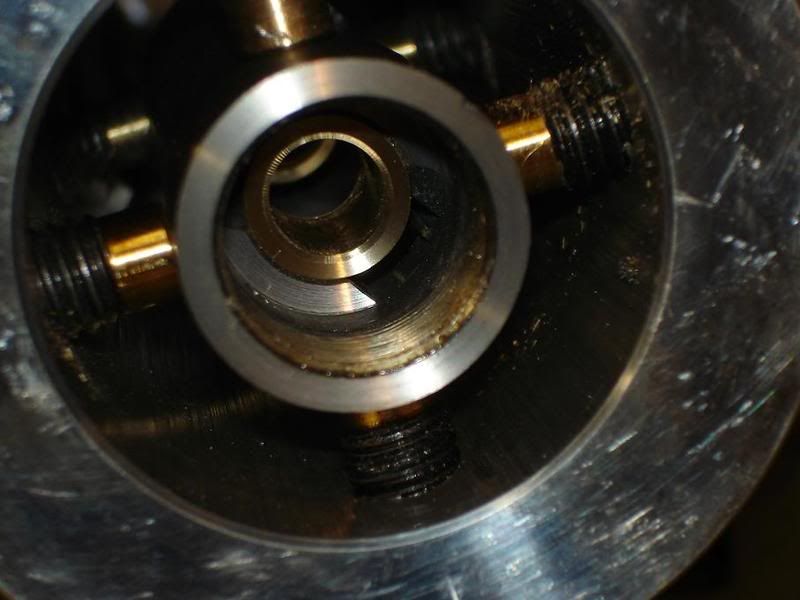
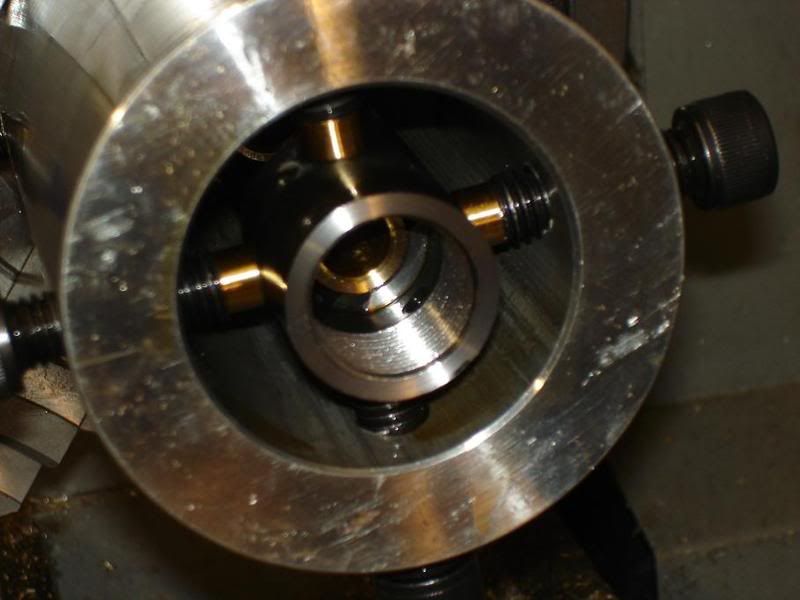
i had been doing allot of reading on different ways to true an action and decided i liked the gtr jig method best. i used 4" x .75" aluminum to make mine. i drilled and threaded holes in positions to allow a short or long action to be used in the jig. i used 1/2-13 for the adjusting screws but in hindsight, i probably should have used 1/2-20. i made brass pads for the end of the screws to protect the action. since the jig was in the mill's 4th axis to drill and tap, i went ahead and engraved 0,90,180 and 270 around it to help during dialing the action in. well that and i just wanted to add some bling.
actiontruingjig2.jpg


actiontruingjigbolts.jpg


actiontruingjig3.jpg


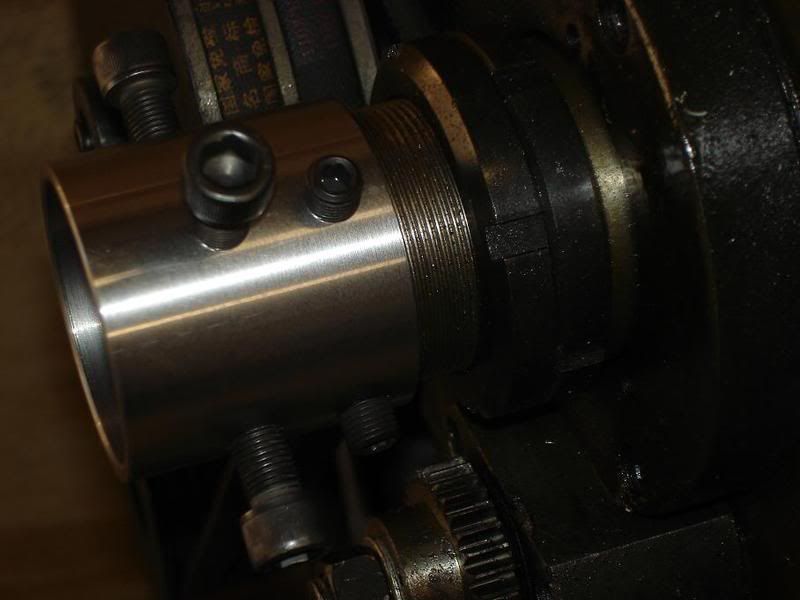
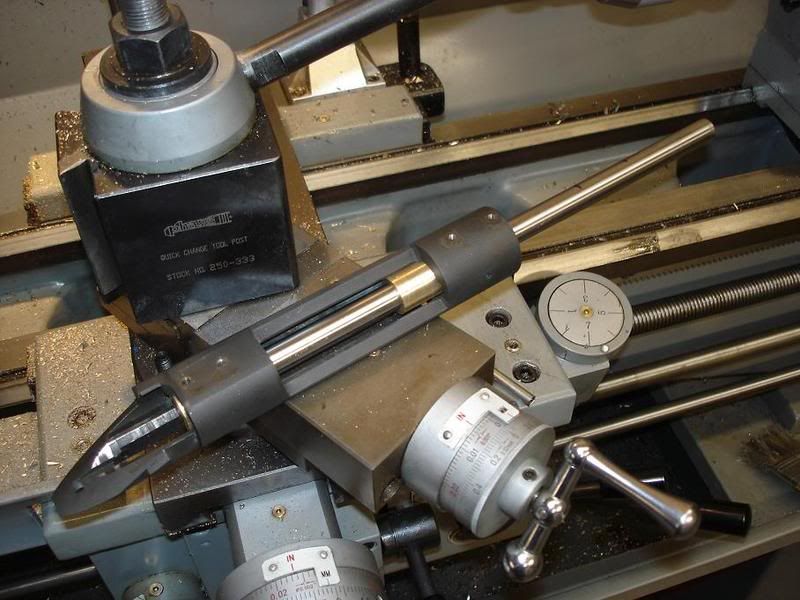
i also made a spider/cathead for the back of the lathe spindle.

lathespider2.jpg
 
Re: my home shop .284 win build

you'll do just fine on the project, looks like you have a fine start on it
 
Re: my home shop .284 win build

thanks for the bit of confidence.


now it is time to use the tools.

i heard horror stories about how hard some of the factory remington barrels can be to remove so i was a bit scared. i sprayed some pb blaster into the receiver threads and let sit while i made the aluminum vise bushing. i was too lazy to bolt the vise down so i just clamped it to the bench. now that will probably be the preferred method as it was quick and easy to move out of the way when done. i used a 1/4-28 screw through the wrench into the forward receiver hole. i placed a few layers of news paper around the receiver before i closed the wrench around it. i gave the 16" long wrench handle one quick pop with the palm of my hand and the barrel broke free. way easier than i was expecting. maybe the pb blaster is magic.

barrelvice6.jpg


barrelvice7.jpg


barrelvice8.jpg
 
Re: my home shop .284 win build

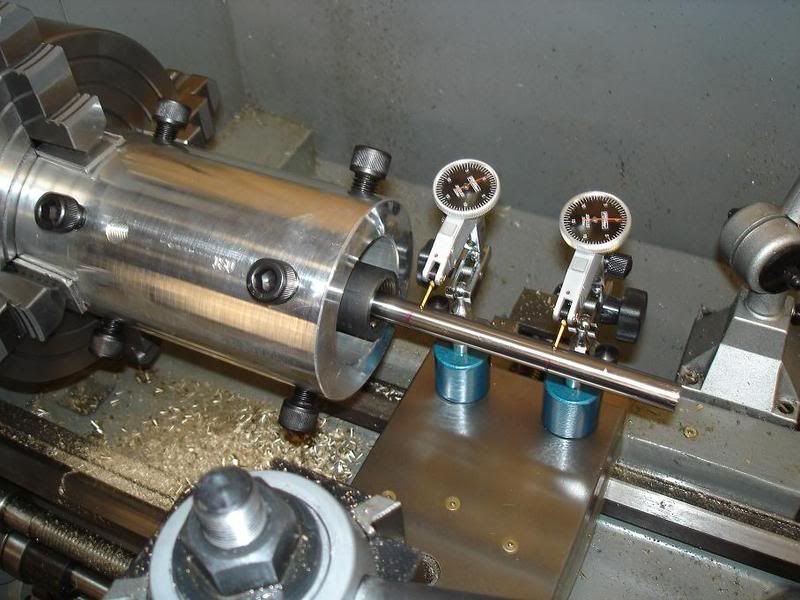
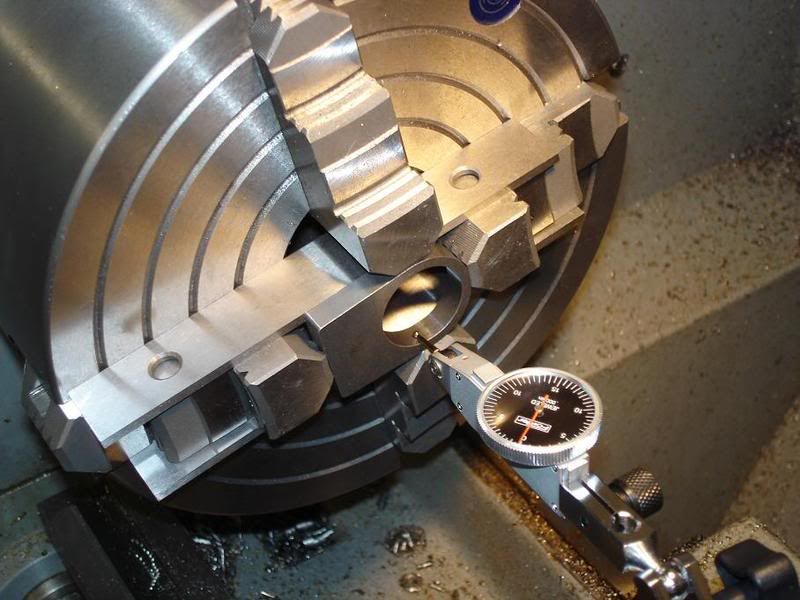
the truing jig was a bit big for my 3 jaw chuck so i used the 4 jaw. i dialed the jig to about .001". it doesn't need to be perfect but i don't want it wobbling around either.

actionblueprint1.jpg


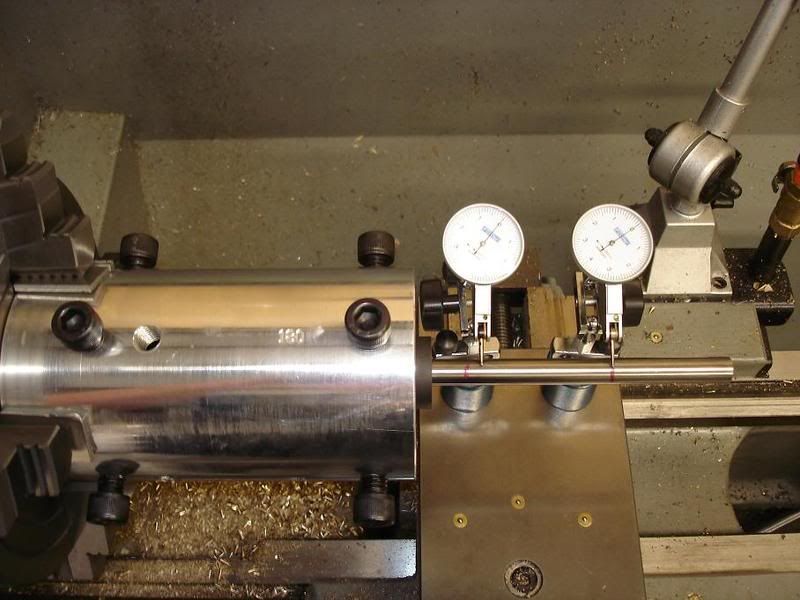
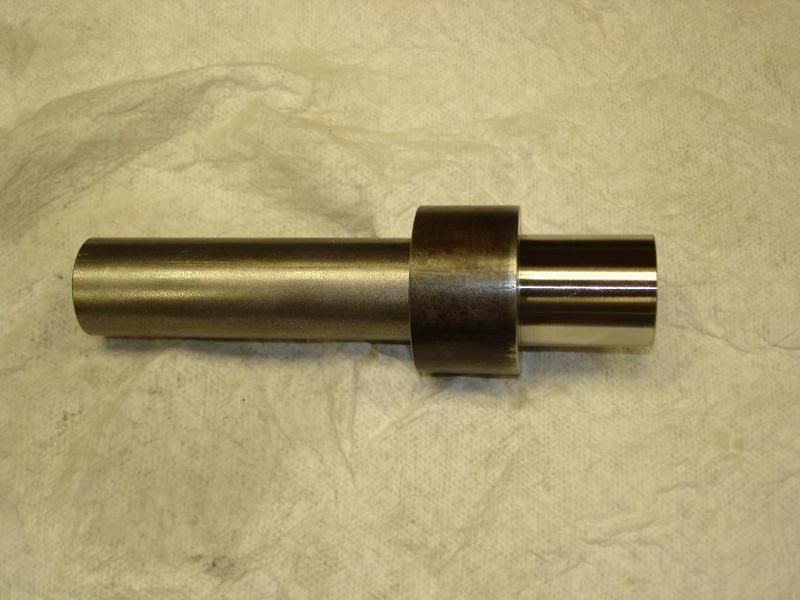
i used a piece of 1/2" drill rod as a mandrel. the specs on it weren't that great but after putting a 12" piece between centers i found it barely bumped the needle on a .0001" indicator. i made snug fitting brass bushings between the bolt raceway and mandrel.

actionblueprint2.jpg


i started with two .001" indicators on the mandrel, then .0005" and finally .0001". i spent close to two hours dialing it in. i got it to about .00015" before i called it good.

actionblueprint3.jpg


actionblueprint4.jpg
 
Re: my home shop .284 win build

after the receiver was dialed in i removed the mandrel. there was no reason to remove the bushing so it stayed in. here is the receiver before any work.

actionblueprint5.jpg


the first operation i did was face the front of the receiver. i removed .003" to clean it up. there was still one very small nick on the outer edge. i didn't want to remove any more material and don't think the nick will affect anything.

actionblueprint6.jpg


then i faced the locking lug recesses. i removed .003" to clean and square them up. they turned out great.

actionblueprint7.jpg


here is the receiver after facing the lug recesses and receiver face.

actionblueprint8.jpg


Re: my home shop .284 win build

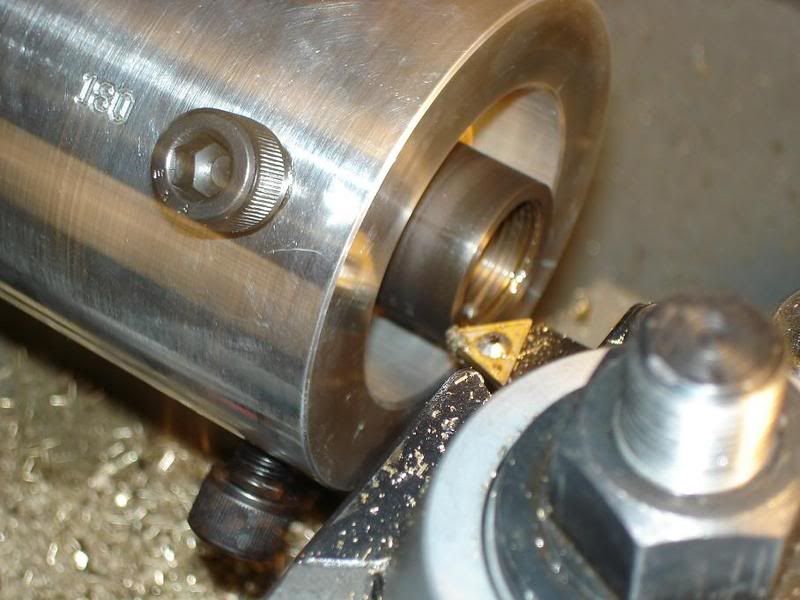
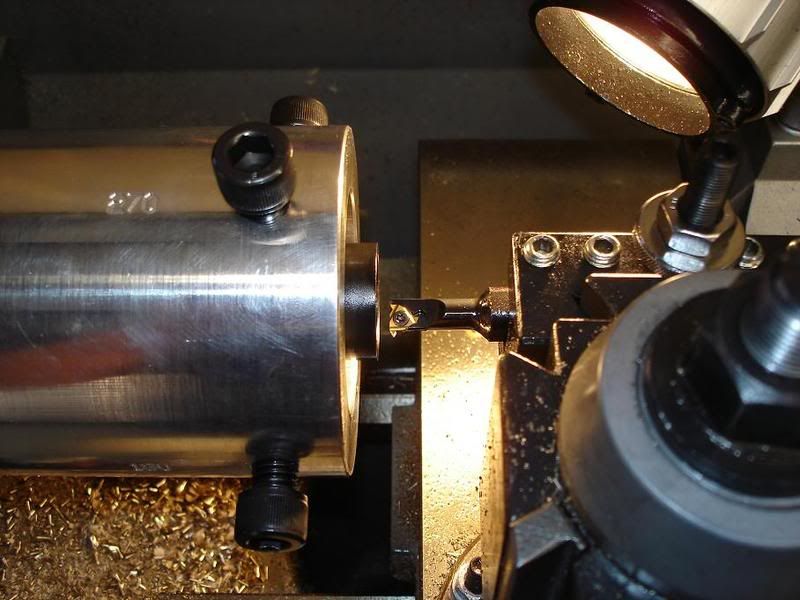
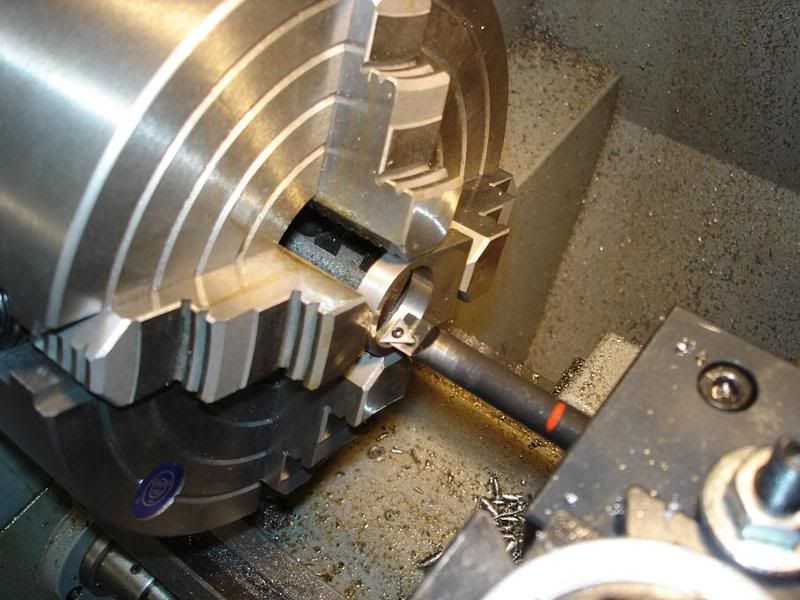
next i chased the threads. this was my first time trying to chase an existing thread so it took me a while to get the threading insert lined up perfect but i got it. i deepened the threads by about .005" to get them completely cleaned up.

actionblueprint9.jpg


actionblueprint10.jpg


that is all i have for now. my bolt should be here next week so i can take measurements and start the barrel. it's probably a bit late in the game now but i am open to constructive criticism or suggestions. i am still pretty new to machine work and bran new to rifle work but want to do it right.
 
Re: my home shop .284 win build

Looks like you got it figured out. Great pics to document everything.
 
Re: my home shop .284 win build

Thank you for taking the extra time to document this project. We have enough newbies ask just what is involved with truing an action, etc., that I hope we can make this a sticky.

Great work and great photography.
 
Re: my home shop .284 win build

Your doing fine. Chasing threads in a blind hole is the hardest part.
 
Re: my home shop .284 win build

<div class="ubbcode-block"><div class="ubbcode-header">Originally Posted By: DMann</div><div class="ubbcode-body">Thank you for taking the extra time to document this project. We have enough newbies ask just what is involved with truing an action, etc., that I hope we can make this a sticky.

Great work and great photography. </div></div>

thanks.

i have been doing research for over a year now. i have looked at books, videos and the web to come up with a plan that i think will work best for me. it is tough since every builder seems to have their own ideas of what methods are "best". i had to look at them all and pick and choose what i liked. it would have been easier if there was a start to finish detailed thread. hopefully this turns out good and can help someone else get confidence to do their own.
 
Re: my home shop .284 win build

Nice work and nice equipment.

I have trued exactly one receiver using this method and am not sure my nerves can take trueing threads this way. I have trued a couple using the PTG kit and think I am going to go that way, since I am only building for myself. I took a fresh piece of barrel stub turned some threads and shoulder on it. Then I screwed all 3 actions onto the stub measuring each as closely as I could using a mandrel and 2 dial indicators. I didnt see any differance. So I decided that I would stop torturing myself. I wish I had the nerves and experiance to do it. I am waiting to see the rest of the build keep up the great work.
 
Re: my home shop .284 win build

300 & Eddy

Believe it or not, the threads are not the most important part. Flat top threads have a gap when done right. The gap is in the receiver thread valley and the barrel tennon thread crest, clearance if you will. I open the receiver threads from 1.062” to 1.072” and turn my tennon to 1.070” before I thread. Thread depth is about .054”. The threads are self centering and it's the shoulder that holds things tight. The receiver face, barrel tennon shoulder and barrel lug face’s are the most important parts of the lock up. If all of these surfaces aren’t square to each other it compromises accuracy.

Eddy,

Like you, I use the PTG kit with tight fitting bushings. I've checked the set up and final product several times with depth mics, it's dead nuts on the money and all of the rifles I've built using the PTG tools have flat out shoot, numerous groups in the .1's & .2's

There's no other feeling like building your self a tack driver, it's very satisfying when you start to shoot it and all your shots are going into a very small group.

Good luck to both.
 
Re: my home shop .284 win build (pic heavy)

Very nice work!
smile.gif


If I may, I'd like to offer one bit of advice...when you get your bolt, pay special attention to the cam angles and how the primary extraction angles fit together.

Again...very nice! -Al
 
Re: my home shop .284 win build (pic heavy)

What holds the receiver in the aluminum spider? Looks like it would twist on the brass contact points.
 
Re: my home shop .284 win build (pic heavy)

Great job 300sniper. I'm looking forward to see the rest of the work.
 
Re: my home shop .284 win build (pic heavy)

Really nice to see this.

You evidently has about 10 times the patience of myself.

Would love to be able to calm myself down enough to do something like this.

Keep it coming.

Clayman
 
Re: my home shop .284 win build (pic heavy)

<div class="ubbcode-block"><div class="ubbcode-header">Originally Posted By: Huckleberry</div><div class="ubbcode-body">What holds the receiver in the aluminum spider? Looks like it would twist on the brass contact points. </div></div>

just the clamping and friction force of the bolts. there is no heavy machining involved. all the truing is done with very light cuts.
 
Re: my home shop .284 win build (pic heavy)

Good job. What tool post is that?
 
Re: my home shop .284 win build (pic heavy)

<div class="ubbcode-block"><div class="ubbcode-header">Originally Posted By: Hooper</div><div class="ubbcode-body">Good job. What tool post is that? </div></div>

phase II wedge style link
 
Re: my home shop .284 win build (pic heavy)

i have that same tool post too. I like it. Also have a kdk but dont like it as much. Nice writeup. I recently just did my own home build on a surgeon action. Very nice work and i envy your setup.
 
Re: my home shop .284 win build (pic heavy)

disasterpath,


i have a kdk and i love it also have a phase II and don't like it would you be willing to trade your kdk for my phase II?


i also have some tool holders for the tool post
 
Re: my home shop .284 win build (pic heavy)

Ha, i would but i dont personally own the lathe and tooling. My father owns a company that has a machine shop and i just use it whenever i need it. If i could trade you i would but unfortunately i cant.
 
Re: my home shop .284 win build (pic heavy)

One thing to get the setup time down would be to make the spider bolts fine thread. It appears you have them coarse thread which may make it harder to dial in.
 
Re: my home shop .284 win build

Great post! Thanks for letting us "watch" the process. Couple of questions about the .005 it took to clean up the threads.

Were they out of round or just not concentric and did they seem straight with the bore or were they crooked in the receiver from front to back?

Bet it shoots well when your done. I'm very interested in how the bolt goes together.
 
Re: my home shop .284 win build

i dont have a clue how to do machine work but i am thoroughly enjoying this Work In Progress thread.
perhaps if there is enough interest, the mods will start a WIP subforum in the gunsmithing section, for builders, both professional and home based to share their builds.--cam
 
Re: my home shop .284 win build

<div class="ubbcode-block"><div class="ubbcode-header">Originally Posted By: mdesign</div><div class="ubbcode-body">Great post! Thanks for letting us "watch" the process. Couple of questions about the .005 it took to clean up the threads.

Were they out of round or just not concentric and did they seem straight with the bore or were they crooked in the receiver from front to back?

Bet it shoots well when your done. I'm very interested in how the bolt goes together.
</div></div>

they didn't seem to be straight or concentric in relation to the bolt raceway.
 
Re: my home shop .284 win build (pic heavy)

<div class="ubbcode-block"><div class="ubbcode-header">Originally Posted By: Hooper</div><div class="ubbcode-body">One thing to get the setup time down would be to make the spider bolts fine thread. It appears you have them coarse thread which may make it harder to dial in. </div></div>

<div class="ubbcode-block"><div class="ubbcode-header">Originally Posted By: 300sniper</div><div class="ubbcode-body">i used 1/2-13 for the adjusting screws but in hindsight, i probably should have used 1/2-20.</div></div>
grin.gif


Re: my home shop .284 win build (pic heavy)

Your maching looks first rate, I like all the radiused corners and attention to detail. Looks like a great machine shop. If you have time please post pics of the equipment. Thanks
 
Re: my home shop .284 win build (pic heavy)

<div class="ubbcode-block"><div class="ubbcode-header">Originally Posted By: Wisecrack11</div><div class="ubbcode-body">Your maching looks first rate, I like all the radiused corners and attention to detail. Looks like a great machine shop. If you have time please post pics of the equipment. Thanks </div></div>

thanks.

i'll try to get pics of the machines next time i am down in the shop. i got my bolt today from ptg so i will probably be down there next weekend. i also got my scope back from leupold today. i sent it to them to get m1 knobs installed. they shipped it back to me the same day they received it. that is some service!
 
Re: my home shop .284 win build (pic heavy)

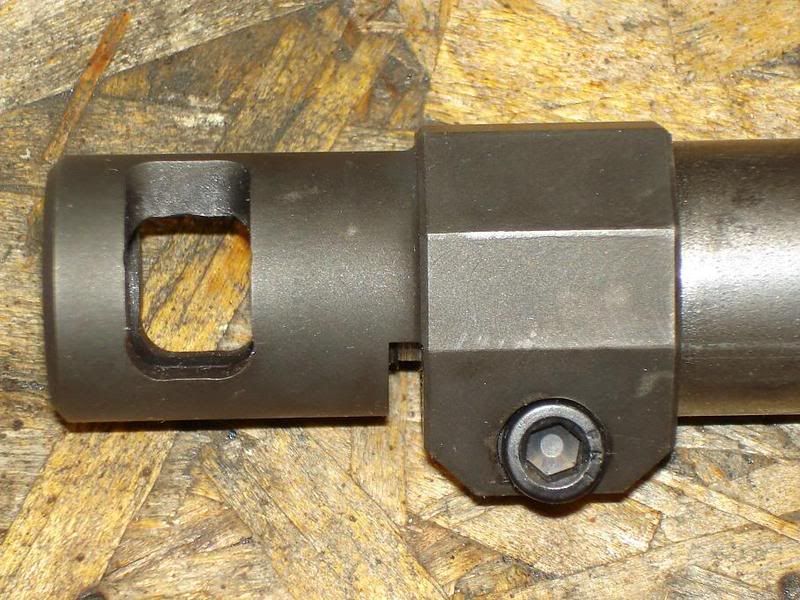
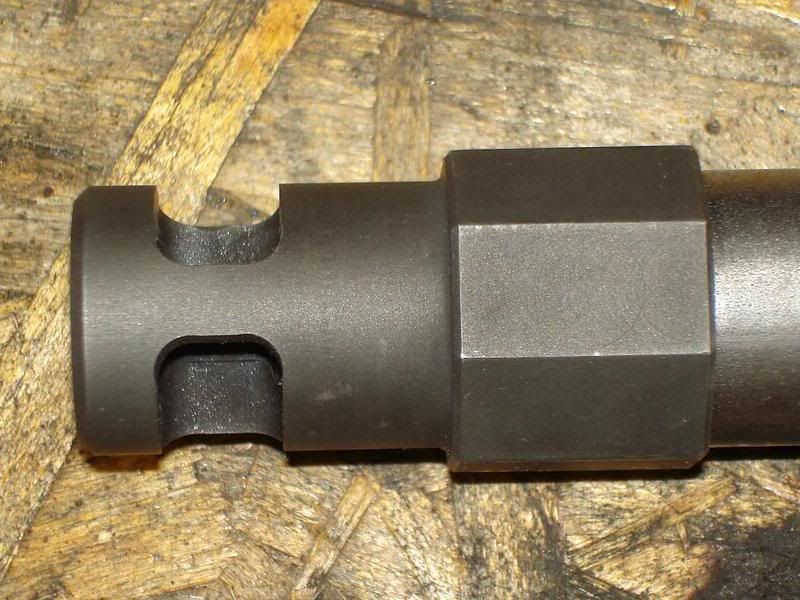
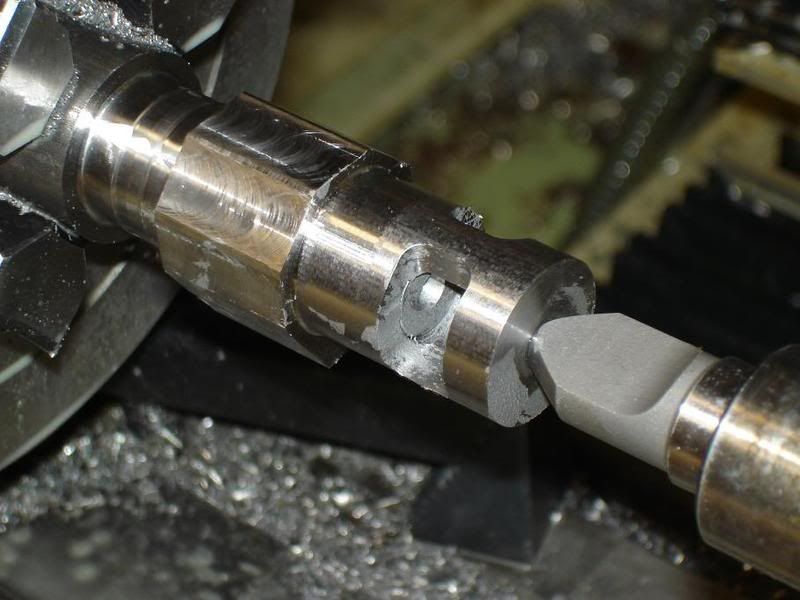
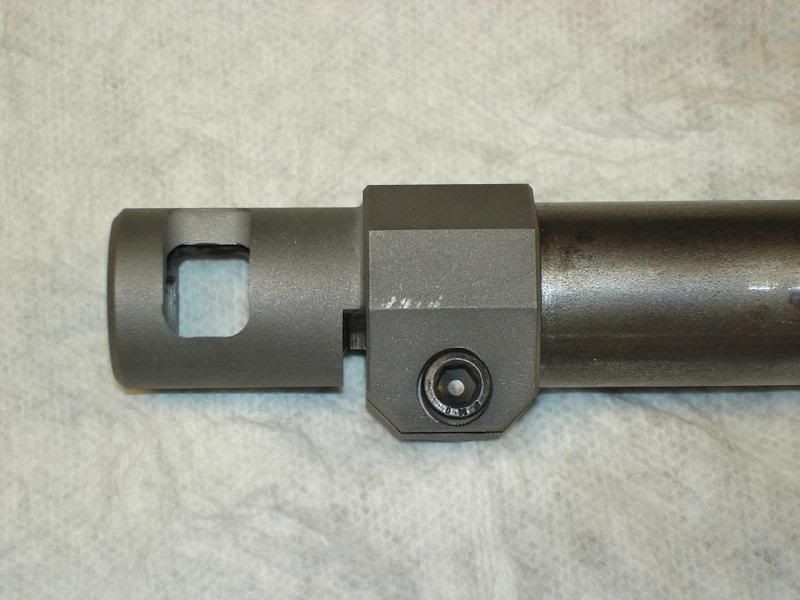
here is a little update. since i am using an accuracy international aics 1.5 for the stock, i thought it would be cool to have a muzzle brake that resembled an ai but mounted with the same dimensions as the small badger fte. i wanted to do this before i did the barrel work so i can bore the exit hole on the brake while the barrel is set up in the lathe to ensure concentric to the bore and threads. i spent more time than i care to admit writing a program for the brake. when the 4th axis is added into the mix, you really need to think about where everything is going to be when the part is rotated. i got it but i felt like my head was going to explode.

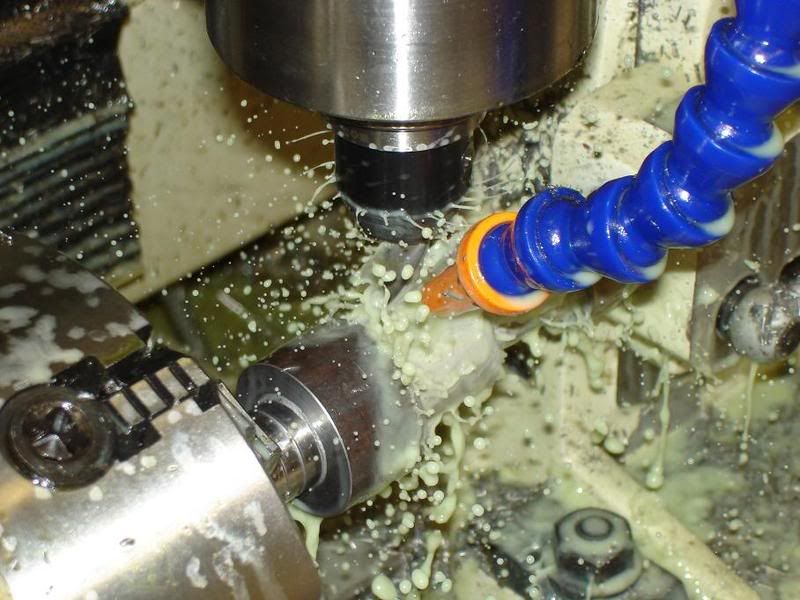
the first thing i did was make a mandrel to hold the part in the mill. this also was used as a thread gauge when threading the inside of the brake. next i started with a piece of 1-5/8 round 4140 and turned the majority of the material off of the cylinder portion of the brake. then the part was flipped around in the chuck and the inside was bored and threaded to dimension.

muzzlebrake1.jpg


muzzlebrake2.jpg


muzzlebrake3.jpg
 
Re: my home shop .284 win build (pic heavy)

the mandrel was then placed in the 4th axis chuck on the mill. the brake was threaded onto it. i hit the go button on the mill and started making chips.

muzzlebrake5.jpg


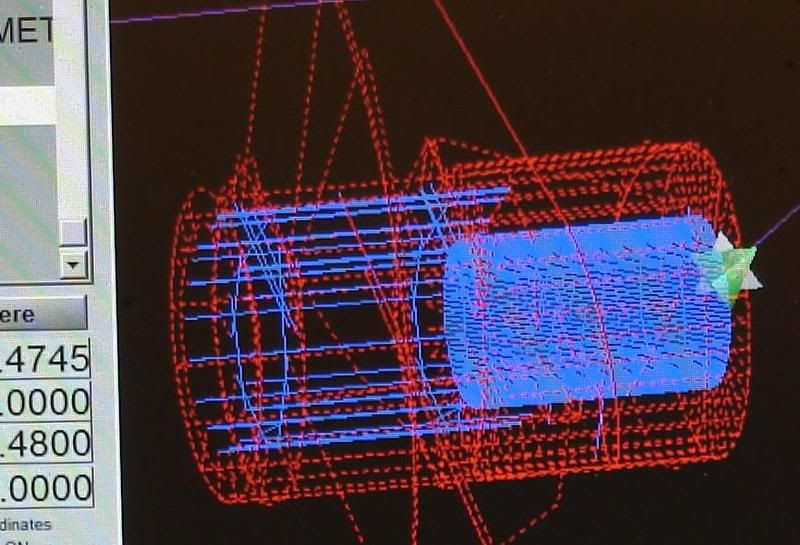
here is a screen shot of the control.

muzzlebrake7.jpg


the part getting closer to completion.

muzzlebrake8.jpg
 
Re: my home shop .284 win build (pic heavy)

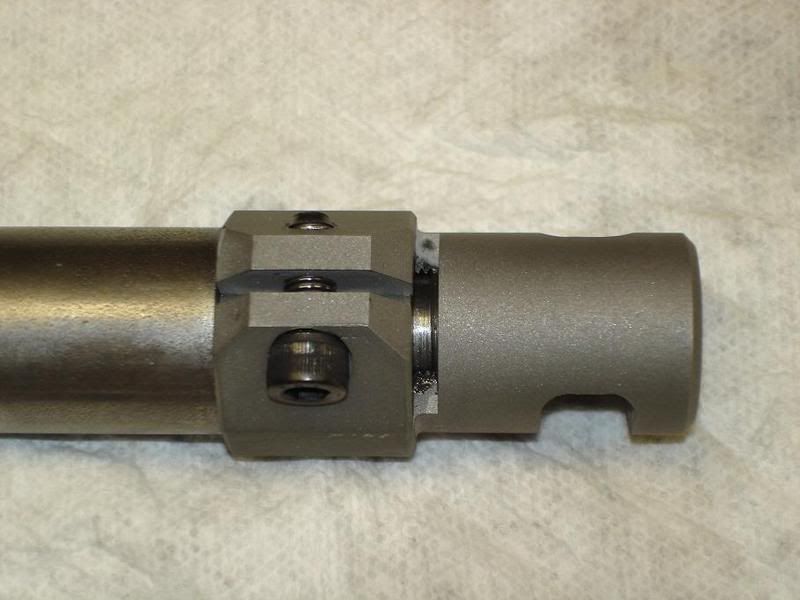
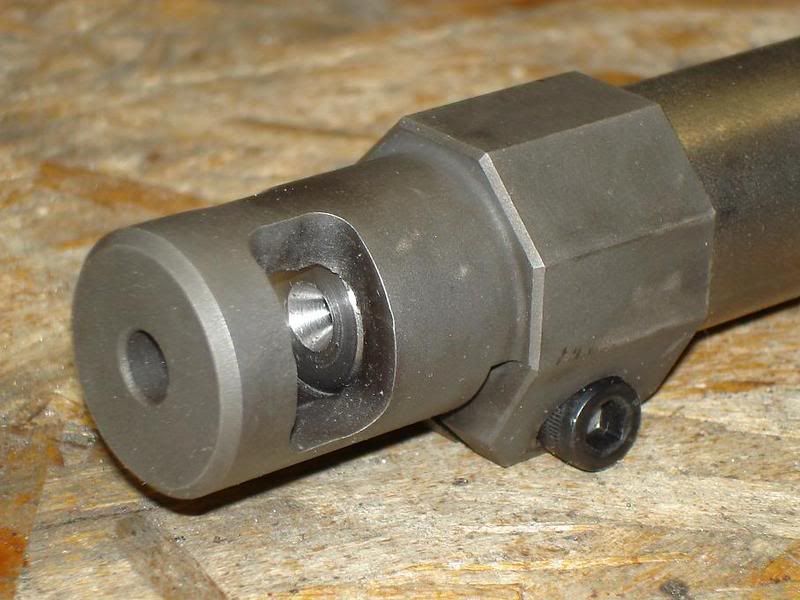
here is the brake after aluminum oxide blasting.

muzzlebrake11.jpg


muzzlebrake13.jpg


i finished it in caswell's black oxide. i really love that stuff on tools but am not sure how it would hold up to the elements. i am thinking about parkerizing it but i am not set up for that yet.

muzzlebrake16.jpg


muzzlebrake17.jpg


muzzlebrake18.jpg


hopefully i will get to the barrel this week.
 
Re: my home shop .284 win build (pic heavy)

That is some great home gunsmithing. With this being your first build I can only imagine how impressive your second, third, etc will be.
 
Re: my home shop .284 win build (pic heavy)

That set up will be very nice. Good luck and shoot strait.
 
Re: my home shop .284 win build (pic heavy)

today i started by opening up the recoil lug to the new, larger dimensions. the badger ordnance recoil lug's hole was 1.063", factory remington thread diameter. since i chased the threads on the receiver .005" deeper, i needed to open the bore to 1.073".


recoillugboring1.jpg


recoillugboring2.jpg
 
Re: my home shop .284 win build (pic heavy)

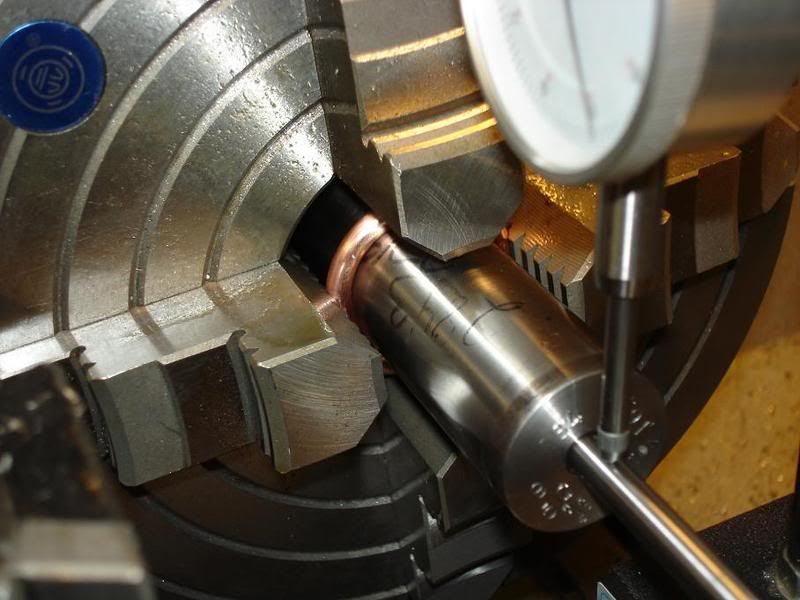
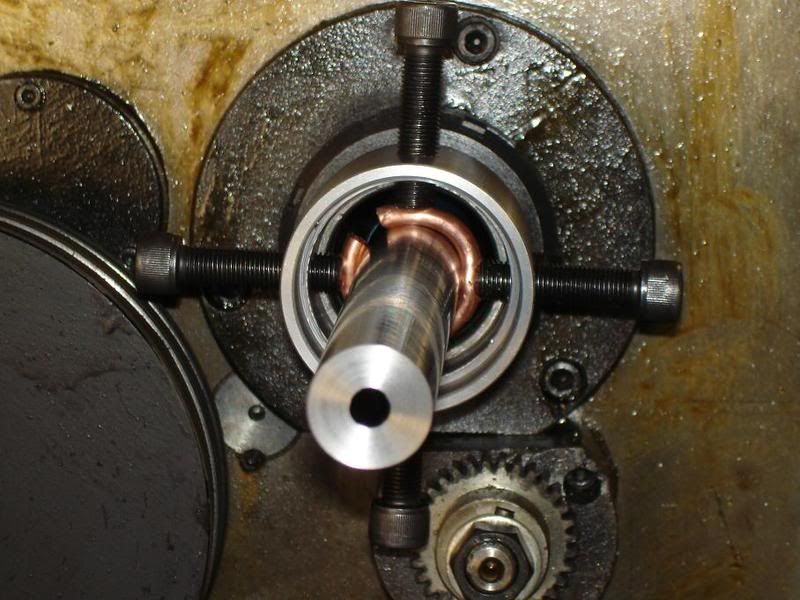
next it was time to set the barrel up in the lathe. i used a ring made from #4 copper wire to keep the chuck jaws off of the barrel and to allow some movement while dialing it in. a copper ring was also used in the spider on the back of the lathe spindle since i was too lazy to make protective pads for the bolts.

i inserted a range rod with a snug fitting bushing into the bore. i started out with a .001" indicator. i used the 4 jaw and the spider to adjust it till the indicator didn't move anywhere on the rod.

barrellathesetup1.jpg


barrellathesetup2.jpg


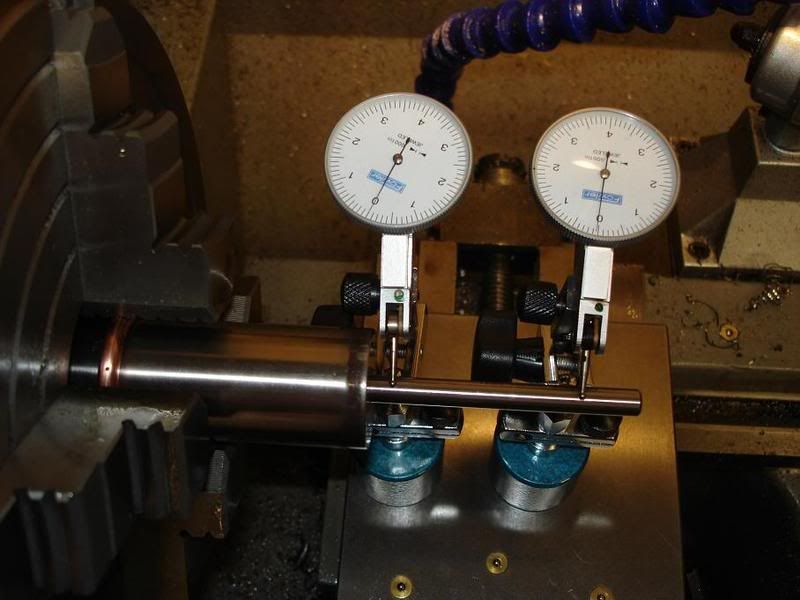
after that was good i switched to two .0001" indicators. i continued fine tuning until the .0001" indicators had less than a wiggle. i think that is close enough to .0000" for me.

barrellathesetup3.jpg


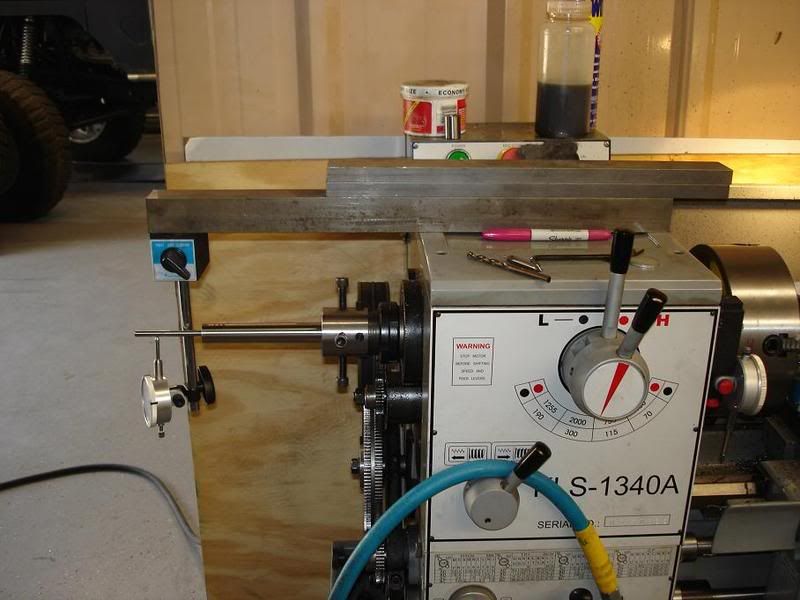
i wanted to find the top dead center of the muzzle end so i can make sure it is on top when the receiver is threaded on. i placed the range rod in the muzzle and used a high tech/high dollar indicator holder arm to find tdc.

barrellathesetup4.jpg


i plan on finishing the barrel tomorrow. if any one has some concerns on my barrel lathe setup, please speak up now
eek.gif
 
Re: my home shop .284 win build (pic heavy)

<div class="ubbcode-block"><div class="ubbcode-header">Originally Posted By: operator1</div><div class="ubbcode-body">What type of lathe is you using? </div></div>
i is using a kent kls-1340a. it seems to be fairly well built for a chinese lathe.
 
Re: my home shop .284 win build (pic heavy)

300Sniper...

I am Very Impressed. Im new here and if i had know this was waiting for me I would have come a long time ago. What a spectacular show of skill and workmanship. From all of us FNG's thanks...
 
Re: my home shop .284 win build (pic heavy)

300 Sniper, Man I wish i lived closer to you... I would have loved to watch some of this... I do not have the equipment to do any of this myself but I have the interest in learning all I can.

Thanks so much for sharing. Please keep the pictures coming I get so much out of looking at them and feel like I am learning so much.
 
Re: my home shop .284 win build (pic heavy)

today i headed down to the shop to cut the chamber. i was all gung-ho and started roughing out the barrel shank thinking i had a lot of material to remove. oops, i messed up and cut it down to about 1.04" before i even measured it. i needed 1.073". this didn't make me that mad because all last night i was thinking i should have cut 1" off of the chamber end before i inserted the range rod just in case there were any inconsistencies from the bore being lapped. i parted off the shank and refaced it. i then moved the barrel forward and went through the whole indicating process again. this time was much faster. it probably only took me 30-45 minutes to get both test indicators way under .0001".

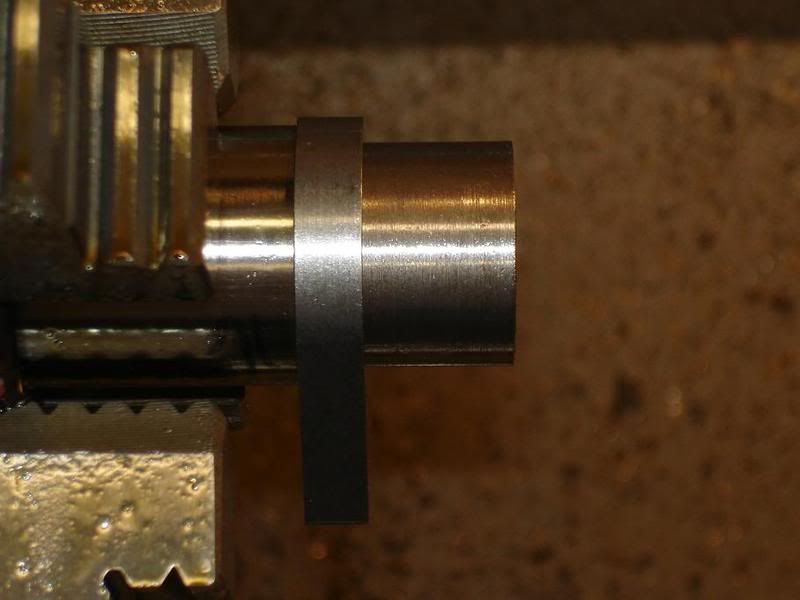
i took all my measurements off of the receiver and turned the shank to length and diameter, paying attention this time. the recoil lug had a nice snug fit over the shank.

barrelchamber2.jpg


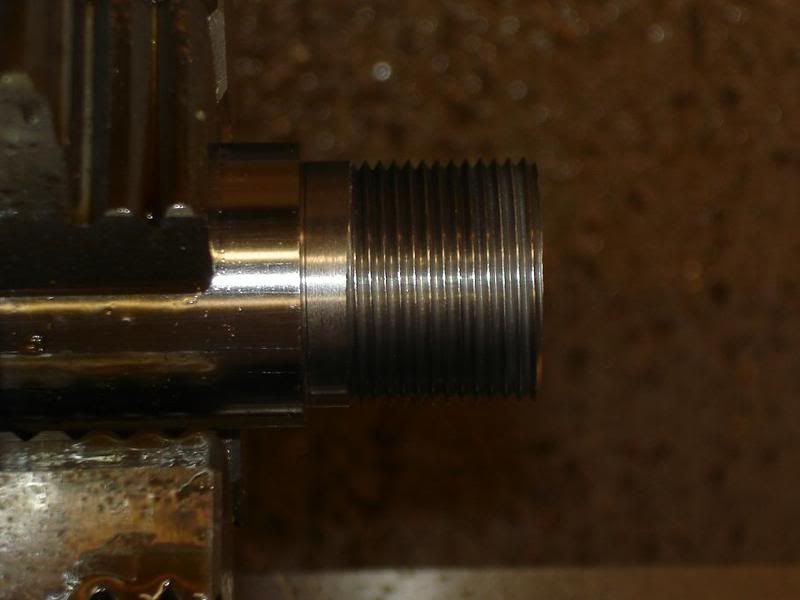
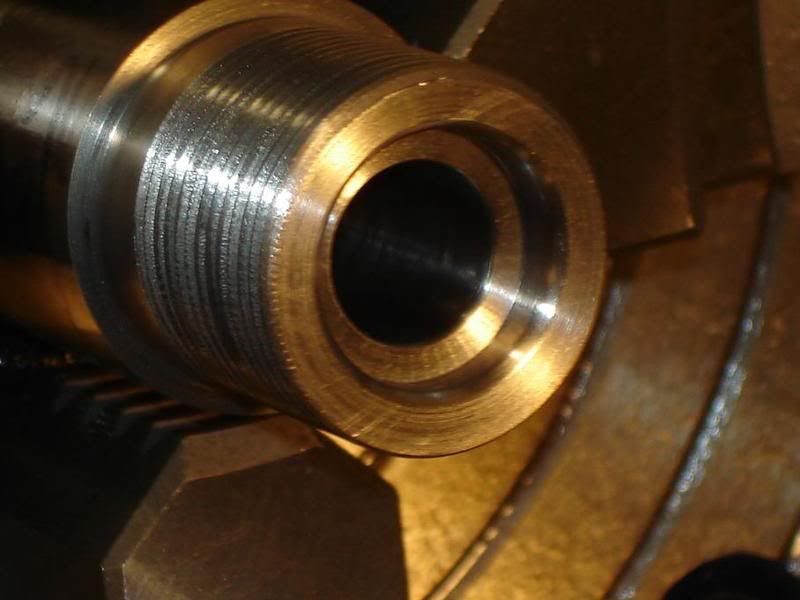
next i cut the threads.

barrelchamber3.jpg


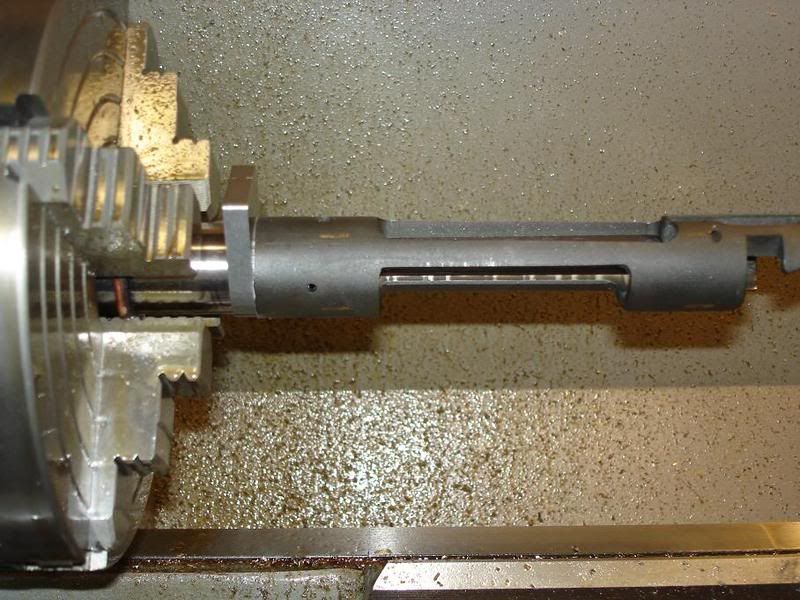
after the threads were cut i placed the recoil lug and receiver on the barrel checked where the high point in the muzzle was in relation to the top of the receiver. of course it was not facing up so i had to cut back the barrel shoulder and re-face the end of the barrel.

barrelchamber4.jpg


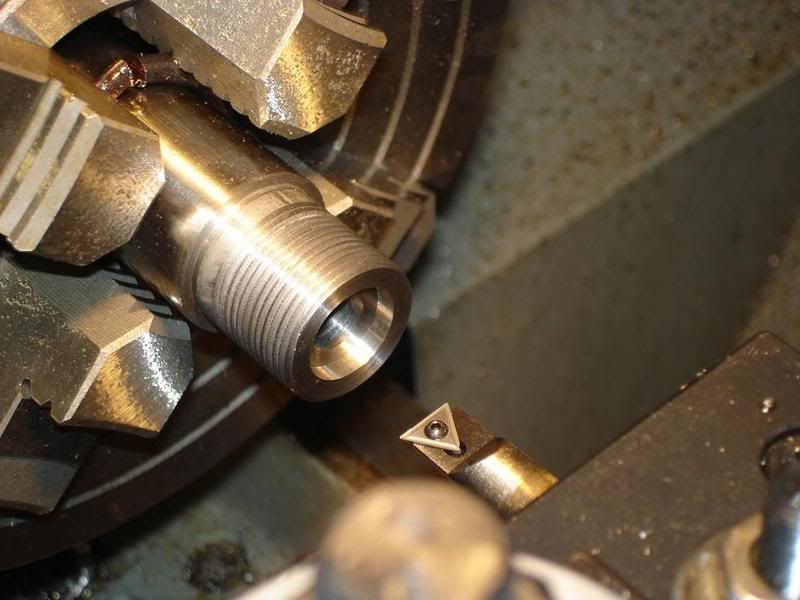
after i was satisfied with that i drilled out the majority of the chamber with a standard drill. then i opened up the bolt counter bore.

barrelchamber5.jpg


next i was on to the chamber. i didn't take any pictures during this process because i was kind of stressed and well, my hands were all oily. this is unfortunate since this was the biggest mystery to me about barreling a rifle. there is not a whole lot of pictures out there of this process. i really wish there were some step by step pictures about chambering a barrel out there. maybe when i more confident with this procedure i will have some one standing over my shoulder taking pictures. i am not confident enough yet though.

i used a "bald eagle" floating reamer holder to hold the ptg reamer. since this was my first time i went slow and checked often. my lathe set up must have been pretty good because i couldn't detect any runout of the reamer while the barrel was turning. after i got it to where i was happy with my headspace i polished the chamber with 400 grit then 600 grit sand paper and wd40. i also radiused and polished the end of the chamber and the edge of the counter bore. all in all, it was not that difficult but kind of stressful having never seen it done before.

here is the finished chamber although there isn't much to see from the camera's view.

barrelchamber1-1.jpg


tomorrow i will do the muzzle end and hopefully have time to open up the recoil lug inlet in the ai stock for the badger lug.