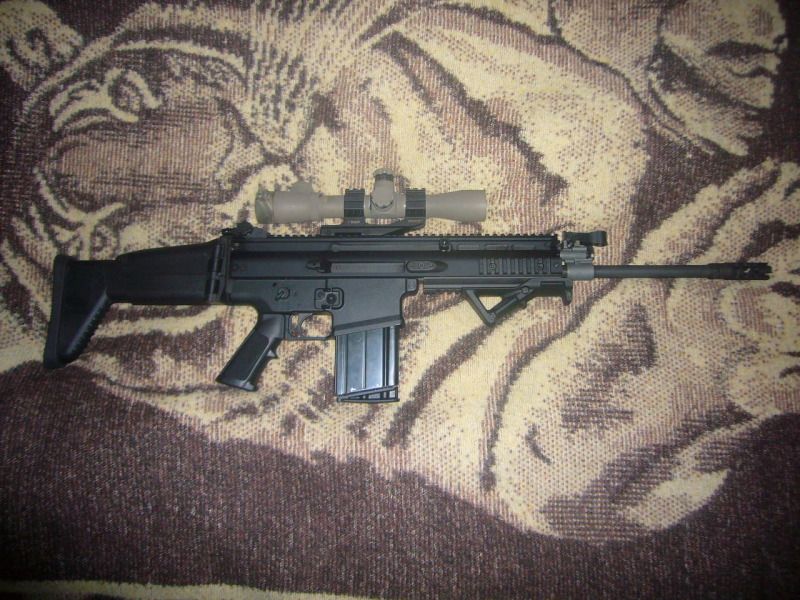
Re: New SCAR 17
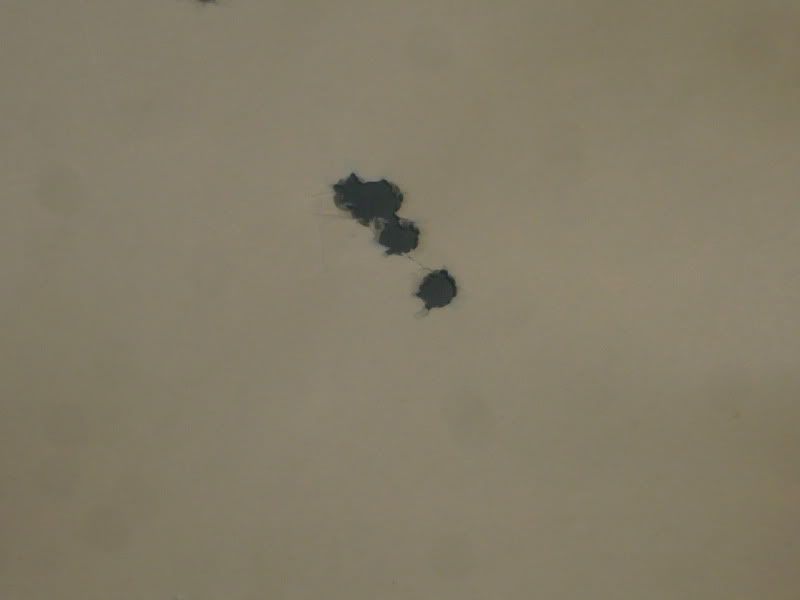
just made them at the same angle, but I still need to shoot more than 4 rounds to call it a success. need to wait for better weather up here.
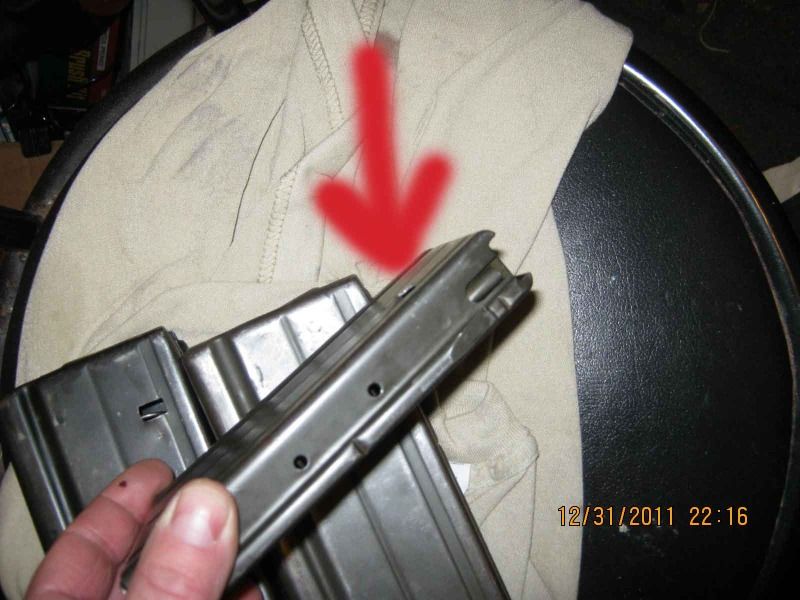
not my photo but it shows you
a post for FN SCAR Forum
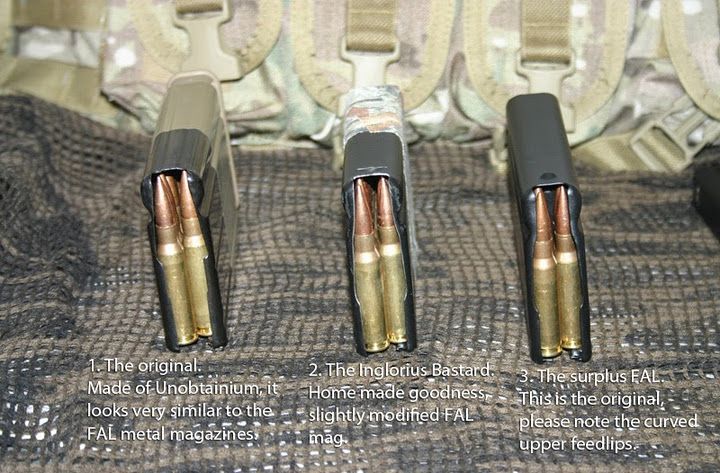
This is what you need:
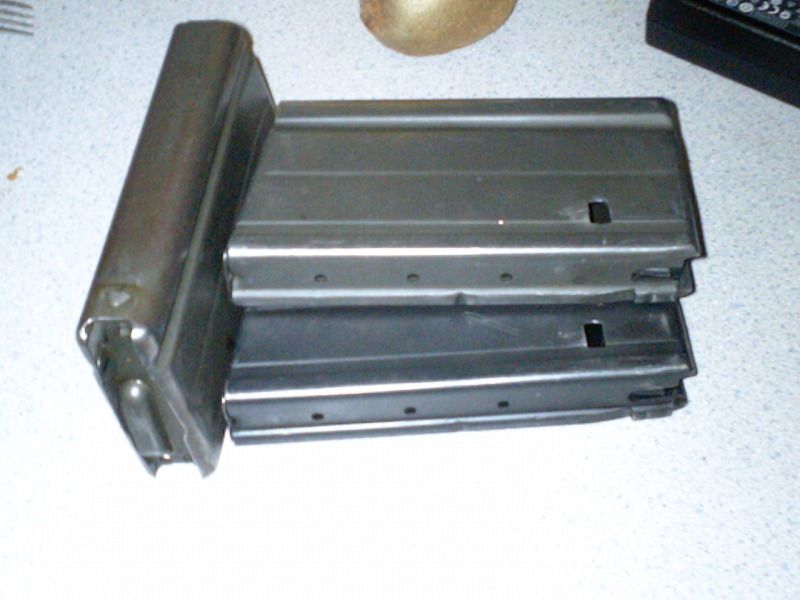
1. FAL magazine. I bought a dozen surplus ones (Israeli I believe). I forgot to check the insides; some of them had a light coat of rust but nothing too bad. Also, one of them was too thick, they’re supposed to be 25mm. wide but this one was 26 so I discarded it. It wouldn’t eve fit the magwell.
2. A set of small diamond files. Ideally you can get a set with round, triangular and blade ones.
3. Electric Drill
4. Set of drill bits, one very small one and a medium sized one, 5mm should do it.
5. Steel ruler or small square
6. Workbench with a small vise
7. A scribe or something to mark your cuts
8. A caliper
9. Locking pliers
10. Some elbow grease
There are basically three areas that need attention.
The first one is a small tab on the front of the mag that you need to hammer down. The second step is the one that takes the most work, the rectangular hole on the left side of the mag. Finally you have to file down the front of the feedlips so they’ll feed smoothly. Remember to measure twice and cut once! Here we go:
Step One:
The forward tab. This is really simple; you just need to file it down a bit before you hit it with a hammer. I just removed the paint and a teeny bit of metal so that it would fold down without folding over. This is where you need the vise and some wood or metal as a base so that you don’t bend the whole mag when hitting the protruding tab. Once it’s more or less level you can go over it with the file to smooth things over.
Step Two:
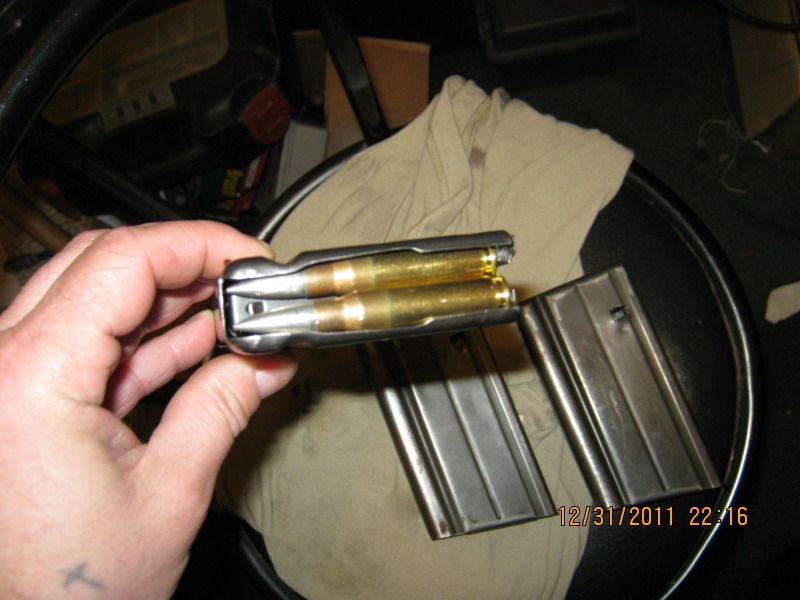
Open the mag, pull the floorplate on the bottom towards the rear and remove the spring and magazine follower. You can clean it now but you’ll have to clean it again later anyway in order to remove all the metal shavings.
Put the mag upside down on a level surface and measure the height to the rectangular hole. I was lucky in that my square had the exact height for the upper border so I could just use the scribe to mark my first line. The size of the hole is 10mm wide and 6.5mm high. If you check the factory mag you can see that the hole is located next to a channel, I just used the factory mag for a visual reference in order to mark the rectangle with my scribe.
Now you have to drill some holes within that rectangle, I used the smallest drillbit I could find and put one hole in each corner. Then I grabbed a bigger drill bit (5mm) and put three holes next to one another. That allowed me to get one of my files in.
This is the fun part! Work that file until you have a perfect rectangle. Once you have the right dimensions you can make the protruding tab on the lower side of the rectangle, just like the factory mag. Place something that will help distribute the weight over the side of the mag and use a screwdriver to slightly lift the sheetmetal. Don’t overdo it as you’ll scratch the magwell if you make it too big.
Step Three:
The feed lips. Here you have to go pretty wild with the file. What you have to take away is the curve on the forward part of the feed lips. I don’t have a FAL here but I can’t understand how the FAL doesn’t misfeed with those lips. First you have to bend the feedlips slightly upwards because the Scar mag has a teeny bit more height. Use a locking plier to gently lift the feedlips one or two mm. upwards. Then you should file away the curve that you can see if look at the mag from above. Take a second to look at the mag from the front and you can see that you have to file away some metal there too. Don’t worry, there’s plenty metal there, just make sure you don’t make it wider than 14 mm between the feedlips at the tightest spot.
That’s really all there is to it, clean them well, re-assemble and see how they fit. You’ll probably need to make some adjustments here and there. I filled my magazines up, inserted them and racked the bolt to see how well it worked. Of my first three, one was flawless but the other two had a tendency to misfeed on the right side, I needed to shave a bit more metal off that side. Once that was done it worked like a charm.
I hope this can help some of you guys, as you can see it’s not rocket science but it does take a little bit of patience. ENJOY!