

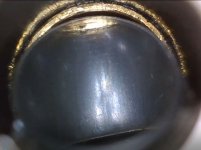
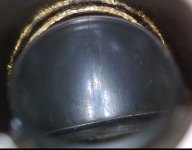
I'm puzzled about something I've run into loading for my 224 Valkyrie semi-auto, when I screw the neck bushing FL die down only enough to bump the fired case shoulders down by .003" - .004", I'm getting 2 problems: 1) the neck is only being sized by about 40%, and 2) the cases bases are not being resized and the cases won't fit into the chamber. I'm puzzled because neck bumping is a common reloading task, but I'm not seeing how to only bump by the desired amount, while still fully sizing the neck and sufficiently sizing the case to fit in the chamber. It strikes me that since so many reloaders bump shoulders there must be a common solution for my problem(s), but I'm not seeing it.
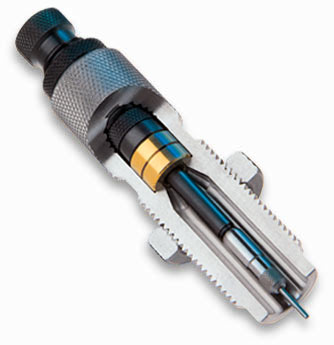
The geometry inside the neck bushing FL die is fixed - i.e., the distance from the die's shoulder to the neck bushing is fixed, so if I only want to bump the shoulder a bit, I'm stuck with sizing the neck by a similar amount. And, if I don't want to bump the shoulder all the way back to SAAMI specs to minimize working the case too much, the base isn't going to get resized. What am I missing? I suppose I could have the die's bushing receptacle cut deeper so that when the shoulder is bumped by the desired amount, the neck will have been fully sized, but I've never heard of that being done so there must be a simpler approach, I'm just not seeing it.
FYI, I want to resize the neck via the bushing to .004" smaller than the caliber, then use a mandrel to upsize the neck to just .0015" - 002" smaller than caliber for consistent neck tension. Some may argue against this process and I'd be interested in your thoughts, but my major question is how to accomplish my 3 goals: 1) bump the shoulder by the desired amount, 2) fully size the neck, and 3) resize the case base sufficiently to fit in the rifle's chamber. What are your thoughts on this? thx
Jeff


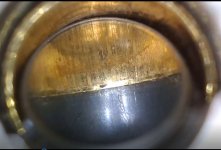
 If the case neck can’t get high enough into the die to interface with the bushing, there’s no way it bushing size the neck. Will try to keep up with this thread to see what the resolution ends up being. Good luck!