Did a few things to my rifle this weekend. Don't know if it will make a difference or not, figured I would give it a go anyway.
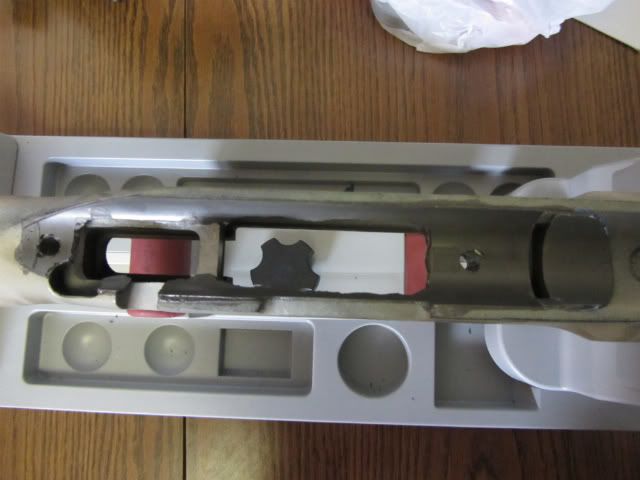
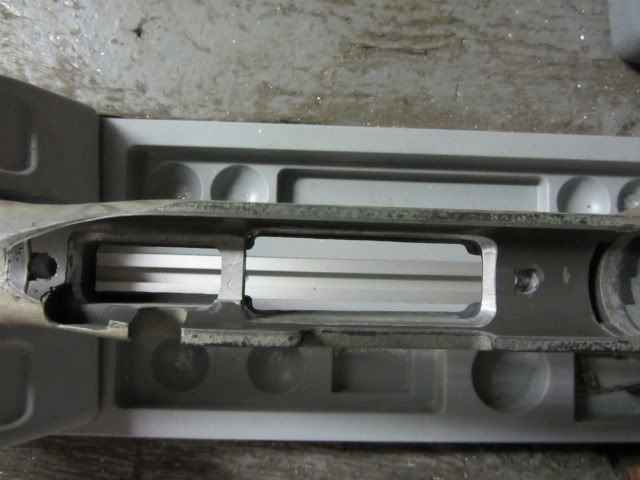
Per <span style="font-weight: bold"><span style="text-decoration: underline">wnroscoe</span></span> bedding thread, I bought some Devcon and tried my hand at bedding. For my first, I think it turned out OK.
a few "before clean-up" pics
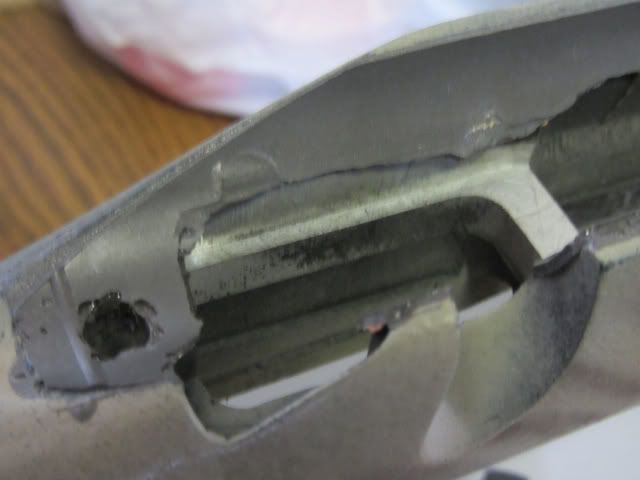

There are a couple little blems you can see around the bolt holes. I think they are mostly from the electric tape that I had wrapped around the pilot bolts. There was a couple little air bubbles at the rear and you can see a couple spots from the silly putty where the bolt release/trigger pin cutouts are.
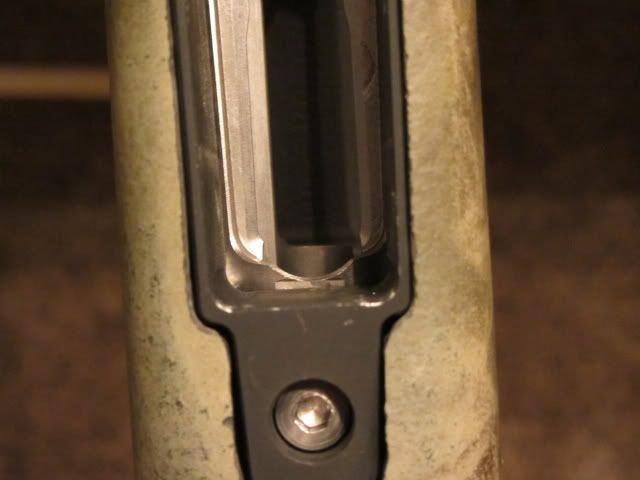
I also Dremeled all the bedding back out that oozed forward of the recoil lug.
Trimmed picture
I think it cleaned up fairly well with a Dremel.
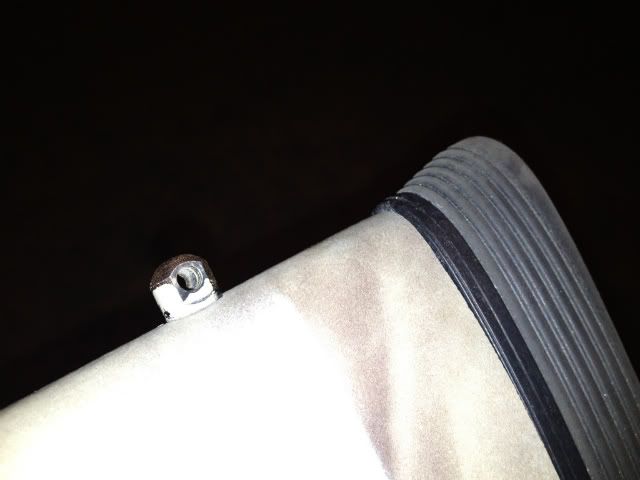
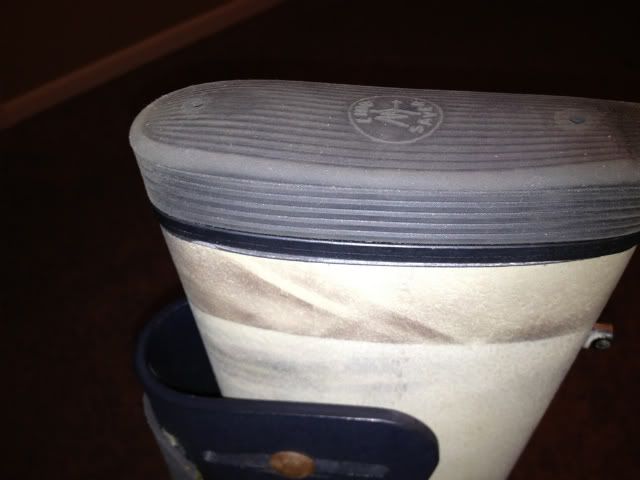
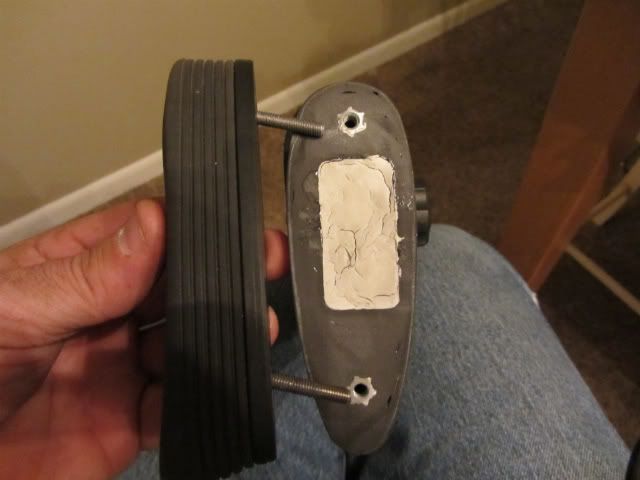
I also filled the hollow stock with led shot and installed a couple of threaded wood inserts to bolt a Limbsaver recoil pad to. Topped the hollow section with some Devcon from Oreilly's, it shrunk as you can see.
Installed a DBM with a Dremel, not perfect but will work I think.
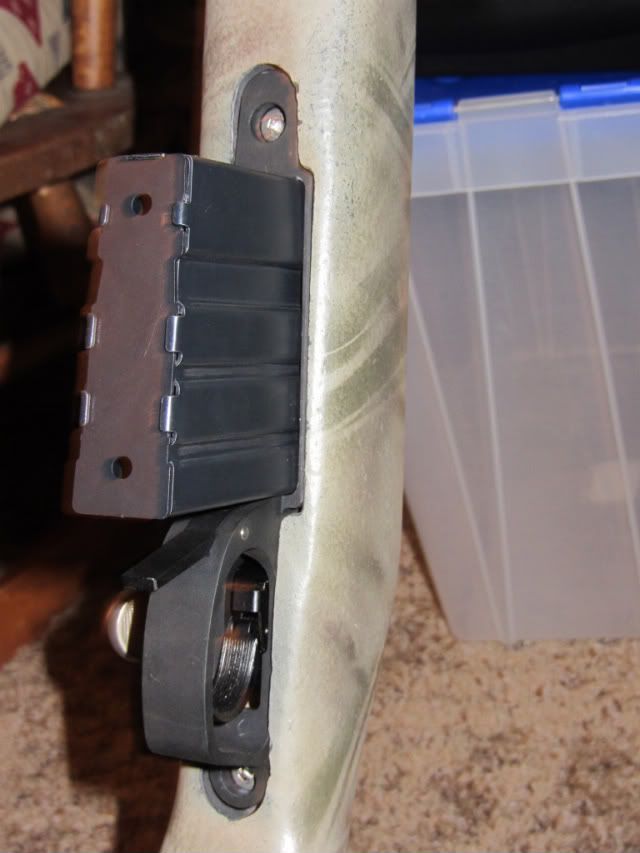
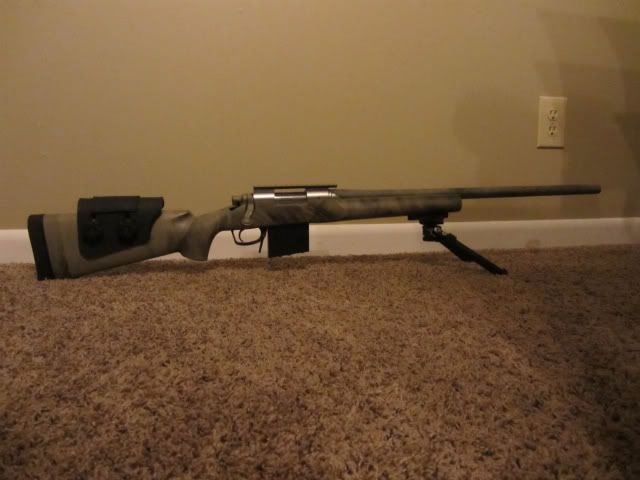
Also installed a Timney trigger and cut the feed ramp to work with the Alpha Type II mag.
Now it needs a scope and a day at the range. I also plan on a paint job eventually, but I'm going to make sure everything is going to work ok first!
Per <span style="font-weight: bold"><span style="text-decoration: underline">wnroscoe</span></span> bedding thread, I bought some Devcon and tried my hand at bedding. For my first, I think it turned out OK.
a few "before clean-up" pics
There are a couple little blems you can see around the bolt holes. I think they are mostly from the electric tape that I had wrapped around the pilot bolts. There was a couple little air bubbles at the rear and you can see a couple spots from the silly putty where the bolt release/trigger pin cutouts are.
I also Dremeled all the bedding back out that oozed forward of the recoil lug.
Trimmed picture
I think it cleaned up fairly well with a Dremel.
I also filled the hollow stock with led shot and installed a couple of threaded wood inserts to bolt a Limbsaver recoil pad to. Topped the hollow section with some Devcon from Oreilly's, it shrunk as you can see.
Installed a DBM with a Dremel, not perfect but will work I think.
Also installed a Timney trigger and cut the feed ramp to work with the Alpha Type II mag.
Now it needs a scope and a day at the range. I also plan on a paint job eventually, but I'm going to make sure everything is going to work ok first!