• Watch Out for Scammers!

    We've now added a color code for all accounts. Orange accounts are new members, Blue are full members, and Green are Supporters. If you get a message about a sale from an orange account, make sure you pay attention before sending any money!

Gunsmithing "Sandman" 243 stock fitting

LRI

Lance Criminal
Full Member
Minuteman
  • Mar 14, 2010
    6,314
    7,415
    52
    Sturgis, S. Dakota
    www.longriflesinc.com
    Mr. Sandy:

    Here she is boss. Inletting is all done and were prepping for bedding now. Everything thus far is spot on.

    Enjoy,

    C.

    DSC_0004.jpg


    DSC_0002.jpg


    DSC_0008.jpg


    DSC_0013.jpg
     
    Re: "Sandman" 243 stock fitting

    Chad ,
    Is that one of your in house stocks in the background? or an McM.
     
    Re: "Sandman" 243 stock fitting

    Man that is a lot of bedding material gooping out of there. From what Ive seen on all you guys that do the really nice bedding work, thats how it has to be done. It seems like all the mistakes with voids and air pockets and such stem from trying to be neat and avoid making a mess by overflowing with bedding material.

    Cant wait to see how this one turns out.

    Your build threads are some of the most interesting ones on here. Im still crying over that .50 BMG with the McBros action.....I had that exact same set up but with a right hand bolt, left hand feed that I sold before I ever even had it put together.

    frown.gif
     
    Re: "Sandman" 243 stock fitting

    Our bedding jobs do look a bit "intense"
    smile.gif
    prior to the machine work cleaning everything up. I'd be screwed if I tried to skim bed a finished stock. I wouldn't even know where to start.

    Anyways, here's where were at:

    Chewing through the top side inlets. Everything is finished so were about to flip her over and work on the floor metal. Then its onto fitting a pad, final surface prep, and then to the paint dept. (I can say "department" now as we have a totally self sufficient facility for that stuff now-woo hoo!)

    PICS!:

    DSC_0002-1.jpg


    DSC_0003-1.jpg


    DSC_0004-1.jpg


    DSC_0005.jpg


    DSC_0007-1.jpg


    DSC_0009.jpg


    DSC_0012-1.jpg
     
    Re: "Sandman" 243 stock fitting

    Mill work for the stock is all done. Onto fitting guard screws, trial assembly, sticking a pad on it, and then paint.

    Have this wrapped up tomorrow for sure.

    DSC_0001-3.jpg


    DSC_0002-3.jpg


    DSC_0005-1.jpg


    DSC_0003-2.jpg
     
    Re: "Sandman" 243 stock fitting

    Onto fitting up the pad. I started with a Large Pachmeyer 1.0" decelerator in basket weave.

    Scuff the back, glue it on, grind to fit. Then its back into the vice to block sand the "worms" off the rubber. Nice and smooth when its all done. Almost polished in appearance.

    DSC_0006-1.jpg


    DSC_0007-2.jpg


    After fitting the pad, it's onto final sanding. As with any job there's always a snag. In this case it's a good opportunity to reinforce why we paint all of our stocks. Final sanding around the floorplate resulted in a rather large chunk of gel coat flaking off of the corner of the stock where it transitions from belly to sides.

    DSC_0008-2.jpg


    DSC_0009-1.jpg


    DSC_0010-1.jpg


    As the photo illustrates the gel coat never bonded with the carbon substrate. The gloss finish between the two pieces provides us the proof. Stocks are often vacuum molded when being laid up. carbon isn't the most friendly of materials when trying to fit it tight into an inside corner. The stuff never pushed into the gel coat to seat it.

    Nothing would have been more aggravating than to have this gun completed only to have this chip flake off a month later. It's why I make it a practice to beat on a stock with a ball peen hammer at all the sharp corners prior to paint. Fixing the issues at this point is rather simple. It's much harder on a finished product.

    DSC_0011-1.jpg


    Here's the repair. A little epoxy with filler applied after scuffing up the carbon. Put a lamp on it to accelerate the curing process and sand it smooth.

    DSC_0012-2.jpg


    DSC_0014.jpg


    It's like it never happened.


    Final fitting of the floormetal. The factory cast Remmy floorplates require a little extra work as the parts are a bit "unconventional" in how they lay in the stock. If you make the front flush and backside flush the mag well is sunk a pinch below the edge. Enough to where the floorplate binds when attempting to close. So, we sanded down a bit to catch everything back up. Then it's a little blending work to put the radius back into the corners. Thankfully McMillan gave us a rather heavy layer of gel coat so it was a pretty easy task to blend it all. Some stocks require more creativity.

    DSC_0001-4.jpg


    DSC_0003-3.jpg


    Re: "Sandman" 243 stock fitting

    John, were in good shape. Just did a trial assembly and it runs well. We spun the finish off the barrel (up at the cylinder) and discovered that it had been engraved. Just very, very shallow and the coating had covered up the work.

    No worries, ran it through the mill and put the chamber back on as we'd originally discussed.

    We'll be squirtin paint and cerakote first thing in the am. I didn't forget about the flush cups. I always install them after paint as it avoids having the mask the little bastages. Easier that way and much, much cleaner appearance.

    C.
     
    Re: "Sandman" 243 stock fitting

    Man I like these build threads - this one was pretty cool with the additional work involved and the steps taken to fix little things:) Great post!!

    Heck I wish I could order up a dozen new rifles from you just to watch the build threads!!
     
    Re: "Sandman" 243 stock fitting

    Why bother with a factory floor plate on something like this? Seems like so much attention to detail to turn it over and see what looks to be a bit of a shortcut. Your work is phenomenal though. I know its a customer request thing but was just wondering.
     
    Re: "Sandman" 243 stock fitting

    These threads on rifle builds just make me drool!! Nice work!
     
    Re: "Sandman" 243 stock fitting

    <div class="ubbcode-block"><div class="ubbcode-header">Originally Posted By: Poke</div><div class="ubbcode-body">Why bother with a factory floor plate on something like this? Seems like so much attention to detail to turn it over and see what looks to be a bit of a shortcut. Your work is phenomenal though. I know its a customer request thing but was just wondering.

    </div></div>

    . . .I know its a customer thing. . .
     
    Re: "Sandman" 243 stock fitting

    Wow that looks awesome!!! I think you should sell me some of those stencils!
    grin.gif
    Always love reading these build threads! Keep it up!
     
    Re: "Sandman" 243 stock fitting

    That is one slick 243, I bet it is light as hell also.

    Very nice work as always,
     
    Re: "Sandman" 243 stock fitting

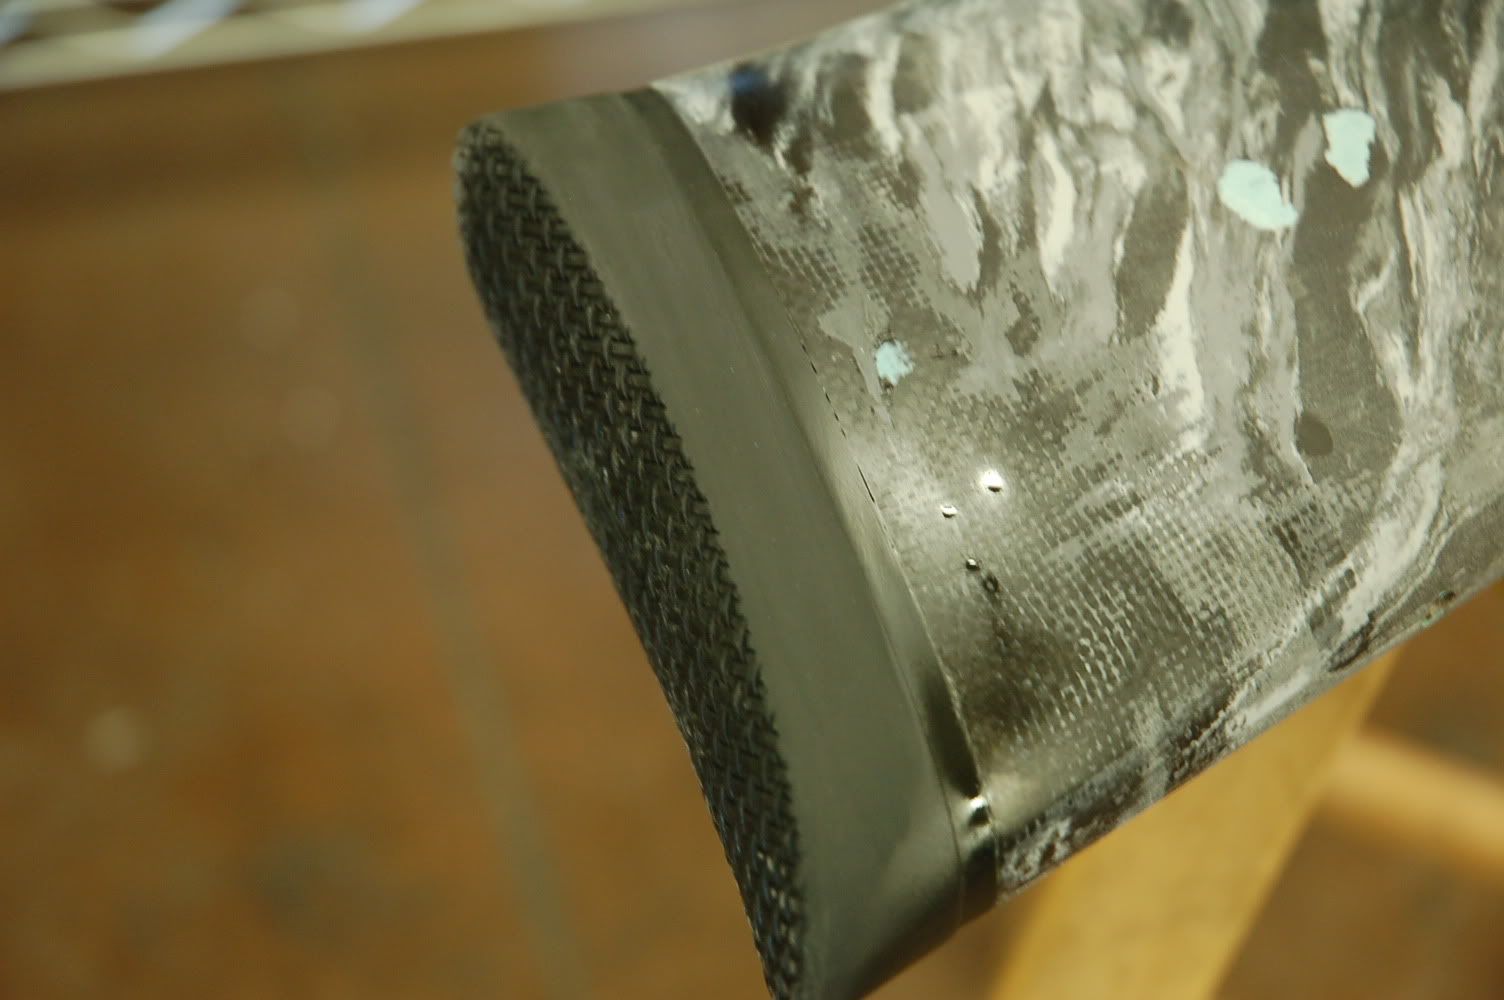
    Weather today is suckin pretty bad (rain/sleet/snow) so I figured I'd wrap this up with the flush cup installation.

    I wait until after we've painted the stock for this kind of stuff. Masking them off nice and clean is near impossible, so this is the easier route. Just have to be "jonny on the spot" with everything so that were not painting the stock over again.

    So begins the fun:

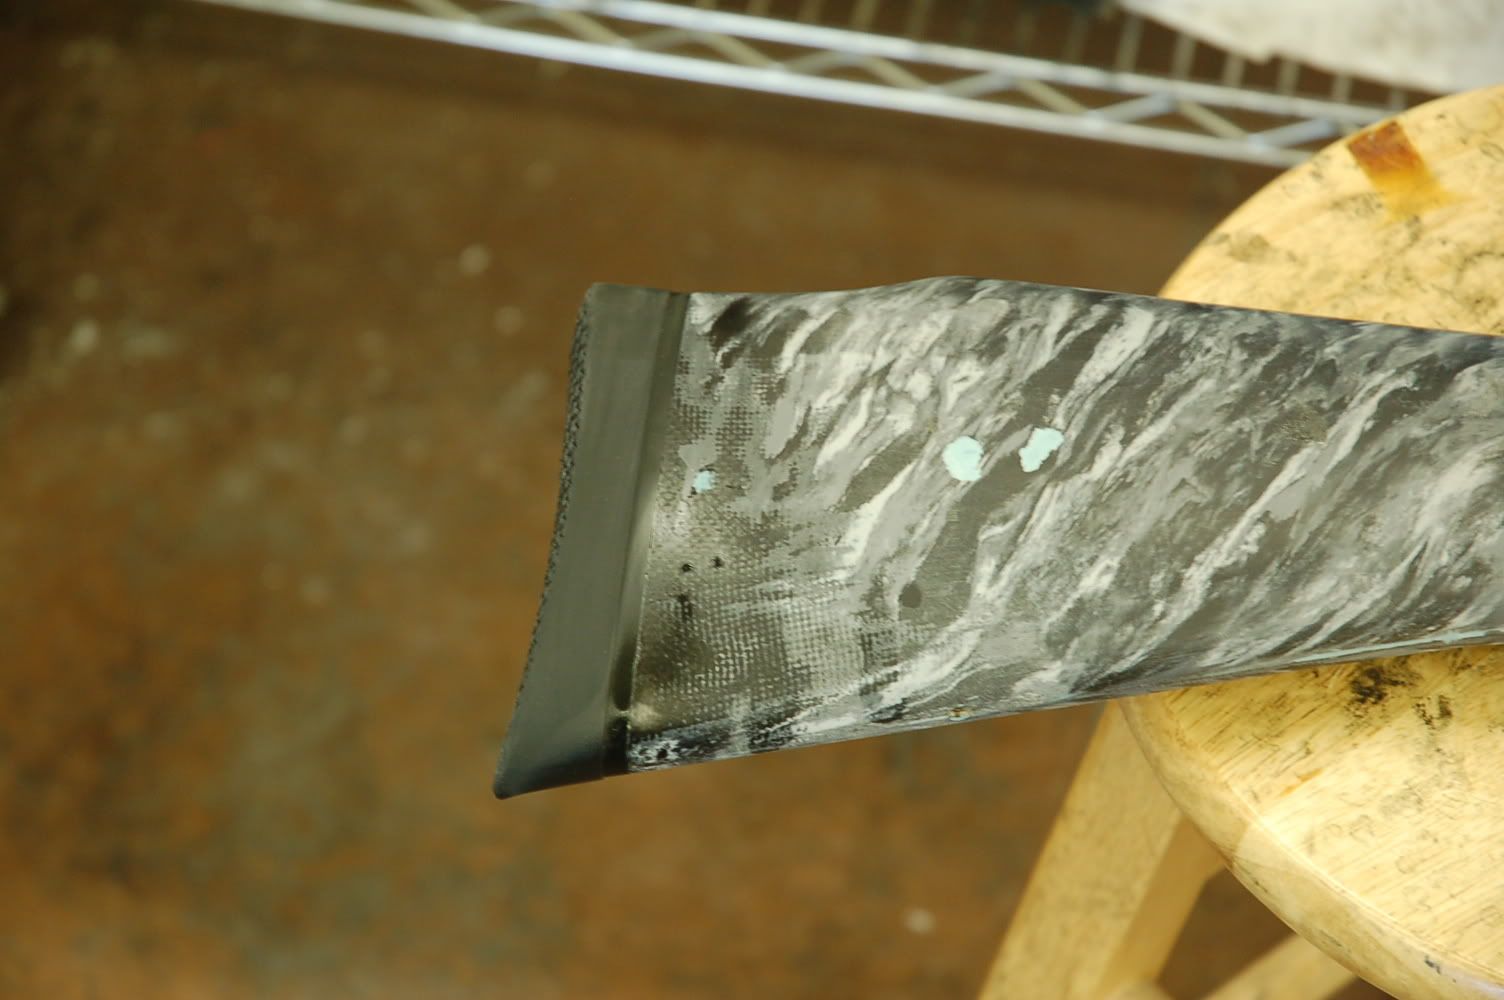
    I start with inverting the stock and leveling off the bottom side.

    DSC_0015.jpg


    From here I stick a drill chuck in the machine with a wiggler. Measure back 2.5" from the end of the stock and center off the barrel channel by moving to the end and "eyeballing" center based on the radius. So long as my eyeballs aren't crooked today I should be able to hold +/- .005" pretty easily.

    Then we bore the hole. In this case a 1/2" x 1/2" deep. It won't leave much left so I'll likely install a big washer of some sort up front inside the channel to prevent a pullout down the road. Stud/flush cups see a hard life so the more solid the better I think.

    I use a 1/2" finish em for this task. So long as you don't go bezerk it'll chew through pretty easy. Endmills as a std practice don't really like drilling operations. Tough for the face of the tool to evacuate the chips with any efficiency. Thankfully stock filler is pretty forgiving. To set the depth I just use the quill stop on the manual mill. Stuff the cup between the stop and the veneer for the depth and subtact .04" so it just sits proud of the material. This way the swivel insert doesn't "ring" the paint.

    DSC_0016.jpg


    DSC_0018.jpg


    Invert and counterbore for the "washer" I'll make here in a minute.

    DSC_0019.jpg


    Now its off to the lathe. I grabbed the first chunk of material that'd work. 303 stainless. Won't ever rust and plenty strong for the screw. Turn it to 5/8" minus a little for clearance, drill/tap for 10-32 and part it off. Forgot to grab the camera so you'll have to imagine it. Nothing special. Just a washer with a threaded hole down the middle.

    Onto the "overkill" for this little project. While deployed in the middle east I stumbled upon a BrownSharp MicroMotion hydraulic surface grinder on Ebay. I bought it sight unseen and had it shipped home while still deployed. Recently I got it working. The hydraulics were all screwed up and replacing all the gaskets/seals was going to run well into the $3,000 range.

    Phuk that!

    I bought a couple O ring kits from a parts house and made my own gaskets out of manilla folders.

    Runs like a champ. Aside from a finish pass on the chuck to clean it up and a few experiements with factory M700 recoil lugs I've not had a reason to use it. This is the first "official" job for the machine. Parting off the washer left a bur at the edge of the thread. I decided to grind it clean. 303SS is non magnetic so a couple parallels were pinched against the part to hold it. So long as I don't go crazy it should work fine.

    Here's the finished piece:

    DSC_0020.jpg


    DSC_0021.jpg


    DSC_0022.jpg


    DSC_0023.jpg


    DSC_0024.jpg


    With that done, it's onto the rear cup, final assembly, and we'll deliver tomorrow.
     
    Re: "Sandman" 243 stock fitting

    <div class="ubbcode-block"><div class="ubbcode-header">Originally Posted By: C. Dixon</div><div class="ubbcode-body">2nd color applied:


    DSC_0003-6.jpg


    DSC_0002-6.jpg


    3rd/4th color and final assembly:

    DSC_0008-3.jpg


    DSC_0007-3.jpg


    DSC_0011-2.jpg


    DSC_0012-3.jpg


    DSC_0013-3.jpg


    DSC_0014-1.jpg
    </div></div>


    Can you explain the order in which you applied stensils? I can see the first set over the light tan color, then you painted the dark green color. Did you take the first stensils off after sprating the dark green? How did you do the stenils for the next 2 colors? Were they female stensils? Did you just apply and mask and paint where you wanted or did you stensil and remove after each color? If there's pics of each stensil and color application can you please post them? Thanks
     
    Re: "Sandman" 243 stock fitting

    Chad shares A LOT of secrets of his builds on here, dunno if he will give the step by step to his paintjobs... They look super cool at any rate!!!
     
    Re: "Sandman" 243 stock fitting

    John,

    Boxing her up now. Test fired it this morning to check function.

    DSC_0005-4.jpg


    Everything looks good. Did have one little issue with ejection though. You told me you bought this from someone "as is". I'm assuming then you didn't install the little spring for the ejector. I believe it was an attempt to prevent cases from being "field goaled" across the range.

    It didn't like kicking out live ones so I replaced it with a factory Remmy ejector spring. It runs live/empties now.

    Other than that, she works good.

    Tracking information to follow shortly.

    Thanks again,

    C.
     
    Re: "Sandman" 243 stock fitting

    <div class="ubbcode-block"><div class="ubbcode-header">Originally Posted By: C. Dixon</div><div class="ubbcode-body">Bedded, just cookin.

    DSC_00012.jpg

    </div></div>

    Would you mind providing the name of the vise or a link to it? Love the simplicity and versatility it offers.
     
    Re: "Sandman" 243 stock fitting

    Hi Chad - thank you for taking the time to post these impressive photos of your work! I'm a looooonnnng time lurker and have been focused on building 1911s and haven't done much rifle work in a long time.

    Can you comment on bedding at the rear tang of the receiver? It looks like some people bed right up to the edge of the receiver like you've done in this photo and some provide a little clearance at the tang.

    DSC_0005.jpg


    Thanks again!

    Dave Berryhill
     
    Re: "Sandman" 243 stock fitting

    We actually do clearance it. I never used to and it resulted in a few guns actually chipping the rear due to recoil. -big Magnums.

    What I do now is just bed it 1:1 and then before coating/finishing we'll buzz .01" off the back of the receiver. Trying to use tape just results in a mess. I've never been able to make it stick/stay put. the only exception to this would be guns with big BR style tangs. For those I'll run a piece of tape around the back side.

    Brings up another interesting subject. Now that I have my surface grinder up and running (Brown/Sharp Micro Motion Hydraulic) I plan on whipping up some more recoil lugs. My idea is to duplicate the popular styles we use, Stiller, Badger, Defiance, Nesika, Remington, etc. and oversize them a bit. This way we won't ever have to tape up a lug again. We'll also be able to clam up barrels to the full torque value as were bedding. Not sure how much difference that'll make, but eliminating the time involved with masking the lug should be pretty cool. That and I think it'll make the finish down in the lug well even better. This'll be a Sunday project more than likely. Be tough to break away during the week to do this.

    Also means I'll be able to make our lugs completely in house now. No more mooching grinding time from the neighbors!

    Getting there. . .


    C.
     
    Re: "Sandman" 243 stock fitting

    <div class="ubbcode-block"><div class="ubbcode-header">Originally Posted By: ugsly</div><div class="ubbcode-body">Chad, The stock looks better when Kalli is holding it :p

    Kc </div></div>


    I hope so.
    smile.gif
    I don't get it, she must have a thing for fat ol guys. . .
     
    Re: "Sandman" 243 stock fitting

    <div class="ubbcode-block"><div class="ubbcode-header">Originally Posted By: C. Dixon</div><div class="ubbcode-body">...What I do now is just bed it 1:1 and then before coating/finishing we'll buzz .01" off the back of the receiver....</div></div>
    Thank you sir!
     
    Re: "Sandman" 243 stock fitting

    <div class="ubbcode-block"><div class="ubbcode-header">Originally Posted By: C. Dixon</div><div class="ubbcode-body">We actually do clearance it. I never used to and it resulted in a few guns actually chipping the rear due to recoil. -big Magnums.

    What I do now is just bed it 1:1 and then before coating/finishing we'll buzz .01" off the back of the receiver. Trying to use tape just results in a mess. I've never been able to make it stick/stay put. the only exception to this would be guns with big BR style tangs. For those I'll run a piece of tape around the back side.

    Brings up another interesting subject. Now that I have my surface grinder up and running (Brown/Sharp Micro Motion Hydraulic) I plan on whipping up some more recoil lugs. My idea is to duplicate the popular styles we use, Stiller, Badger, Defiance, Nesika, Remington, etc. and oversize them a bit. This way we won't ever have to tape up a lug again. We'll also be able to clam up barrels to the full torque value as were bedding. Not sure how much difference that'll make, but eliminating the time involved with masking the lug should be pretty cool. That and I think it'll make the finish down in the lug well even better. This'll be a Sunday project more than likely. Be tough to break away during the week to do this.

    Also means I'll be able to make our lugs completely in house now. No more mooching grinding time from the neighbors!

    Getting there. . .


    C. </div></div>

    That's pretty clever sir! The recoil area probably takes 1/2 if not more of the time to mask off and prepare the action for bedding. Making larger temporary recoil lugs would be a good fix for that.
    I tried making a few slip fit covers for the SSS recoil lugs ( I stick mostly to Savages) and either had them stick to well to the epoxy, which added time to the removal process, or leave a mark in the epoxy which later had to be sanded out for final looks.
    I started using some plumber's tape which leaves a nice finish in the epoxy but sucks to work with in tight areas.


    Why not just make one lug that is just slightly larger than your largest normal lug then all others should fit the void nicely? Unless you go with a tight fit front and rear of the lugs then you would need ones like you said that match closer to the final layout.

    Anyways, looks great as always and love your ideas.

    Mike
     
    Re: "Sandman" 243 stock fitting

    <div class="ubbcode-block"><div class="ubbcode-header">Originally Posted By: C. Dixon</div><div class="ubbcode-body">

    I plan on whipping up some more recoil lugs. My idea is to duplicate the popular styles we use, Stiller, Badger, Defiance, Nesika, Remington, etc. and oversize them a bit. This way we won't ever have to tape up a lug again. We'll also be able to clam up barrels to the full torque value as were bedding.


    </div></div>

    Sorry if I seem dense but I am pretty sure your saying duplicate the lugs mentioned a bit oversized, bed and then take the oversized lug out and put the proper lug in resulting in a very clean bed job and no tape with desired clearance ? Just not sure what you meant by "clam up barrels"
     
    Re: "Sandman" 243 stock fitting

    If you tape a recoil lug on the front it's near impossible to torque a barrel fully without distorting the tape at the edge of the barrel cylinder. By machining oversize lugs and eliminating the need, the barrels could be torqued to full value during the bedding operation. I don't know if it really matters in practical terms, but it sure couldn't hurt anything.