• Watch Out for Scammers!

    We've now added a color code for all accounts. Orange accounts are new members, Blue are full members, and Green are Supporters. If you get a message about a sale from an orange account, make sure you pay attention before sending any money!

Gunsmithing PTG Dual Pilot Range Rods

Re: PTG Dual Pilot Range Rods

fellas
When you go to center up your tail stock what methos do you use? I have simpley used a sterrate .001 indicator magneticly stuck with a holder onto the face of my spider on the spindal. I then run the indicator around the shaft of the tail stock. Is this ok? Also i have a high dallor live center. Could i run the indicator around this instead? I hope this makes since.

Also what do you think about this idea for a cheap flush system. I a thinking about taking an air bomb tank "new" and filling it with the proper fluid and then charging the take with the proper amount of air pressure thus allowing the fluids to run down the barrel from the muzzle end. I would then just rig up a catch bowl or bucket to recalim the fluids. No need for a pump this way. will it work? Not sure how much air pressure will be needed but i think this idea is plausable. Lee
 
Re: PTG Dual Pilot Range Rods

<div class="ubbcode-block"><div class="ubbcode-header">Originally Posted By: skeetlee</div><div class="ubbcode-body">fellas
When you go to center up your tail stock what methos do you use? I have simpley used a sterrate .001 indicator magneticly stuck with a holder onto the face of my spider on the spindal. I then run the indicator around the shaft of the tail stock. Is this ok? Also i have a high dallor live center. Could i run the indicator around this instead? I hope this makes since.

Also what do you think about this idea for a cheap flush system. I a thinking about taking an air bomb tank "new" and filling it with the proper fluid and then charging the take with the proper amount of air pressure thus allowing the fluids to run down the barrel from the muzzle end. I would then just rig up a catch bowl or bucket to recalim the fluids. No need for a pump this way. will it work? Not sure how much air pressure will be needed but i think this idea is plausable. Lee </div></div>
sweeping in your tailstock center will tell you it is aligned (or not) at that very spot. it may or may not stay aligned throughout the ram travel or along the bed ways. i know mine does not and that is the reason i use a floating reamer holder. i have thought hard about a completely rigid setup and was about to try it. things are up in the air right now and i may be upgrading my machine in the near future so i am not sure how much time and effort i want to put into this machine. in the mean time, my current machine and set up are netting some excellent chambers.

i see no reason your flush system wouldn't work as long as you have the volume of oil needed in the tank. make sure the pickup is in the bottom of the tank and use an adjustable regulator between your compressor and the oil tank. then you can adjust the pressure to suit your needs.
 
Re: PTG Dual Pilot Range Rods

Bert covered it on the tail stock as to what your talking about does. He also suggested that it can lure you into a false sense of security.

Here's the deal.

First you have to ensure the bed of the machine is both square and parallel to the spindle. If the machine has been moved by someone careless/not appreciative of how delicate machines are, then you can't assume anything. Also, if your machine was previously used by hamburger machinists who used emery cloth up close to the chuck without protecting the bedways with a drop cloth then you may have a sag in your bed from it getting between the carriage/bed and turning into lapping compound.

None of which are good. So check this first.

The easy way is to chuck up a large OD piece of ground material and run an indicator along it with the Z travel of the carriage.

OR

Take a cleanup pass along a length of something free machining and big in diameter. AL will work for this. Say 12" or so past the chuck face. If there's taper in it then you either have part deflection (why you'd want a big piece of material to resist this) or your bed is out of whack. If it is, then just stick with the floating tool holder unless your brave enough to try and align it. (not an easy task)

Assuming its good this way, move to step two.

Next you check for a sag in your bed. Move the indicator to the top (12 o clock) of the part and run the indicator again. If it sags/tapers then what would be the "Y" axis is out on your machine. Again, stick with the floating tool holder unless your a bad ass at getting it straight again.

Assuming it too is good to go, onto the tail stock.

The tailstock is just a bitch. there's no getting around it. As mentioned, simply sweeping the bore/center just tells you if its on location at that particular position. If the bed is straight, but the tailstock gibs aren't parallel with the tailstock ram, then your kinda phukked. In other words, it could be running on a parallel bedway with the ram sitting cockeyed in relationship to the gibs/bed.

Not cool.

You literally have to check this in a number of locations along your bed. Basically extend the ram and indicate down the side of it. If taper is present you can prolly assume its not true.

Back to the floating holder. . .

If it is, now you have to ensure its at the same center height as the spindle. Sweeping the bore will tell you if its high/low.

If your low you can shim it up. If you high, then material needs to come off something.

Back when I did this stuff on manuals I quickly became very frustrated with tail stocks. I moved to using the carriage as it gave me all the freedom to position the tool as needed.

There's a number of ways to indicate the tool in using this method. If interested I'll share what I did.

C.
 
Re: PTG Dual Pilot Range Rods

<div class="ubbcode-block"><div class="ubbcode-header">Originally Posted By: C. Dixon</div><div class="ubbcode-body">
You just turned your bolt face into a socket trying to rotate into another socket with a piece of hex in between. </div></div>

Note to self: should have inserted more winking smiles into that post.
 
Re: PTG Dual Pilot Range Rods

<div class="ubbcode-block"><div class="ubbcode-header">Originally Posted By: C. Dixon</div><div class="ubbcode-body">Back when I did this stuff on manuals I quickly became very frustrated with tail stocks. I moved to using the carriage as it gave me all the freedom to position the tool as needed.

There's a number of ways to indicate the tool in using this method. If interested I'll share what I did.

C.

</div></div>

Please, elaborate, I'v been using a floating holder also, and think there is a better way. Was thinking of using a reamer holder on the carriage, I've got an Aloris toolholder, and there are plenty of choices for that, plus I like that it is about as solid as I can hold a tool.

Plus, I can use the DRO on the carriage, and that is a nice thing too. I'm thinking if I ever put a DRO on the Grizzly that I bought I'll want a 3 axis instead of the usual 2, and use the extra for the tailstock.
 
Re: PTG Dual Pilot Range Rods

I'm also interesting in hearing what Chad has to say about indicating the position of the reamer in the carriage, considering that I'll be cutting my next chamber this way.
 
Re: PTG Dual Pilot Range Rods

I've thought about mounting a sacrificical aluminum block on my carriage and chucking a drill/reamer to bore the chamber reamer hole. Seems like it would be good for a single shot.
 
Re: PTG Dual Pilot Range Rods

How I did it:

Most reamers are 7/16" od on the shank. Get a 7/16 boring bar holder or make one.

Mount a piece of qualified material and indicate parallel/square to the chuck. Have a point machined on one end of it.

Now have/make a dead center. Needs to have a female cone on one end and a point on the other. The female end can be done with a center drill.

Mount a shaft to the dead center at a right angle to it. It needs to be as long as possible without hitting the bed of the lathe. Mount an indicator to it and have it touching the chuck. Better yet, make an extension that can clamp to the chuck so that the distance from center is extended as far as possible without hitting the bed. The longer the distance, but the better as it increases the sensitivity of what your about to do.

Now put the dead center (one with the shaft on it) between the point on the tool setup bar/holder and the barrel bore (indicated barrel) in the lathe. Put a little pressure on it so that the barrel "bites" the center and forces it to rotate with it. Put grease in the female hole.

Begin sweeping 360 degrees and note the position changes. Split the differences by moving the X (cross feed) and the Y (tool holder height) until you see no indicated movement for a full rotation.

Lock down the carriage so that it can't move in X.

Recheck your work.

Mount your reamer and get it on!

If you have a DRO your solid. Touch off your tool to the face of the breech. I use a .100" gauge block stuck between the face of the breech and the pilot screw of the tool. If you zero the DRO and move in .100 your at the exact zero position.

Now lay your GO gauge on the tool with the shoulder/body intersetcion eye balled/aligned with the reamer. Get a 6" scale and measure the distance from the tip of the screw to the back of the gauge. Say it's 2.875". Subtract .05" from that value to be safe.

Begin chambering. Once you get to that depth, assembled and check headspace. If you spend about $150 you can buy a chinese set of gauge pins from Enco. .06-.250 in .001" size increments.

With the action on the barrel along with the lug and the bolt against the gauge and in battery start stuffing gauge pins in until one just barely fits between the lug and the barrel shoulder. Say its .048"

Add 2.825" (.05" less than the 2.875" you measured) to .048" for a total depth of 2.873". This is your total depth to zero HS. Add .002" to that for a total depth of 2.875". The .002" extra gives room for thread crush.

That's it.

If you REALLY wanna get fancy you can do this:

Make a steel reamer holder similar to what Gretan sells. Drill a hole and mount another shaft like you did with the dead center. Mount an indicator to your carriage with the stylus touching the shaft. This is your "load meter". If you twist on the reamer when plunging it'll cause the holder to try and do the same. The long shaft/stem will contact the indicator and reference a movement. This is ok. What you can do is get a "feel" for what the reamer is doing and try to keep the same load throughout the operation.

Play with depth of cuts. I'd start at .05". For smaller calibers you can't go crazy due to the narrow chip gullets. Larger calibers allow for more. HSS reamers need a shallower depth of cut than carbide due to reduced fluid transfer around the pilot.

Get a spiral notebook or start an excell spreadsheet. Keep track of plunge depths for various action/breech styles. Keep track of speeds/feeds/depths of cuts.

Before too long you'll have a data base that'll make this super easy and super fast.

You'll make more money.
 
Re: PTG Dual Pilot Range Rods

Chad.

I am thinking of making a tool to do somewhat the same thing as your bar and indicator setup. I'd like your input here.

OK, I think I'd use a short piece of 1.5" round stock, internally threaded to match the barrel threads. Most of what I do is 1 1/16 or 1 1/8 x 16 TPH, so I could get away with only a couple tools. As I said, internally thread and shoulder to match the barrel threads. Leave a 1/4" nub on the end to attach a .0005 last word type indicator.

Screw the tool on the threaded barrel in the lathe, I'd probably check runout there on the nub or OD to ensure the tool is true to the bore ( I chamber using a long DI to zero the bore, before threading and shoulder ). Using the DI on the nub, sweep in the bore of an Aloris type tool holder at two locations, front and back. I'd have to use the vertical on the Aloris to zero that direction, and the crossfeed to zero the other. Mount the reamer, chamber using the DRO and the methods previously outlined.

Ultimately, the quality of the chamber can be judged with a white light and looking at the throat. Clean and even all around = good. Lopsided, or ovaled = not so good. A few tenths off shows up there pretty quick.

What did I forget?
 
Re: PTG Dual Pilot Range Rods

<div class="ubbcode-block"><div class="ubbcode-header">Originally Posted By: Mikee Booshay</div><div class="ubbcode-body">Single point CNC a chamber?</div></div>
I don't want to derail the train but it's been brought up and I'd like to jump in only on this point. I just chambered my first two barrels, so I'm <span style="font-style: italic">really</span> new at this. Made them both in .458 Socom for Savage bolt actions. All I needed was 2 barrels, so I poked the chambers with a single point tool on the CNC. The cartridge is short and fat so it made sense at the time. These aren't long-range Match guns either.

Did I make a poor choice? Honestly, it seemed like the easy and fast way at the time. Why or why not would I want to repeat this method when I want more barrels? I now have the correct reamer, throater and a floating holder. How about roughing the chamber just short with a single point and then reaming, any benefit to going that way?
 
Re: PTG Dual Pilot Range Rods

<div class="ubbcode-block"><div class="ubbcode-header">Originally Posted By: Wicked Weapons</div><div class="ubbcode-body"><div class="ubbcode-block"><div class="ubbcode-header">Originally Posted By: Mikee Booshay</div><div class="ubbcode-body">Single point CNC a chamber?</div></div>
I don't want to derail the train but it's been brought up and I'd like to jump in only on this point. I just chambered my first two barrels, so I'm <span style="font-style: italic">really</span> new at this. Made them both in .458 Socom for Savage bolt actions. All I needed was 2 barrels, so I poked the chambers with a single point tool on the CNC. The cartridge is short and fat so it made sense at the time. These aren't long-range Match guns either.

Did I make a poor choice? Honestly, it seemed like the easy and fast way at the time. Why or why not would I want to repeat this method when I want more barrels? I now have the correct reamer, throater and a floating holder. How about roughing the chamber just short with a single point and then reaming, any benefit to going that way? </div></div>

I'm really interested in what kind of surface finish you got, especially at the leade. Any trailing burrs? The barrels I got from Walther that had cnc'd chambers looked great. It seems like a perfect way to bypass all of the peculiarities of lathe setup when reaming. Let us know how they shoot when you get to that stage.
 
Re: PTG Dual Pilot Range Rods

<div class="ubbcode-block"><div class="ubbcode-header">Originally Posted By: jrm850</div><div class="ubbcode-body">

I'm really interested in what kind of surface finish you got, especially at the leade. Any trailing burrs? The barrels I got from Walther that had cnc'd chambers looked great. It seems like a perfect way to bypass all of the peculiarities of lathe setup when reaming. Let us know how they shoot when you get to that stage.

</div></div>

Question
CNC'd means a machine did the work. How was the chamber cut and what if any follow up polishing was done and what procedure or method did they use?
 
Re: PTG Dual Pilot Range Rods

<div class="ubbcode-block"><div class="ubbcode-header">Originally Posted By: Dave Tooley</div><div class="ubbcode-body"><div class="ubbcode-block"><div class="ubbcode-header">Originally Posted By: jrm850</div><div class="ubbcode-body">

I'm really interested in what kind of surface finish you got, especially at the leade. Any trailing burrs? The barrels I got from Walther that had cnc'd chambers looked great. It seems like a perfect way to bypass all of the peculiarities of lathe setup when reaming. Let us know how they shoot when you get to that stage.

</div></div>

Question
CNC'd means a machine did the work. How was the chamber cut and what if any follow up polishing was done and what procedure or method did they use? </div></div>

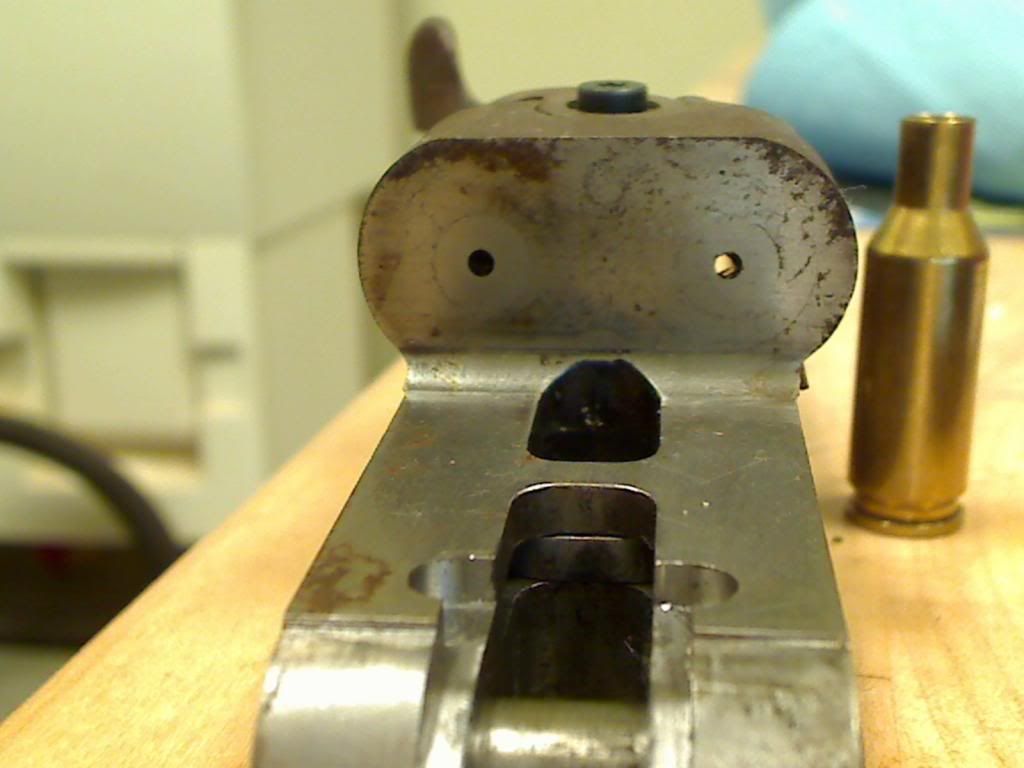
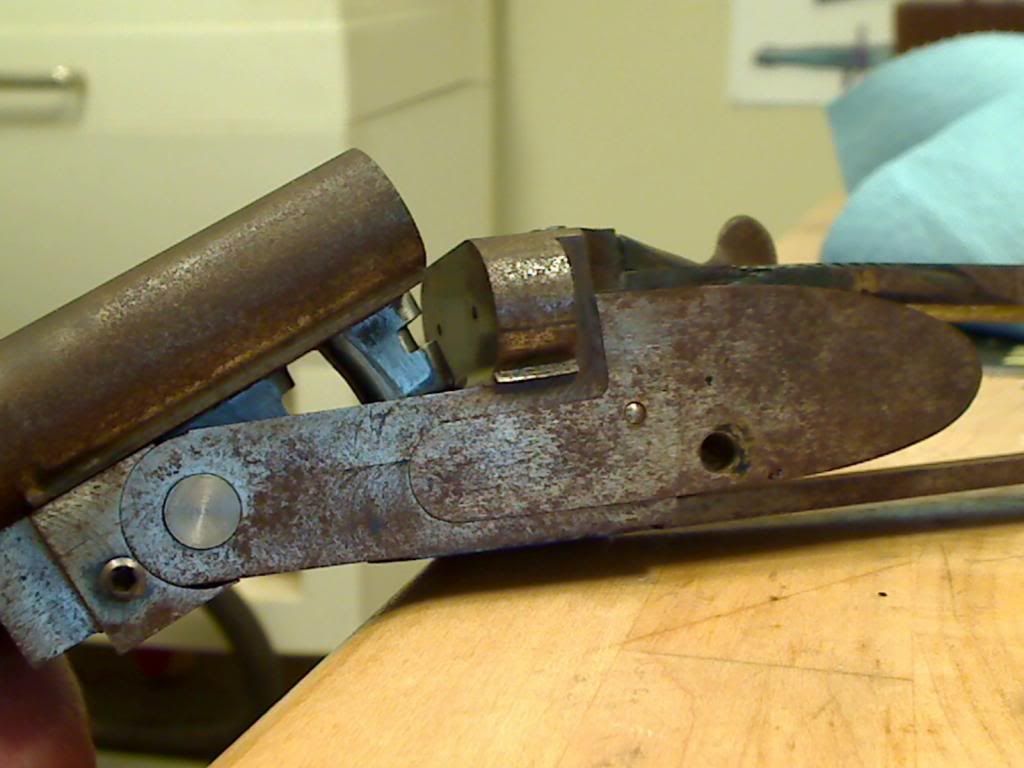
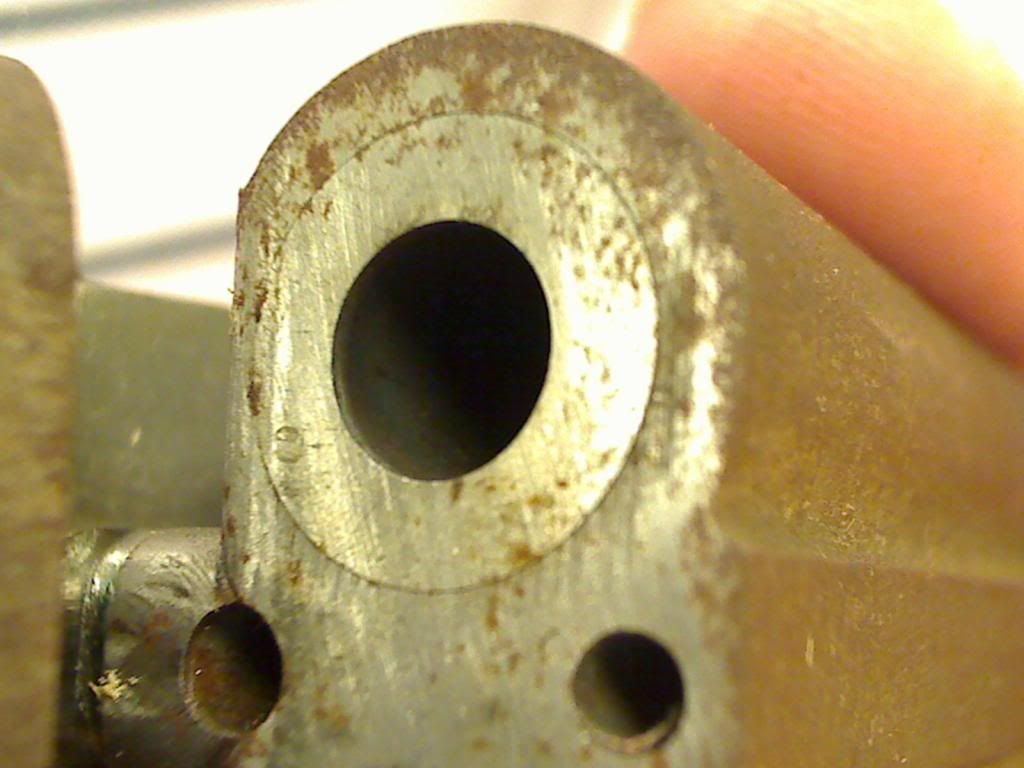
I never got any details from them about how they did it, but the surface finish did not appear to have any traditional polishing marks. I tried taking some pictures of the inside of the chamber but I'm not having much luck with just a webcam and no great lighting.
Picture118.jpg


Forgive the condition and rust. That image is of an unfinished .22 Hornet sidelock that I was building from scratch. It has been sitting around rusting since '97. Maybe one day I will get around to shaping and finishing it.

Picture121.jpg

Picture119.jpg