
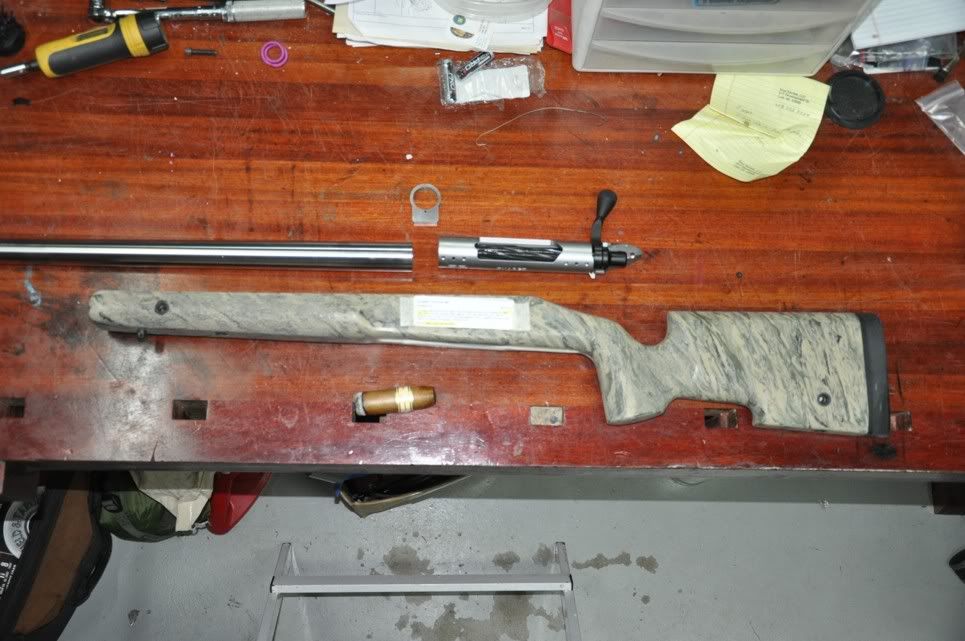
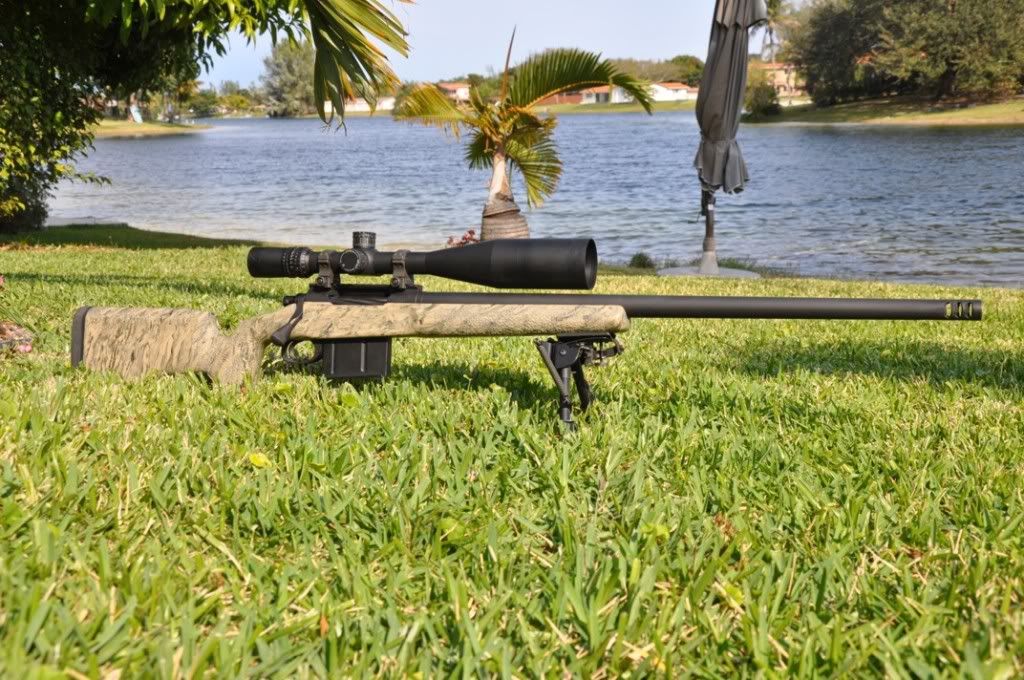
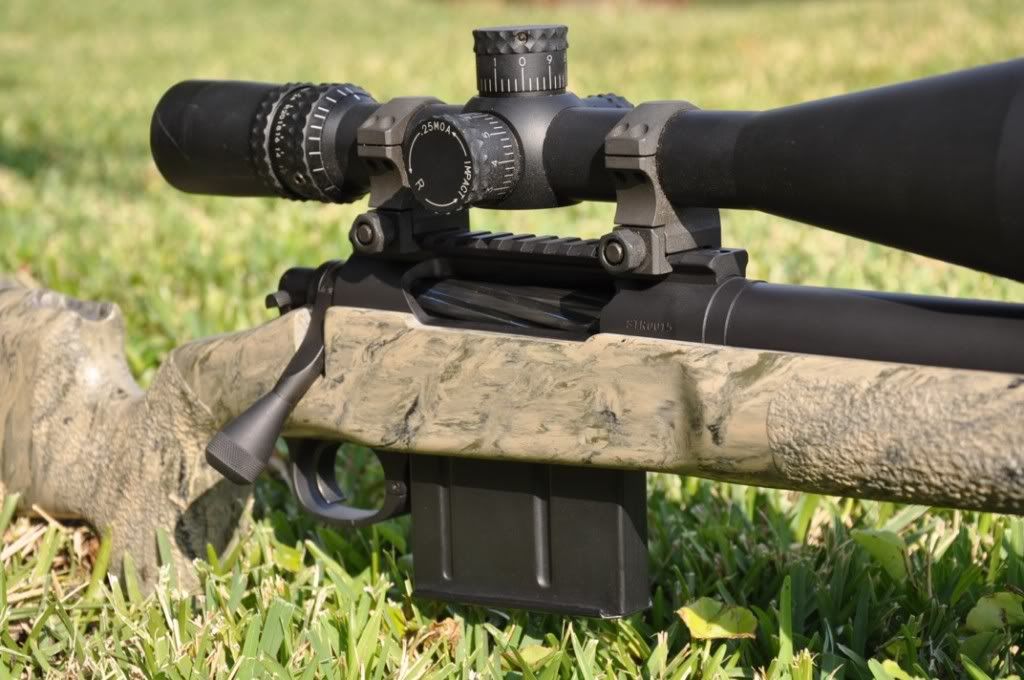
Here is a build very similar to the one I did last week. This 300 was built with one of my signiature actions made by Stiller, which is the same as a TAC 300. I used a Bartlein Barrel with an MTU contour. The stock is a McMillan A5 with molded in colors, 60% Tan, 20%olive, and 20% black. The bottom metal is APA, which will be my go to guys for that part from now on. I also put an APA Little Bastard break on it, and it makes all the difference in the world. Last, but also very important, was the Timney trigger.
Here is what I started out with.
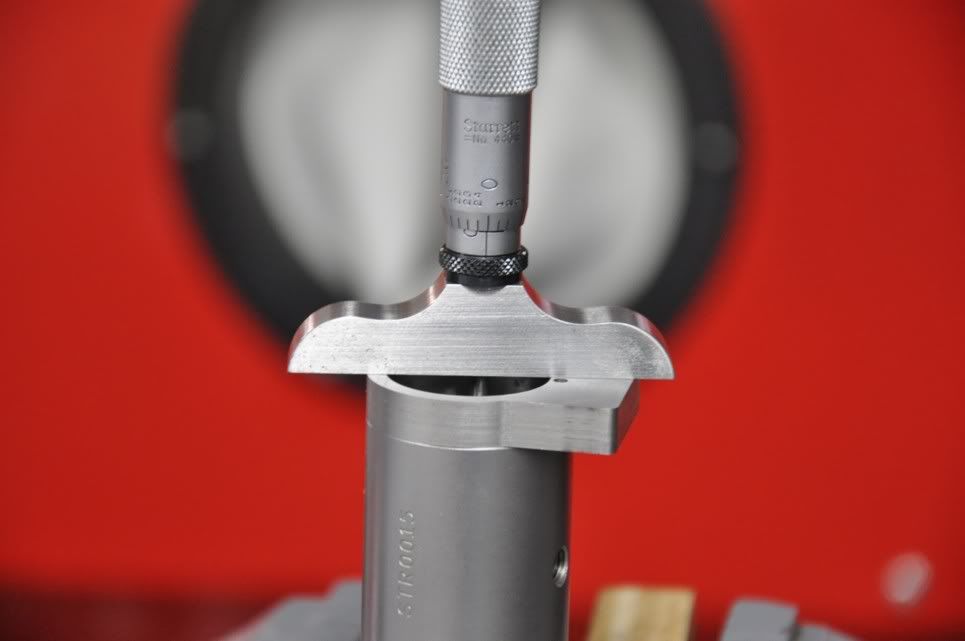
First thing is to take mesurements
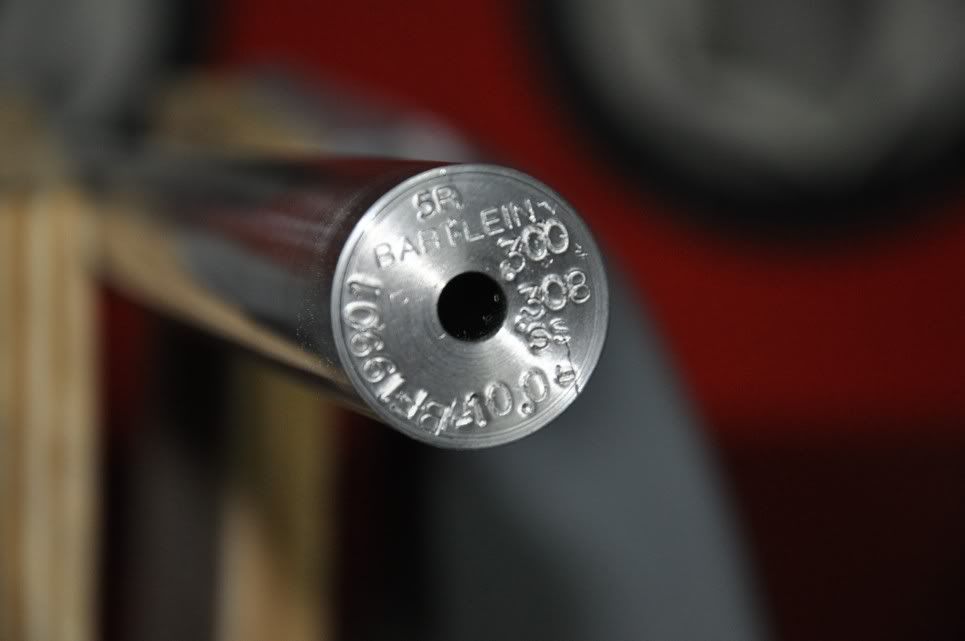
Here is a pic of the barrel stamp. These guys are first class.
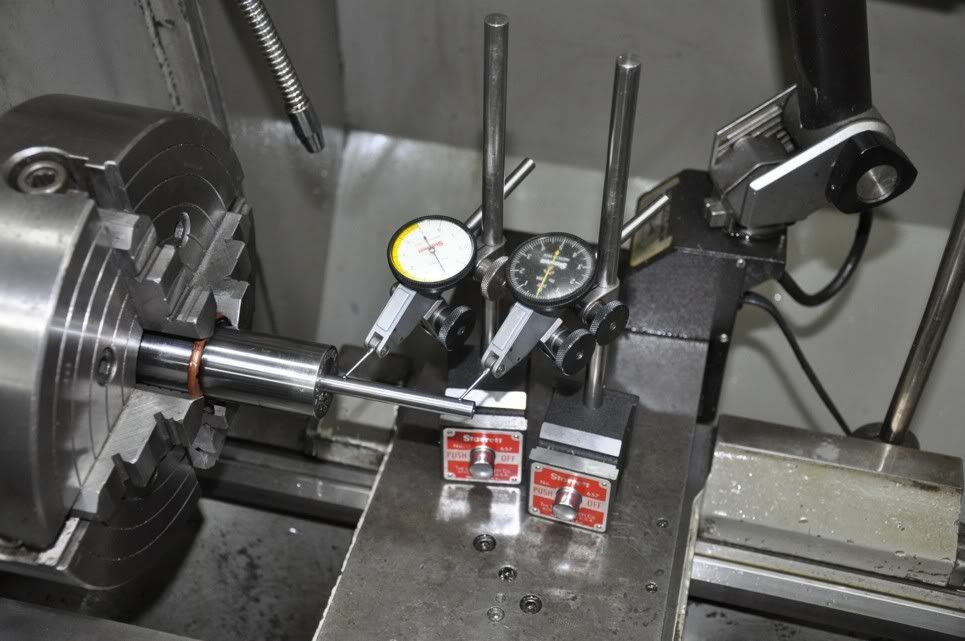
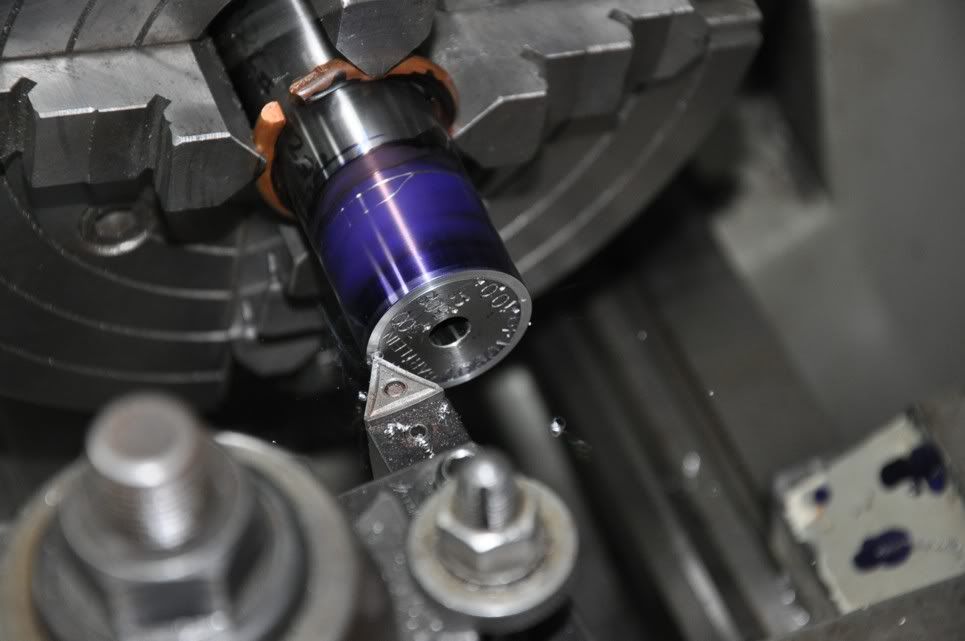
Ok, so first thing after cleaning the barrel up is to indicate it in with in .0001 to .0002 inch.
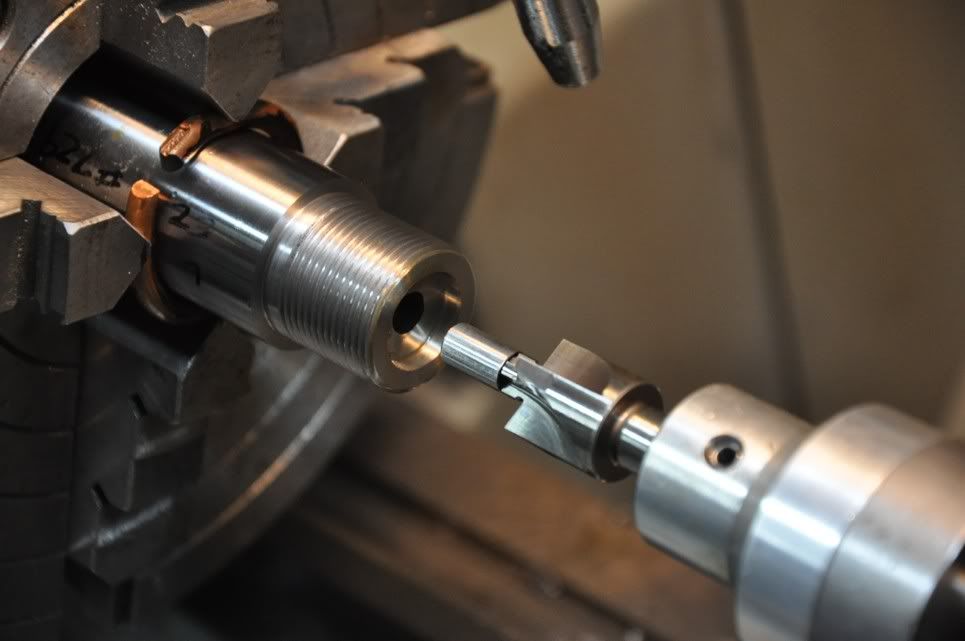
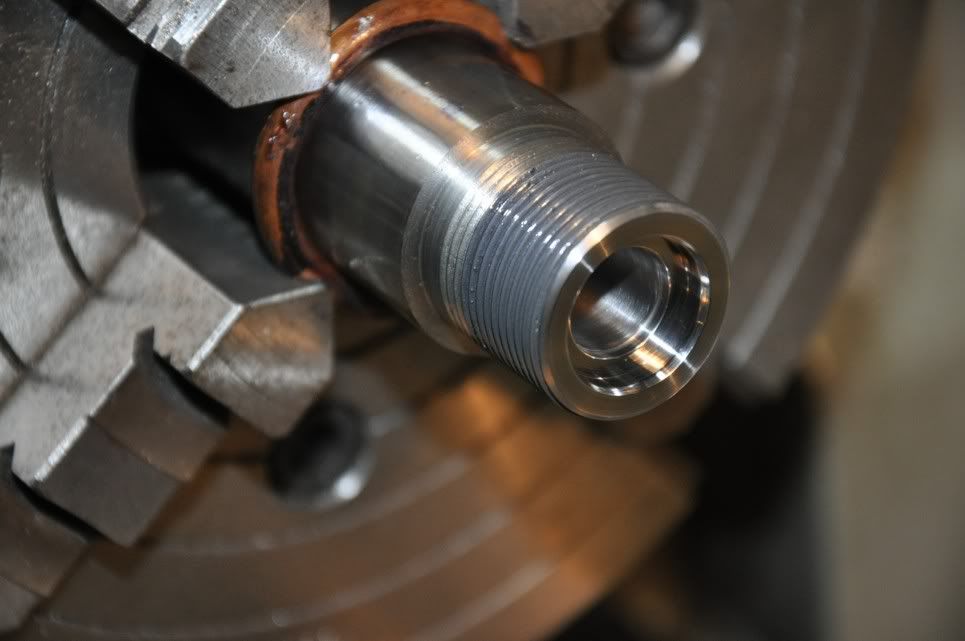
Next up is to face off the chamber end, and start cutting the tenon to its required length. After that comes threading to a proper fit on the action.
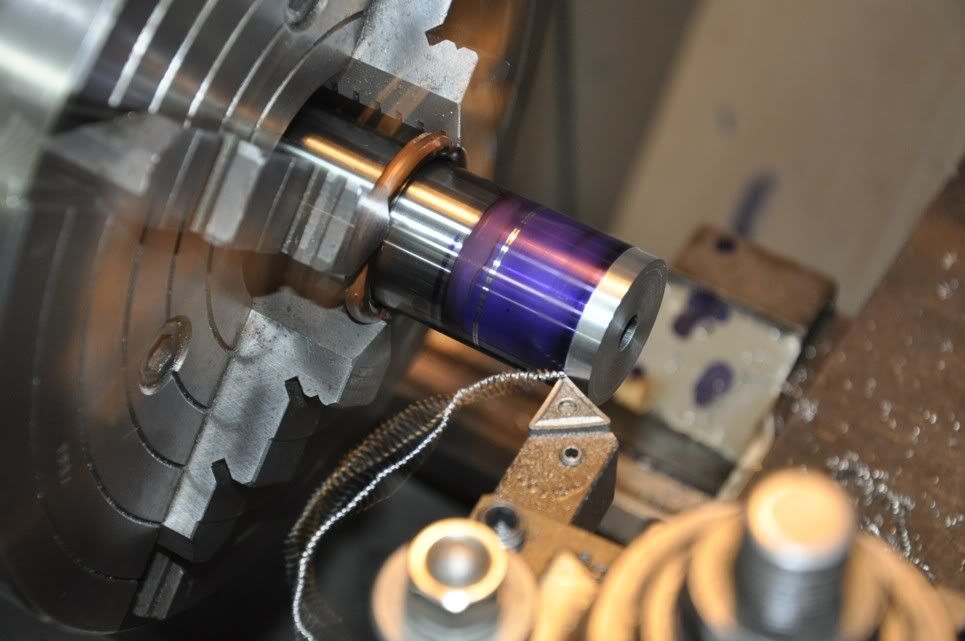
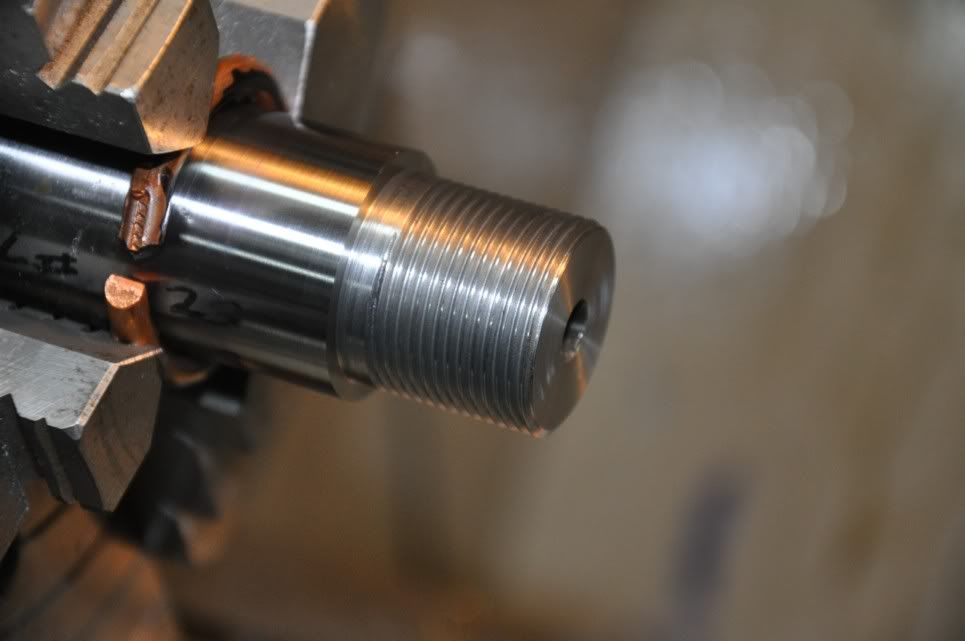
Now the bolt nose relief and a little polishing.
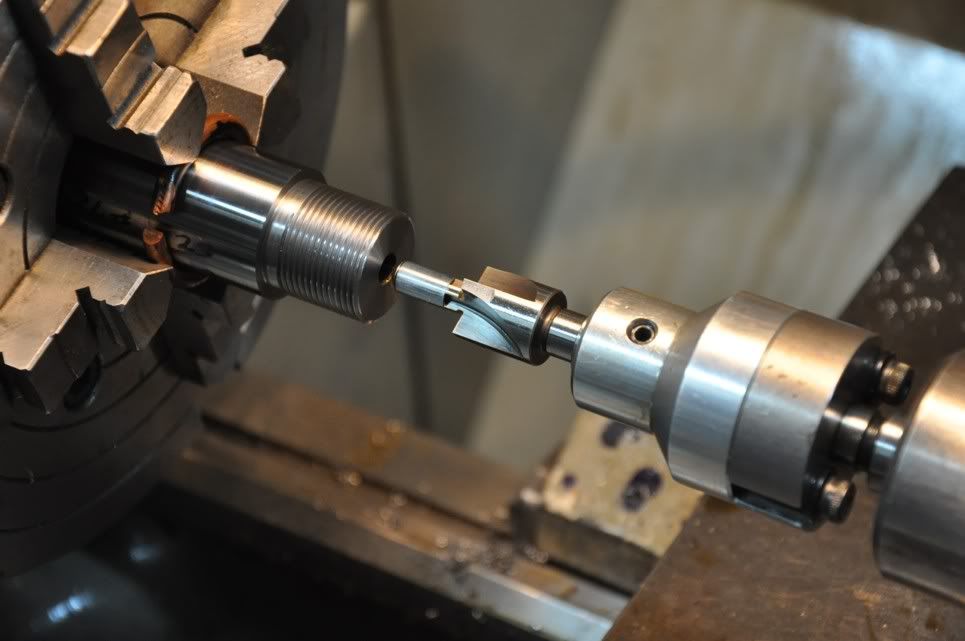
I used a standard PTG match reamer for the chamber with less than .001 inch between the bolt face and brass when bolt is closed. Norma brass is what I used.
![url]](http://[url="http://i840.photobucket.com/albums/zz330/precision700/DSC_0439.jpg"]http://i840.photobucket.com/albums/zz330/precision700/DSC_0439.jpg[/url])
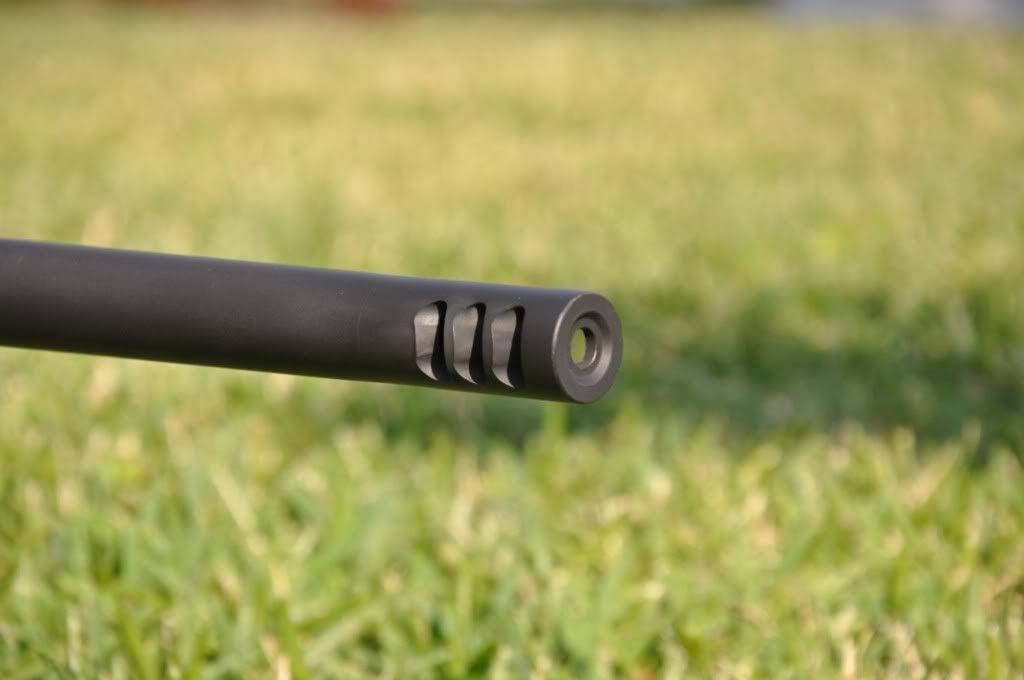
After the action was fit, and the barrel reamed, I moved to the muzzle end. There I cut an 11 degree target crown. I threaded the barrel 5/8-24 for the little bastard break, which timed, and contourede to the barrel.
![url]](http://[url="http://i840.photobucket.com/albums/zz330/precision700/DSC_0467.jpg"]http://i840.photobucket.com/albums/zz330/precision700/DSC_0467.jpg[/url])
![url]](http://[url="http://i840.photobucket.com/albums/zz330/precision700/DSC_0468.jpg"]http://i840.photobucket.com/albums/zz330/precision700/DSC_0468.jpg[/url])
Now it's time for a little fitting of the metal to the McMillan stock. A little hand relieving, and checking, and we are ready for the messy stuff. The pillars were supplied with the APA bottom metal, and fitt perfect without trimming at the lathe.
![url]](http://[url="http://i840.photobucket.com/albums/zz330/precision700/DSC_0462-1.jpg"]http://i840.photobucket.com/albums/zz330/precision700/DSC_0462-1.jpg[/url])
![url]](http://[url="http://i840.photobucket.com/albums/zz330/precision700/DSC_0470.jpg"]http://i840.photobucket.com/albums/zz330/precision700/DSC_0470.jpg[/url])
![url]](http://[url="http://i840.photobucket.com/albums/zz330/precision700/DSC_0463.jpg"]http://i840.photobucket.com/albums/zz330/precision700/DSC_0463.jpg[/url])
Just before bedding, I like to assemble the rifle for a function test.
http://www.youtube.com/watch?v=ZNg1RFC3XqM
Now for the Marine Tex
![url]](http://[url="http://i840.photobucket.com/albums/zz330/precision700/DSC_0473.jpg"]http://i840.photobucket.com/albums/zz330/precision700/DSC_0473.jpg[/url])
![url]](http://[url="http://i840.photobucket.com/albums/zz330/precision700/DSC_0472.jpg"]http://i840.photobucket.com/albums/zz330/precision700/DSC_0472.jpg[/url])
![url]](http://[url="http://i840.photobucket.com/albums/zz330/precision700/DSC_0474.jpg"]http://i840.photobucket.com/albums/zz330/precision700/DSC_0474.jpg[/url])
A little clean up on the mill, and the metal at the parts washer, and we are ready for the Armor Black Cerakote.
![url]](http://[url="http://i840.photobucket.com/albums/zz330/precision700/DSC_0475.jpg"]http://i840.photobucket.com/albums/zz330/precision700/DSC_0475.jpg[/url])
![url]](http://[url="http://i840.photobucket.com/albums/zz330/precision700/DSC_0492.jpg"]http://i840.photobucket.com/albums/zz330/precision700/DSC_0492.jpg[/url])
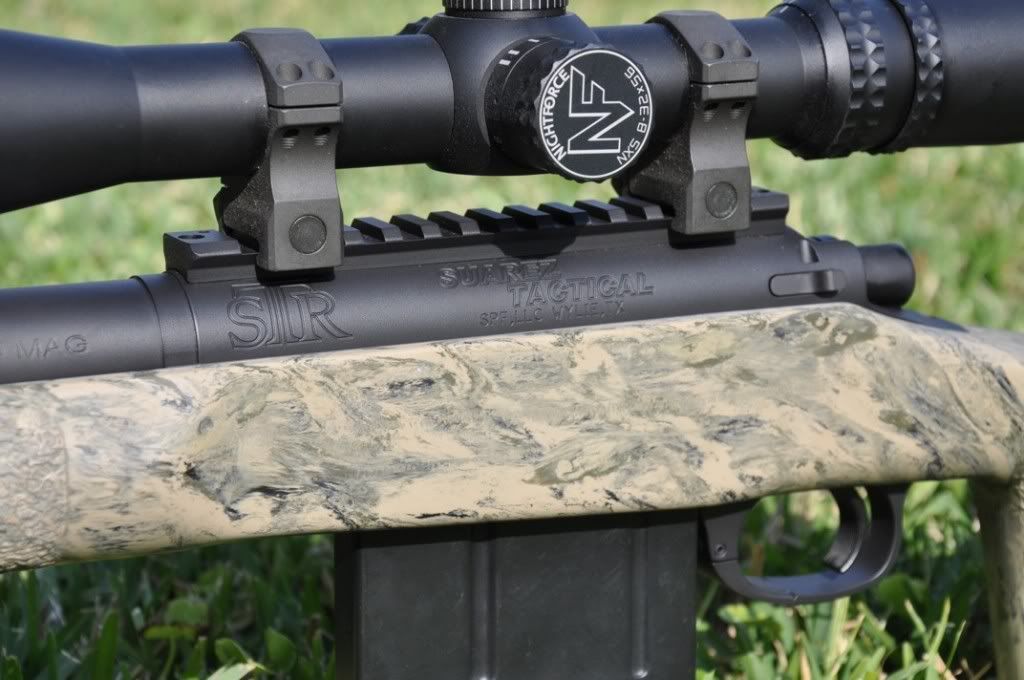
Etching of the caliber
![url]](http://[url="http://i840.photobucket.com/albums/zz330/precision700/DSC_0476.jpg"]http://i840.photobucket.com/albums/zz330/precision700/DSC_0476.jpg[/url])
Here I have applied the Cerakote, and 2 1/2 hours later I am ready for final clean up and assembly.
![url]](http://[url="http://i840.photobucket.com/albums/zz330/precision700/DSC_0487.jpg"]http://i840.photobucket.com/albums/zz330/precision700/DSC_0487.jpg[/url])
![url]](http://[url="http://i840.photobucket.com/albums/zz330/precision700/DSC_0488.jpg"]http://i840.photobucket.com/albums/zz330/precision700/DSC_0488.jpg[/url])
This first pic is of the parts
Here is what I started out with.
First thing is to take mesurements
Here is a pic of the barrel stamp. These guys are first class.
Ok, so first thing after cleaning the barrel up is to indicate it in with in .0001 to .0002 inch.
Next up is to face off the chamber end, and start cutting the tenon to its required length. After that comes threading to a proper fit on the action.
Now the bolt nose relief and a little polishing.
I used a standard PTG match reamer for the chamber with less than .001 inch between the bolt face and brass when bolt is closed. Norma brass is what I used.
After the action was fit, and the barrel reamed, I moved to the muzzle end. There I cut an 11 degree target crown. I threaded the barrel 5/8-24 for the little bastard break, which timed, and contourede to the barrel.
Now it's time for a little fitting of the metal to the McMillan stock. A little hand relieving, and checking, and we are ready for the messy stuff. The pillars were supplied with the APA bottom metal, and fitt perfect without trimming at the lathe.
Just before bedding, I like to assemble the rifle for a function test.
http://www.youtube.com/watch?v=ZNg1RFC3XqM
Now for the Marine Tex
A little clean up on the mill, and the metal at the parts washer, and we are ready for the Armor Black Cerakote.
Etching of the caliber
Here I have applied the Cerakote, and 2 1/2 hours later I am ready for final clean up and assembly.
This first pic is of the parts

")
