
Forgive me if this has been covered already. After speaking with Jeff at CDI I didn't think it had. He told me that he'd never heard of someone putting his bottom metal into a Savage Accustock.
I won this bottom metal at the Mesquite Creek match. I sent it to Jeff because it was stagger feed and I needed center feed. He gladly swapped with me, thanks Jeff! I have a Mcmillan A-5 ordered but it won't be here until late June or July, so I have to keep using my factory Savage stock. I decided to intlet this bottom metal myself this past weekend. CDI bottom metal is, of course, wider than Savage bottom metal.
I know everyone doesn't have one of these. It got me very close, but not all the way.

Next I moved to these. If you don't have a good stock of files, INVEST! They can do so much for you. (no I don't have a Dremel, but that'll be corrected very soon)

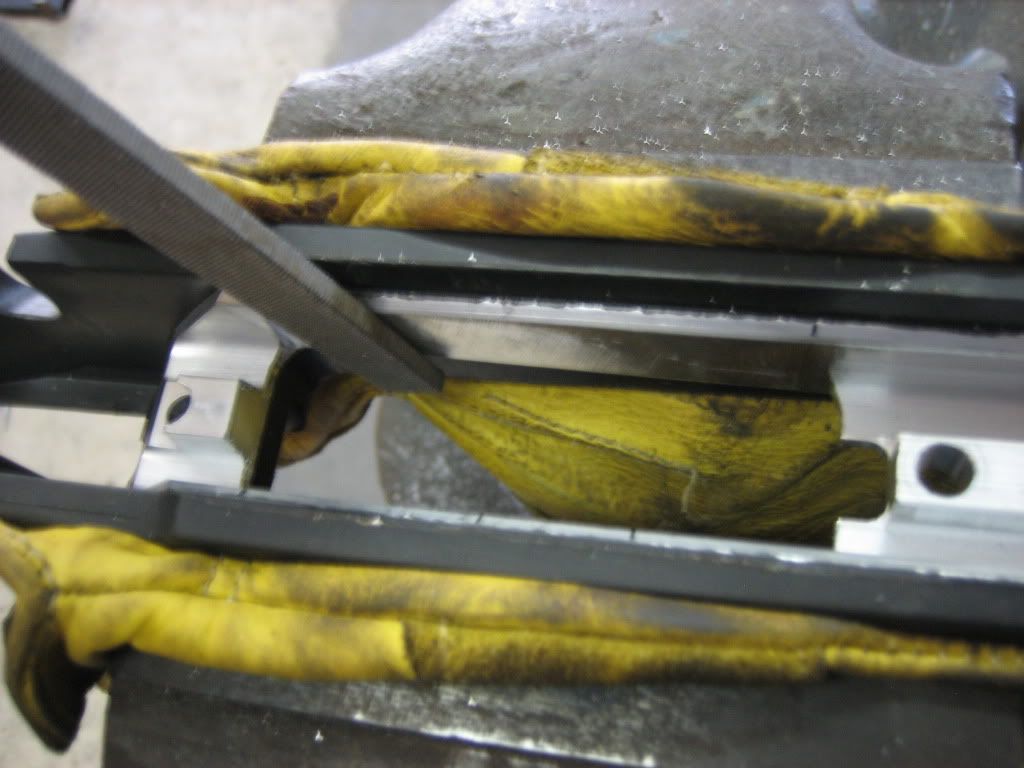
The stock was chucked in the bench vise, those are leather gloves to prevent marring of the stock. I simply trial and errored the fitting of the bottom metal. I went from the rotary cutter to the pipeliner file, to the mill bastard, to the flat bastard, and used the round file in the corners.
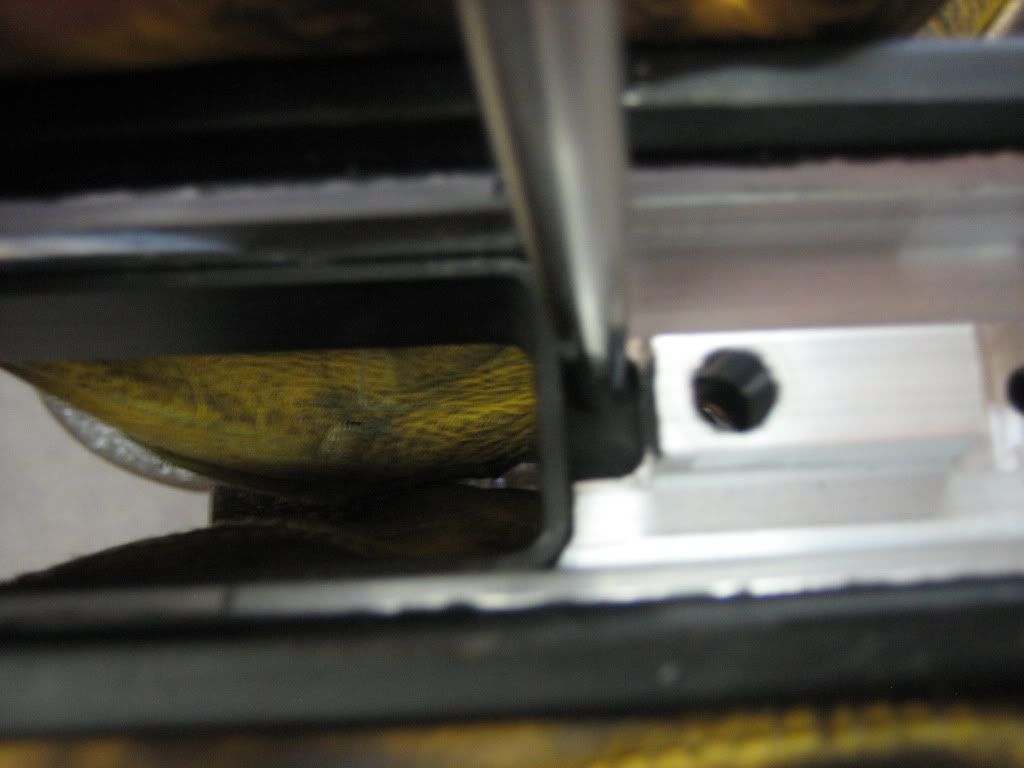
I filed until I got the bottom metal to fit snug, without hammering, and was touching the bedding blocks.

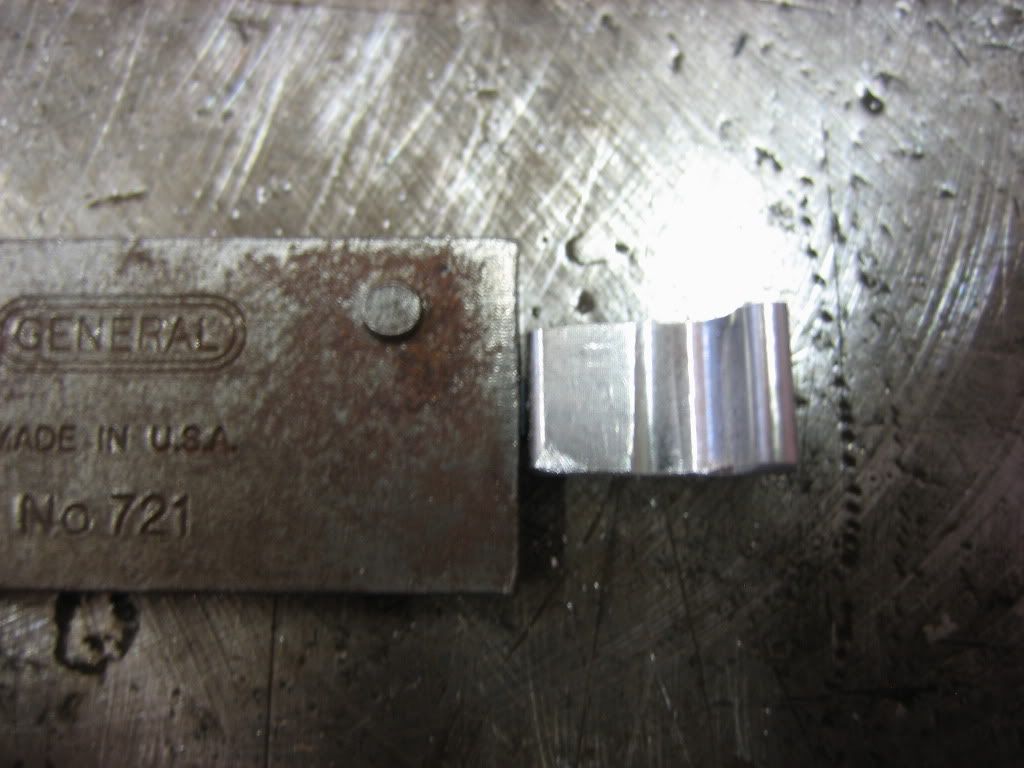
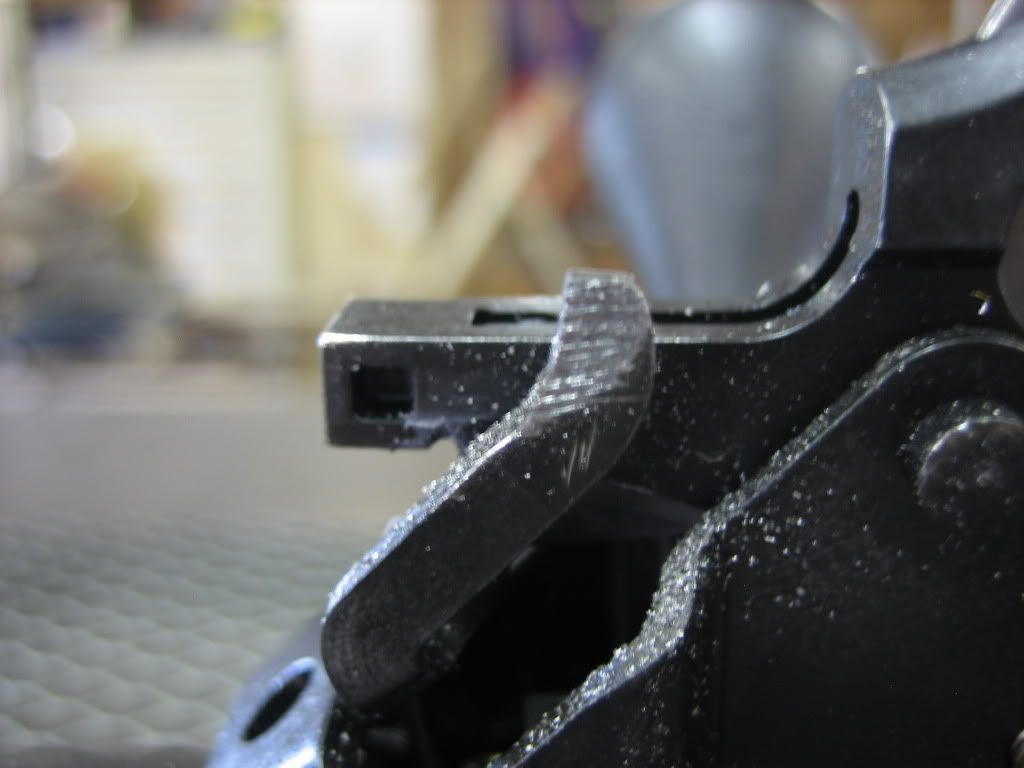
Once I got the bottom metal fit snugly in the stock I moved onto the bolt release lever. For thos that don't know the bolt release it in the front of the factory Savage trigger guard. Since I've lost the Savage trigger guard I have to replace the lever with one Jeff supplied. It is a small piece of aluminum angle that has a small slot milled on one flange to be attached to the mechanism within the trigger assembly.

Next I had to check the depth of the slot Jeff milled.
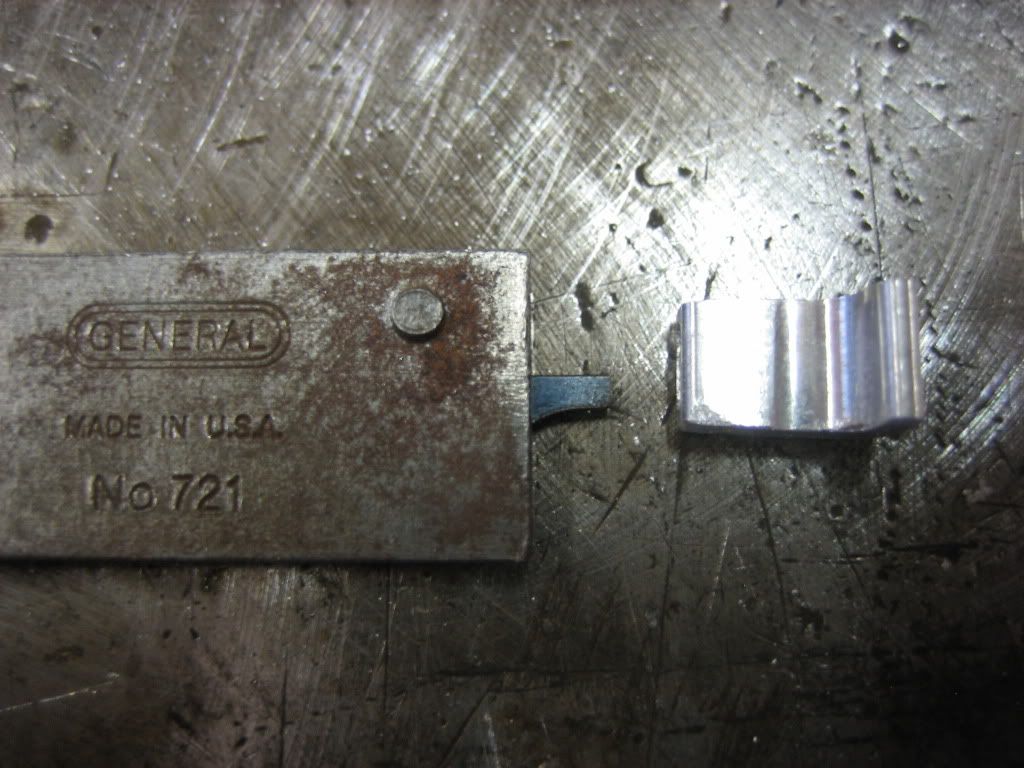
Then transfer the measurement to the lever on the rifle, and scribe a line (sorry only two hands) so I would know how far I needed to file away the steel.

The lever within the trigger assembly is stamped steel. Which means it's not a part with exact tolerances. Jeff's is, so one has to give. And it was the stamped steel that did in this case.
But with a little filing on the side you see, and the side between the lever and the trigger I got it to fit snug. Mix a little JB Weld and there you have aluminum bonded to steel.
Torque all the scews to 40 inch pounds, insert a mag and check function. I cycled ten rounds with no issue. I don't claim to be a gunsmith, but all this cost me was some time and a little elbow grease.
![url]](http://[url="http://i668.photobucket.com/albums/vv50/FiremanJG/012.jpg"]http://i668.photobucket.com/albums/vv50/FiremanJG/012.jpg[/url])
This pic is a damn link for some reason.
I won this bottom metal at the Mesquite Creek match. I sent it to Jeff because it was stagger feed and I needed center feed. He gladly swapped with me, thanks Jeff! I have a Mcmillan A-5 ordered but it won't be here until late June or July, so I have to keep using my factory Savage stock. I decided to intlet this bottom metal myself this past weekend. CDI bottom metal is, of course, wider than Savage bottom metal.
I know everyone doesn't have one of these. It got me very close, but not all the way.
Next I moved to these. If you don't have a good stock of files, INVEST! They can do so much for you. (no I don't have a Dremel, but that'll be corrected very soon)
The stock was chucked in the bench vise, those are leather gloves to prevent marring of the stock. I simply trial and errored the fitting of the bottom metal. I went from the rotary cutter to the pipeliner file, to the mill bastard, to the flat bastard, and used the round file in the corners.
I filed until I got the bottom metal to fit snug, without hammering, and was touching the bedding blocks.
Once I got the bottom metal fit snugly in the stock I moved onto the bolt release lever. For thos that don't know the bolt release it in the front of the factory Savage trigger guard. Since I've lost the Savage trigger guard I have to replace the lever with one Jeff supplied. It is a small piece of aluminum angle that has a small slot milled on one flange to be attached to the mechanism within the trigger assembly.
Next I had to check the depth of the slot Jeff milled.
Then transfer the measurement to the lever on the rifle, and scribe a line (sorry only two hands) so I would know how far I needed to file away the steel.
The lever within the trigger assembly is stamped steel. Which means it's not a part with exact tolerances. Jeff's is, so one has to give. And it was the stamped steel that did in this case.
But with a little filing on the side you see, and the side between the lever and the trigger I got it to fit snug. Mix a little JB Weld and there you have aluminum bonded to steel.
Torque all the scews to 40 inch pounds, insert a mag and check function. I cycled ten rounds with no issue. I don't claim to be a gunsmith, but all this cost me was some time and a little elbow grease.
This pic is a damn link for some reason.
