Re: Ghillie Instructions
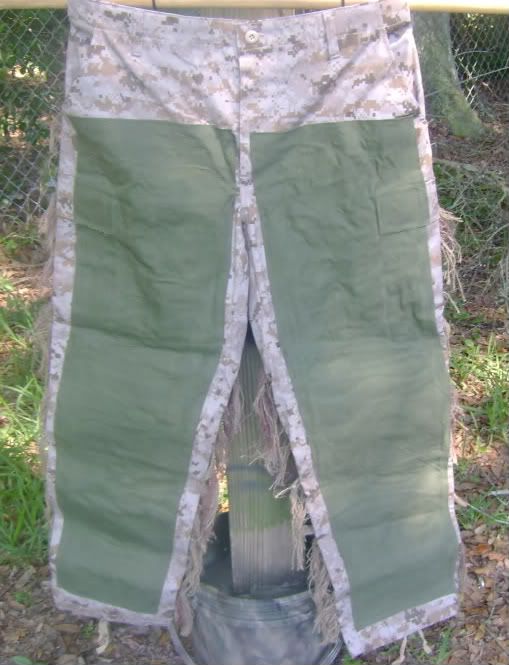
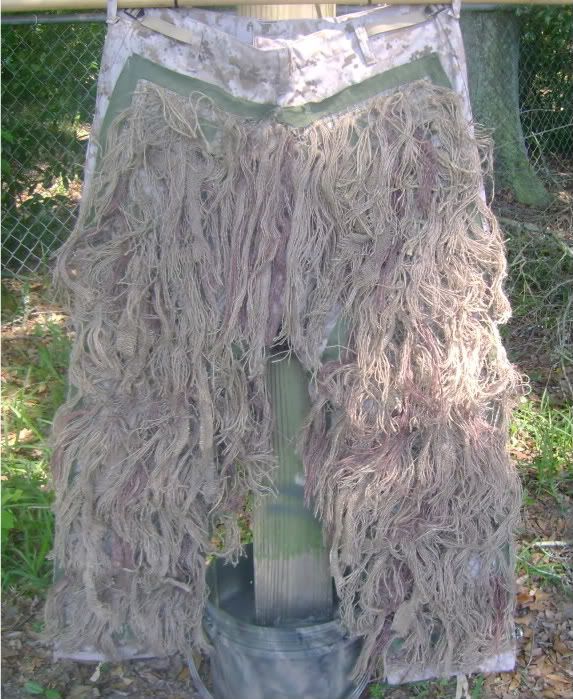
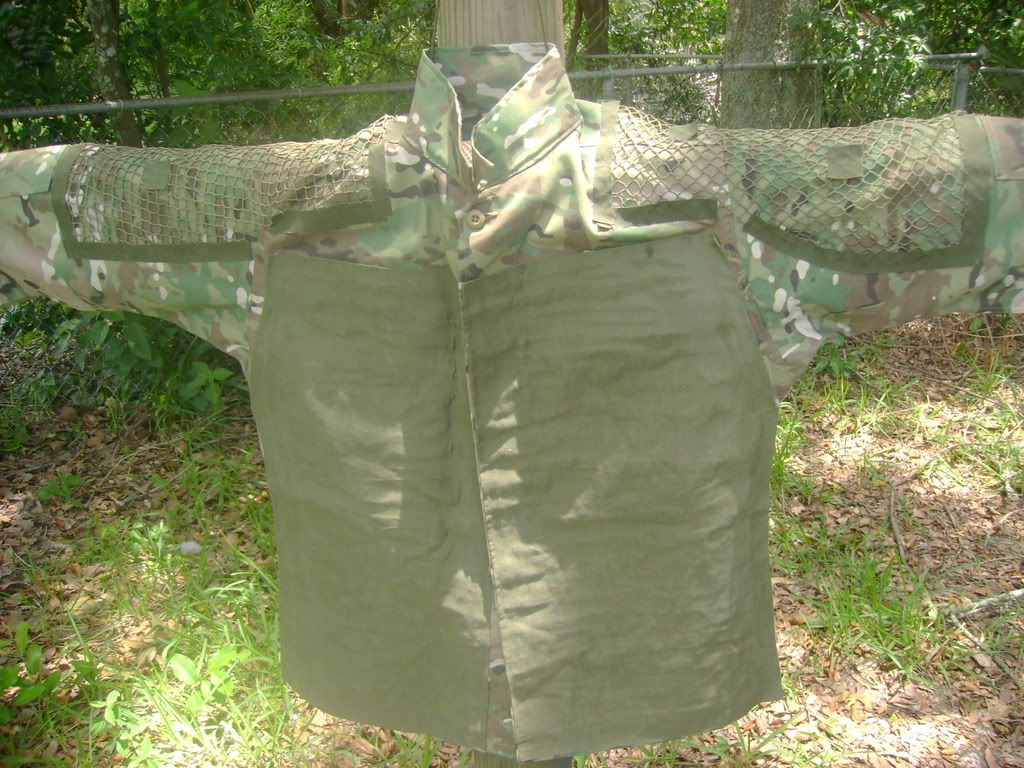
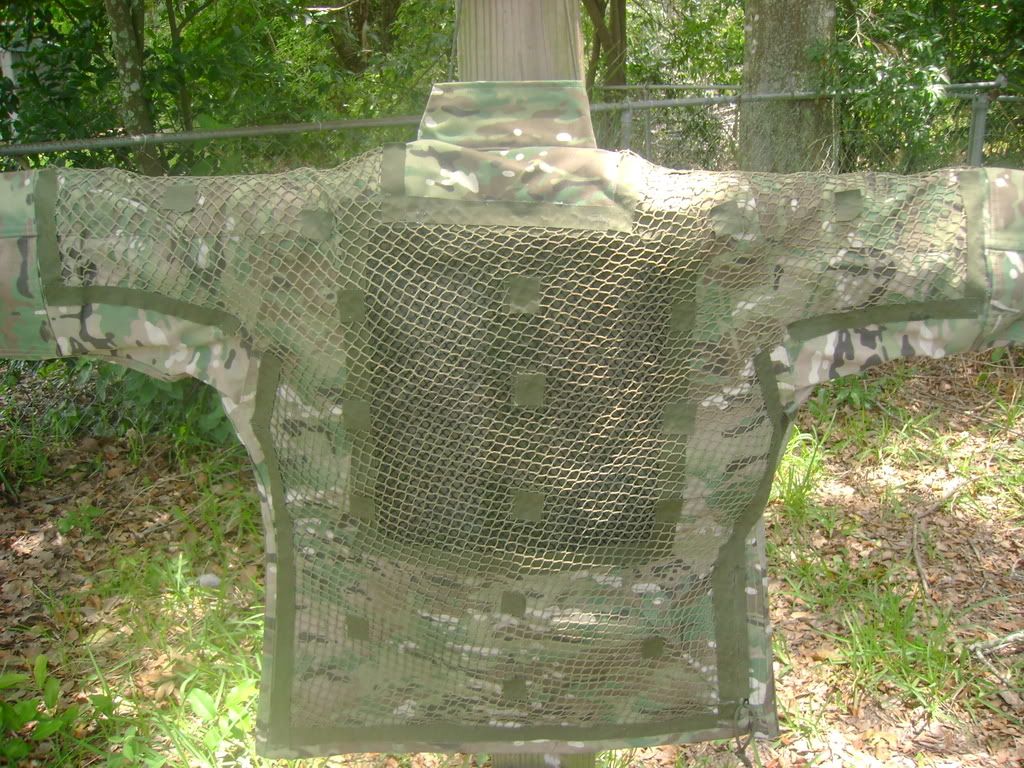
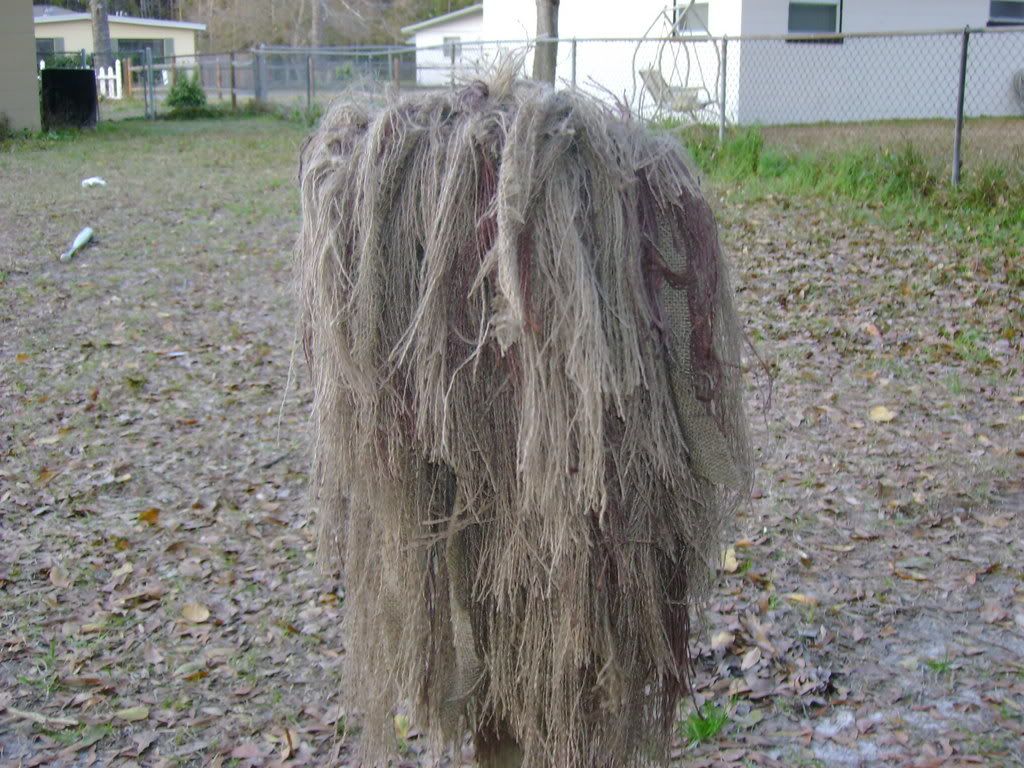
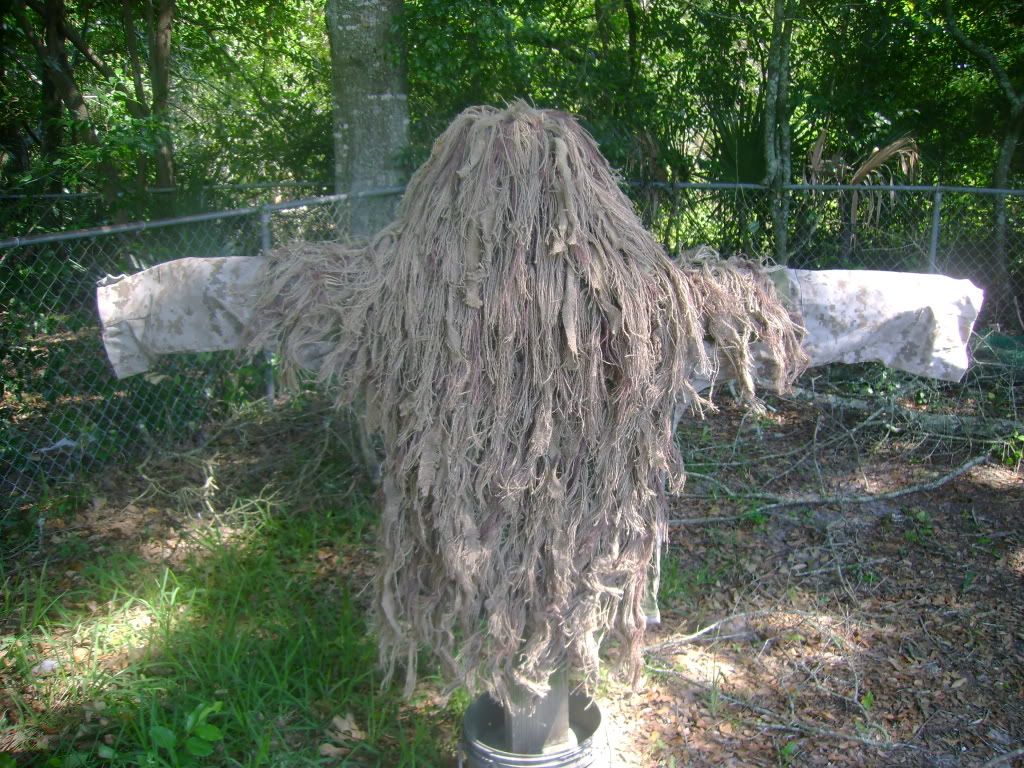
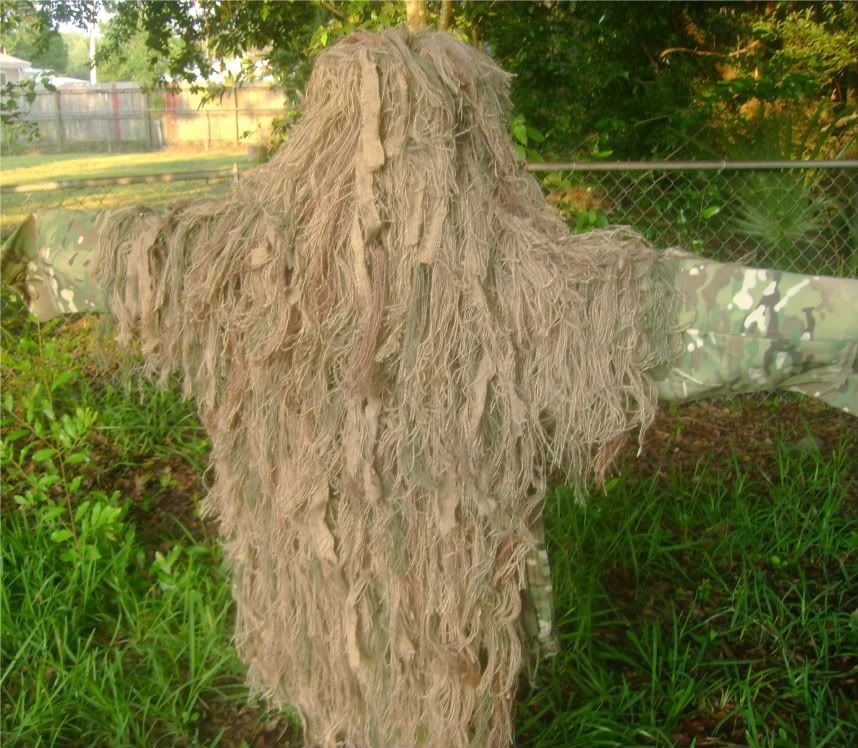
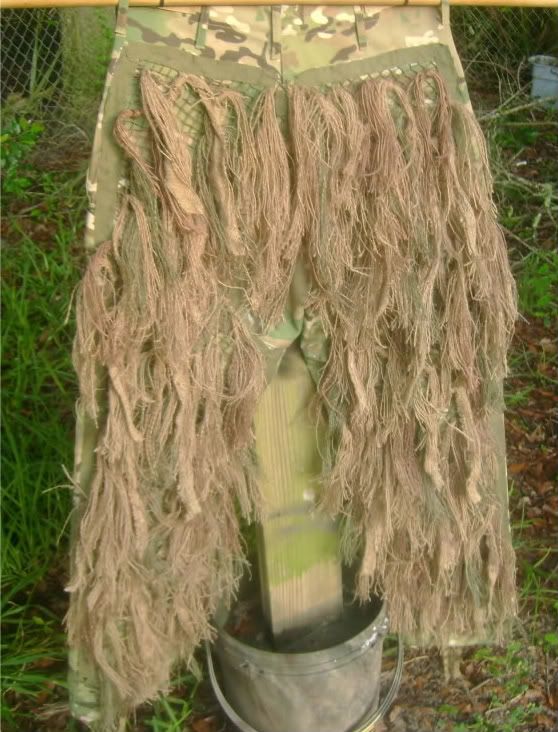
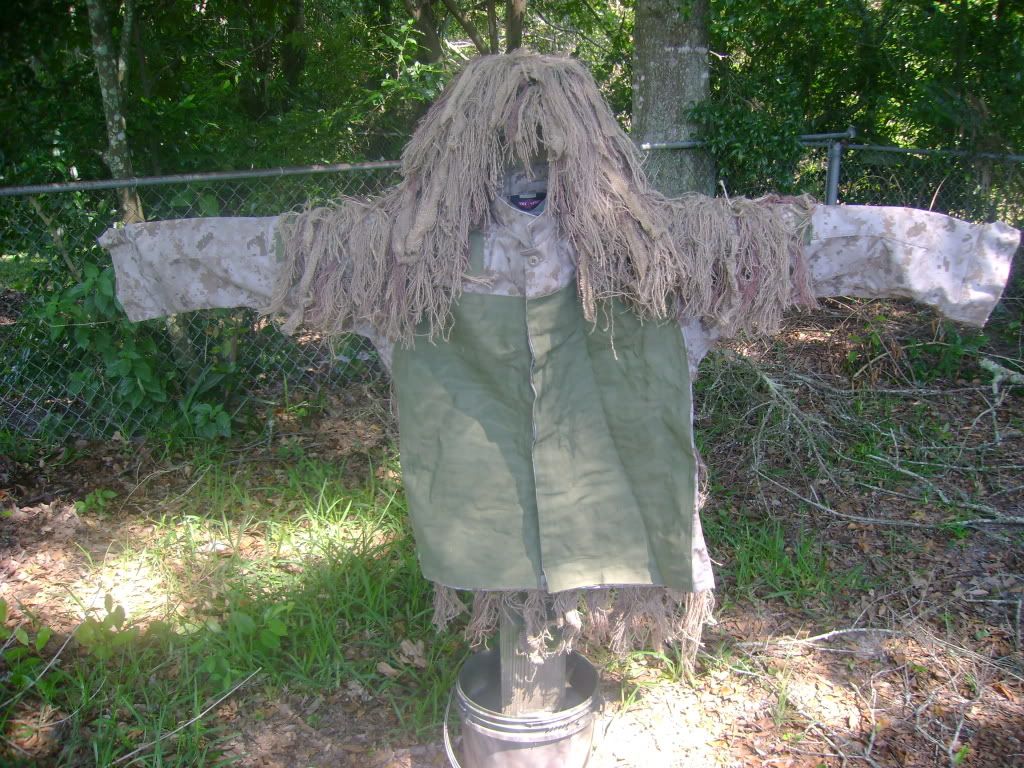
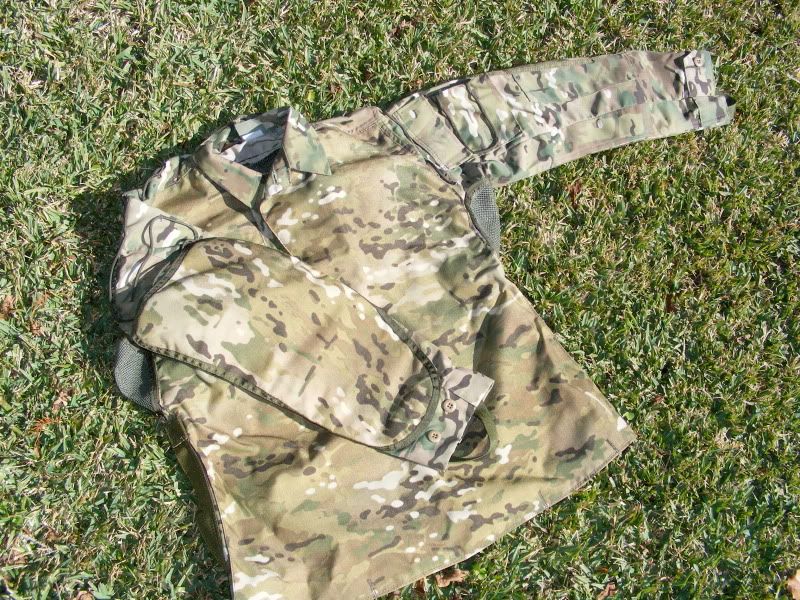
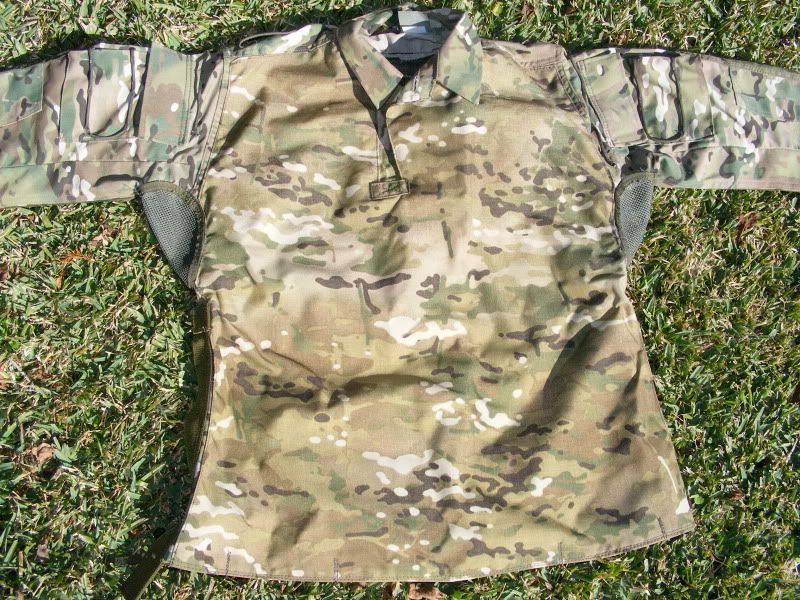
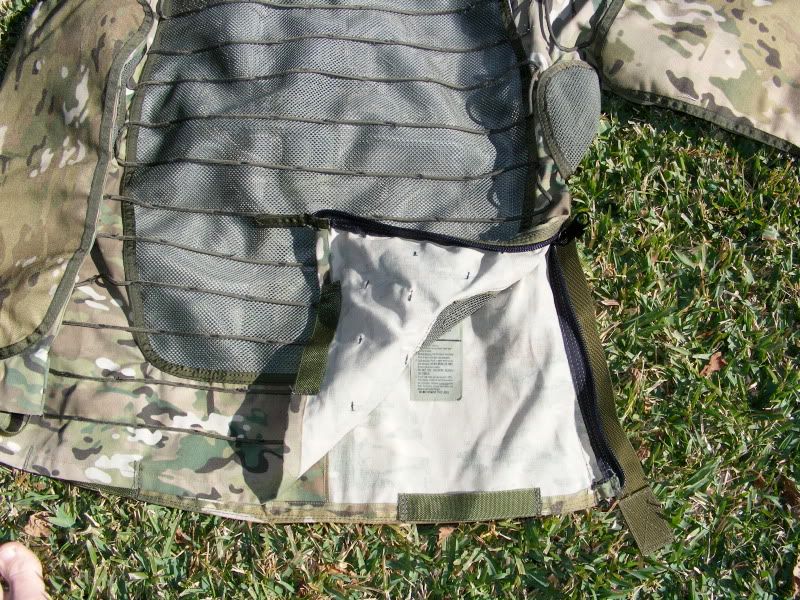
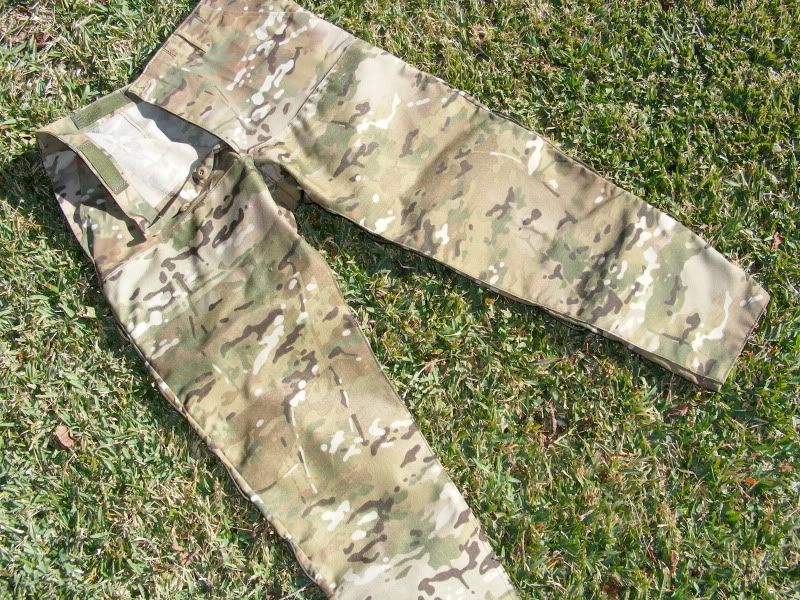
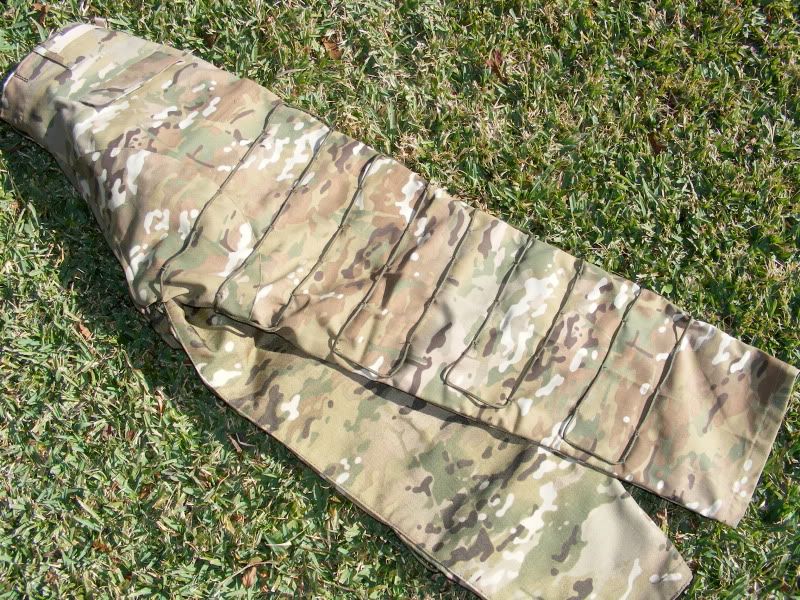
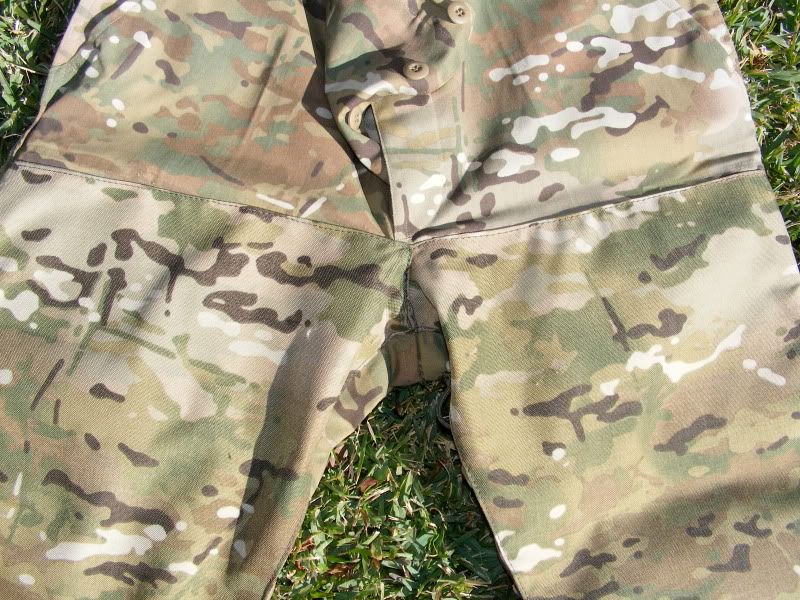
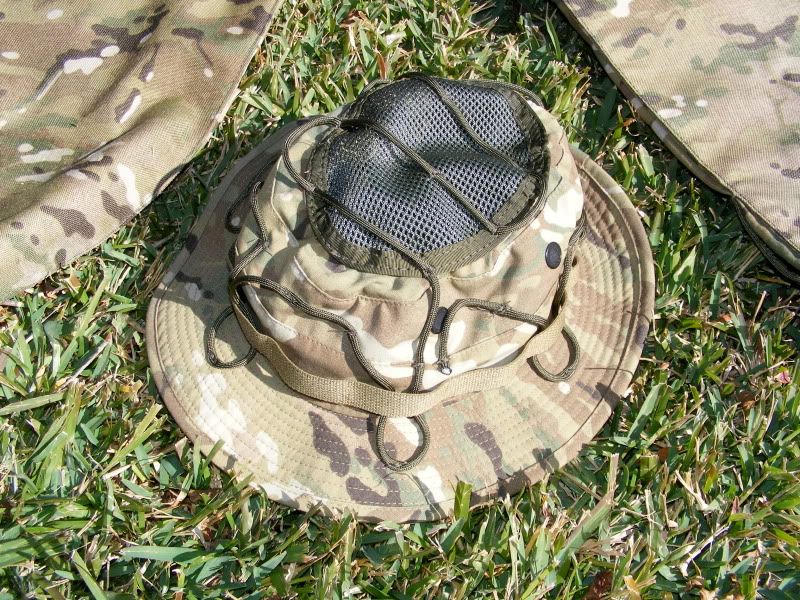
There are a few different styles of ghillie you can make but basically you will either end up with one that opens straight down the middle or has zippers on the sides, at least for the top. For a basic ghillie start with a set of cammies that are 1 or 2 sizes bigger than you would normally wear and a boonie cover, you will also need quality netting, jute, dye, canvas, needle, thread and shoe goo. I always reccommend starting light then going darker (you can always darken your cammo making it lighter is not as easy), since your in AZ definitely start with some desert cammies as your base. Since it is kind of hard to explain this next part I reccommend that you put your cammies on and crawl around (skull drag, low crawl)in them so you can figure out where exactly you will need to put your canvas (canvas will go in high wear/friction areas). Before you sew in your canvas you will need to decide whether you want a front opening design or a side zip design. If making a suit that opens down the middle leave the middle open (a good option for a middle opening design is removing all buttons and attaching a full length piece of industrial strength velcro by sewing and shoe goo), but put canvas on the front leaving the middle open. For a side zip you can make what is basically a skid plate on the front of your ghillie out of canvas. On a side zip design your ghillie will have a pull over top with zippers along the sides. Once you know which design you are going with the first step would be attaching your canvas I suggest that you both shoe goo and sew your canvas in place for added durability. After your canvas is attached you may want to cut some sections out of the back of your top and replace them with mesh to work as vents, your suit will get very hot. Then you will add your netting by first sewing it in then putting shoe goo over the stitches, before the shoe goo dries throw some dirt on it or spray paint it otherwise it will be very shiny. After all this is done and you have canvas on the front of your suit (fore arms, legs, torso) and netting on the back (back, shoulders, back of legs) you will then begin attaching jute. Before I go any further I want to talk about the viel which is made using your boonie cover, it should be completely covered in netting attached in the manner which I have previously described, however the netting on the front should extend around 12" or so (the point is that your hat/viel should have netting connected to it which is long enough to go forward and completely cover the objective lens of your scope.) In order to see through this you will do what is called "burning a window". So once you have dyed all your jute and it is dry and ready to attach you should have lengths that are about 12" or so then fold them in the middle so you make a bite as you would do with rope, then pass the bite through the loop on your netting and put the ends of the bite back through the bite of jute you have made(your netting should be around 2" sqare, try not to go smaller than this). This will attach the jute very securely without making it a permanent part of your suit, it is best to attach it this way so that you can easily change out your jute depending on your environment. In order to attach vegetation to your ghillie you should also attach some 550/para cord to your netting then burn the ends to prevent fraying (the 550/para cord is what you will use to tie in vegetation). Another feature that you will find useful if you do a lot of crawling is adding lengths of rope on each side of the cuffs of your bottoms and tying them around the bottom of your boots to keep your pant legs from riding up when crawling. Well I could really go into a lot more detail but I will leave it at this for now and make updates as questions arise. I am sure that other members will add on to this and describe other methods which have worked for them. Please PM me with any specific questions.