G'day all,
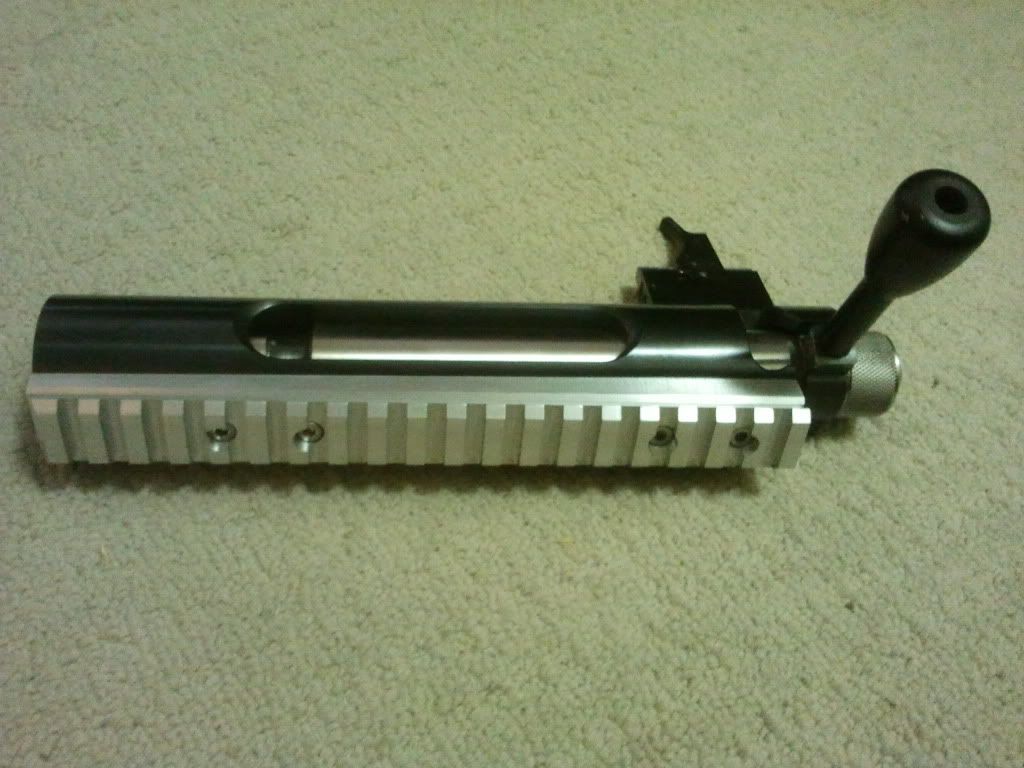
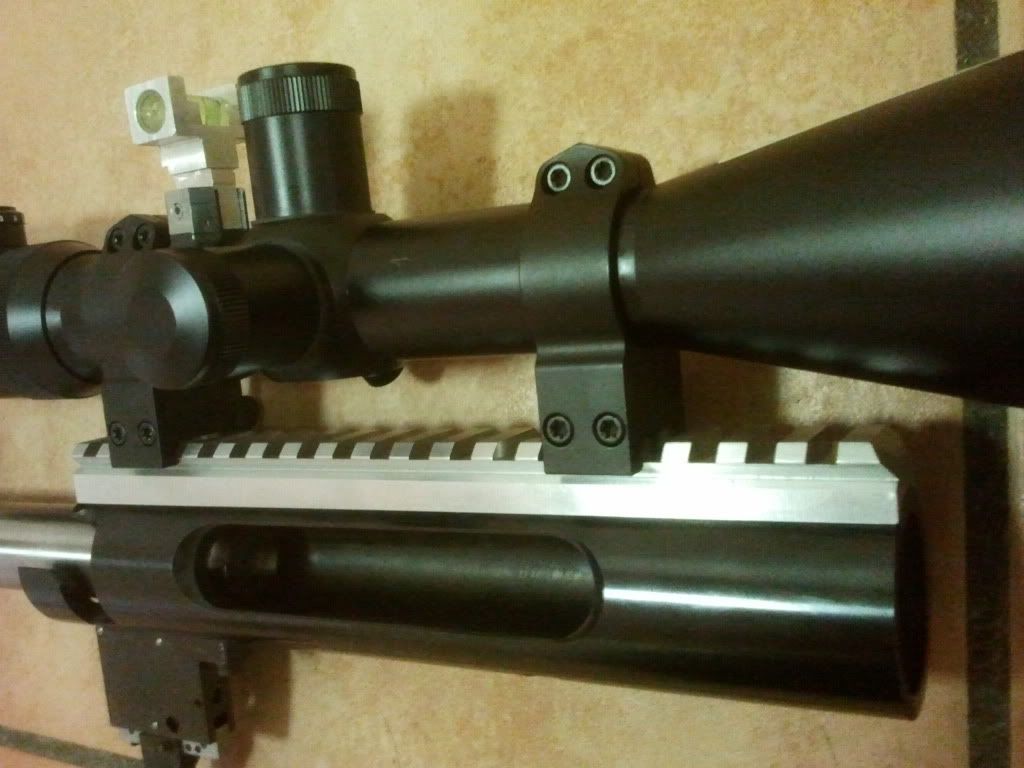
I have had some interest in the picitinny rail I just finished, so I thought I would do a DIY / How to / How I went about machining it. Just to show some pointers and lil tricks I used to machine it.
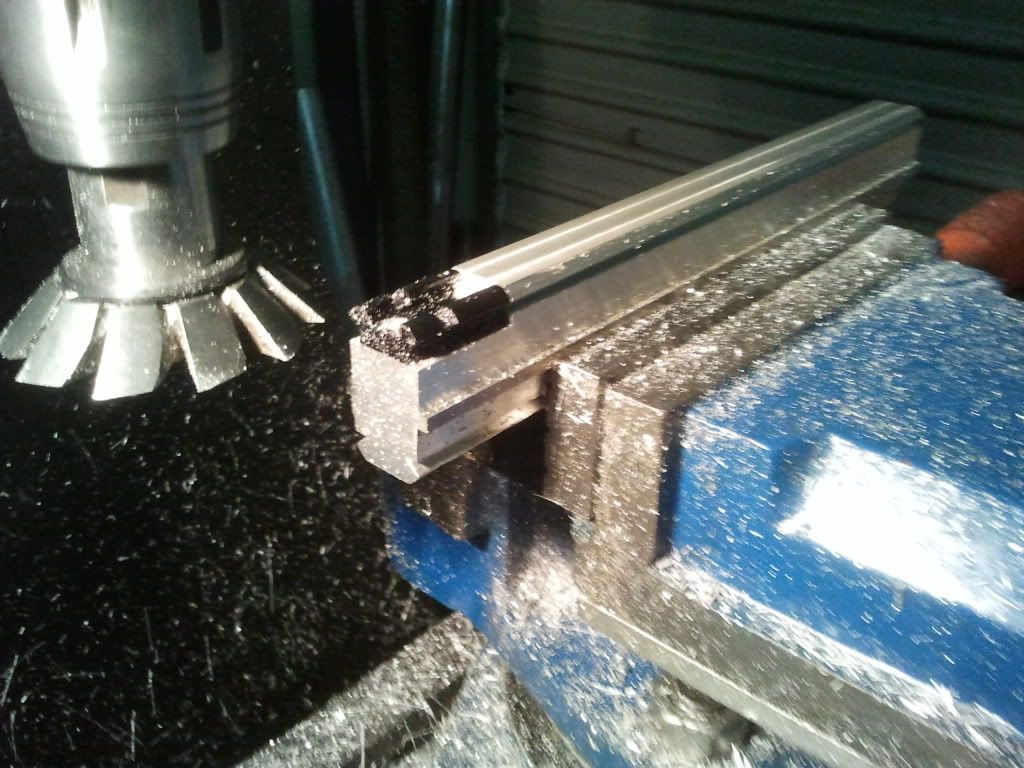
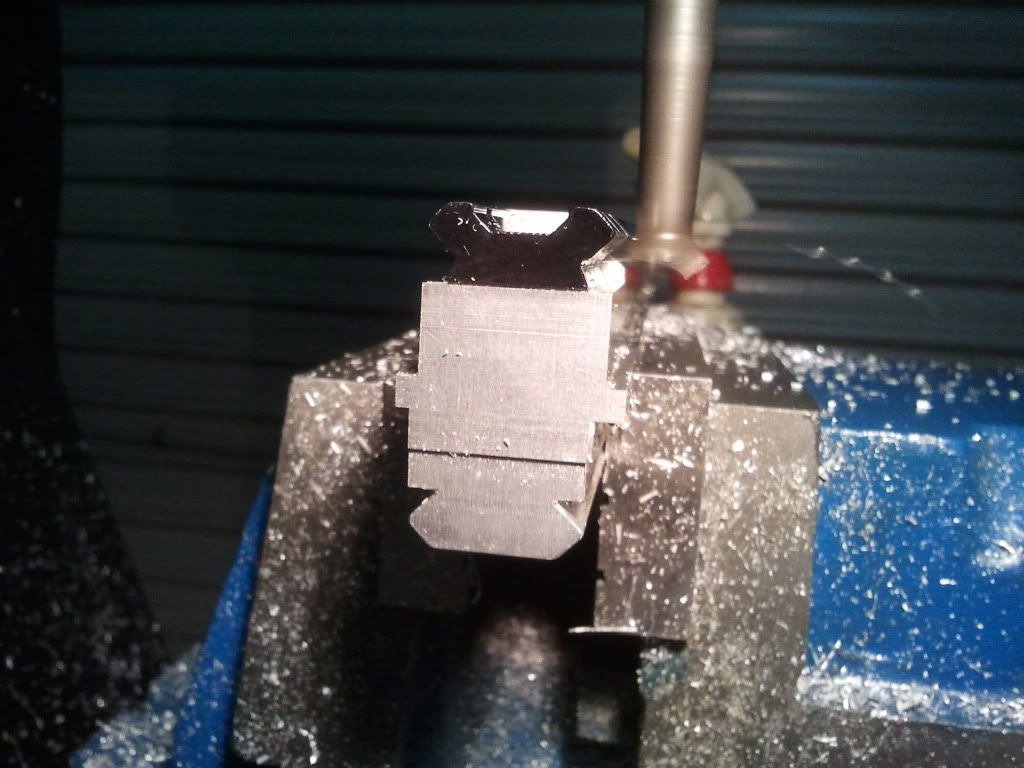
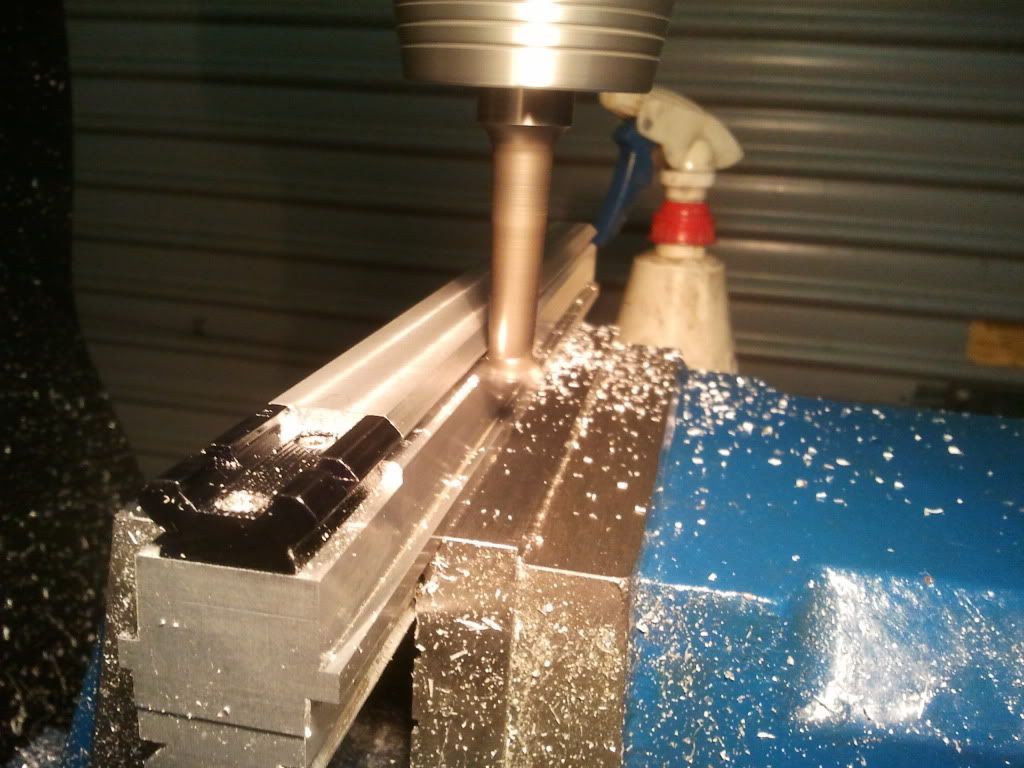
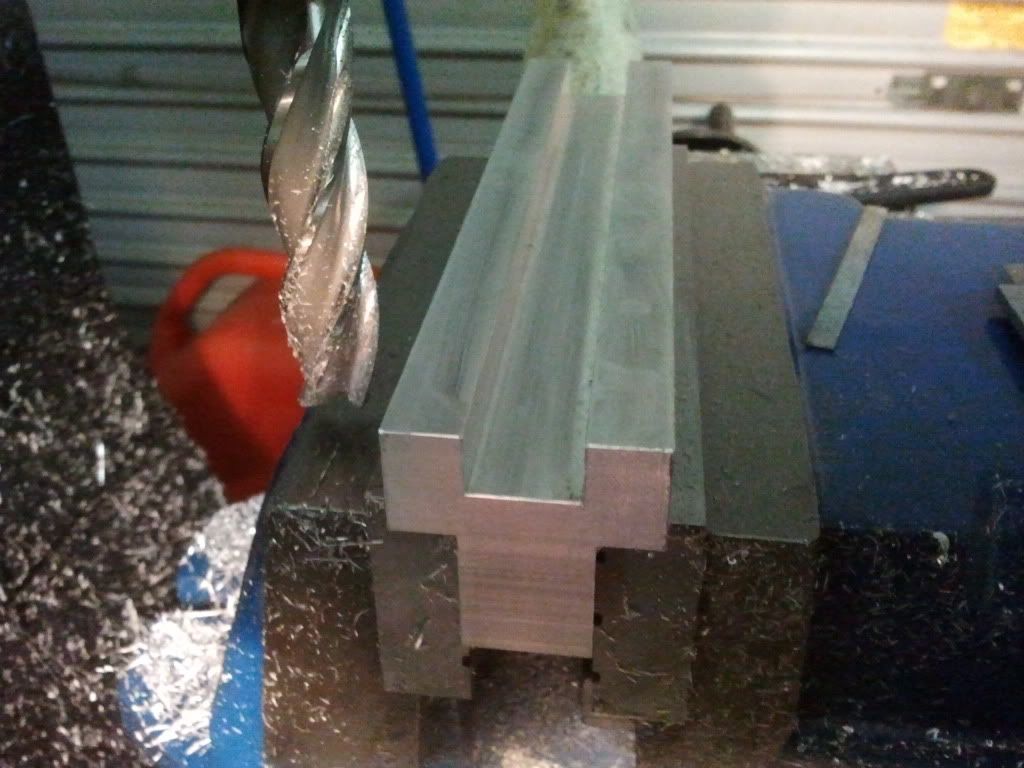
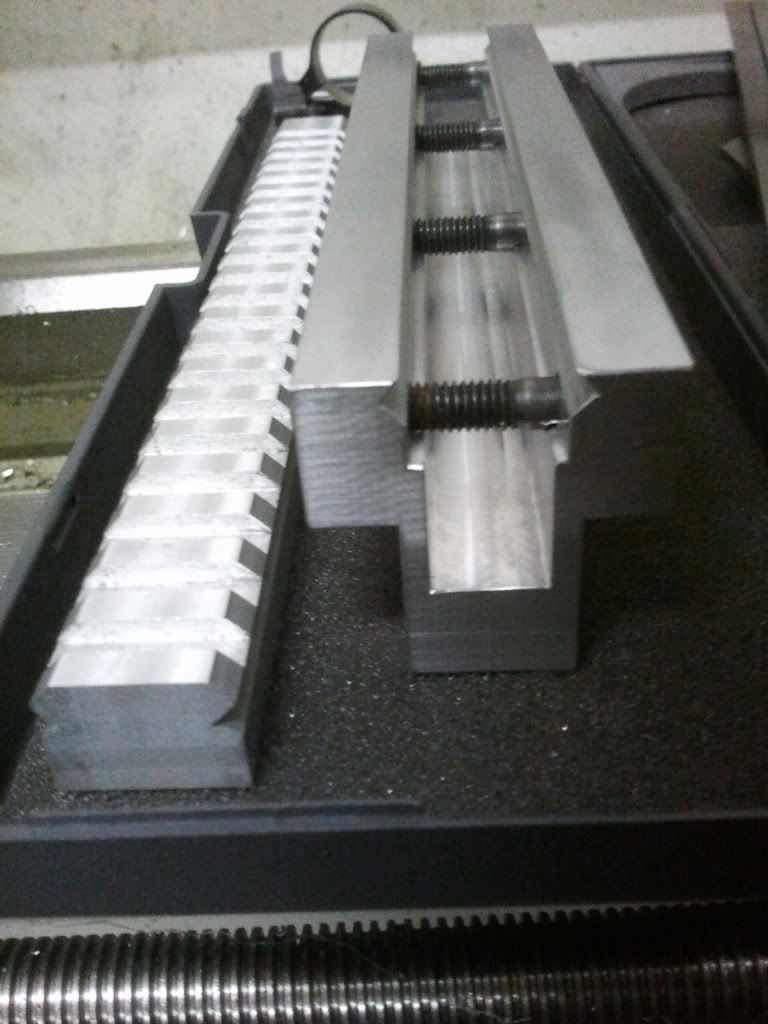
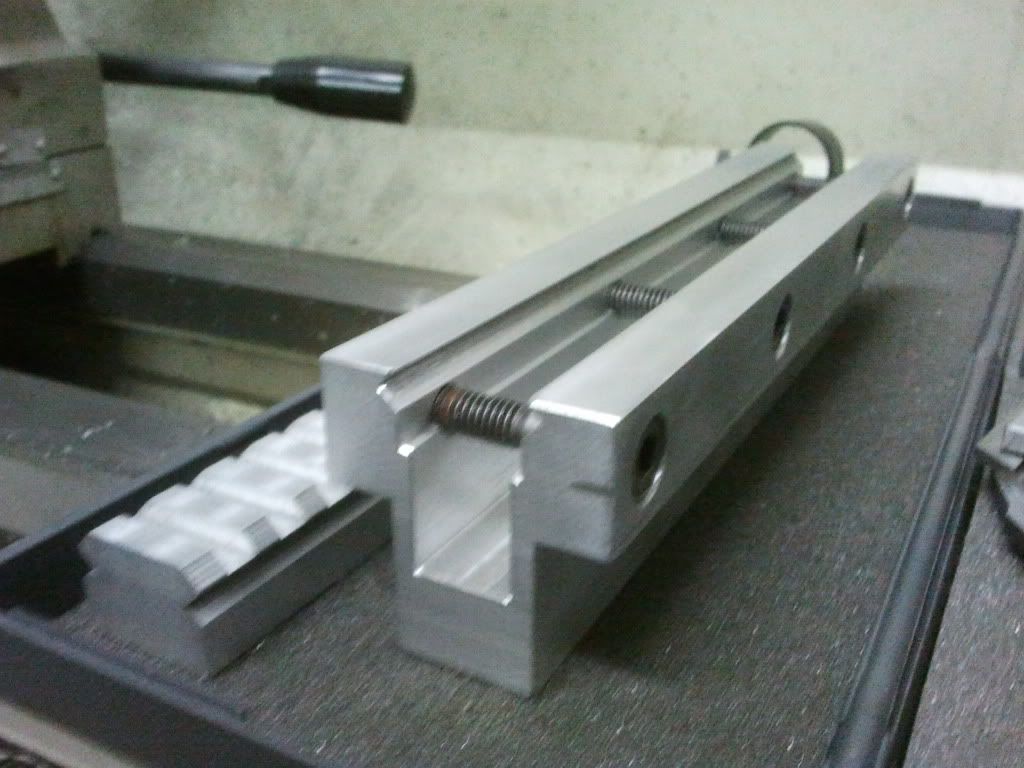
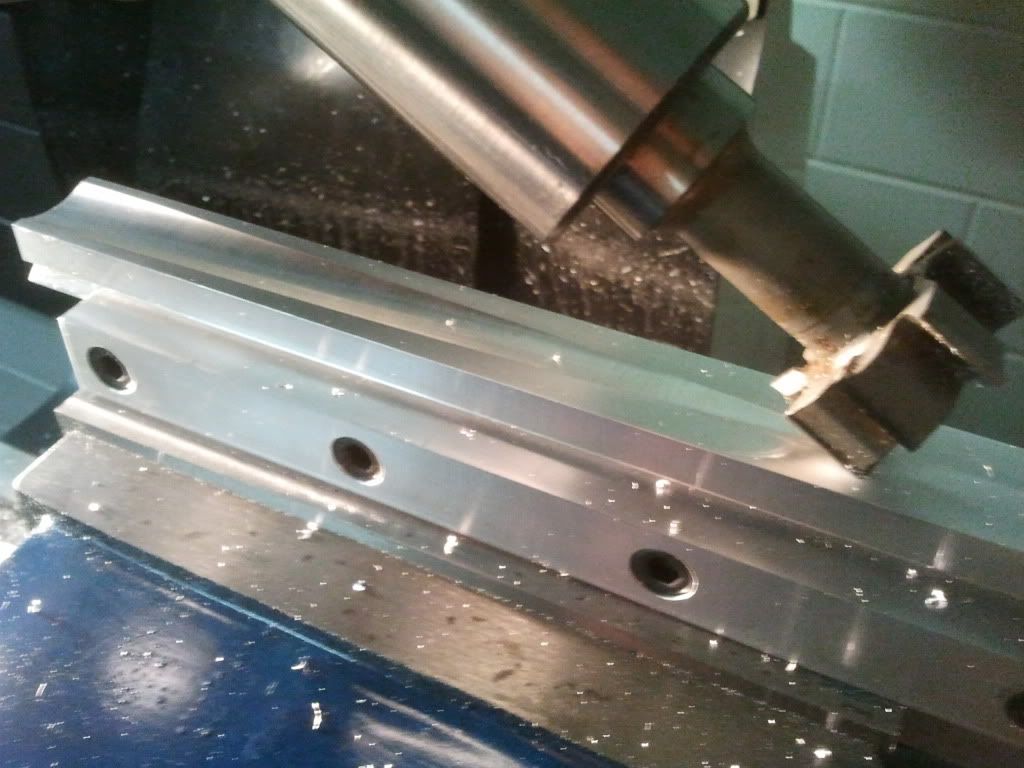
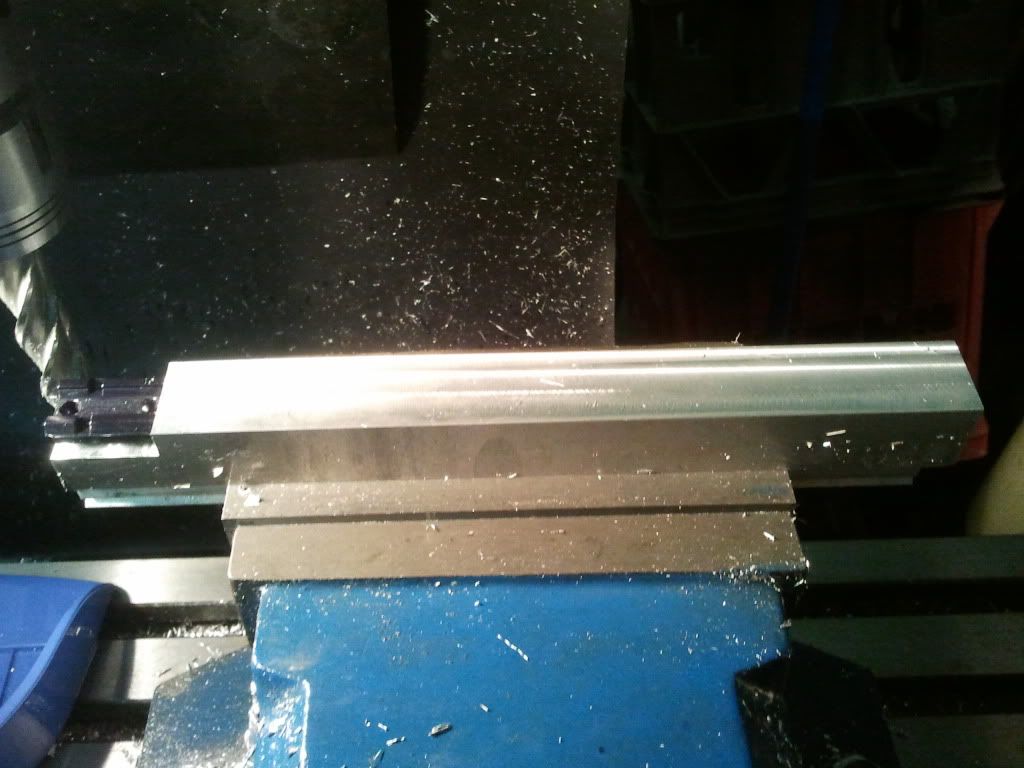
I started out with a piece of 7075 bar and rough machined it to size. I machined a step on one end after I machined the top section. To allow me to mount a weaver picitinny rail as a guide through the machining processes.
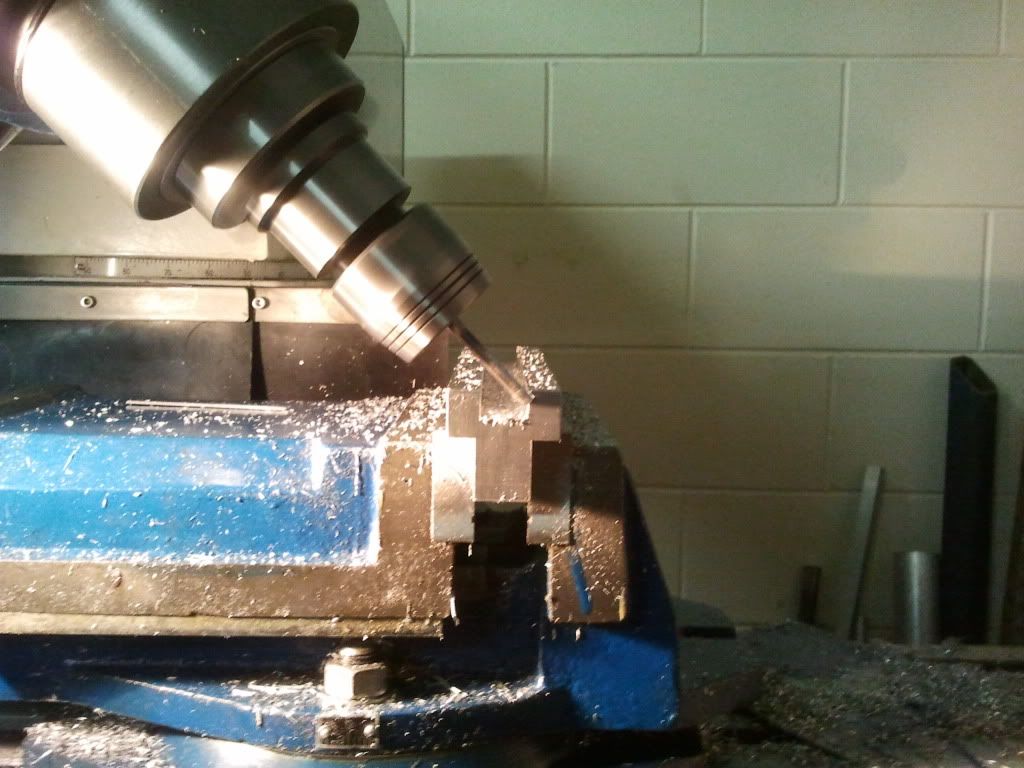
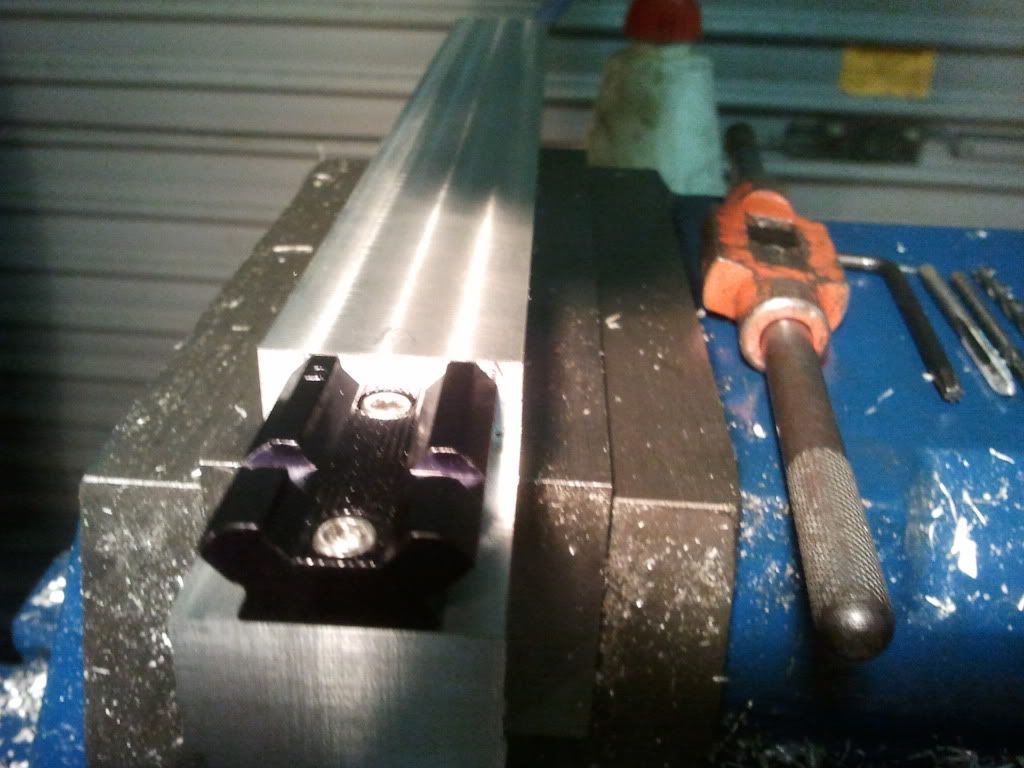
I drilled and tapped two 6 x 48 tpi torx screws through the weaver rail to securely mount it to the piece of flat bar. I then trimmed the bar to the size of the weaver rail.

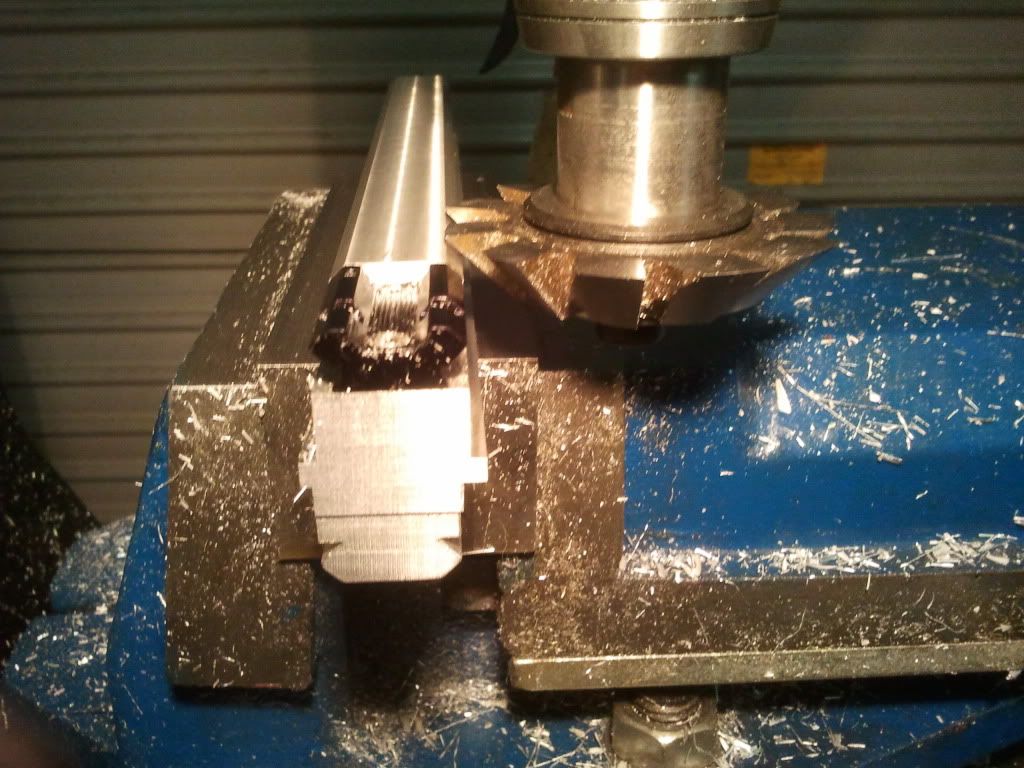
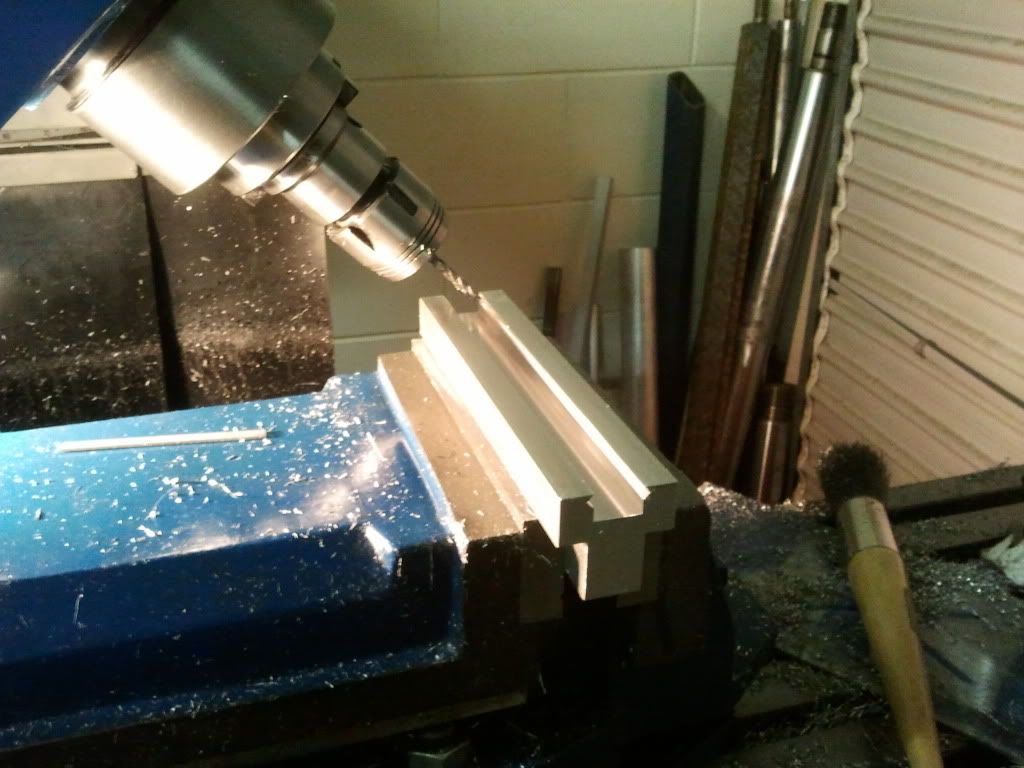
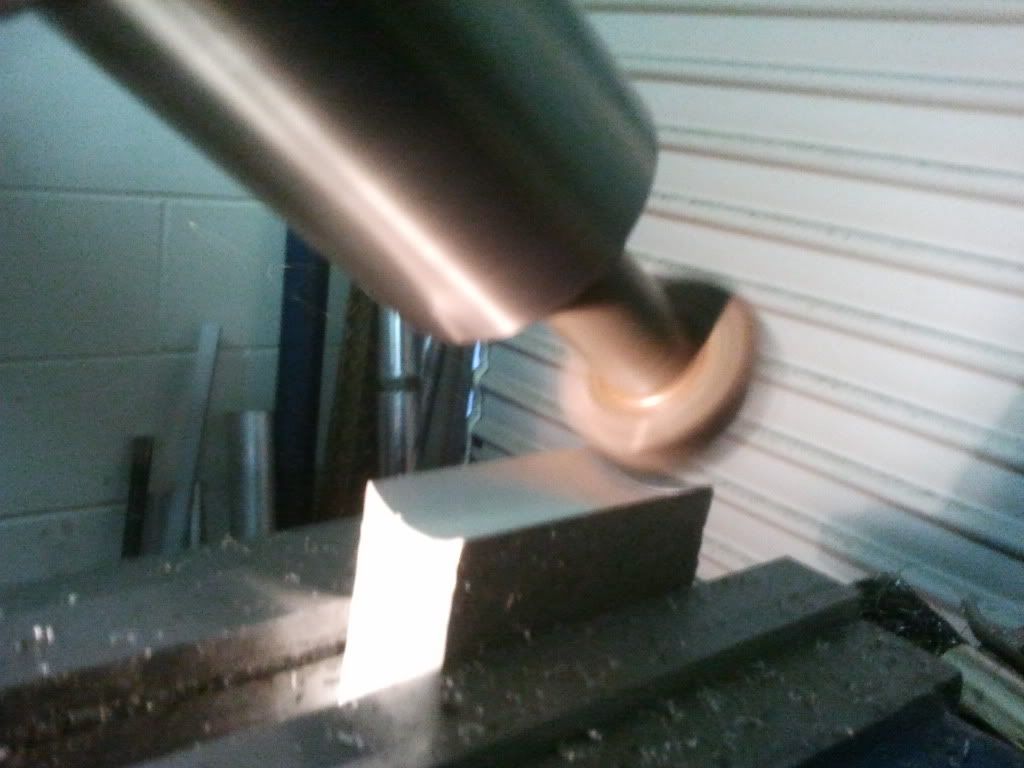
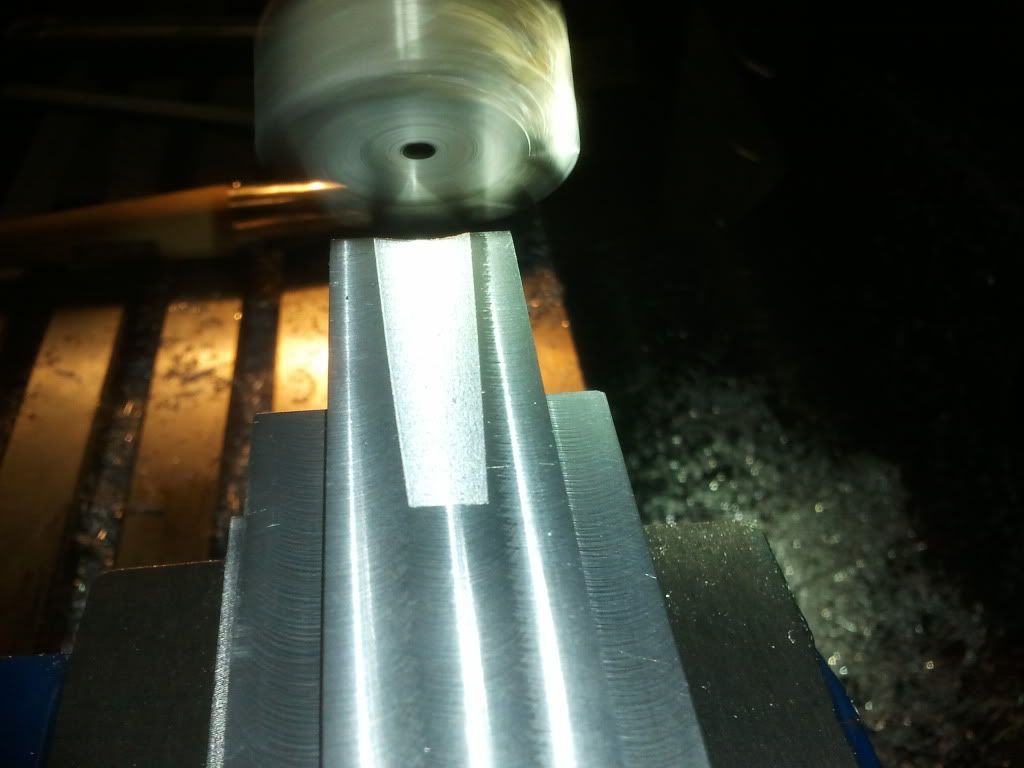
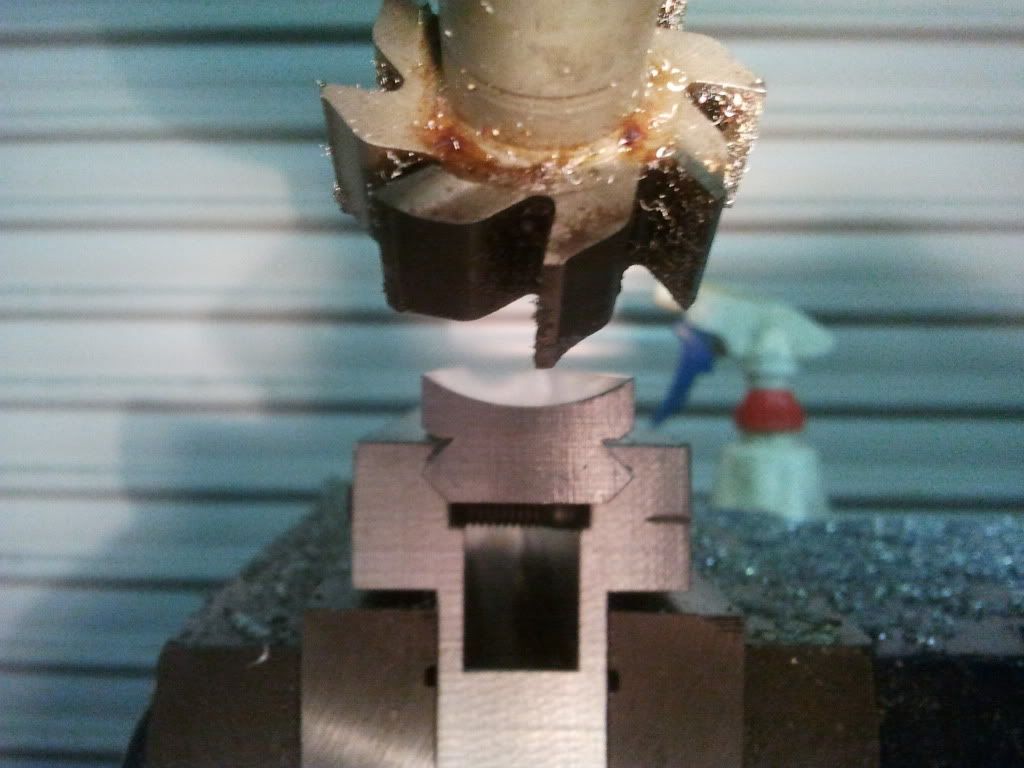
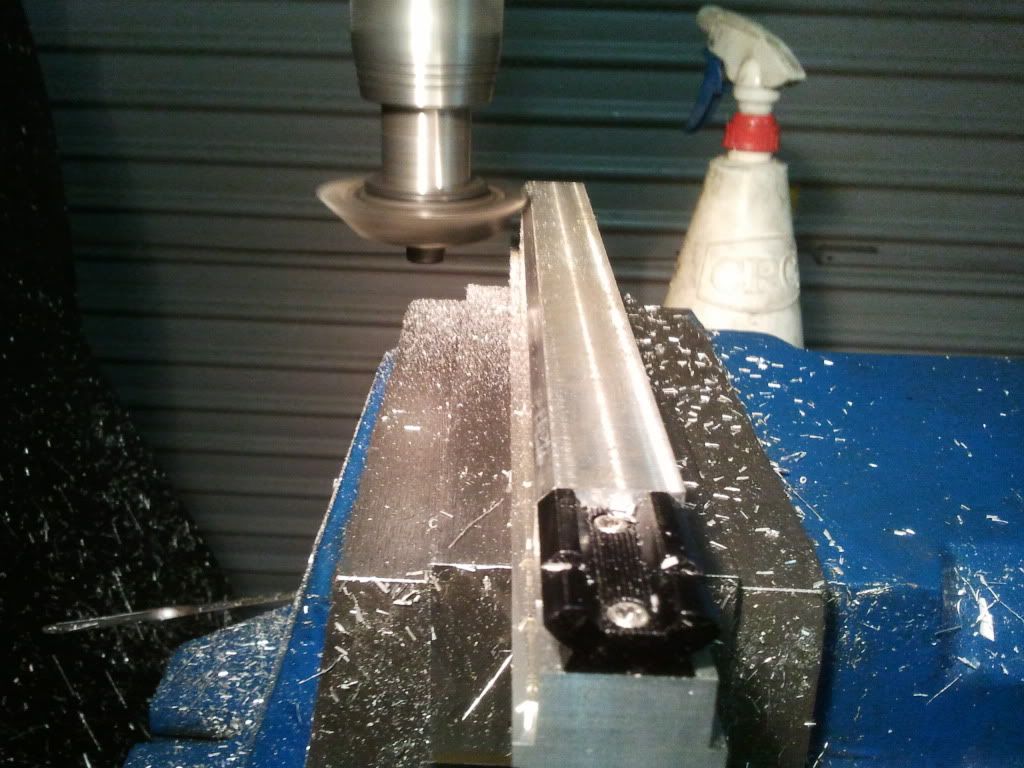
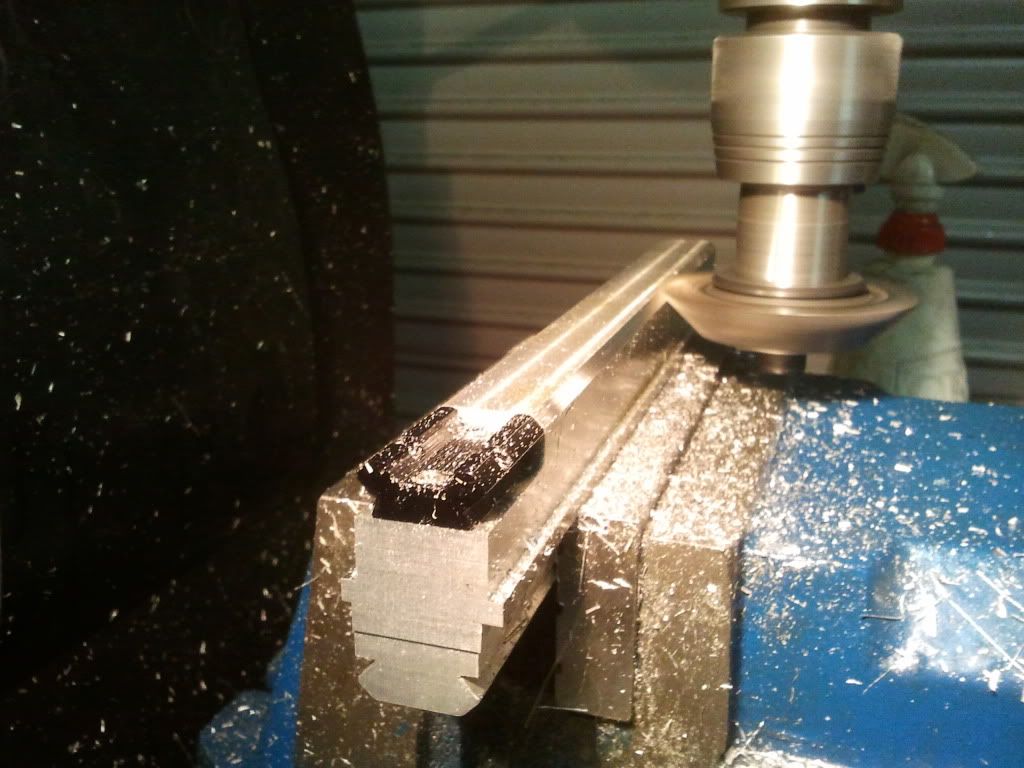
I then machined an arbour to hold a 45 degree cutter in my collet chuck, allowing me to turn the cutter upside down to do the underside of the rail, the arbour was also used to cut the rail off later on in the build.
The 45 degree cutter gives a good surface finish and can remore material quickly.
Mac
I have had some interest in the picitinny rail I just finished, so I thought I would do a DIY / How to / How I went about machining it. Just to show some pointers and lil tricks I used to machine it.
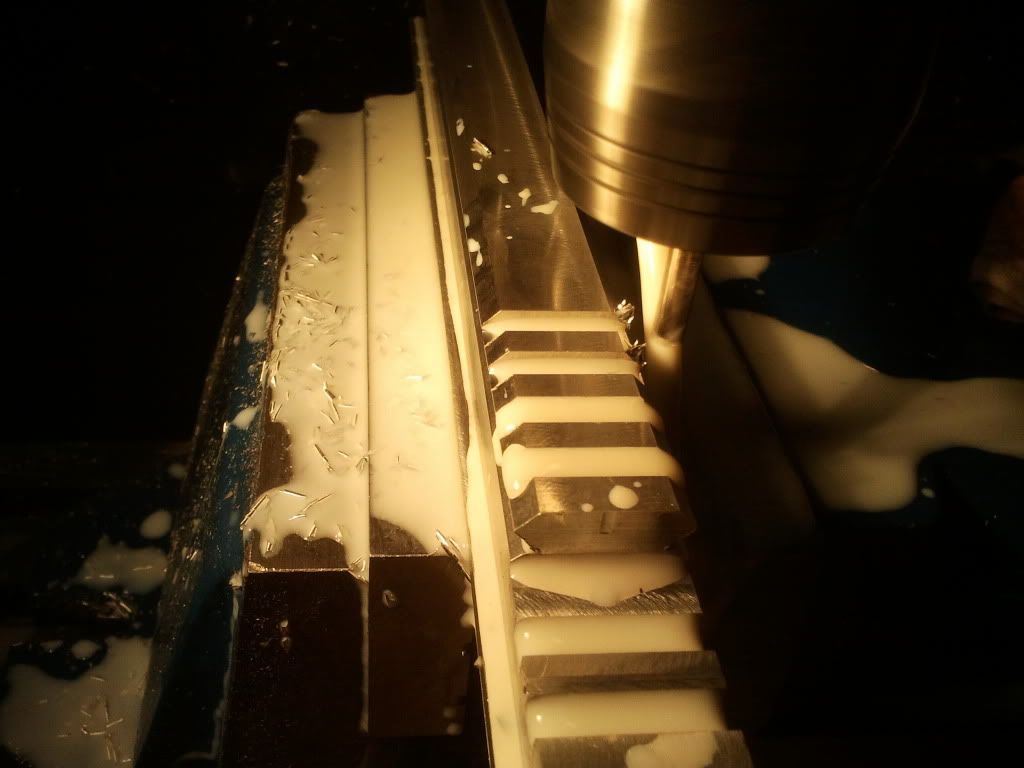
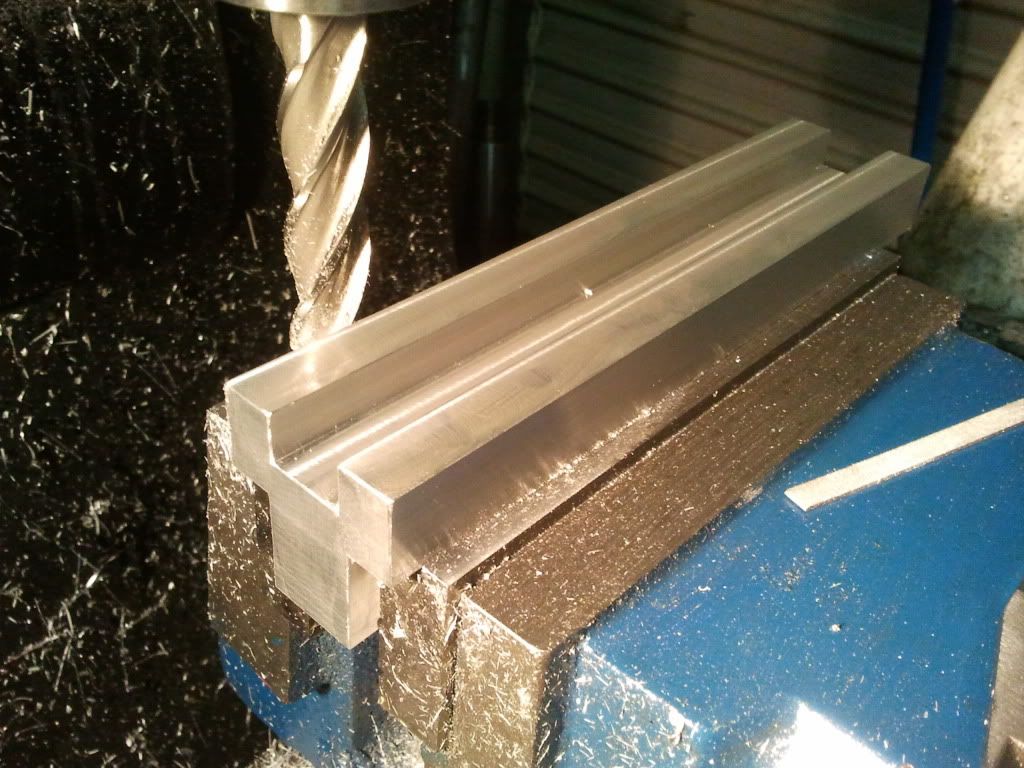
I started out with a piece of 7075 bar and rough machined it to size. I machined a step on one end after I machined the top section. To allow me to mount a weaver picitinny rail as a guide through the machining processes.
I drilled and tapped two 6 x 48 tpi torx screws through the weaver rail to securely mount it to the piece of flat bar. I then trimmed the bar to the size of the weaver rail.
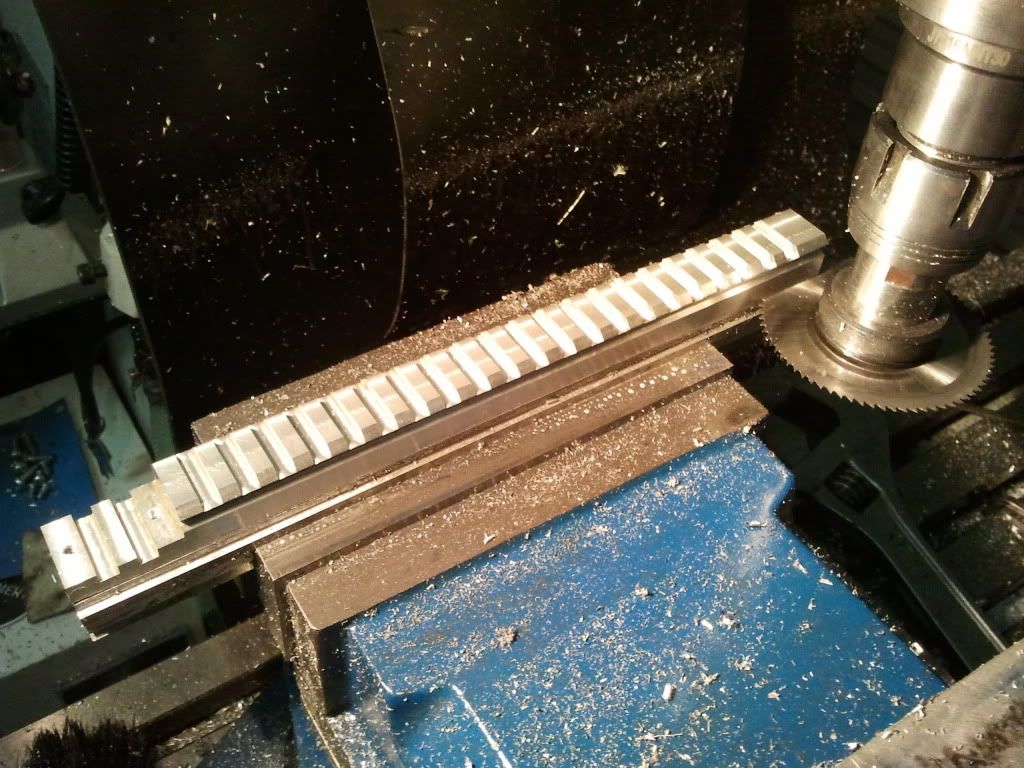
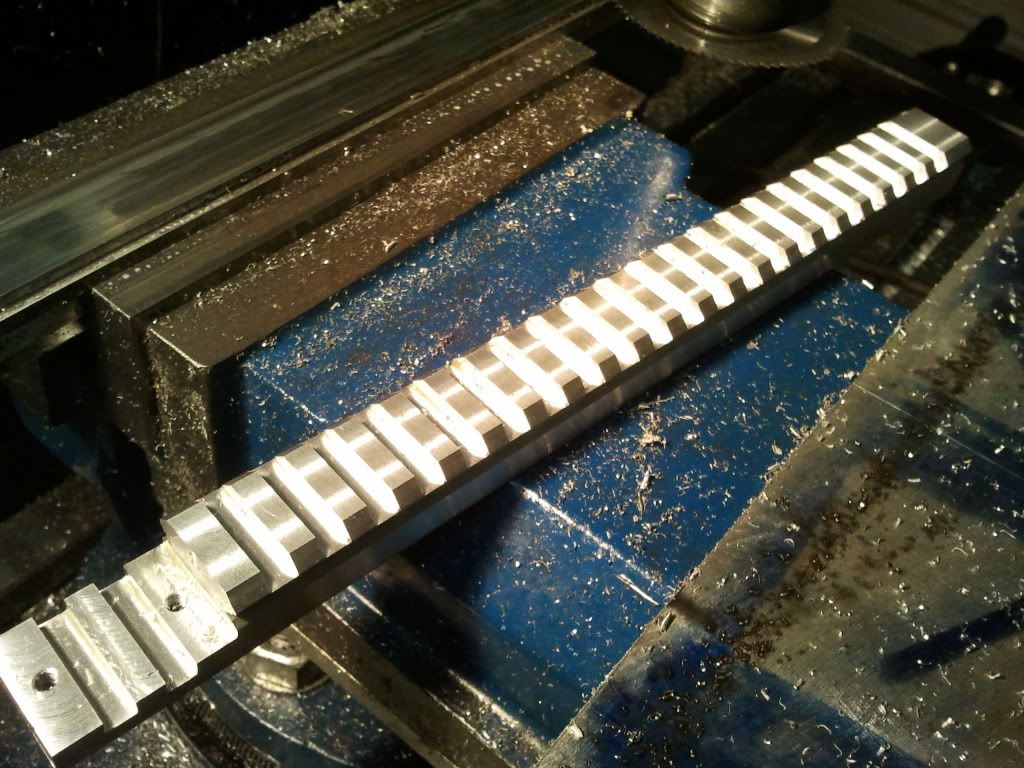
I then machined an arbour to hold a 45 degree cutter in my collet chuck, allowing me to turn the cutter upside down to do the underside of the rail, the arbour was also used to cut the rail off later on in the build.
The 45 degree cutter gives a good surface finish and can remore material quickly.
Mac