As a precursor to the Precision Rifle course with Independence Training, I had built my rifle to the specifications I had dreamed of. A new XLR chassis, trigger, scope, rings and barrel plus some gun smithing from Phoenix Custom Rifles (PCR). Additionally, I have never had any formal training with precision rifles and barely knew how to work a data book going into this course.
Course info:
- 16 hours of instruction over two days.
- 100 to ~650m engagements
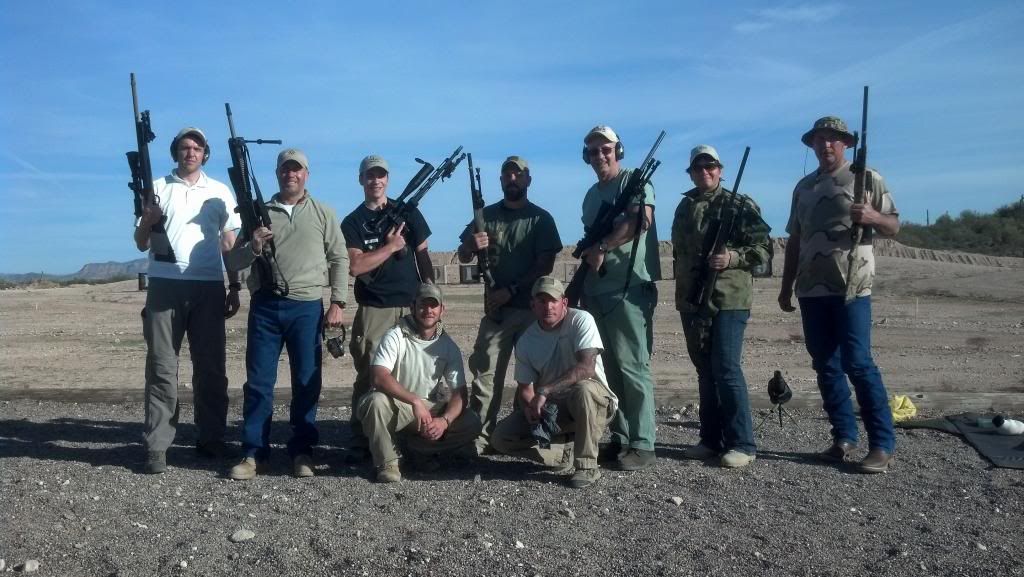
- Seven students, three instructors.
- For course requirements see: Independence Training
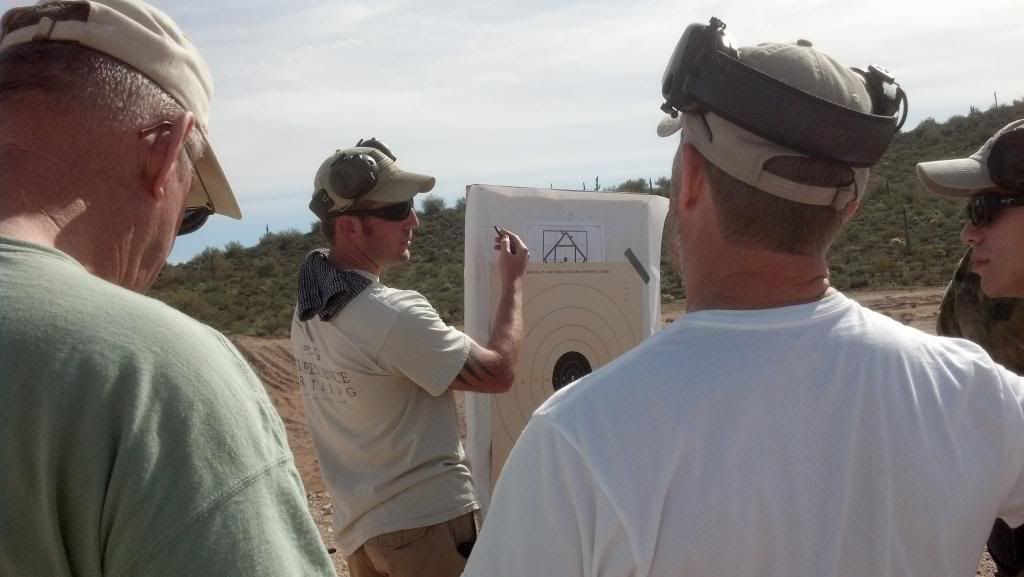
Class started bright and early at 0700 on a Saturday down in the valley. Glen showed up with coffee and donuts, who doesn’t like those? After driving to the range, Josh, the head instructor for this particular course, went over the basics of each rifle hitting the following points:
- Differences between MOA and MIL
- Advantages and disadvantages of semi-automatic rifles
- Advantages and disadvantages of bolt action rifles
- Difference between First Focal Plain (FFP) and Second Focal Plain (SFP) scopes and how to determine which one to get.
Josh hitting the above points.
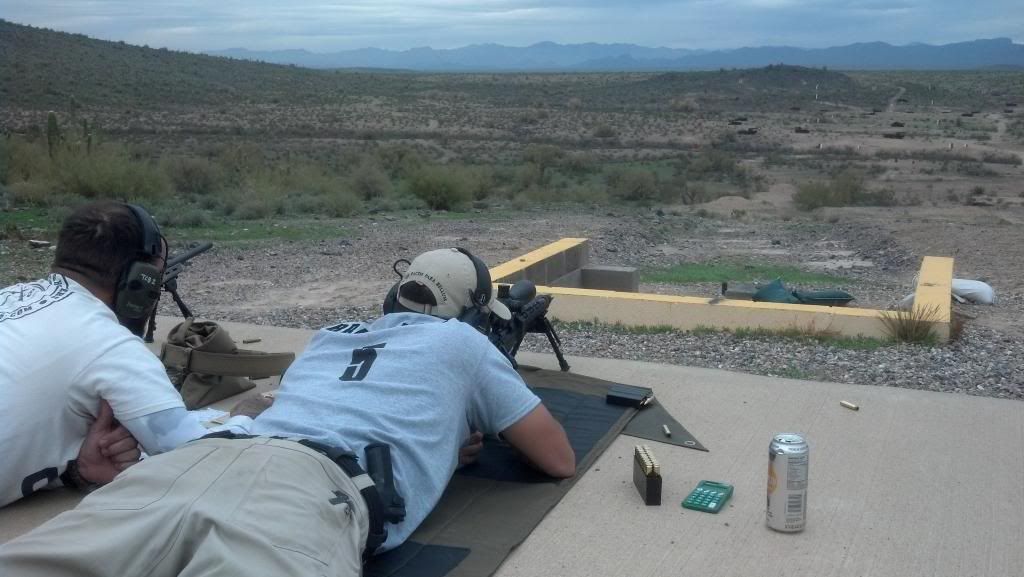
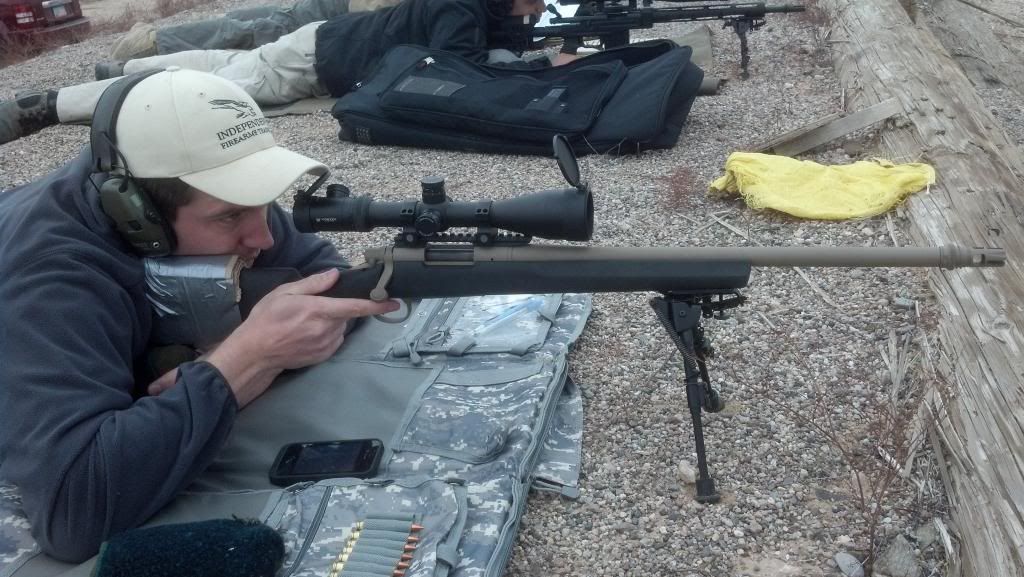
We then proceeded to watch Glen and Josh demonstrate proper shooting form, going over bucking and pulling shots. After a detailed explanation and example of proper shooting form we were told to get behind our rifles with scope covers closed, finding a comfortable and natural position. The instructors then opened the scope covers to see if our scopes were set up correctly, if not they would loosen the rings and adjust them as well as adding impromptu cheek pieces for those who did not have adjustable stocks. We then adjusted the scope for parallax as well as the eyepiece getting the two adjusted correctly and on the same plane. At this point, it should be noted that it was very helpful to have an adjustable chassis like the XLR. I only had to loosen a few screws and move the cheek piece which took a total of one minute to finally get it adjusted. This is not to say that you need this system, a roll of duct tape and some splints or cardboard will work, just not as aesthetically pleasing for some. We wrapped up this portion by adding some moleskin to the stock in order to maintain the same cheek weld every time. Independence Training also provided us with our own “bean bags” which was a nice touch since I had never had one.
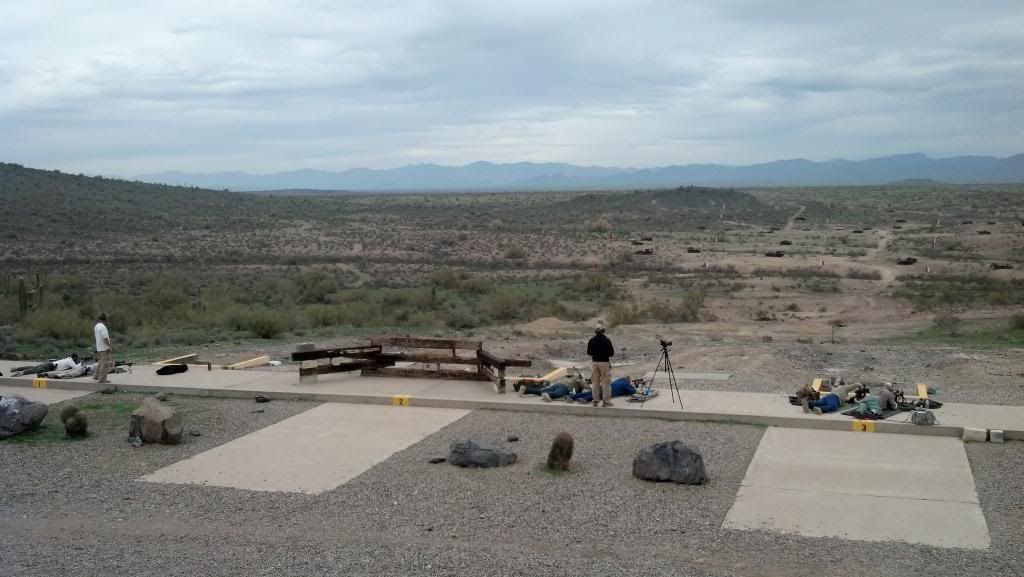
The instructors: Glen, Josh and Brett set up our targets at the 100m range beforehand making the course streamlined and efficient. We set up for our first shot of the course, a cold clean bore or cold bore shot, dependent on if you cleaned your rifle before the course. After our shot we went over how to fill out this data in our dope books as well as why it is important to record your CB shot.
Josh explaining our groups and holds.
For the entirety of the course we were broken up into spotter and shooter teams. We spent the rest of the day working on our form and getting our dope for 100m, 200m and 300m. We ended the day with a 100m challenge which not only boosted our confidence in our abilities after one day, but also was a whole lot of fun.
Checking my adjustments for my first three shot group past 100m
My take away for the first day of the course was immense and included the following for me personally:
- How to choose a weapon system and its accessories
- How to use a data book
- How important a good crown on your barrel is to accuracy
- How to do proper groups for finding dope, calling shots and using a spotter
- How to properly spot for someone, it’s not as easy as I had thought
- How to properly position myself behind a rifle for consistent shots every time
- Consistency is key. Changing one thing, no matter how minor, will affect your groups
- How temperature, altitude and time of day affect your dope
- How to range targets with nothing more than a pen and paper (includes mil-ing targets)
- How to calculate for elevation and wind and the formulas for it
- How helpful it is to have a spotter
- It’s all the small things, I would have never noticed without taking this course
We were sent home that day with a packet on mindset for precision shooting. Our goal was not hitting a 3x5 foot target at 1000 meters, it was hitting a target that is less than 1 MOA at a given distance.
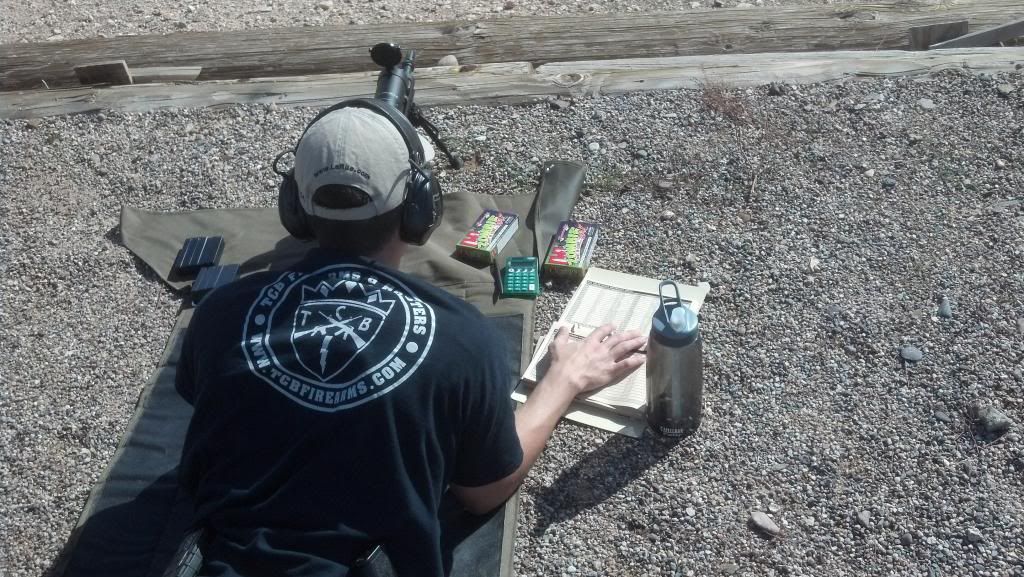
First day dope at 300m
Getting some dope past 300m
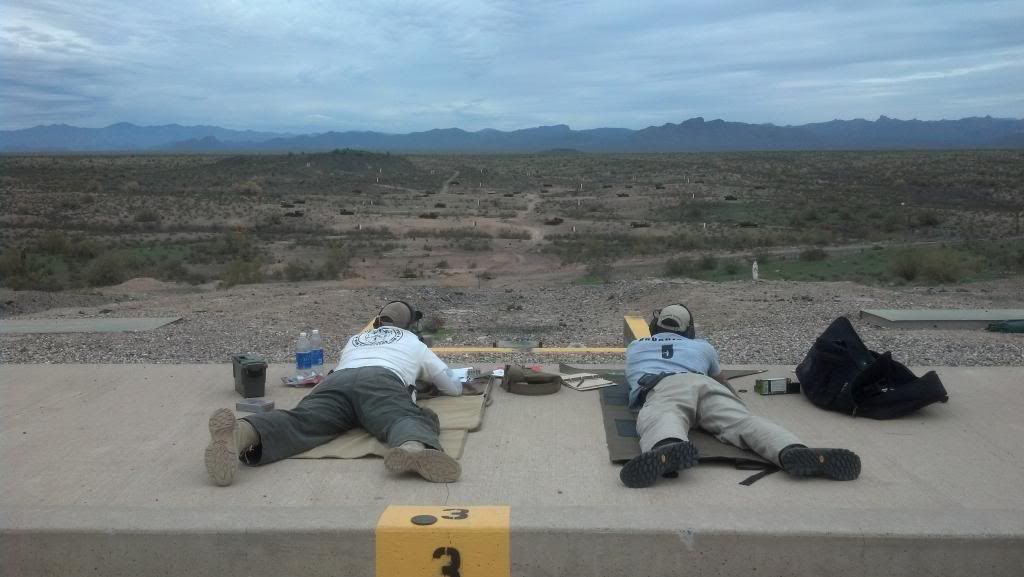
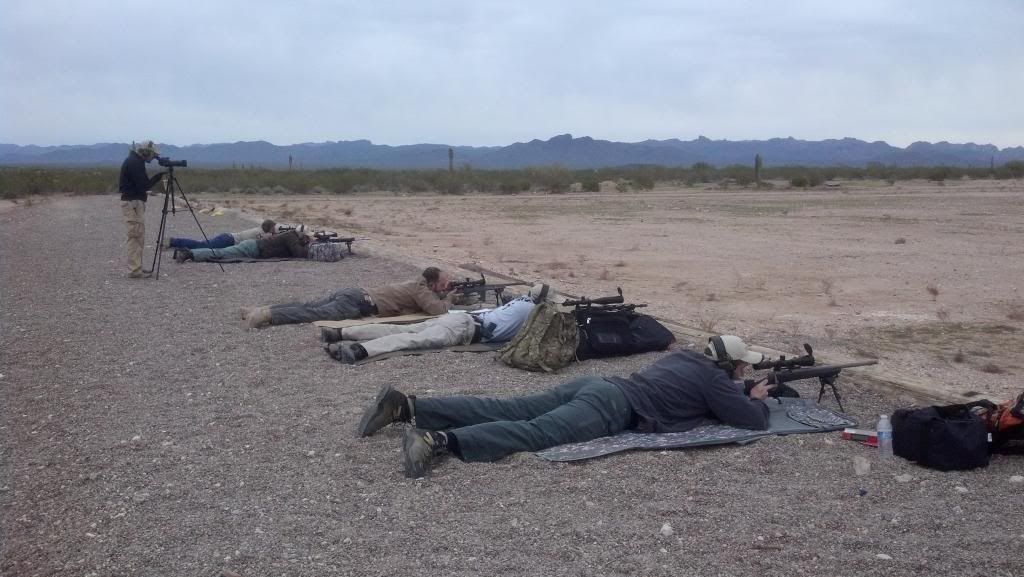
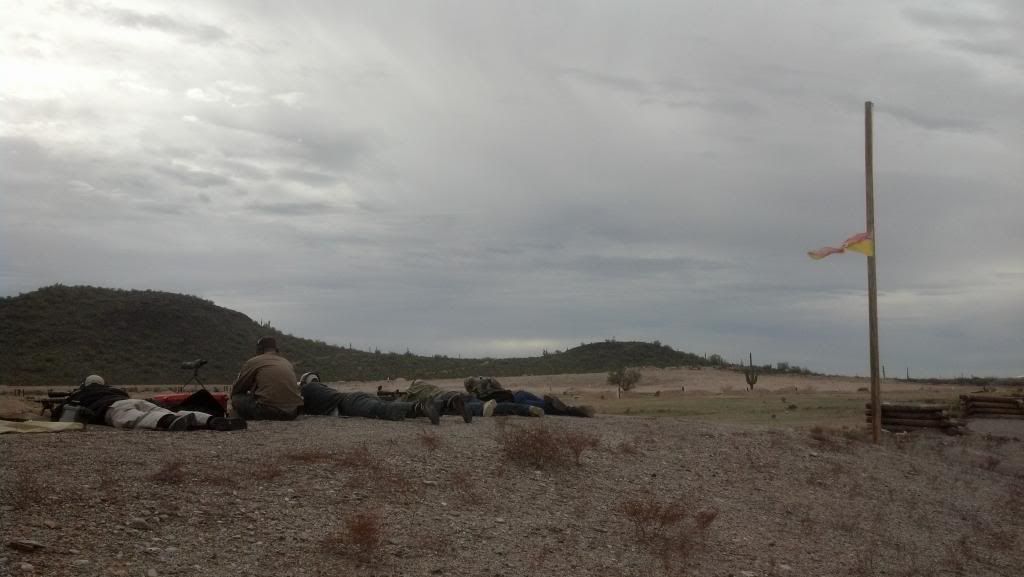
The second day we started things off with an immediate cold bore shot choosing a 1”, 3/4”, 1/2” or 1/4” circle at 100m. I shot the 3/4” circle and was 1/4” at 3 o’ clock off my shot call. We then moved back to record dope at 300m, 400m and 500m. This part was interesting because the wind had picked up with gusts ranging from 3mph to 15mph that we had to account for. This part emphasized how working with a shooter spotter team is much better when having to make split second decisions on wind calls then use those for your shot all by your lonesome. This part was probably the hardest for me, since it was a split second decision, there could be no hesitation or second guessing. At first I was struggling with this part, but after telling myself to own it, I succeeded. The complication of adjusting for wind are many, the value of the wind and its speed when combined with the distance you are shooting at can throw things way off.
When Rob (shown above), who was one of my spotters, had to leave the course early so he was given a chance to hit a 5x7” target at 500m with variable wind from 3-9mph at full value. The wind would drop from 7 mph to 2mph at our shooting location, but down range the wind would still be at 7mph. I made the correct call for Rob and he hit the steel with his first shot.
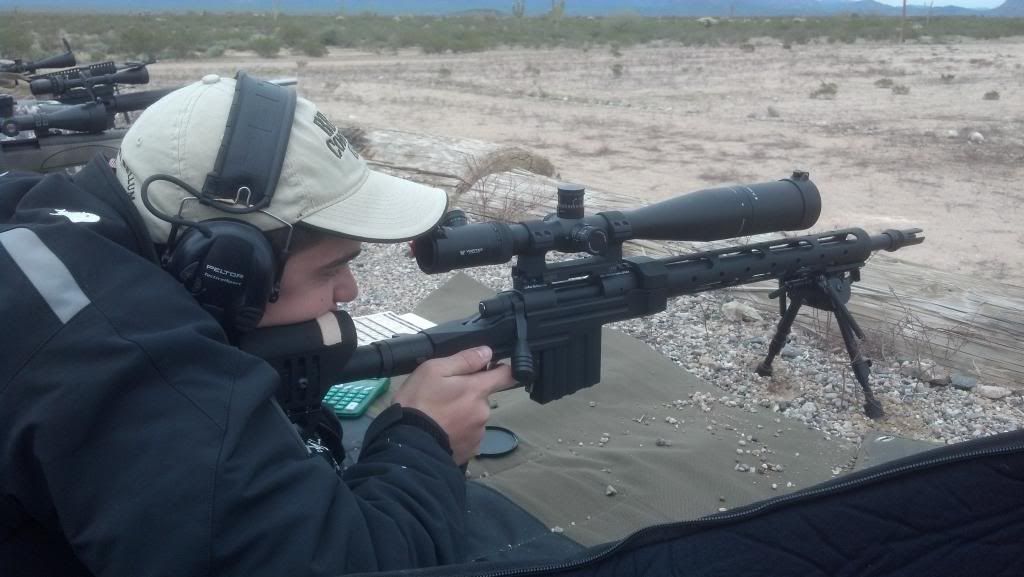
Getting windy
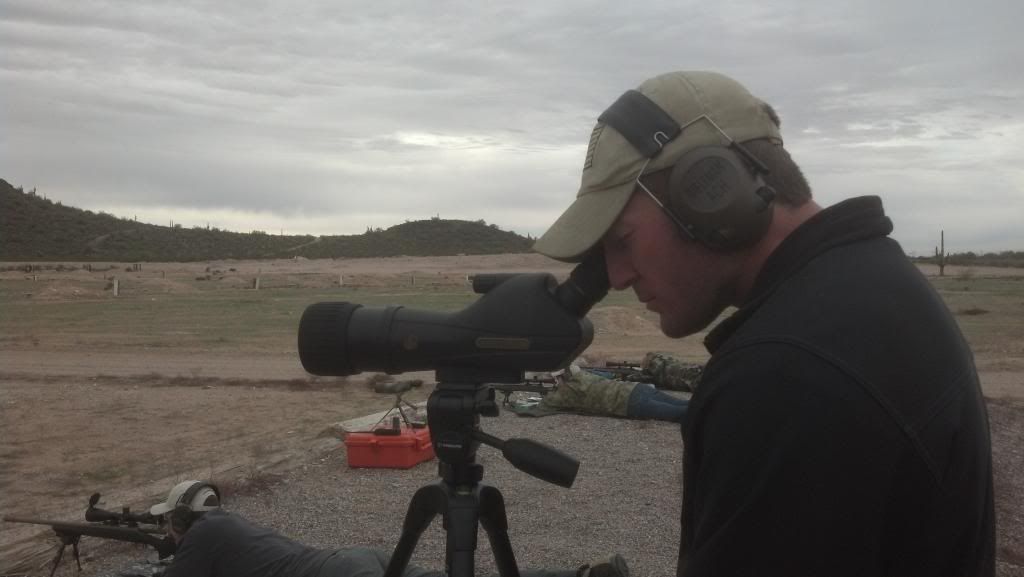
Josh checking our hits and helping with wind calls.
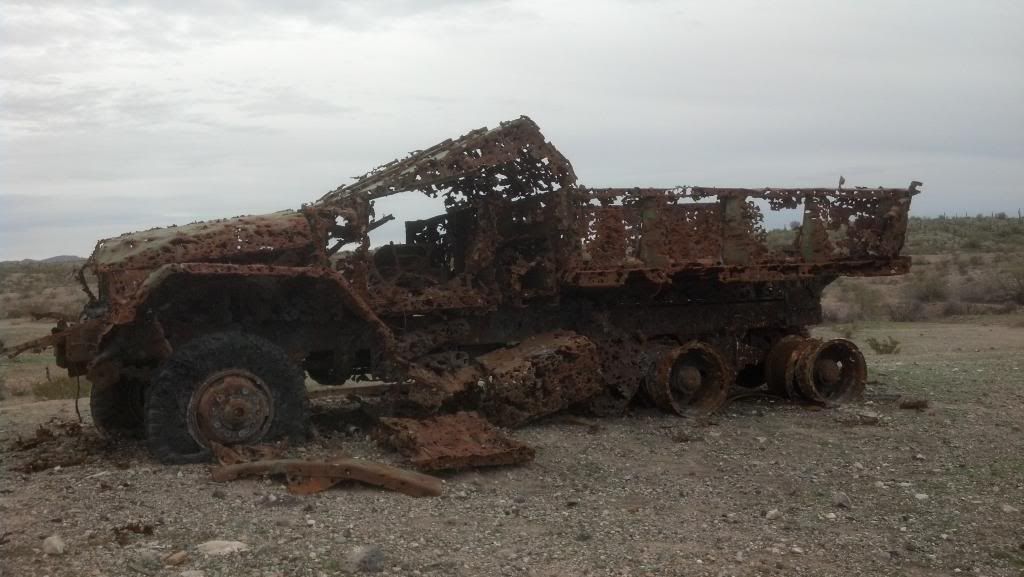
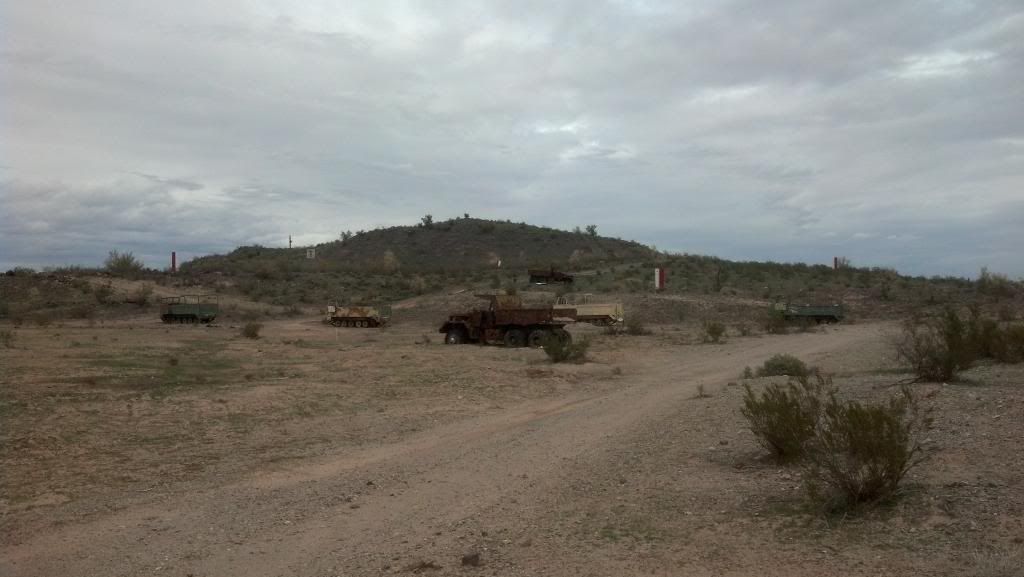
The last portion of the day was a surprise. We went to the unknown distance range, which was far more impressive than any of us thought it would be. There were vehicles, APC’s and popup targets all out to 1200m. We were working with targets at 100m, 200m, 300m, 400m, 500m, then one free for all target at approximately 650m. My spotter, Jason, from TCB Firearms (who makes the best holsters money can buy) suggested we not use our rangefinder, but rather, mil our targets and use what we learned. I’m happy for this as the results from it were impressive. Out of roughly 35 shots I had two misses. In order to shoot further targets you had to clear the closer targets. I managed to clear five targets out to 500m within 38 seconds because as soon as I was racking the bolt, Jason was already giving me come-ups for the next target which I engaged as soon as I had hit my respiratory pause. It was satisfying to work so well with someone with superb results for both of us.
Some takeaways from the course:
Equipment selection varies for each person, researching and understanding each component’s purpose is key.
Data/Dope recording: you’re only as accurate as your data. Skimping or simply not recording your data will be detrimental to your accuracy.
Precision marksmanship fundamentals: build off a foundation, if you aren’t consistent in your form then you won’t be consistent in your groups.
Wind and range estimation: even a 3-5mph wind at 500m will kick you off the paper if it is unaccounted for. Every variable that is calculable needs to be accounted for in order to attain maximum accuracy.
Shooter and spotter teams: you are only as good as your communication with your shooter/spotter. Confidence in your estimations or calculations is key to get your shooter on target.
Engagements from 100-500m+: If you can’t hold a tight group at 100m then work on that before moving to 200, 300 and beyond.
Overall, the training I received was good for a few reasons. First, I learned the fundamentals of precision rifle shooting that, while complicated, were presented in a way that was understandable and re-useable. Second, the course incorporated mindset training which is essential to effective precision rifle shooting. Finally, Josh, Glen and Bret are great people to work with and will do anything to make sure you have the best training experience possible. Multiple times I have had Glen go out of his way to supply me with information or supplies when other training companies would simply say: “sorry, should’ve had that ready we stated what you needed for the course on our website.” Of all the courses I’ve taken this has been my favorite by far, the sense of accomplishment and satisfaction by the end of the course bolster confidence and will likely lead to a lighter wallet in the future. Precision rifle shooting is addicting.
Speaking of wallet, I figured I should post a quick overview of the equipment I used in this course.
List of items used:
Rifle:
- Remington 700 short action trued to receiver by Phoenix Custom Rifles (PCR): PCR did a great job, everything was set to the smallest details. No problems here.
- AAC 18” 1:8 barrel installed by PCR with match crown and AAC flash hider: The barrel itself gets the bullet out of the short barrel at a high velocity because of the shorter twist rate, I only noticed minimal drop from ballistic charts. Need more time to really work this barrel.
- XLR Industries Chassis: This was by far the best investment I’ve made in a long time in regards to firearms. It is fully adjustable which makes it the most comfortable rifle I’ve ever used. The folding stock allows me to throw it in a piano bag with an ar15. One of the few chassis systems that can be had for under the 1k mark with a folding stock. 5/5
- Larue 20 MOA base: Rock solid. 5/5
- Larue LT 111 QD one piece ring set: This is another overlooked part by most, I’m glad I got the QD mounts, they maintain zero when removed and put back into the same position. It made it very easy to adjust and level the scope because of the one piece base. 5/5
- PCR custom bolt knob and cerakote on receiver: I like the sleek look of this bolt knob, it was put on and cerakoted for under $100. Definitely worth looking into. 5/5
- Harris SRBM with Alpha-bravo: The bipod itself is rock solid, I definitely suggest getting the swivel, the alpha-bravo lock was almost necessary. It makes adjusting it to a level you want and then locking it in place easy and quick. I only wish Harris sold them with something similar to the Alpha-bravo. 4/5
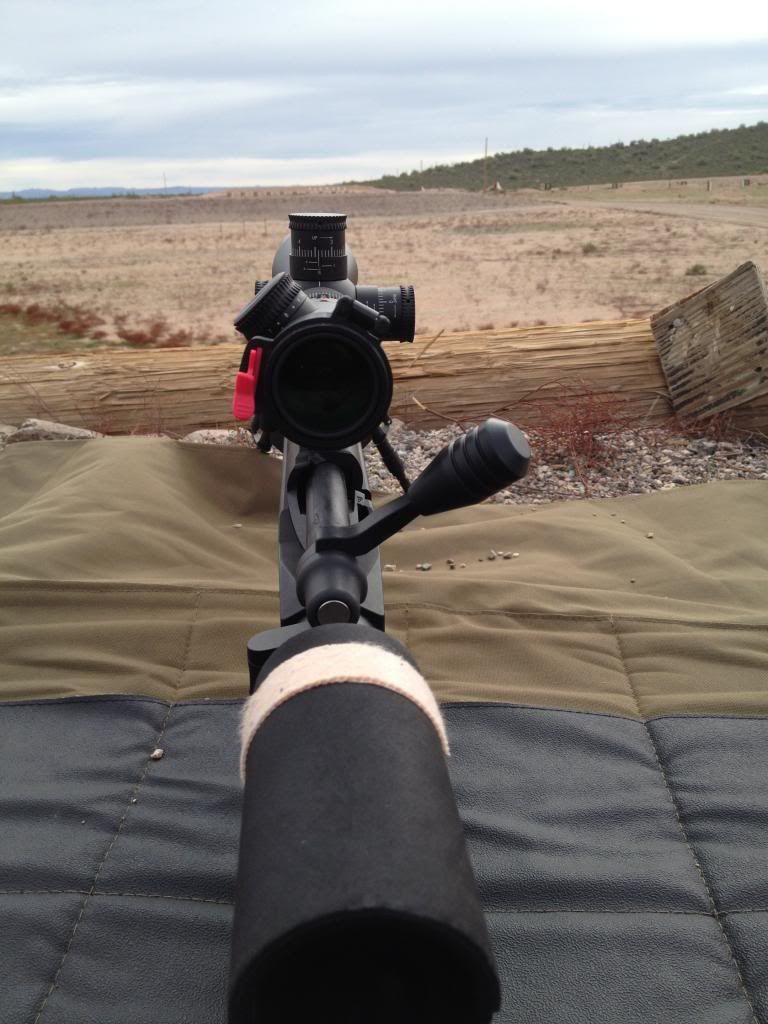
- Vortex 6-24x50 PST FFP: Great glass, I only went above 10x to range targets, otherwise the glass is clear enough to shoot past 650m no problem at 10x. Easy use of the turrets, I did not use the zero stop. One of the best scopes for the price point. 5/5
- Butler Creek flip up scope caps: These are terrible. I broke the objective when I flicked it open and it was only 55F out. The eye piece snapped off by a slight nudge when adjusting magnification. DO NOT USE THESE, many people have had similar issues. 1/5
- Alpha Industries MFG 10 round magazines: Half the cost of AI mags. After around 200 rounds with them I have had no issues. Feeding is easy and fast as well as insertion into the rifle. 5/5
- Jewell Trigger with Bottom Safety and Bolt Release: I’m glad I went with the bottom safety, I did not have to remove my grip to flick the safety on or off. I had it set to around 2lb and there is no creep whatsoever. 5/5
Gear:
- Midway USA shooters mat: Held up fine, I do wish it had pouches or slots for my data book and pens. One of the grommets as since broken off. 4/5
- Gator 55key keyboard case: not an accessory intended for shooting but it is beefy. Nicely padded with securing straps allow me to put my folding stock XLR and my 14.5 ar15 into the bag. Both rifles have scopes on them and have no problem fitting. Additionally, there is still room for magazines, cleaning kits, dope book, pens, calculator, glasses, earpro and a beanbag plus some extra ammo. All I need is this case and my shooting mat. 5/5
- Impact Data Book: This modular book is easy to modify and the pre-made books are perfect for people new to precision shooting. I had no issues learning to use it, and I already started customizing it from the pre-made form. 5/5.
- Hornady Z-max 168 grain: This was all that was in stock, besides the tacky zombie marketing this ammo is match grade and I was holding 3/4 MOA no problem, probably could’ve obtained 1/2 MOA with more experience. 5/5
- VERT X tactical pants: I have been using these for a while, there is no better pant out there. Low profile, comfortable and plenty of pockets. 5/5