
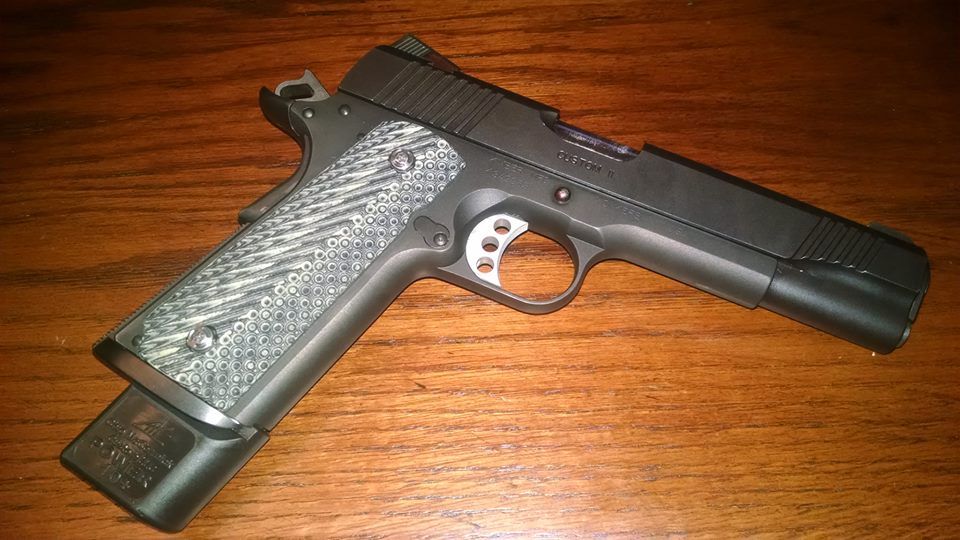
I will be using my Kimber 1911 in some upcoming USPSA matches this fall, so I thought it was time to put a magwell on it to aid in reloads. I was limited in options because I use slim line grips on the 1911. With slim line grips a standard magwell does not match up with them and leaves a sort of gap type ledge because it does not taper off to match the thickness of the grips.
After a bit of searching I came across Smith & Alexander products and after a short phone call my order was placed. I want to say that my experience with Smith & Alexander was very positive, they were friendly and answered the couple questions I had thoroughly before I placed the order over the phone. What I ordered was a 1 piece blued magwell specifically designed for slim line grips and flat mainspring housing.
3 days after I placed my order I got home from work and the package had arrived. Once I cut the box open with my trusty Spyderco and got a hold of the product my first impression was that it seemed like a real quality piece. They were nice enough to also include a pen and a notepad marked with their company name in the package, and a small booklet regarding the constitution.
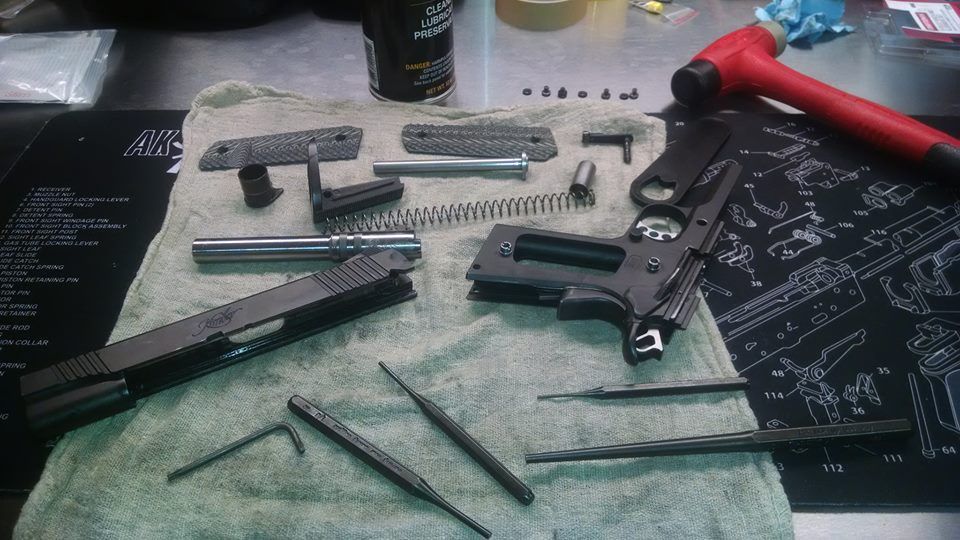
After dinner I looked at a 1911 schematic for a couple minutes to get an idea of what will be involved in the installation, then went down to my my "man cave" to get to work. Removing the old junk plastic mainspring housing was a breeze, I just simply used a 1/16 punch to knock out the mainspring housing pin and then slid the mainspring housing out. I then used a 1/4 punch to put pressure on the mainspring and mainspring cap inside the old housing while using a 1/16 punch to knock out the mainspring cap pin. This was a bit of a tricky process and really helps to have a vice to hold the 1/4 punch down for pressing down the spring which is neccessary in dissasemly of the housing.
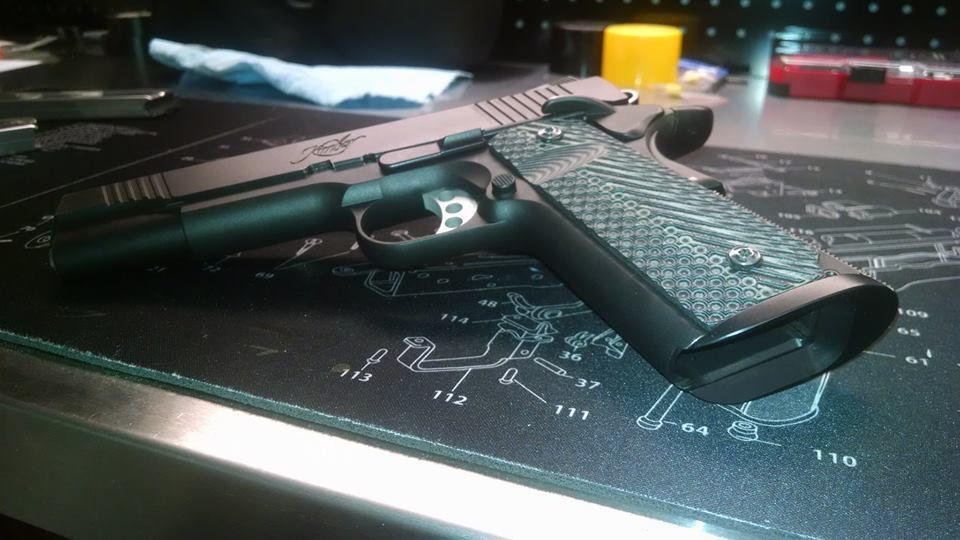
I then put the mainspring housing components into the new magwell/mainspring housing and went ahead with installing the new components to my 1911. The sear spring got out of place while removing the old housing so once I got that back into place I just slid the new 1 piece component into place while keeping pressure on the hammer (this is important, and initially I did not do this and after assembling the firearm I realized my trigger was disabled). Once the magwell was flush with the frame I used my plastic hammer to knock the mainspring housing pin in the rest of the way and it was done and time to put the firearm back together.
My final thoughts on the product and installation is that it is a top notch quality product and the installation was not difficult and pretty strait forward. This is one of those jobs that you do not have to be a gunsmith to do, anyone with a little firearm knowledge, a few tools, and access to the internet to look at a schematic can do this at home. So if you are interested in installing a magwell in your 1911 go for it! Playing around with it last night I was very impressed with how much of a difference it makes with mag changes. I also highly recommend the Smith & Alexander product.
After a bit of searching I came across Smith & Alexander products and after a short phone call my order was placed. I want to say that my experience with Smith & Alexander was very positive, they were friendly and answered the couple questions I had thoroughly before I placed the order over the phone. What I ordered was a 1 piece blued magwell specifically designed for slim line grips and flat mainspring housing.
3 days after I placed my order I got home from work and the package had arrived. Once I cut the box open with my trusty Spyderco and got a hold of the product my first impression was that it seemed like a real quality piece. They were nice enough to also include a pen and a notepad marked with their company name in the package, and a small booklet regarding the constitution.
After dinner I looked at a 1911 schematic for a couple minutes to get an idea of what will be involved in the installation, then went down to my my "man cave" to get to work. Removing the old junk plastic mainspring housing was a breeze, I just simply used a 1/16 punch to knock out the mainspring housing pin and then slid the mainspring housing out. I then used a 1/4 punch to put pressure on the mainspring and mainspring cap inside the old housing while using a 1/16 punch to knock out the mainspring cap pin. This was a bit of a tricky process and really helps to have a vice to hold the 1/4 punch down for pressing down the spring which is neccessary in dissasemly of the housing.
I then put the mainspring housing components into the new magwell/mainspring housing and went ahead with installing the new components to my 1911. The sear spring got out of place while removing the old housing so once I got that back into place I just slid the new 1 piece component into place while keeping pressure on the hammer (this is important, and initially I did not do this and after assembling the firearm I realized my trigger was disabled). Once the magwell was flush with the frame I used my plastic hammer to knock the mainspring housing pin in the rest of the way and it was done and time to put the firearm back together.
My final thoughts on the product and installation is that it is a top notch quality product and the installation was not difficult and pretty strait forward. This is one of those jobs that you do not have to be a gunsmith to do, anyone with a little firearm knowledge, a few tools, and access to the internet to look at a schematic can do this at home. So if you are interested in installing a magwell in your 1911 go for it! Playing around with it last night I was very impressed with how much of a difference it makes with mag changes. I also highly recommend the Smith & Alexander product.


Last edited:
