• Watch Out for Scammers!

    We've now added a color code for all accounts. Orange accounts are new members, Blue are full members, and Green are Supporters. If you get a message about a sale from an orange account, make sure you pay attention before sending any money!

Gunsmithing Neat little jeweling tool I made

LRI

Lance Criminal
Full Member
Minuteman
  • Mar 14, 2010
    6,311
    7,404
    52
    Sturgis, S. Dakota
    www.longriflesinc.com
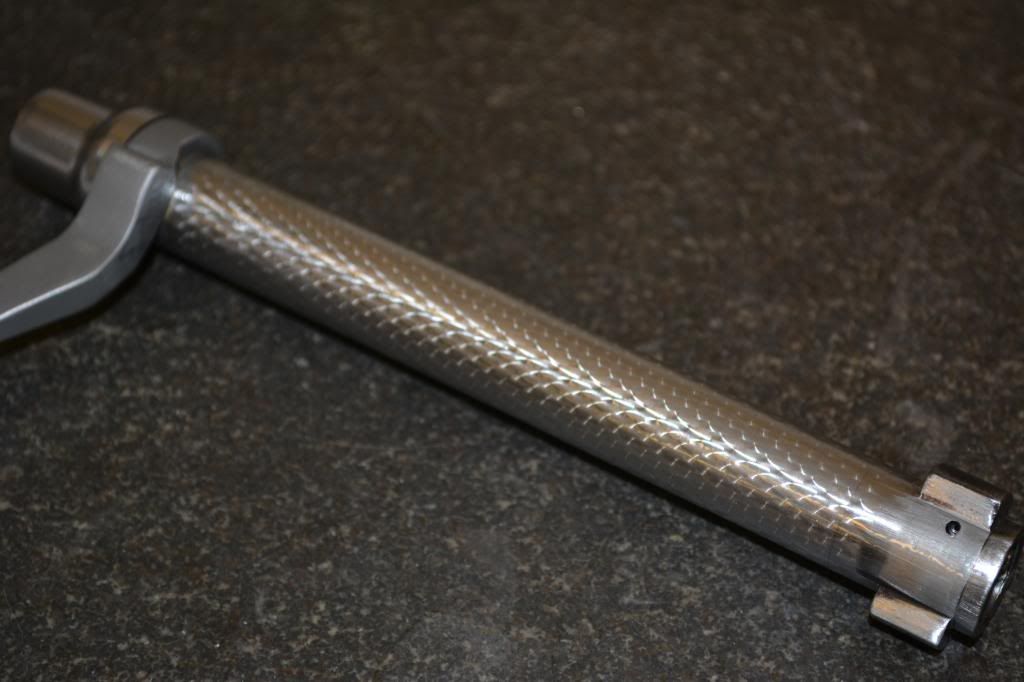
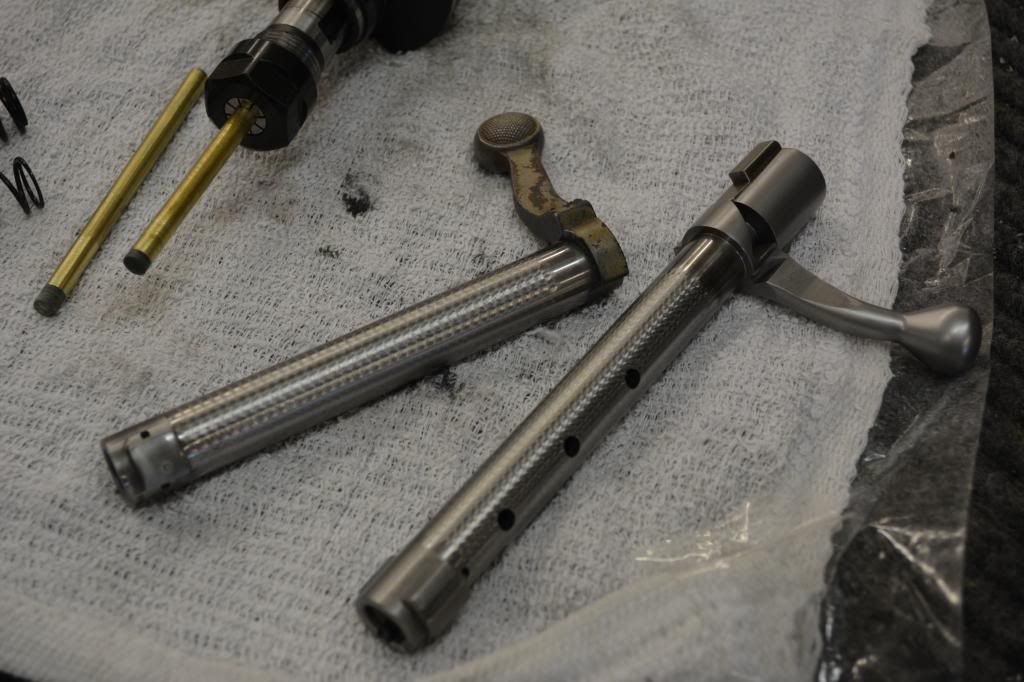
    We typically don't get much demand for jeweled bolts, but a gent asked for it and I'd not done it in a long time so I figured what the hell... But, I didn't have any tooling for it. Watched a couple vids on U toob and decided to try something a little different.

    So here's what I did. Works pretty cool.


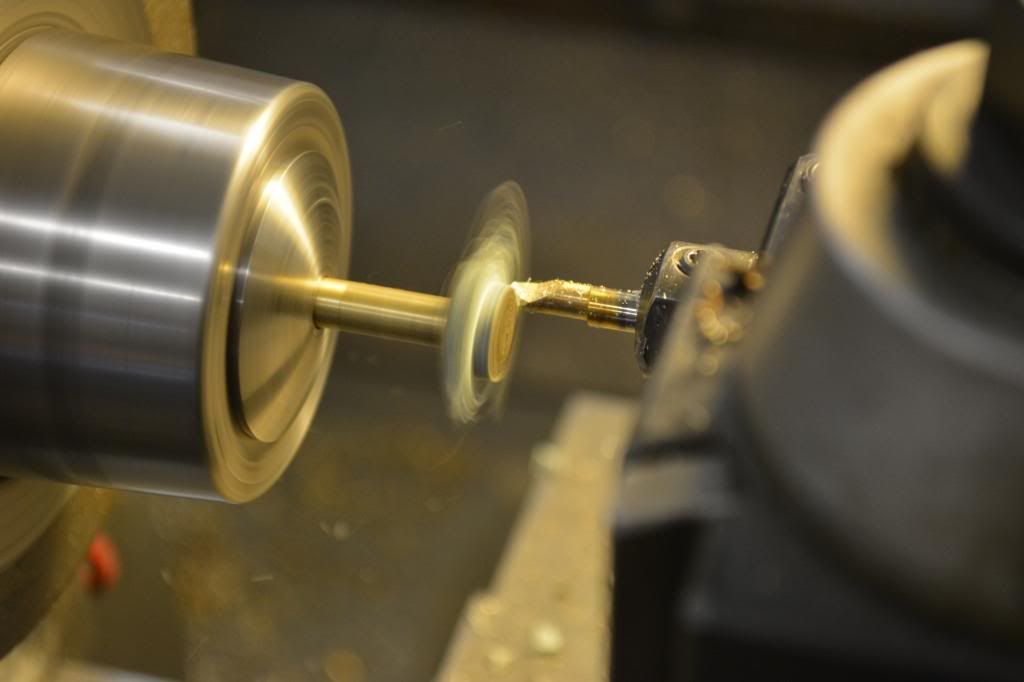
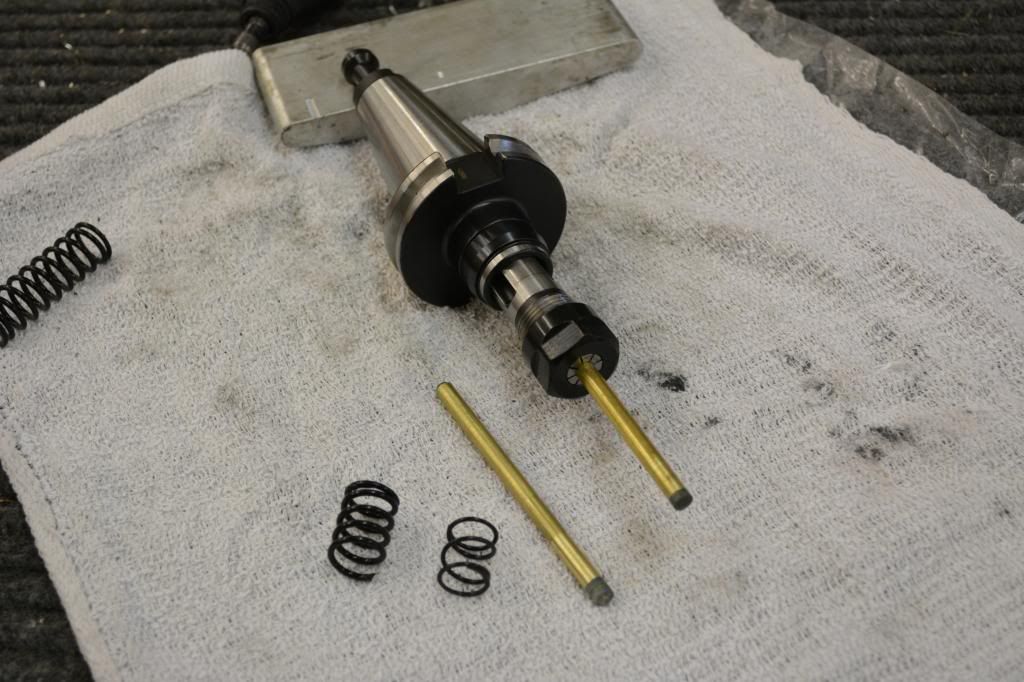
    Get a 1/4" od brass rod and cut it around 3" long. (so that you have enough standoff to avoid hitting the handle on the bolt) Face one end clean in the lathe.
    DSC_0003.jpg


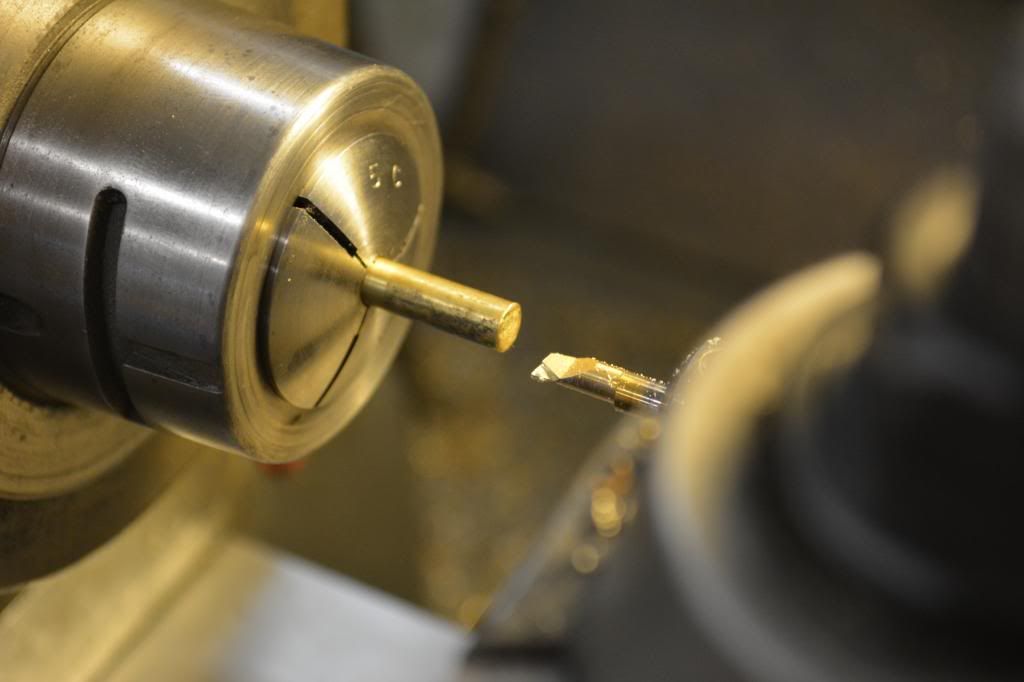
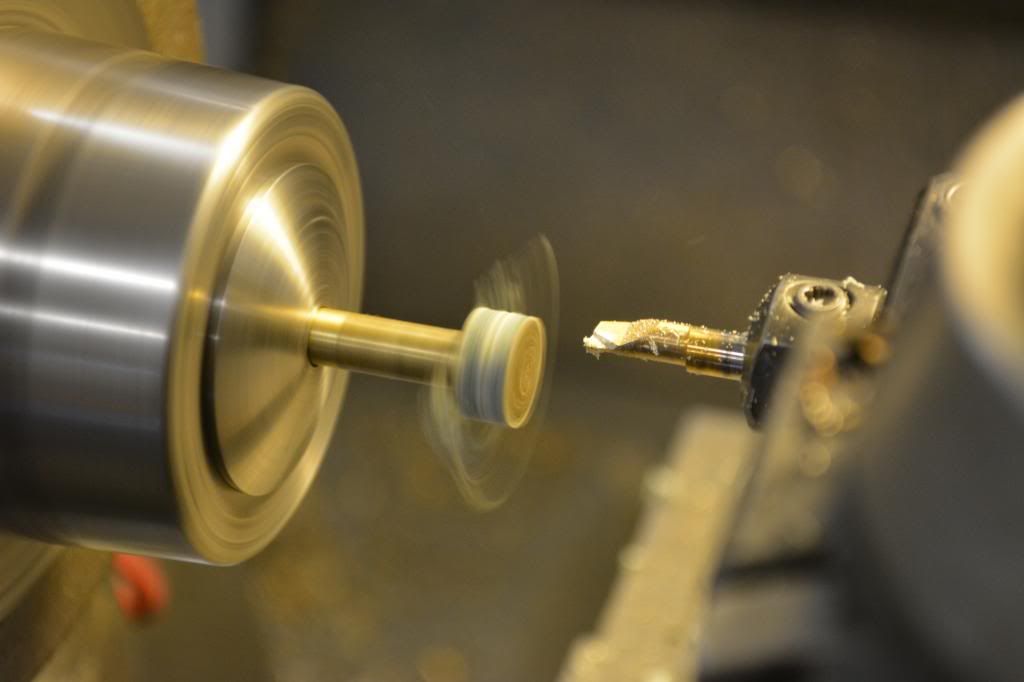
    Using a small boring bar face the brass rod clean and finish by cutting a shallow "crown" on the end of the piece. Just a shallow angle so that the face is "dished" by a few degrees. All I did was run the machine in reverse and use the draft angle of the boring tool to create the angle.

    DSC_0004.jpg


    DSC_0006.jpg


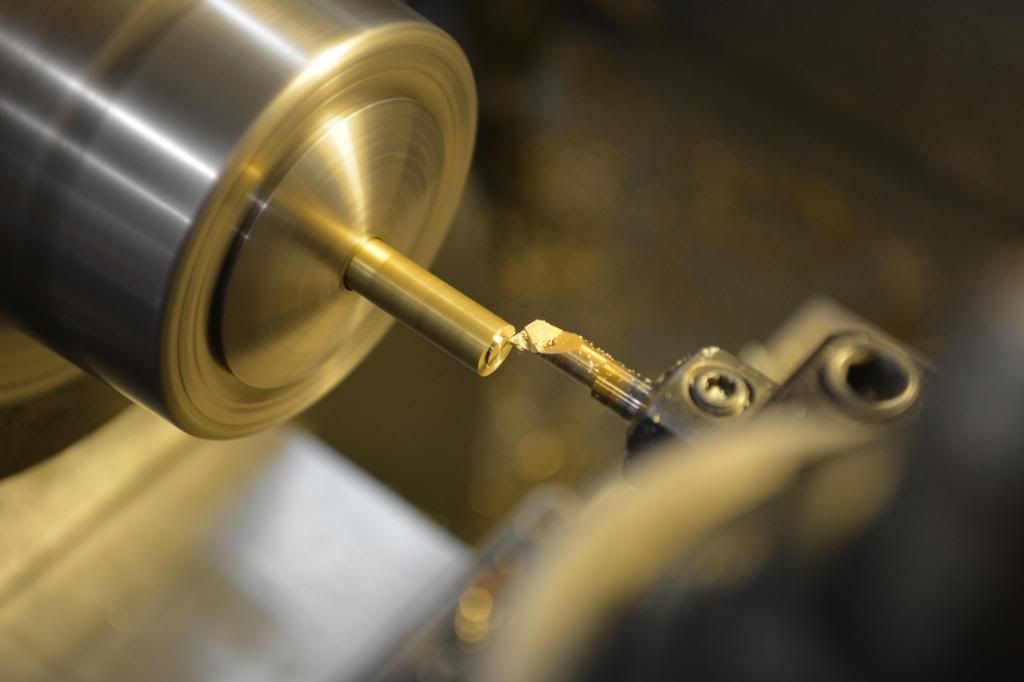
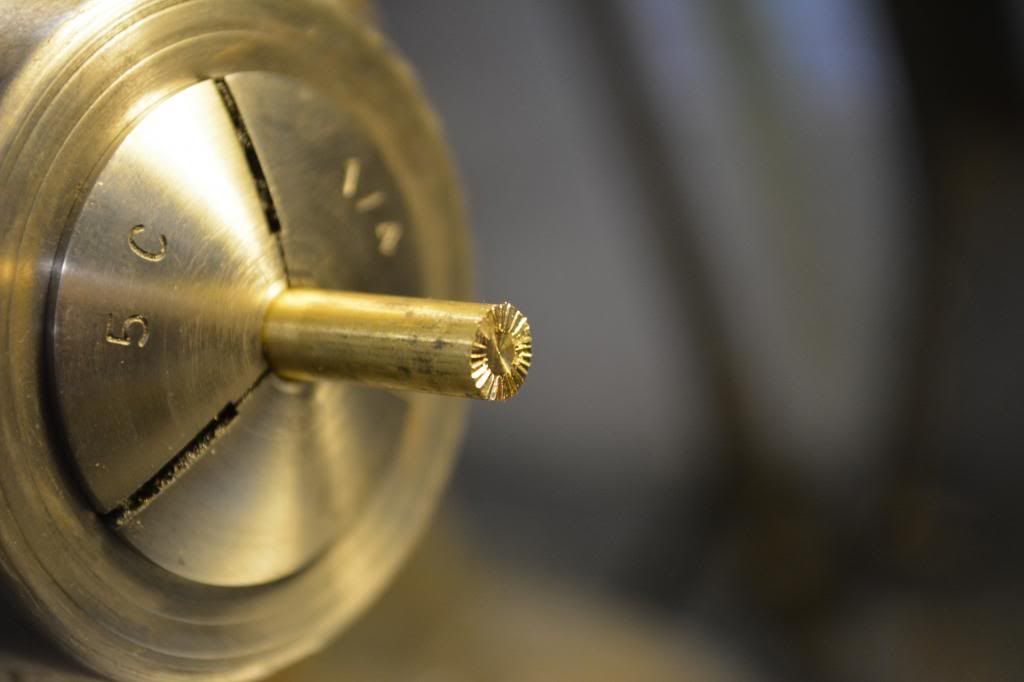
    Now shut off the machine. Lock the carriage so that you can only move in the X axis (cross slide) Set your tool so that it scribes a line across the face of the dish you just cut. Basically were going to use the lathe as a shaper tool. Just needs to be a few .001's deep. Make a pass, worked best for me from the backside towards center. Now rotate the chuck a small amount and repeat till you get a sort of knurled face on the brass rod. This serves as a tooth for the jeweling pad to attach to. That comes next.

    DSC_0007.jpg


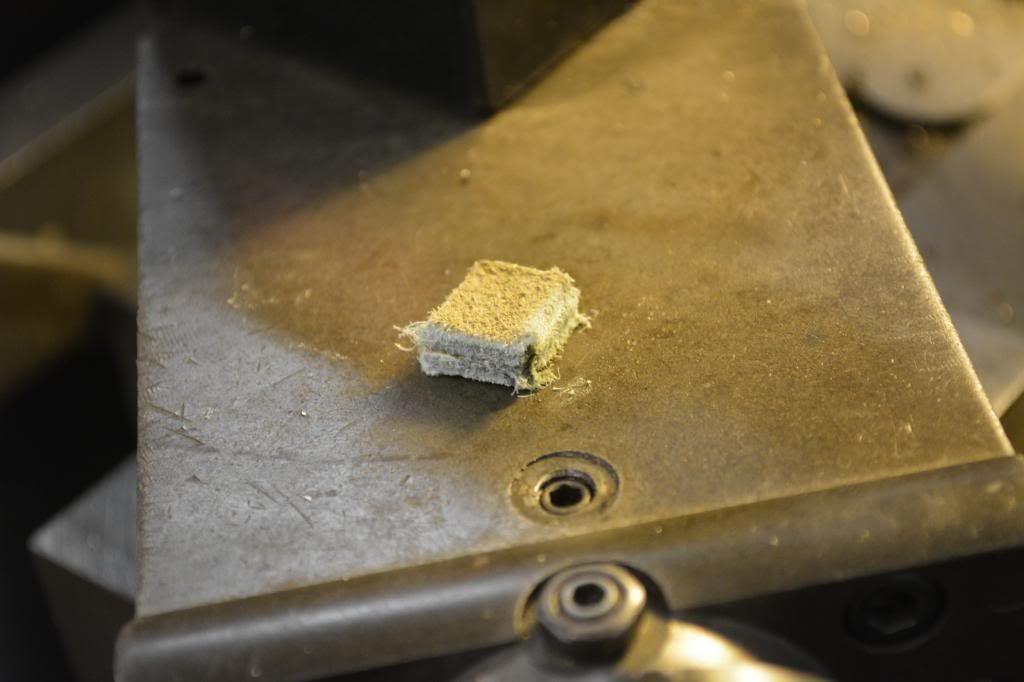
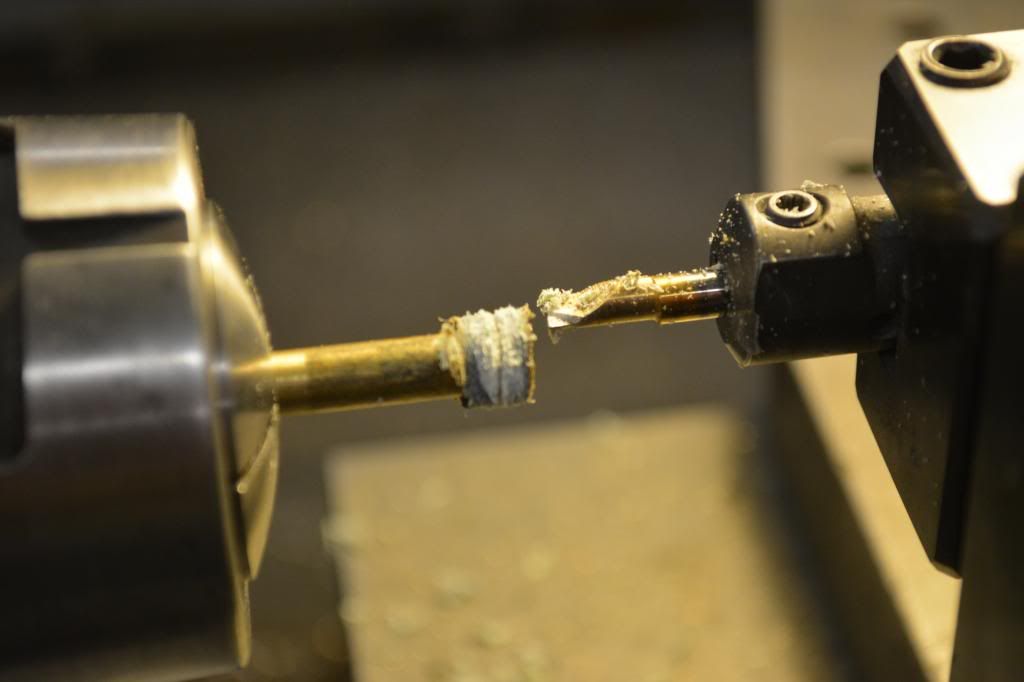
    Cut two postage stamp size pieces of leather and super glue them together. I get better luck having the rough side of the leather exposed on both ends.

    DSC_0011.jpg


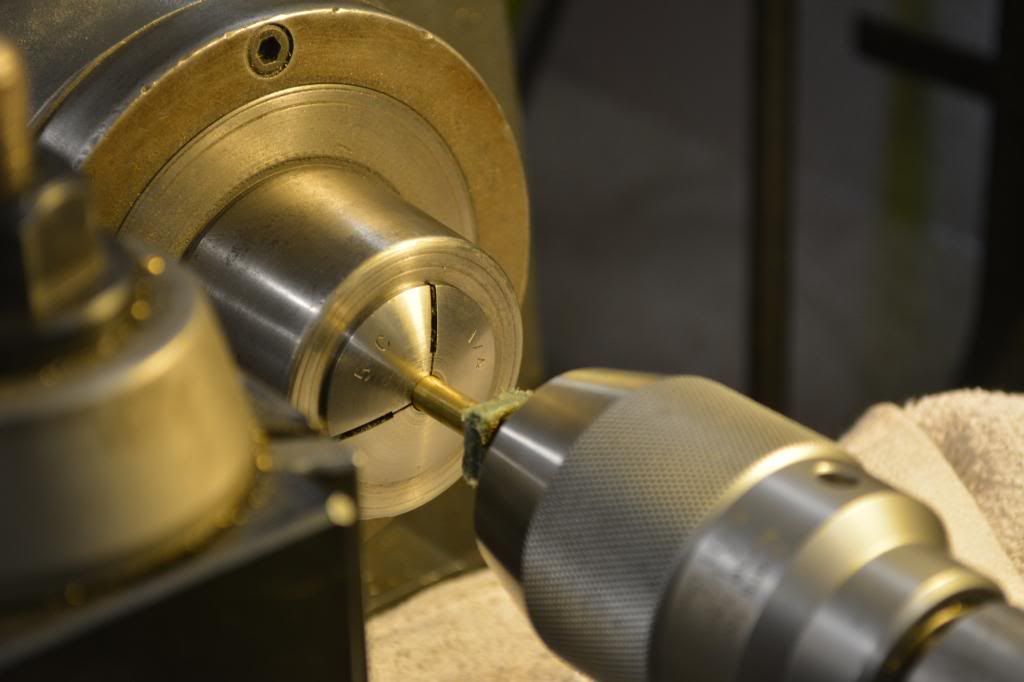
    Leaving your brass stick in the chuck, throw your drill chuck in the tail stock and run the jaws to fully closed. Now position it about an inch from the face of your part and lock the tailstock down to the bed.

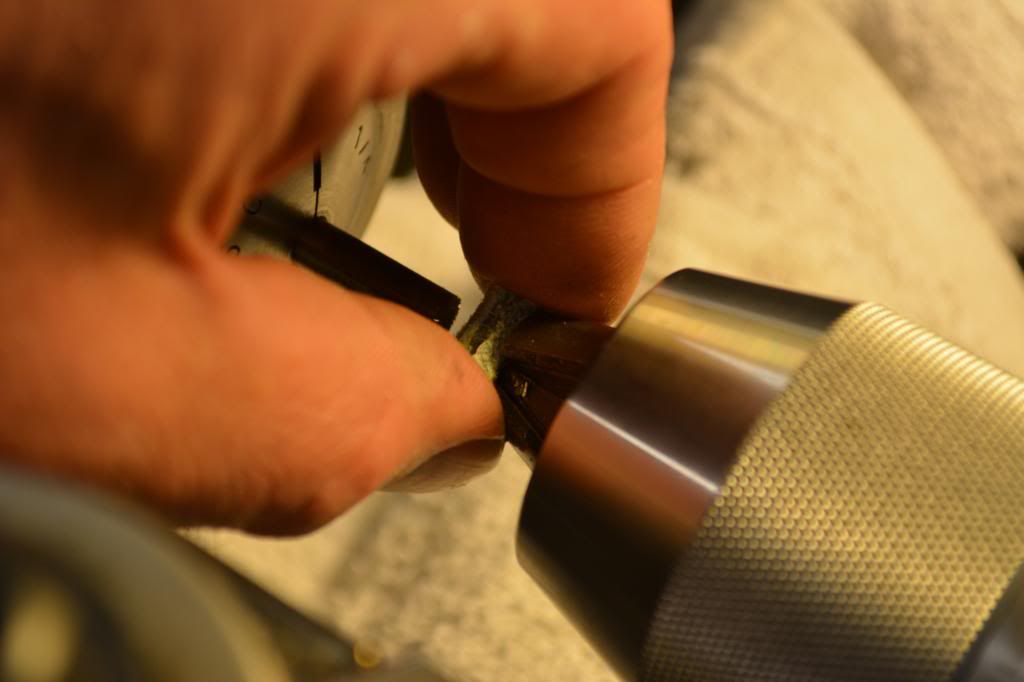
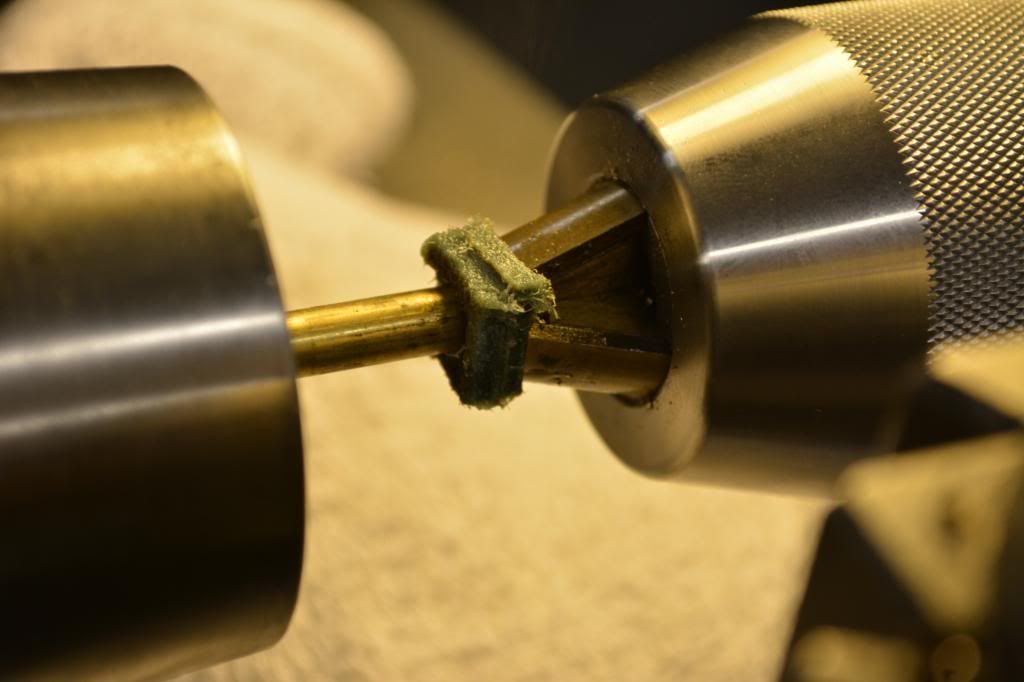
    Place your leather pad next to the brass rod and spot a dab of superglue on the rod. Using your free hand, run the chuck into the leather and squish it against the brass rod. Let is set a minute or two to fully setup.

    DSC_0012.jpg


    DSC_0015.jpg


    DSC_0014.jpg
     
    Now here comes the tricky part...


    stick a rag under your work and soak the leather in thin super glue (hobby shops for RC planes is a great place to buy this stuff) Get it smoking. You want to saturate it as best as you can.

    Using a super sharp tool, machine the leather to the OD of your brass rod.

    DSC_0016.jpg


    DSC_0017.jpg


    If it starts to "fluff" on you, stop and resoak in superglue. At some point it'll saturate through and it'll machine like crazy. You can get a seamless finish.


    DSC_0018.jpg


    DSC_0019.jpg


    Once you have this, just mount it in the mill/press and fixture your part. Slop it up with coarse lapping compound and get to work! I modified a floating tapping head with a heavier spring. This way I could write a simple canned drill cycle combined with an incremental A axis move and have it walk down/around the bolt body without having to stand and watch it all day.

    You can see by the photo what you start with and what you end up with. Thankfully it only costs about 5 minutes of your time to whip one of these up.
    DSC_0020.jpg


    The leather is hard enough to get a good bite on the lapping compound and really cut a nice swirl, it's also soft enough to conform to the radius of the bolt. It will wear though.

    Here's what it looks like. 1512 points jeweled on this Howa S/A bolt. (42 points down the length x's 36 points around the circumference (every 10*))

    DSC_0021.jpg


    DSC_0022.jpg


    With a z feed move and a 1 second dwell cycle it takes around 45 minutes to run in the mill.

    C.
     
    Not trying to hijack this thread. In a pinch, or if you can't find your jeweling tool there's a workaround. A standard pencil with an unused eraser works pretty darn well. Or, using a clapped out drill chuck you can use Cratex sticks.
     
    The look of the Howa's don't seem to be as pronounced , is that from the finish before the jewling or material of the bolt.

    I love the small tight pattern
     
    I use Cratex rods or the little brushes that Brownells sells depending on the type of part.
     
    It's the light. Florescent lights suck!

    A problem I'm going to hopefully solve with a whole bunch of LEDs here soon.

    The pattern is the same. It actually cut harder than the remmy next to it.

    c.
     
    Longrifles Inc .... your head is more than a hat rack my friend! Very nice work .... congrats.
     
    Chad really nice job on the jewling. Lighting is key. Be careful with the LED lighting. Our shop just installed them in the service dept, truck center and body shop. LEDs are very bright but very directional. LEDs do not give off a lot of ambient light, creating a lot of shadows. Also no matter what color LED you go with it will not give you true color value when painting.(our painters hate them especially)
    Donald
     
    I use linen micarta turned down into a rod, about 5mm in dia. (or whatever size swirl you want to duplicate.) Apply fine lapping compound on the item to be jewelled. I use mill, DRO and jig to hold part to get even spacings. Works a treat and super fast.
    Duplicates Beretta shotgun jeweling on the monoblock perfectly when refurbishing. Rod last ages and doesn't change shape, allows for good feel and consistent pressure. Easy to adapt to whatever size you need.
     
    Well I devoted some more time to this little project today and found a solution I'm really happy with. A slight revision to the leather pad idea rewarded me with this:

    DSC_0008-1.jpg


    DSC_0007-1.jpg


    DSC_0006-1.jpg


    DSC_0005-1.jpg


    This started out as a big oops. We were supposed to leave the jeweling on the bolt and it was mistakenly polished off. Didn't realize this until after it had been fluted and parkerized. So, had to figure out a fix...

    For those with cnc's that are interested in this it's pretty simple. Just a canned drill cycle using the tapping head. I did it in incremental moves of .1 with 5.625 degrees of rotation between each point. This is what it worked out to in order to match the flute's pitch. I used a series of G10's to incrementally move the work offsets around to keep stuff simple when making all the points in front of and behind the flutes.

    Worked really well once I got the little lapping tool dialed in and the best part is the customer is thrilled. (always a plus)

    I don't see much work like this being done here on the hide, but maybe it'll help someone someday.

    Fun stuff.

    C.
     
    Today's version:

    Think I'm going to call this "twill weave" jeweling. Posted some photos up on FB today and the response was how it emulated carbon fiber twill weave cloth. I've only done one like this and it was on a SS M700. With a couple drops of Break Free this action is one of the smoothest/slickest I've ever handled. To include a broad spectrum of customs!

    I think the only one I've personally messed with that would rival it is the Grunig and Elmiger stuff. (space ghost chit)

    I can't say for sure it was the jeweling work as we've only done one like this, but if history repeats itself it'll be well worth the effort. The bolt feels like bald tires on glare ice. I'm still learning this new SLR camera (Nikon D5200) and when to allow the flash. This one came out the best. The others made it look muttled. (flash was off and the ISO setting was goofy)

    Cool chit!


    DSC_0013-1.jpg
     
    Last edited:
    Wow I have never wanted anything jeweled and always thought it was kind of silly until I saw that last jeweling picture. The twill pattern looks amazing.
     
    Pool cue tips would be a good source of premade leather for your application. Snooker tips would be close to the diameter you need but 13mm tips should have the thickness.