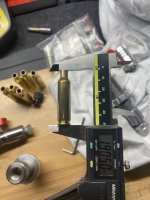
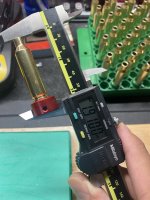
That puts it at 0.045 thousands under trim lenght.
It will never get back to trim lenght.
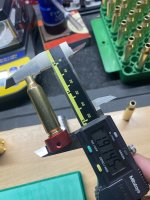
I'm thinking the brass is toast by now.
The only brass I have had a die ruin was with Hornady dies, twice and that wont happen again. That is not to say I have not made a mess or two due to my own setting mistake not of the products fault.
Ioosing 0.055 thousands worth of brass from new is a pile of brass shavings or mushed into?
Maybe you could get some crappy range brass to work with till you sort this out.
It will never get back to trim lenght.
I'm thinking the brass is toast by now.
The only brass I have had a die ruin was with Hornady dies, twice and that wont happen again. That is not to say I have not made a mess or two due to my own setting mistake not of the products fault.
Ioosing 0.055 thousands worth of brass from new is a pile of brass shavings or mushed into?
Maybe you could get some crappy range brass to work with till you sort this out.