
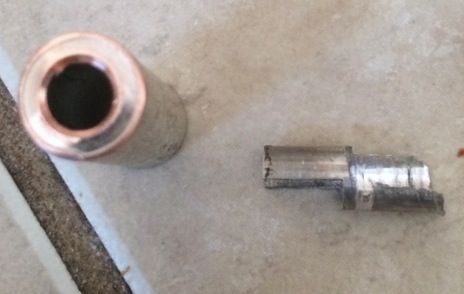
Been doing ALOT of 455 stocks lately (from here and other forums) but this is my first manners! This is a forum members stock but ill leave it to him if he wants to come forward. The factory front pillar in the manners stock is pure garbage if you ask me! The outside diameter is .372" (replacement pillar is .5625") and the wall thickness is just .035" (replacement pillar is .125"). First thing to do is remove this little guy from the stock. I started using a 1/2" drill bit but quickly found out it was way overkill! A simple counter sink bit was all that was needed to drill out the pillar. Here is a pic of one of the new pillars next to the drilled out factory pillar.
Here is the bit I started with to drill out the factory pillar. Changed it to a counter sink but didn't take a pic of that.
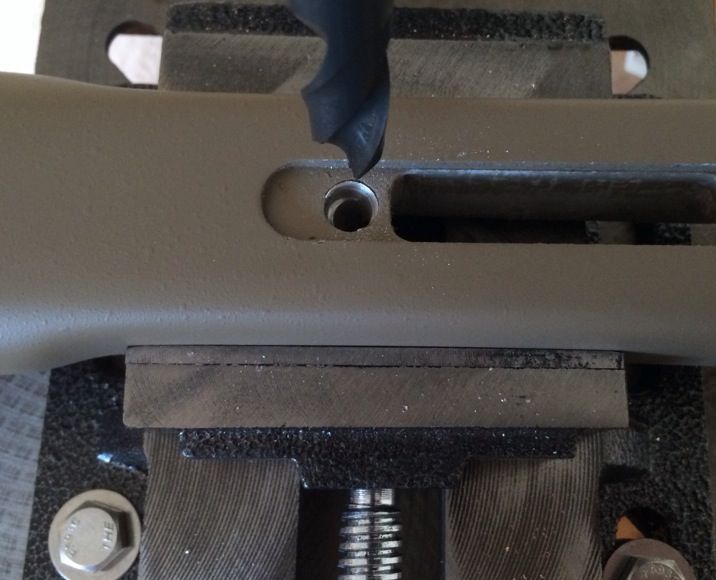
After lining everything up, the vise is bolted down on the press table and the drilling begins!

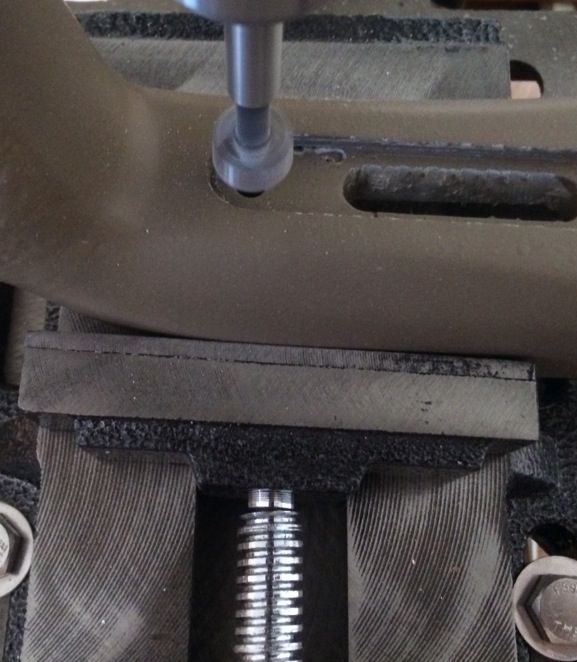
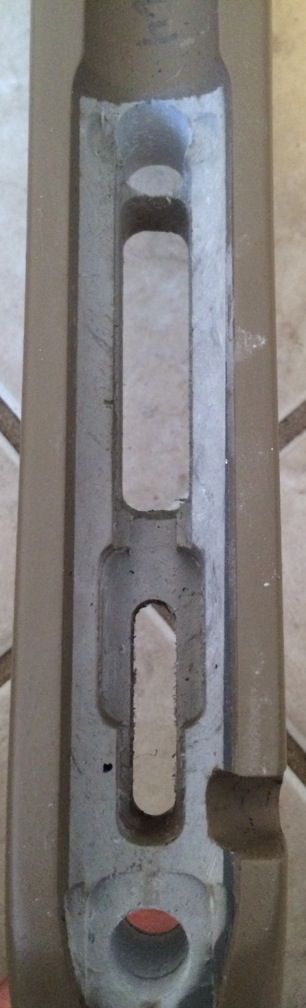
Here is what it looks like after both holes are drilled.
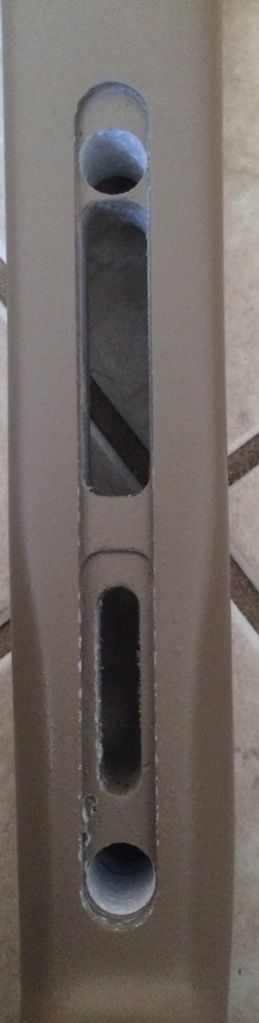
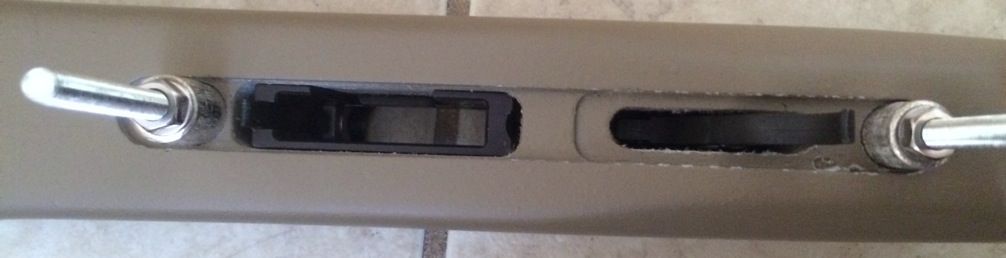
Test fitting the pillars and marking them to be cut to size.
Now it's all gotta dry, more to come!
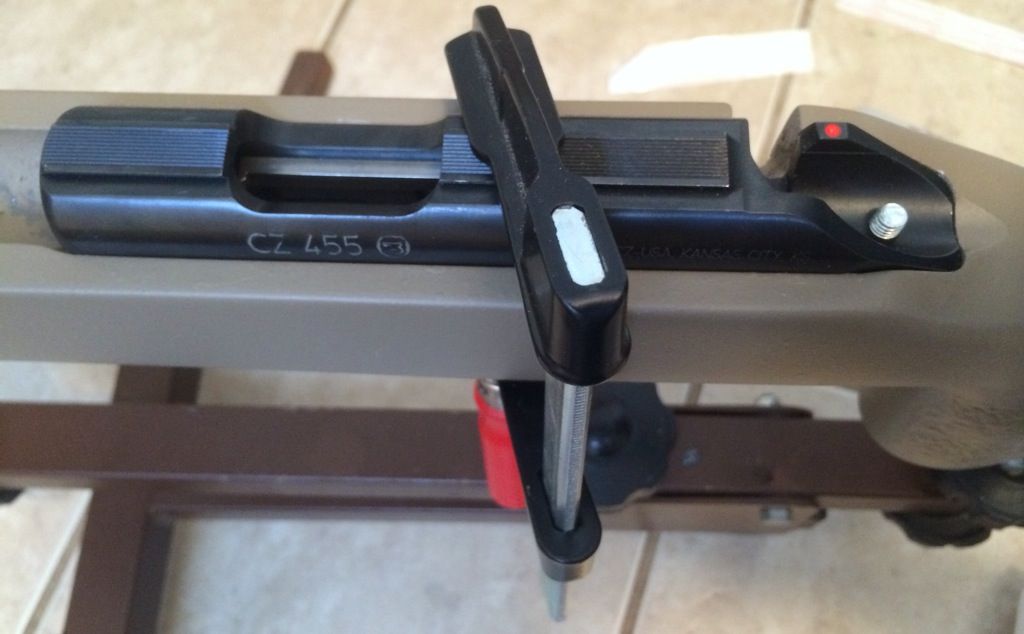
Oh wait a sec! Did I forget to mention that this precision trainer will be getting one of these too?

Here is the bit I started with to drill out the factory pillar. Changed it to a counter sink but didn't take a pic of that.

After lining everything up, the vise is bolted down on the press table and the drilling begins!


Here is what it looks like after both holes are drilled.


Test fitting the pillars and marking them to be cut to size.

Now it's all gotta dry, more to come!

Oh wait a sec! Did I forget to mention that this precision trainer will be getting one of these too?


") .
.


