
Before diving into the use and application of tripods in precision rifle shooting, it’s important to establish a common language. This article is written as background and general information for the shooter unfamiliar with using a tripod to develop language and functional understanding of the major components of a tripod. By naming, identifying visually, and briefly covering their functions, we can build a solid foundation for more detailed information.
Use this as a reference if you are new or less familiar with tripod anatomy.
Components: The functional parts of a tripod.
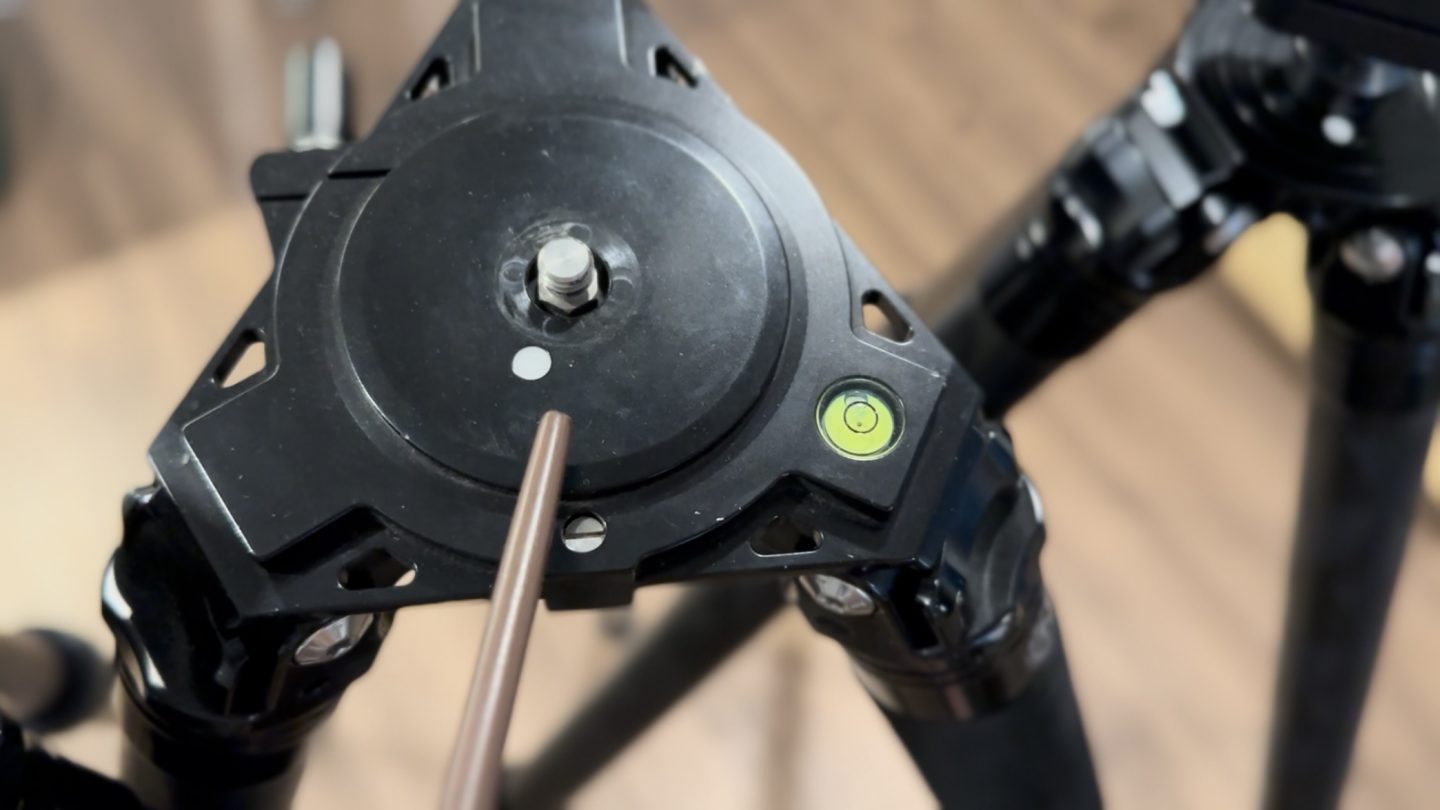
Base: The base is the platform from which the legs extend and the structure onto which gear is placed. It’s the foundation of the tripod, providing stability and support for the entire setup. The design and material of the base can greatly affect the tripod’s performance.
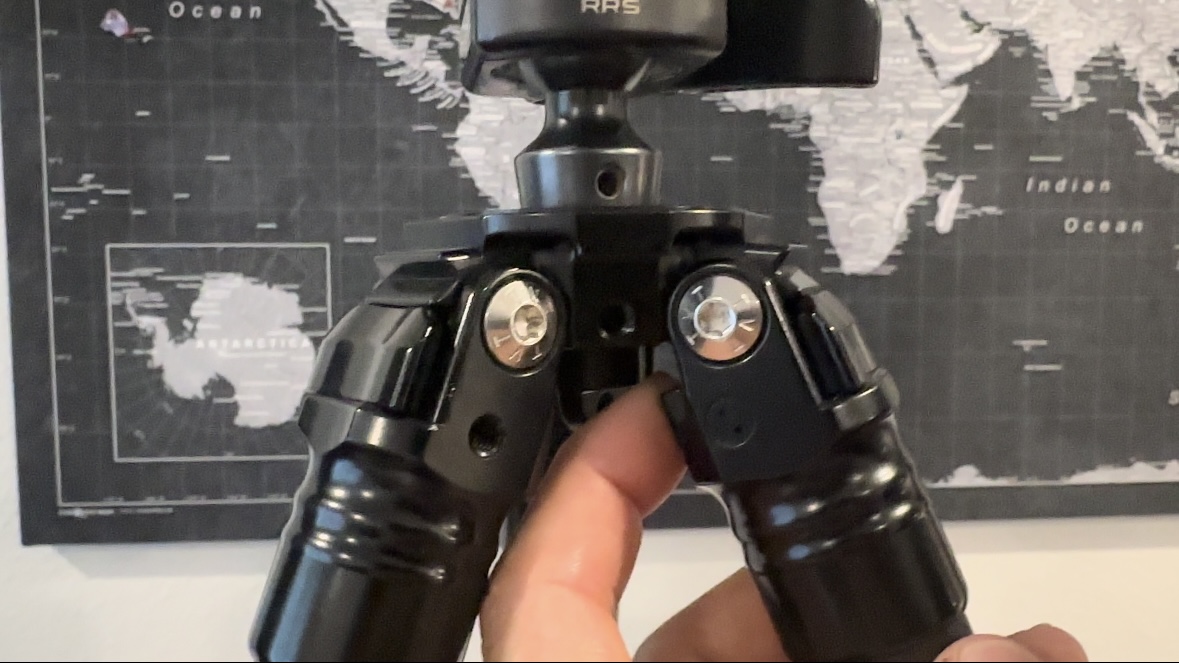
Leg Hinges: Leg hinges are crucial for adjusting the tripod’s leg angle from the base. These hinges allow you to spread the legs out at different angles, providing versatility in how you position your tripod on uneven terrain or at various heights.
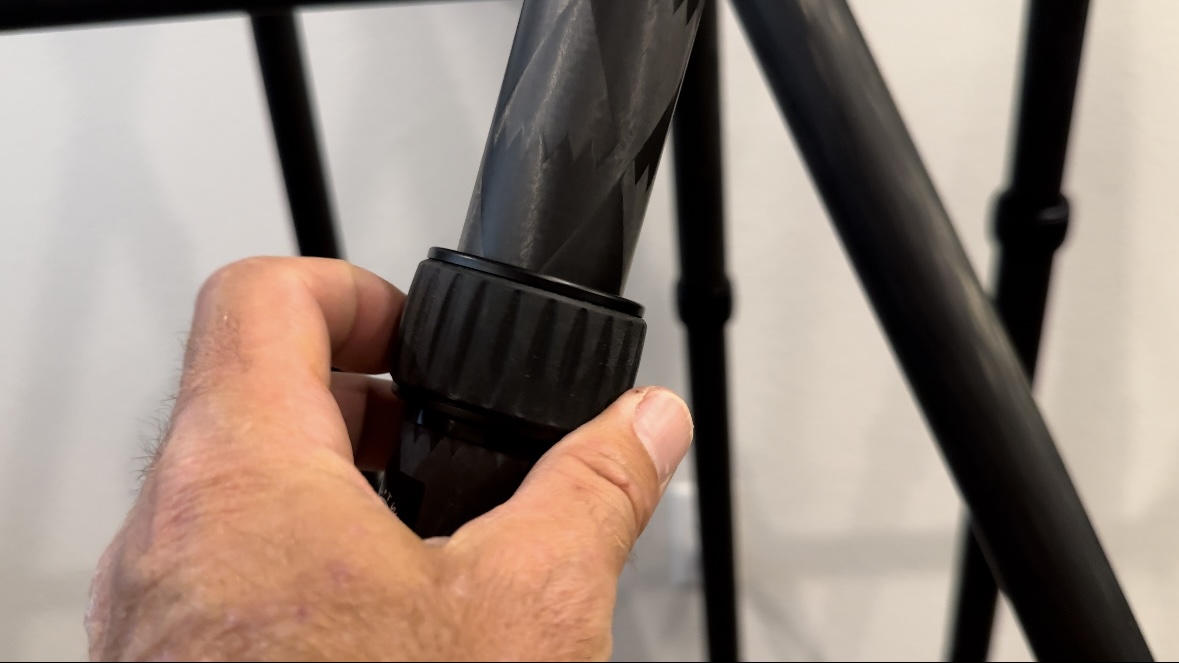
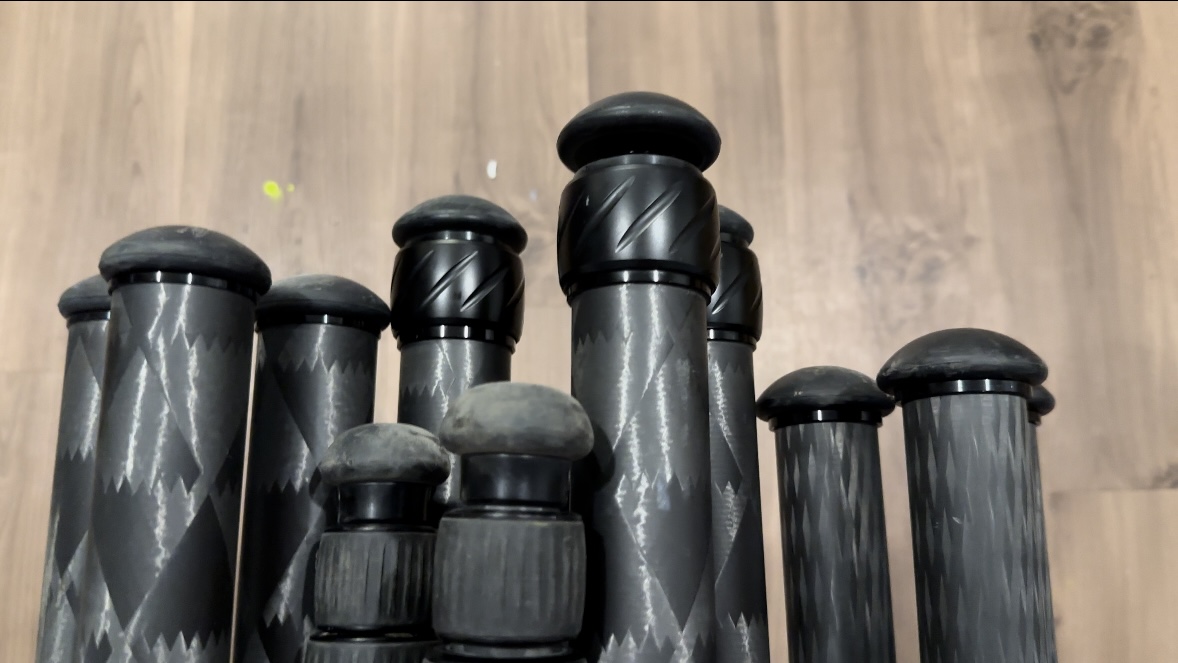
Leg Locks: Leg locks are mechanisms for adjusting leg segment length and height. They ensure that once you set the legs at a certain length, they stay securely in place. Different types of leg locks (twist locks, lever locks) offer varying degrees of convenience and security.
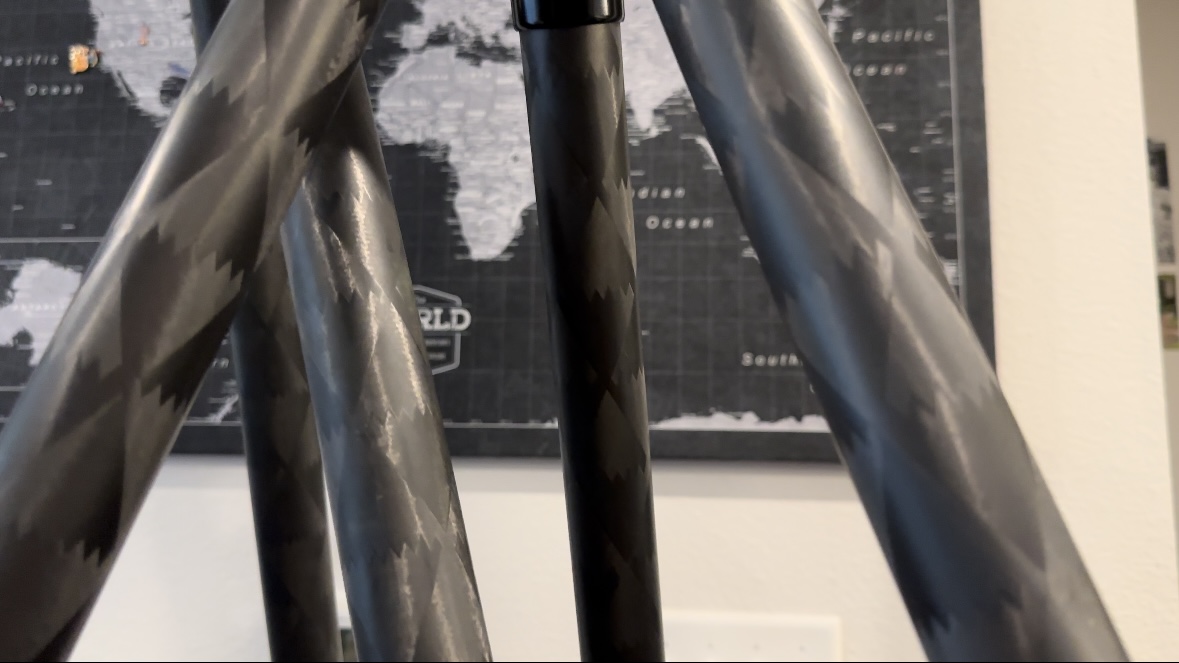
Legs: The legs are the main support structures as an integrated whole. They come in different materials, such as aluminum or carbon fiber, which affect the weight, strength, and stability of the tripod. The length and adjustability of the legs determine the maximum and minimum height of the tripod.
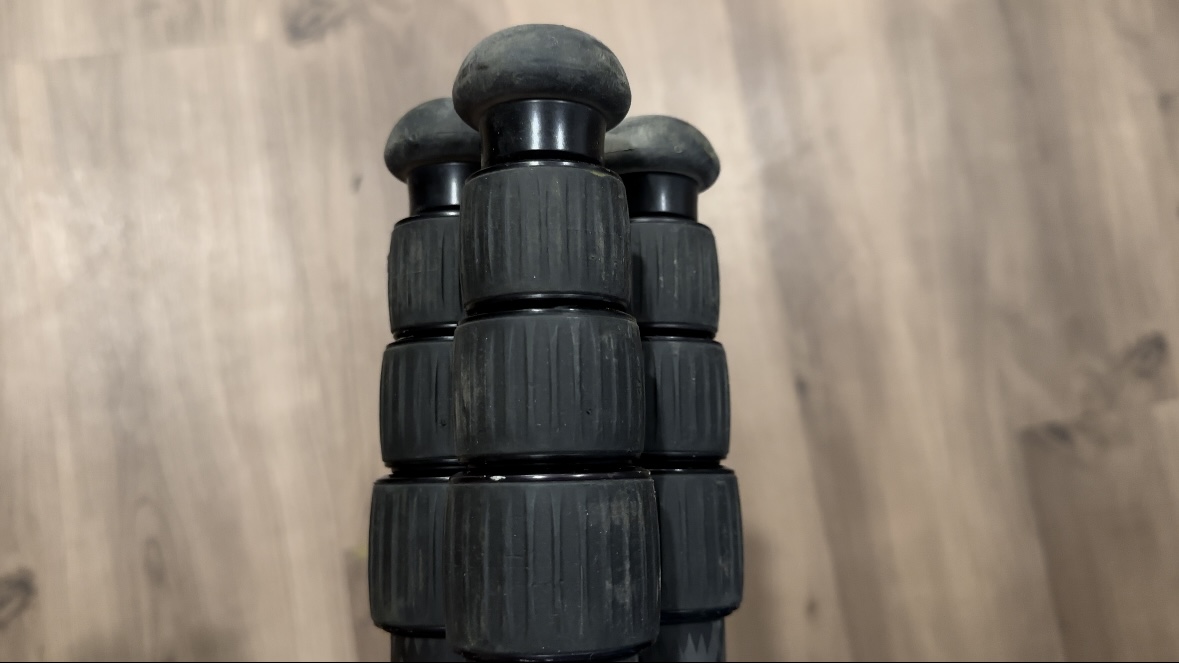
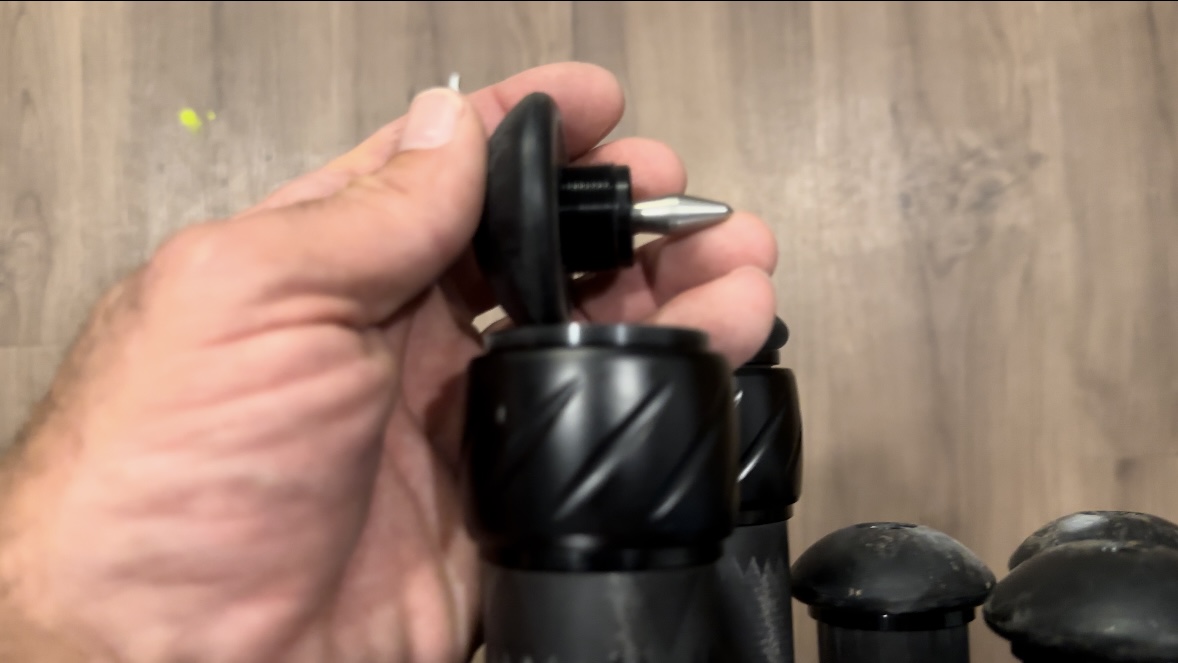
Feet: The feet provide grip and stability on various surfaces. Depending on the terrain, you might switch between rubber feet for hard surfaces and spiked feet for soft or sloped ground. Properly adjusted feet are essential for maintaining stability and reducing movement during shooting.
Manipulating these Tripod Features to Your Advantage
Leg Hinges:
- Methods of Manipulation:
- Pulling out: Extend the legs by pulling them out to increase the tripod’s height.
- Pushing out from behind: Push the legs out from behind to widen the tripod’s stance and increase stability.
- Angle Adjustment: Changing leg angles for customized positioning is key to adapting to different shooting environments. Adjust the hinges to set the legs at various angles, allowing for a lower profile or a more stable base on uneven ground.
Leg Locks:
- Usage Tips:
- Ensure that when you loosen and tighten the leg locks, they are secure before applying load. This prevents the legs from slipping under weight, which can compromise stability accuracy and precision.
- Regularly check and maintain the leg locks to ensure they function properly. Dirt and debris can cause locks to stick or fail.
Legs:
- Usage Tips:
- Adjust legs to different lengths in various terrain to achieve a flat and level base. This is particularly important when setting up on uneven ground or slopes.
- Marking common leg positions for quick adjustments is referenced in many places, but I advise against this. Because terrain is highly variable it is more versatile to become familiar with where the base should be and quickly adjust the height of the base to achieve maximum performance.
Feet:
- Importance:
- Adjust the tripod’s interaction with the ground by changing from rubber to spiked feet as needed. Rubber feet provide grip on hard surfaces, while spiked feet offer better stability on soft or uneven terrain.
- Ensure all three feet are firmly on the ground when using the tripod. It’s common for less experienced shooters to overlook a raised leg, which results in excessive movement under recoil and can affect shot accuracy.
Gaining proficiency
- Experimentation:
- The quickest and easiest way to gain competence and skill with your tripod is to practice manipulating tripod components at home. To become proficient in quickly and easily utilizing the advantages they offer build positions on household objects with different surfaces and heights. Spend time experimenting with increasingly complicated scenarios to find effective uses for the parts and applications of your tripod. The more time you invest now, the less time you’ll spend troubleshooting in real-world situations.
- Set up practice drills that simulate different shooting conditions. This helps build muscle memory and familiarity with your tripod’s features, making adjustments second nature when it counts.
Finally:
- Follow along as we build out a comprehensive tripod program and use case portfolio. Don’t forget to like, share, and comment on the article for feedback and Q&A. Your engagement helps us create better content and fosters a community of learning and support.

