I don’t have access to dura coat or anything like that.
Brake caliper black works great. Very strong and high heat resistant.
Brake caliper black works great. Very strong and high heat resistant.

Follow along with the video below to see how to install our site as a web app on your home screen.
Note: This feature may not be available in some browsers.
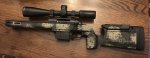
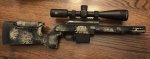
I always wonder because of the great camo paint jobs at the stocks, and then the bright shining barrels.
What would you guys do with the barrels if needed?
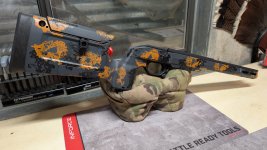
What tripod head is that?Thought this would be relevant, found this painted bravo on Facebook.
View attachment 7271497
I think it looks great as well. Good color scheme!
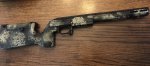
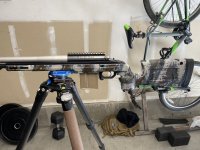
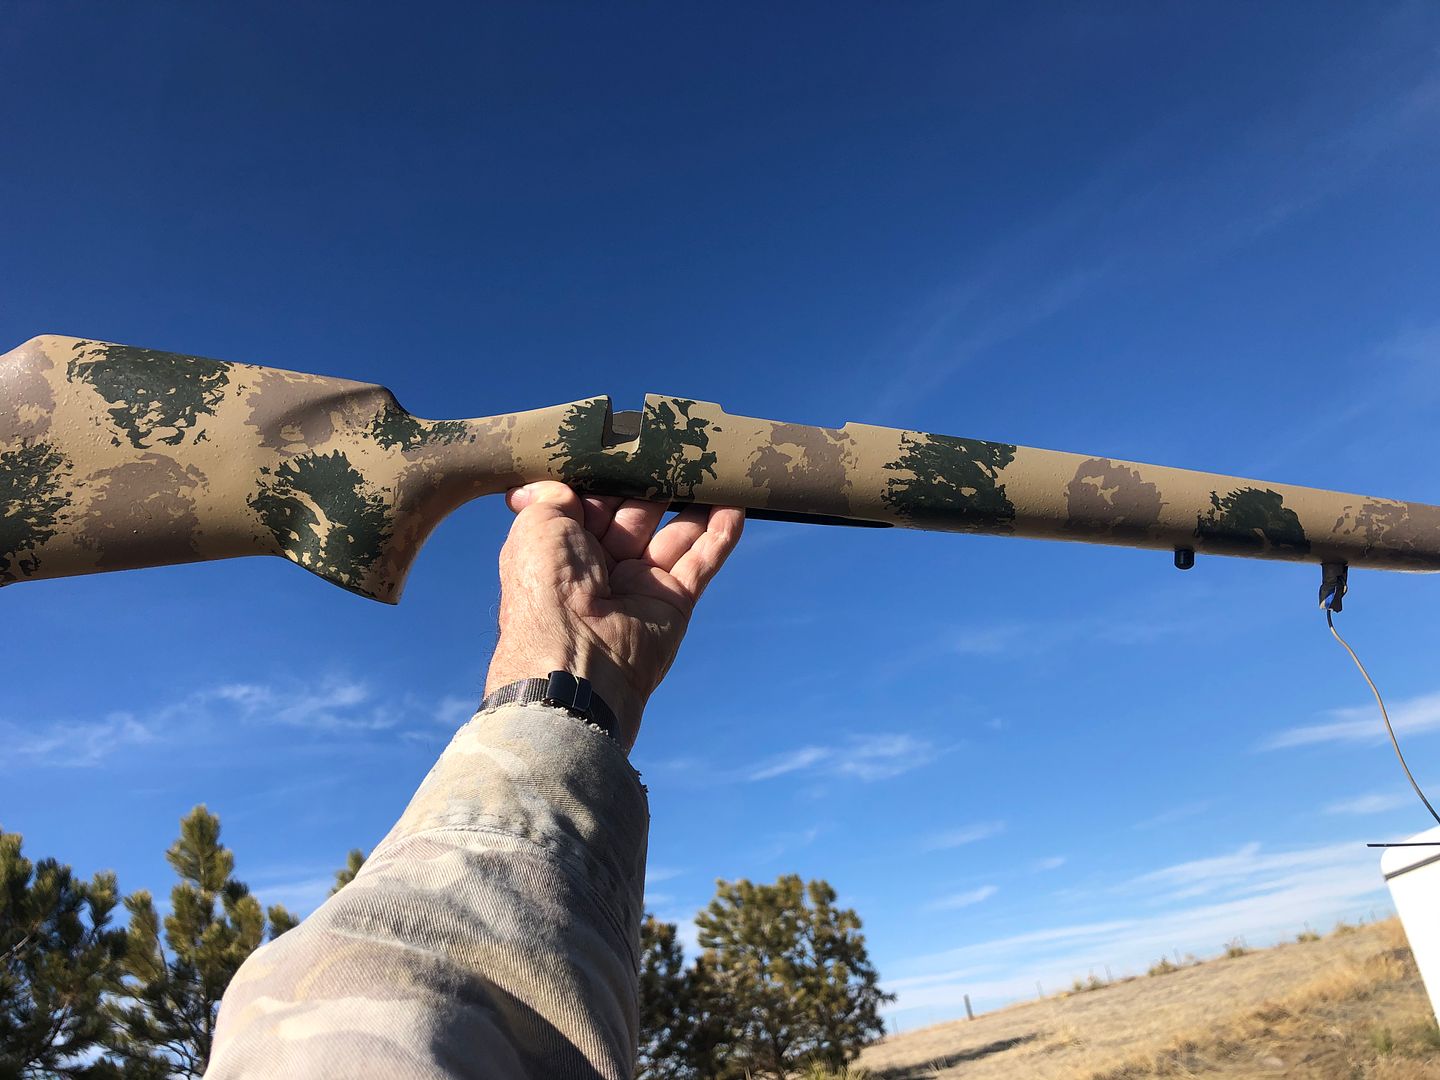
Dry, eastern plains of colorado, is why I went with my version of Manners desert sage on a Grayboe.
I went this route to kinda match my EH6A
Nobody post the terrible looking one! I myself have a couple I'm not showing off. 3rd times the charm!
ha! I dare you to be the first!
but seriously, I posted up my pattern becuae I was surprised how easy it was. what look are you going for?
have you had any issues with the clear coat failing on you? do you use this for PRS or just hunting? I'm just curious because I want to paint my bravo but would like for the paint to stay on longer than just a few uses.Well I've been getting a lot of PMs asking about how I did the paint job on my Bravo. If figured I'd do a write up and make an easy spot for others to find and reference. I have a few other stocks laying around and would be willing to make a video if need be.
View attachment 7197461
I'm happy with how this turned out and it was beyond easy. So here's what I did.
View attachment 7197472
Scotch bright green pads
Brake cleaner
Tape for the inlet and anything else I didn't want to hit.
Sponge that I found at ace. Some people say you need a natural something rather sponge but really anything coarse that will hold paint.
I scotch bright everywhere especially on parts where the paint is naturally thinest like corners.
Hang it and blast it off with brake clean.
I mixed some paint just to get it the way I wanted and dabbed it on with a sponge I had cut into a narrow wedge (may 1 1/4" wide) , trying to follow the same angle all the way. I had one where I either got too much paint or pressed too hard and it dripped but it was easy to fix. Lesson learned.
As long as you're happy with how it looks you dont need to worry about multiple coats because the clear coat will add strength..
View attachment 7197474
I let sit between coats maybe 25-30 minutes. The paint will go on thicker than it would if you were to spray it on so give it some time.
View attachment 7197486
Things to note:
The base is the black stock and not paint. The scotch bright will scuff it up ever so slightly but the clear coat will fill the scuffs and get rid of any chalky color.
The bravo stock takes paint extremely well, testing my pattern on some glossy cardboard was discouraging but the stock was much more forgiving and held the paint much better.
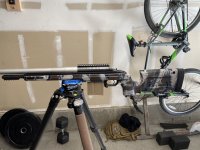
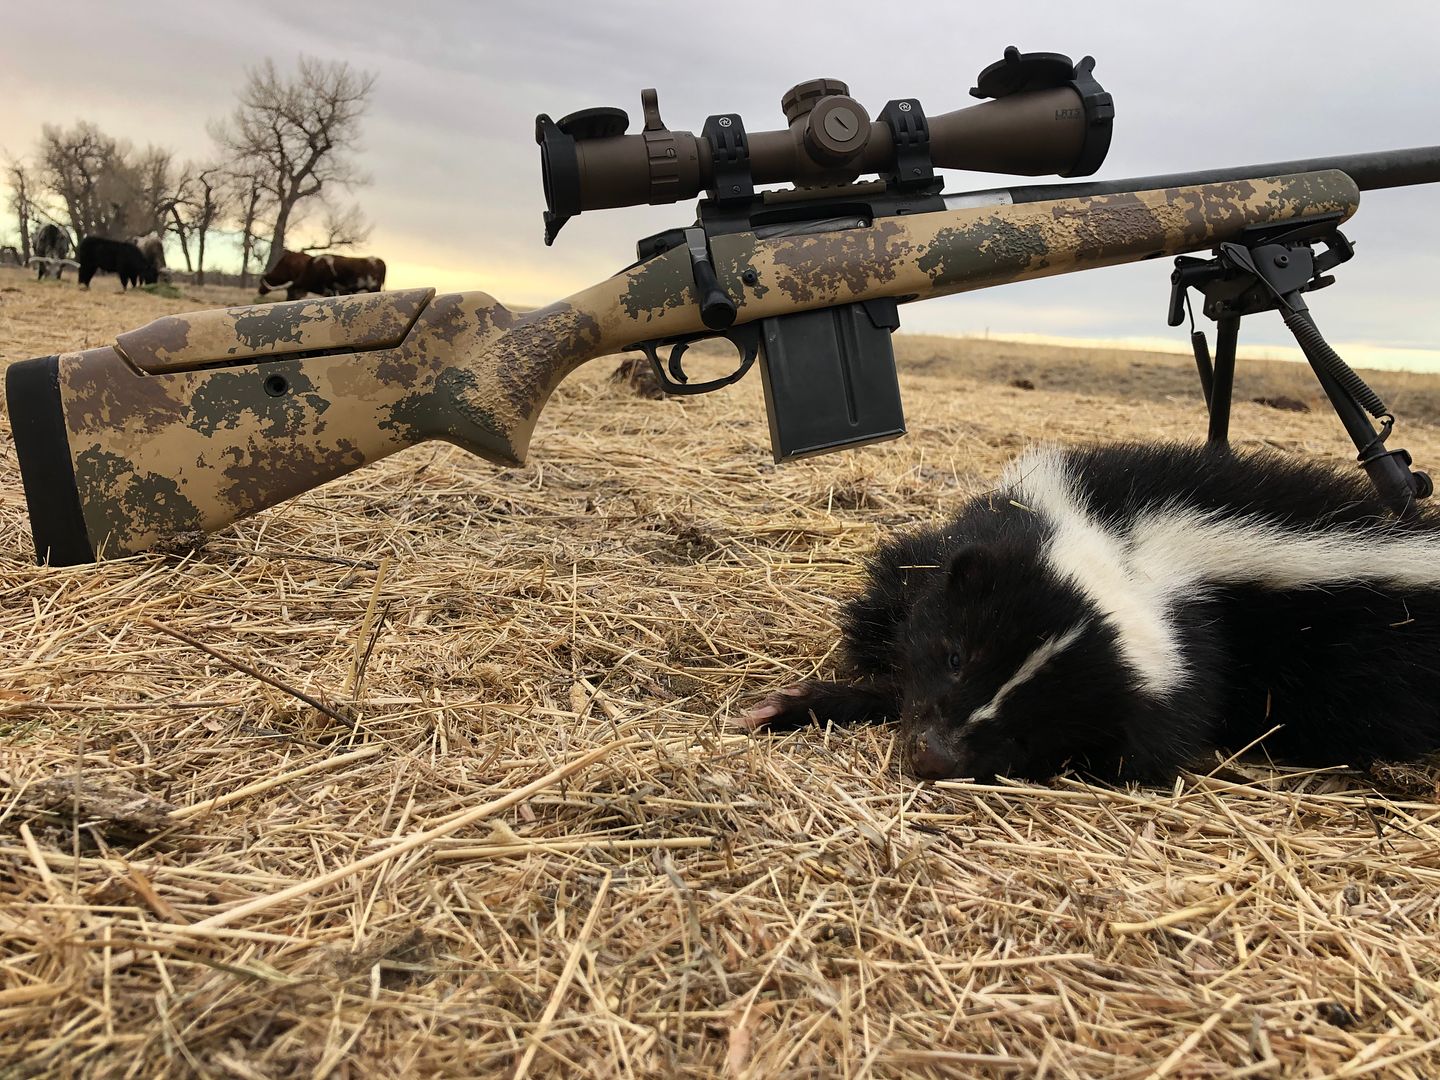
Man than looks awesome! What paint and sponge? Trying to get the nerve up to do 3 bravos.Here is my humble contribution. I wanted to do a third color with some grey but decided to call it good with tan and green.
Man than looks awesome! What paint and sponge? Trying to get the nerve up to do 3 bravos.
Here is my humble contribution. I wanted to do a third color with some grey but decided to call it good with tan and green.

I always wonder because of the great camo paint jobs at the stocks, and then the bright shining barrels.
What would you guys do with the barrels if needed?
SickHere is my humble contribution. I wanted to do a third color with some grey but decided to call it good with tan and green.
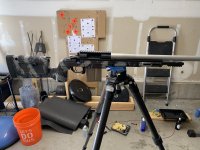
you mean a full sponge job?Anyone done the whole gun stock and scope at once ?
Pics ?
you mean a full sponge job?
you could try, another idea is a base that matches the chassis, Barreled action and scope then do a pattern on the chassis. the only reason i suggest that is cause i cant imagine what sponge would look like on the whole gun. it does need something to tie it together though.