I'll stick this one in too. What the hell.
This is a Remmy 40x owned by a frequenter here who's one hell of a nice guy.
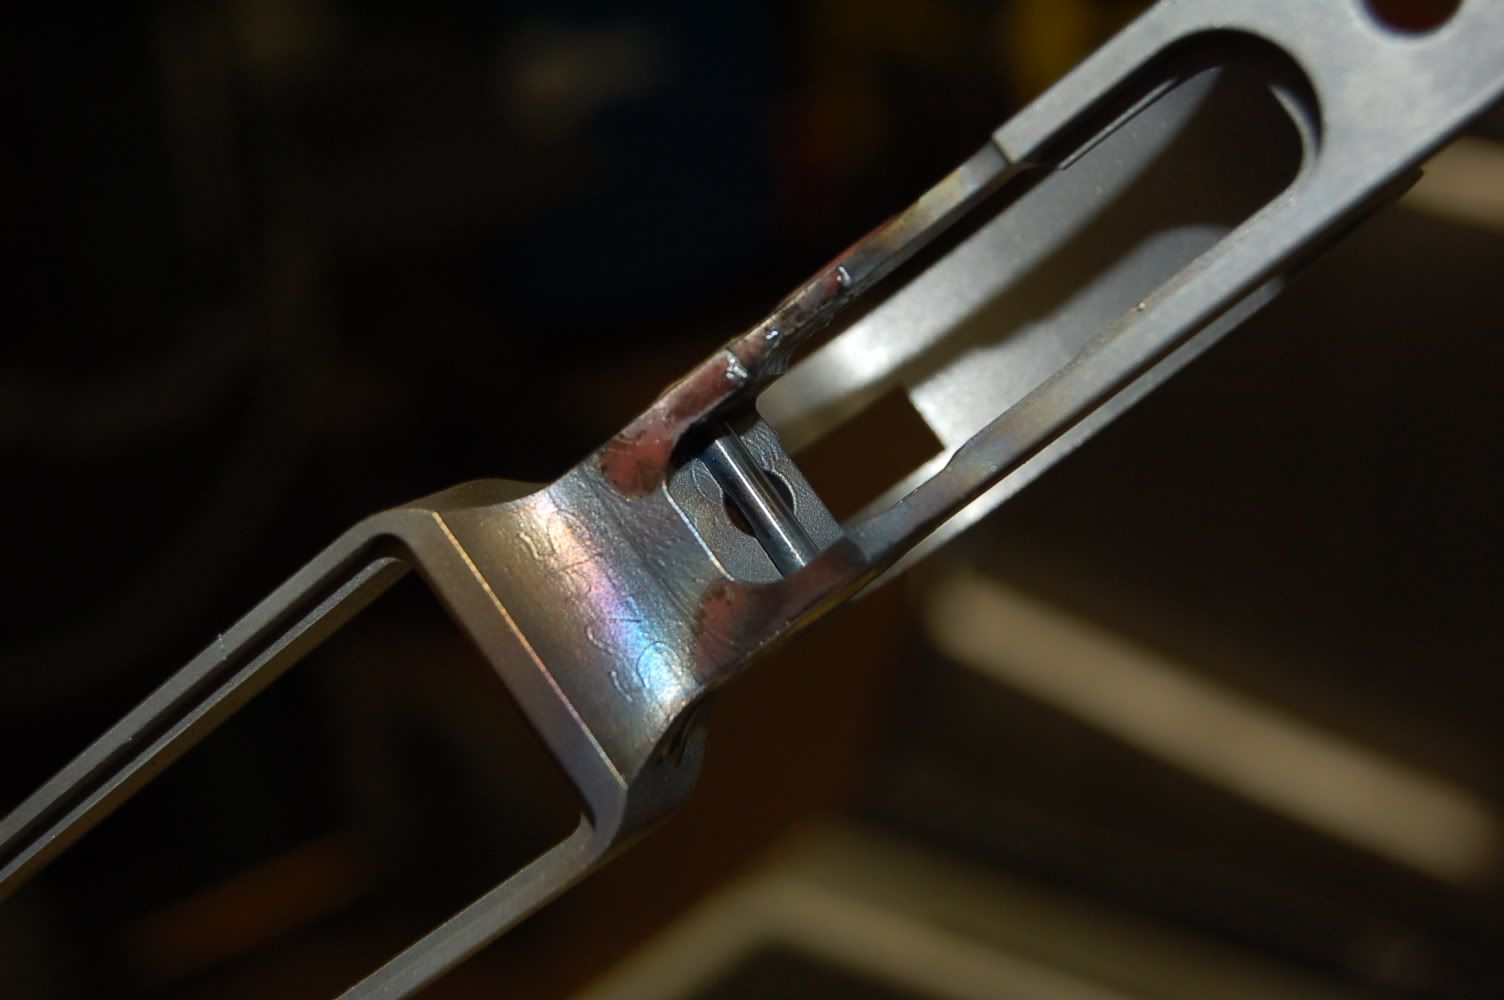
The barrel was stuck. No getting this one off. I tried heat (hot air gun) Kroil, ATF/acetone, prayer, cussing, etc.
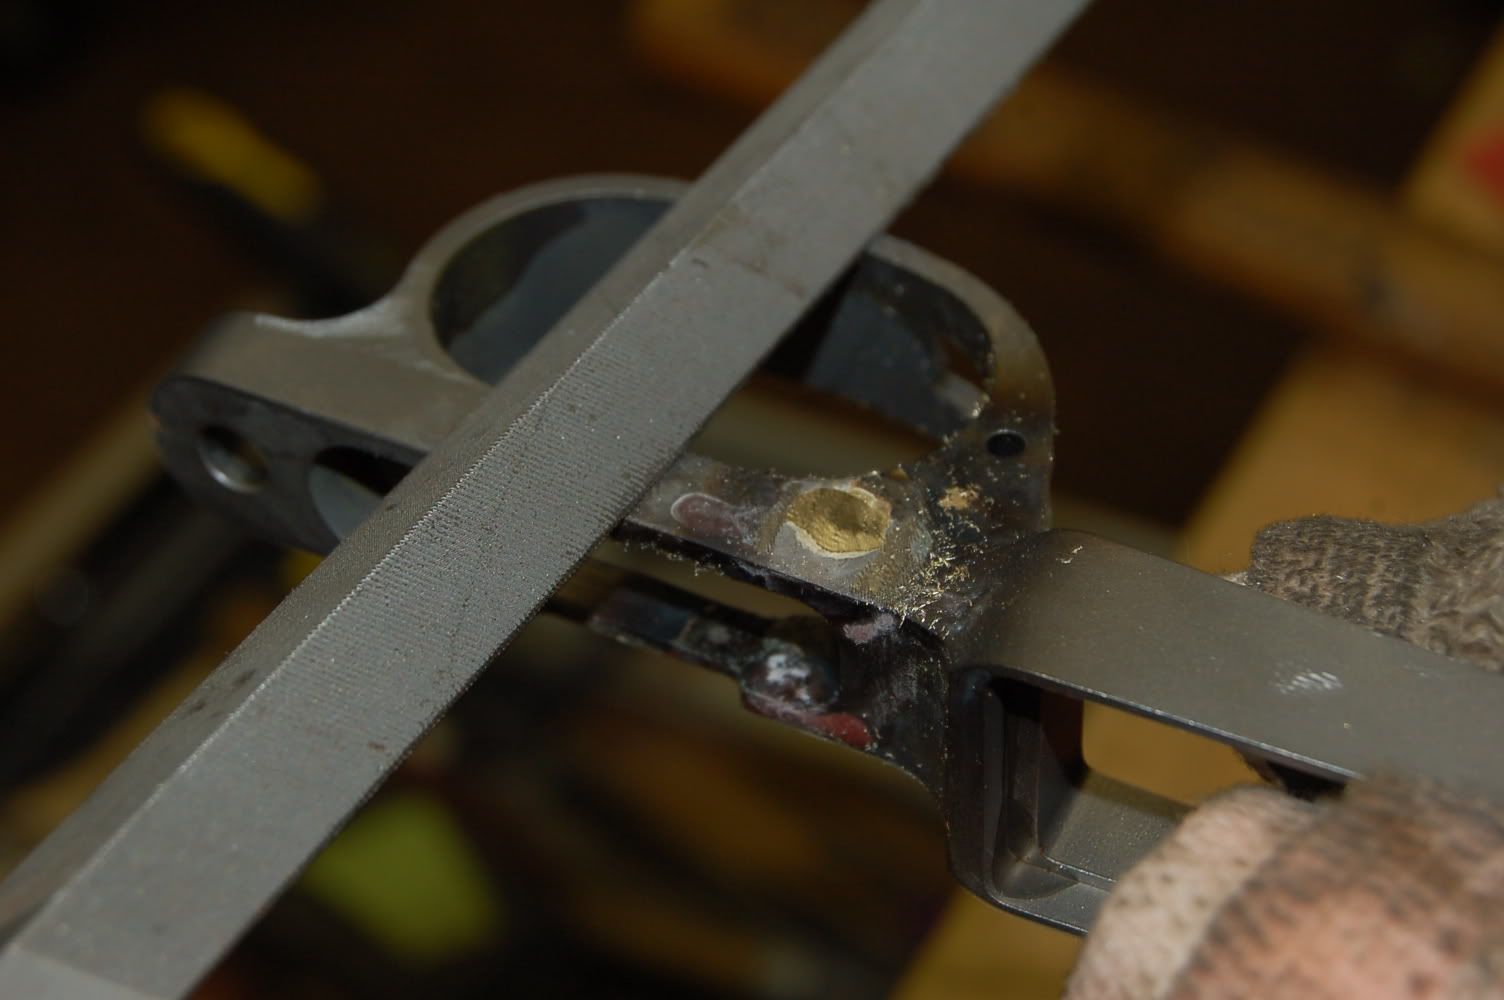
So, to the bandsaw. . .


And now onto the lathe to bore the tennon out. I started with a 3/4" endmill and just crammed away. Now I'm onto the boring bar.

Just keep picking away until I can get a bit on the thread with needle nose pliers. Then it's easy. Winder up like a can opener. This way we stay out of the receiver threads and I avoid a very uncomfortable phone call to a customer.

And this is why we do this very, very carefully (especially on 40x receivers) The first part of the tennon isn't threaded, it's just a turned cylinder. I left just enough to stay out of the receiver and was able to just grab it with pliers and yank out the slug. (now an eggshell basically)
It's nice when chit works!


Now we do a little fiddlin with the action to get it all cleaned and tuned up.
I use a VMC (vertical milling center)for action work instead of a lathe. For me it works better. I can manipulate a thread mill to do things that I can't (or at least haven't figured out yet) do with a lathe single point threading tool.
First is determining exactly where the clock position is on the initial thread. In most instances this is of little concern but some customers want absolute interchangeability: Multiple barrels to fit multiple actions. Going this route makes it far less complicated to do so and still retain the critical dimensions. (breech clearance, headspace, flute clocking, etc)
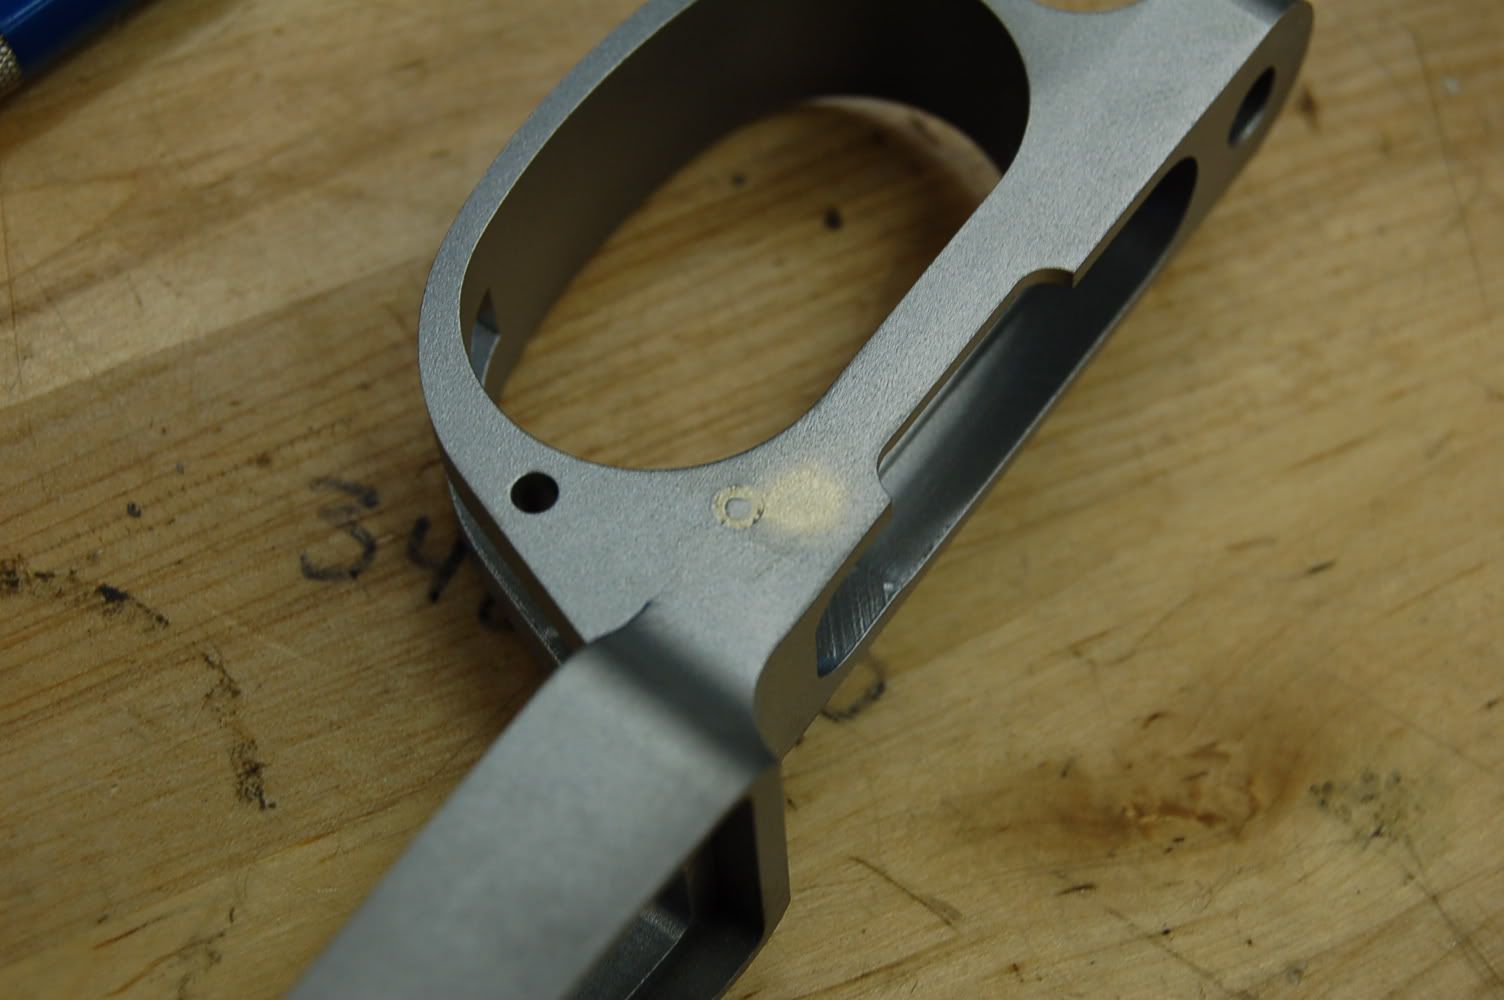
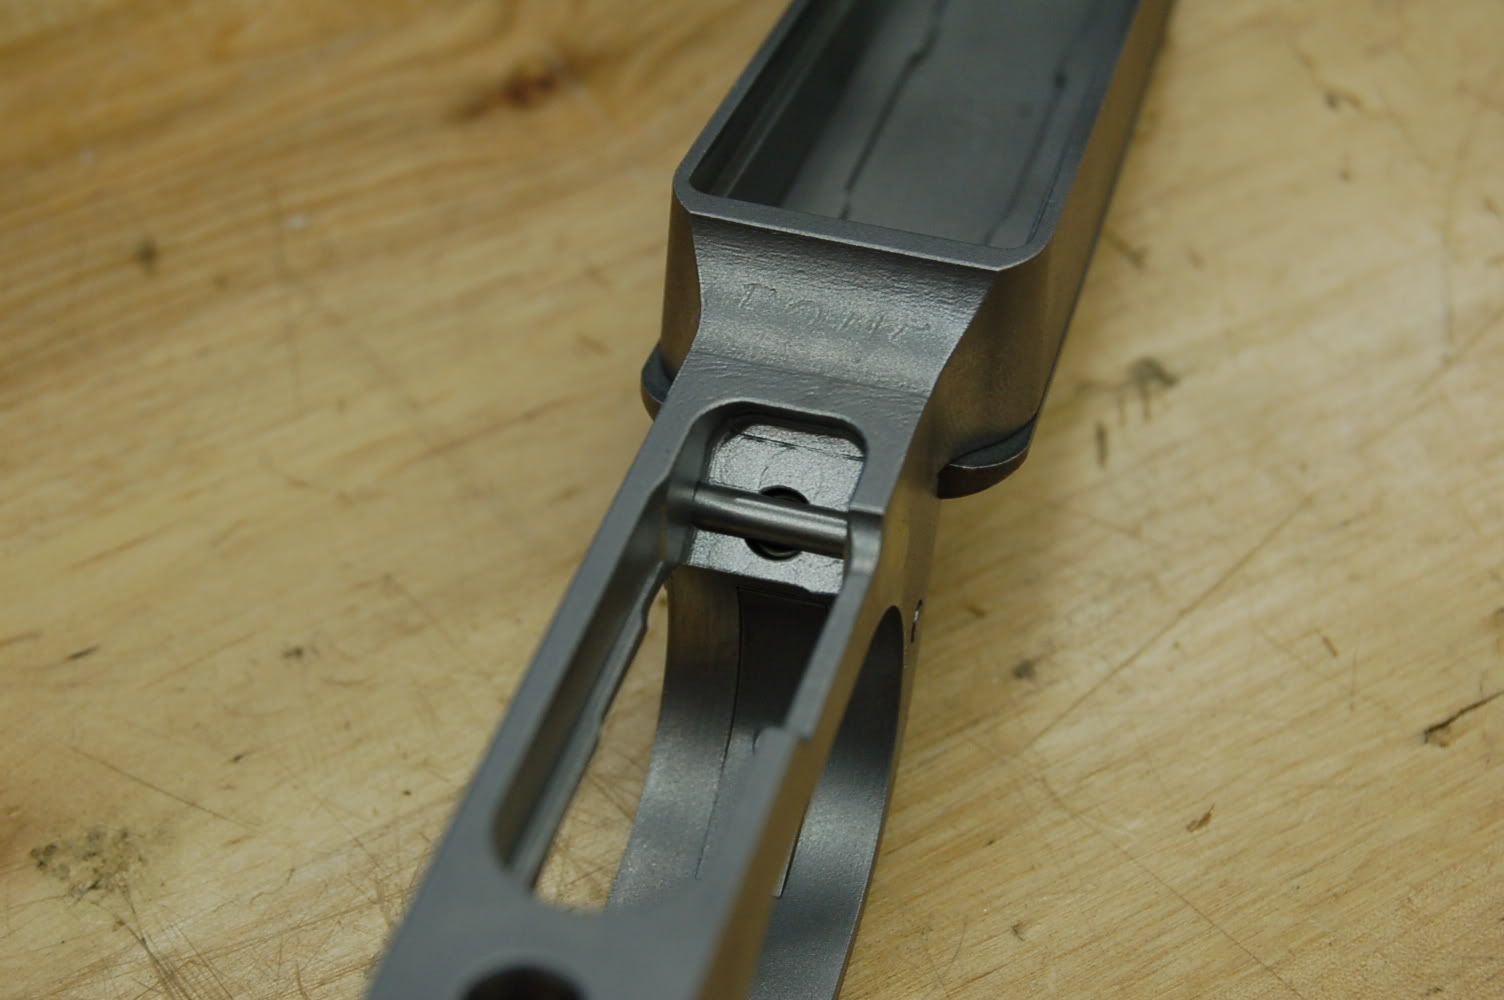
2nd is addressing one of my pet peeves. I cannot stand having the first thread of a receiver looking like a razor blade. I'm clumsy enough and my hands often look like I visit a raptor petting zoo. With a VMC I can chase the lead thread with an endmill and make the thread go from root to crest across the radius of the endmill. Might be a little hard to envision that so here's a photo. The thread starts and leads to a full form over a .1875" radius (half of a 3/8" endmill) Much nicer I think. More durable too.
It's a common practice used in thread gauging. That's where I stole the idea from. (I'll never be put on trial for having an original thought)

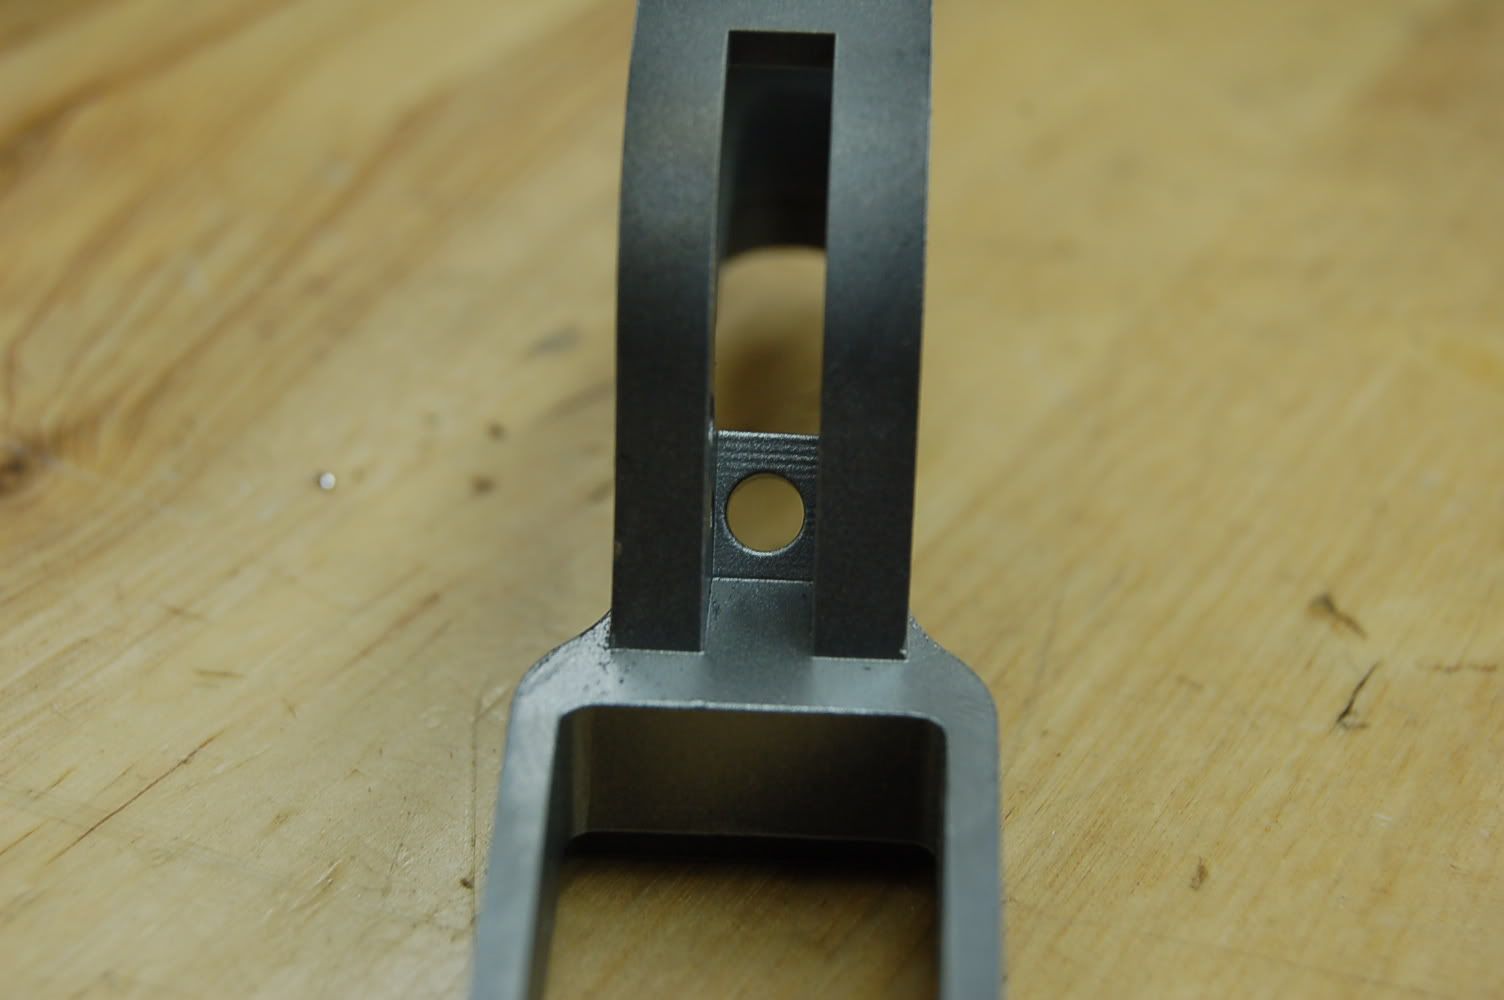
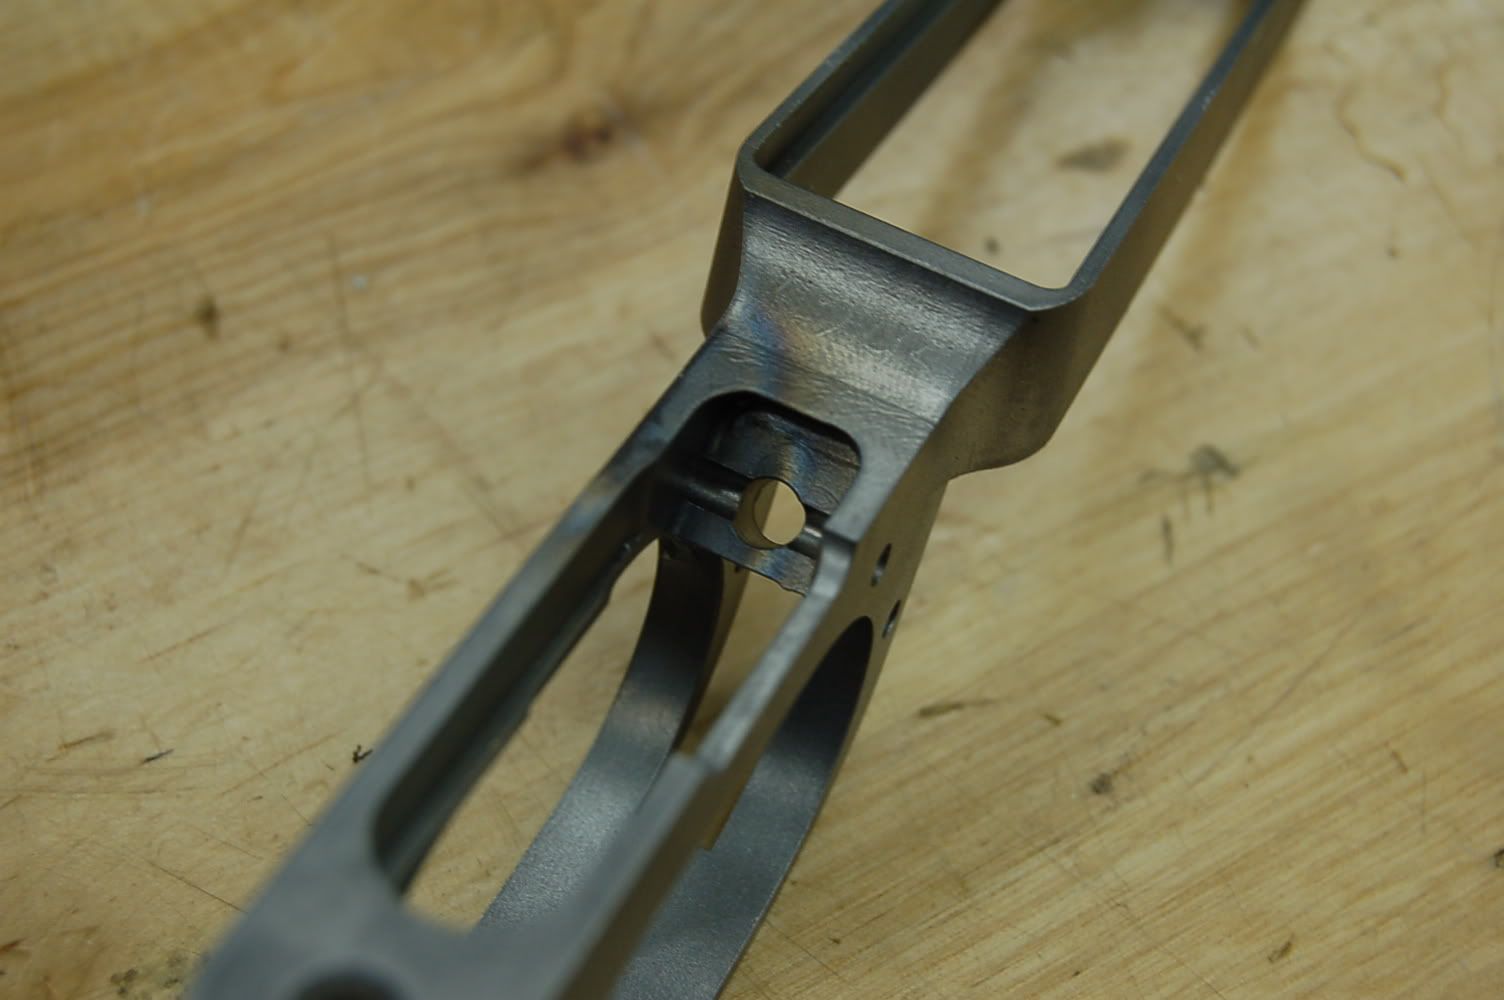
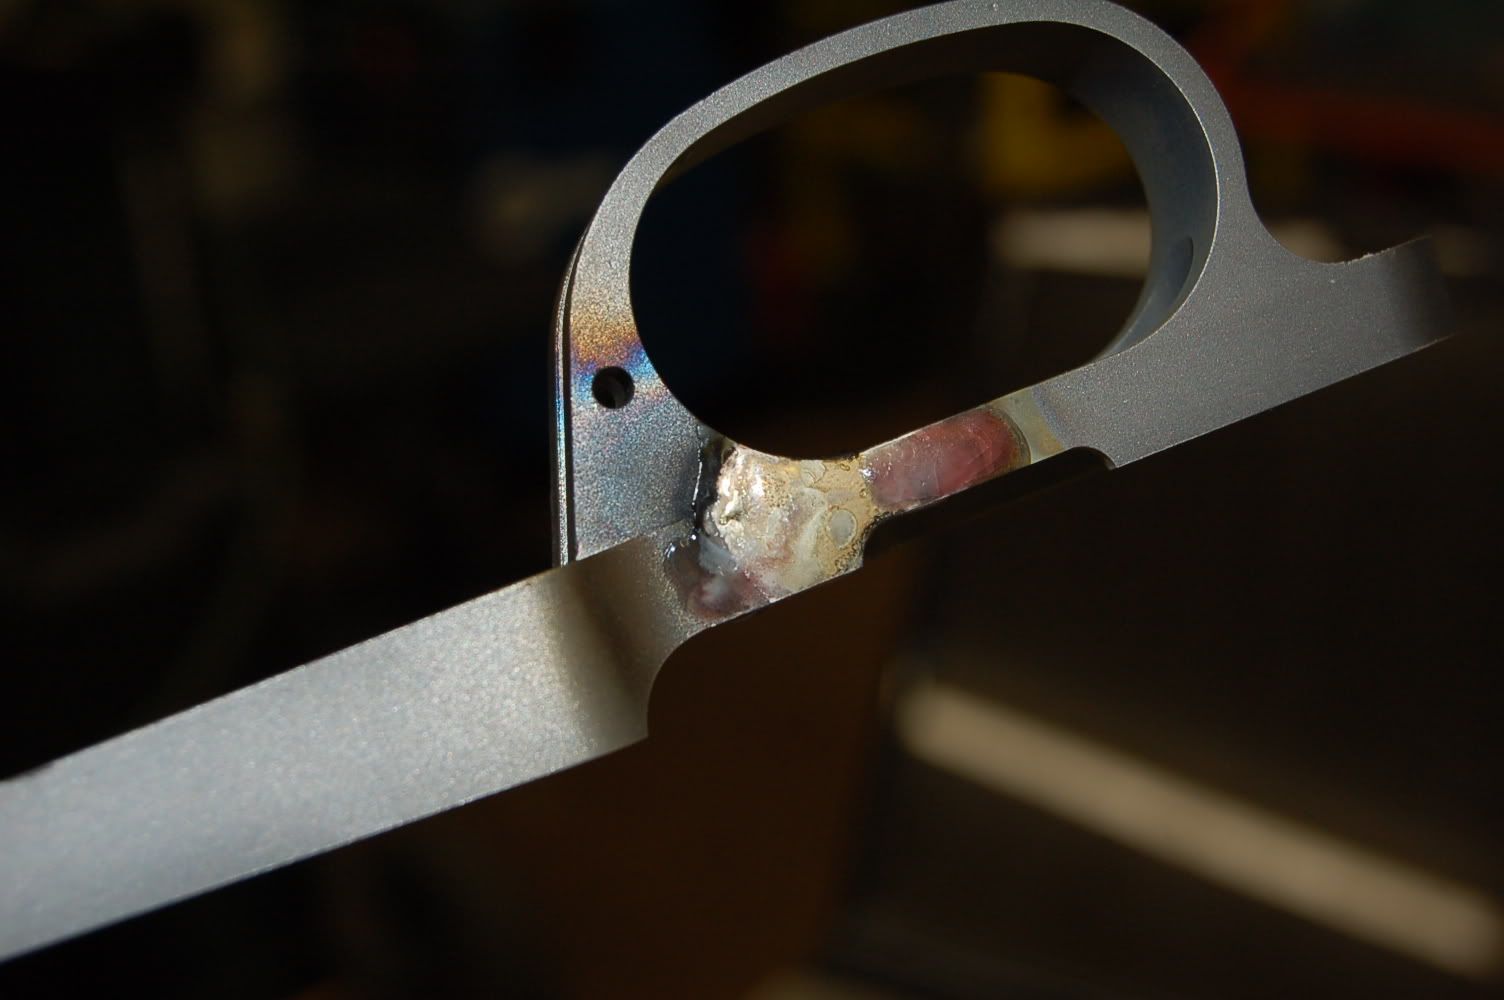
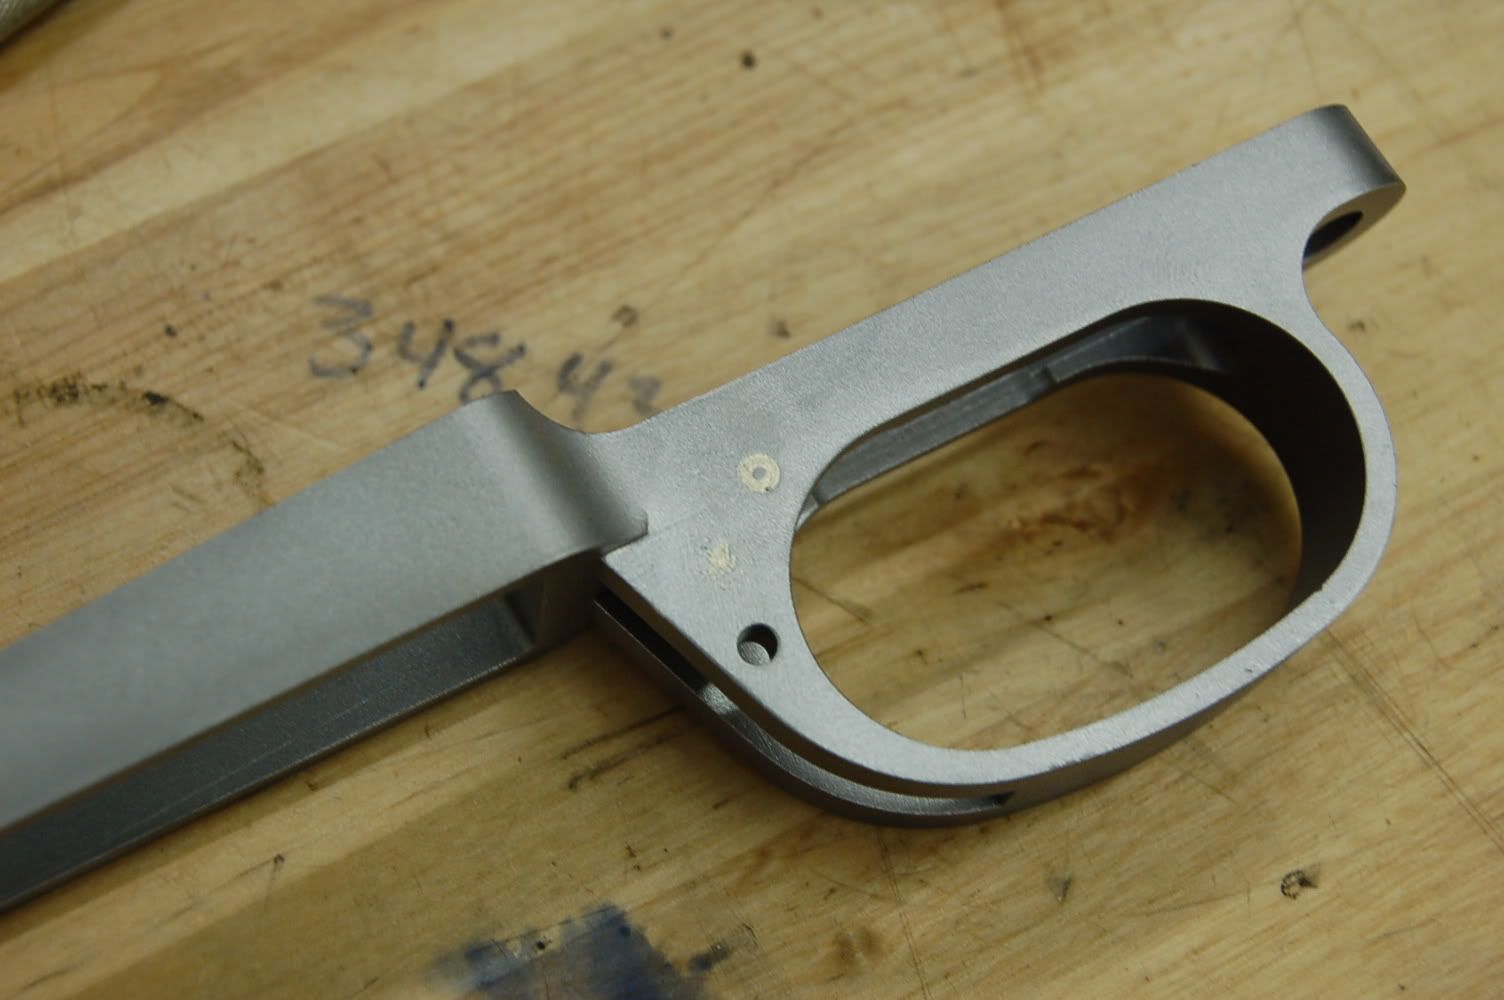
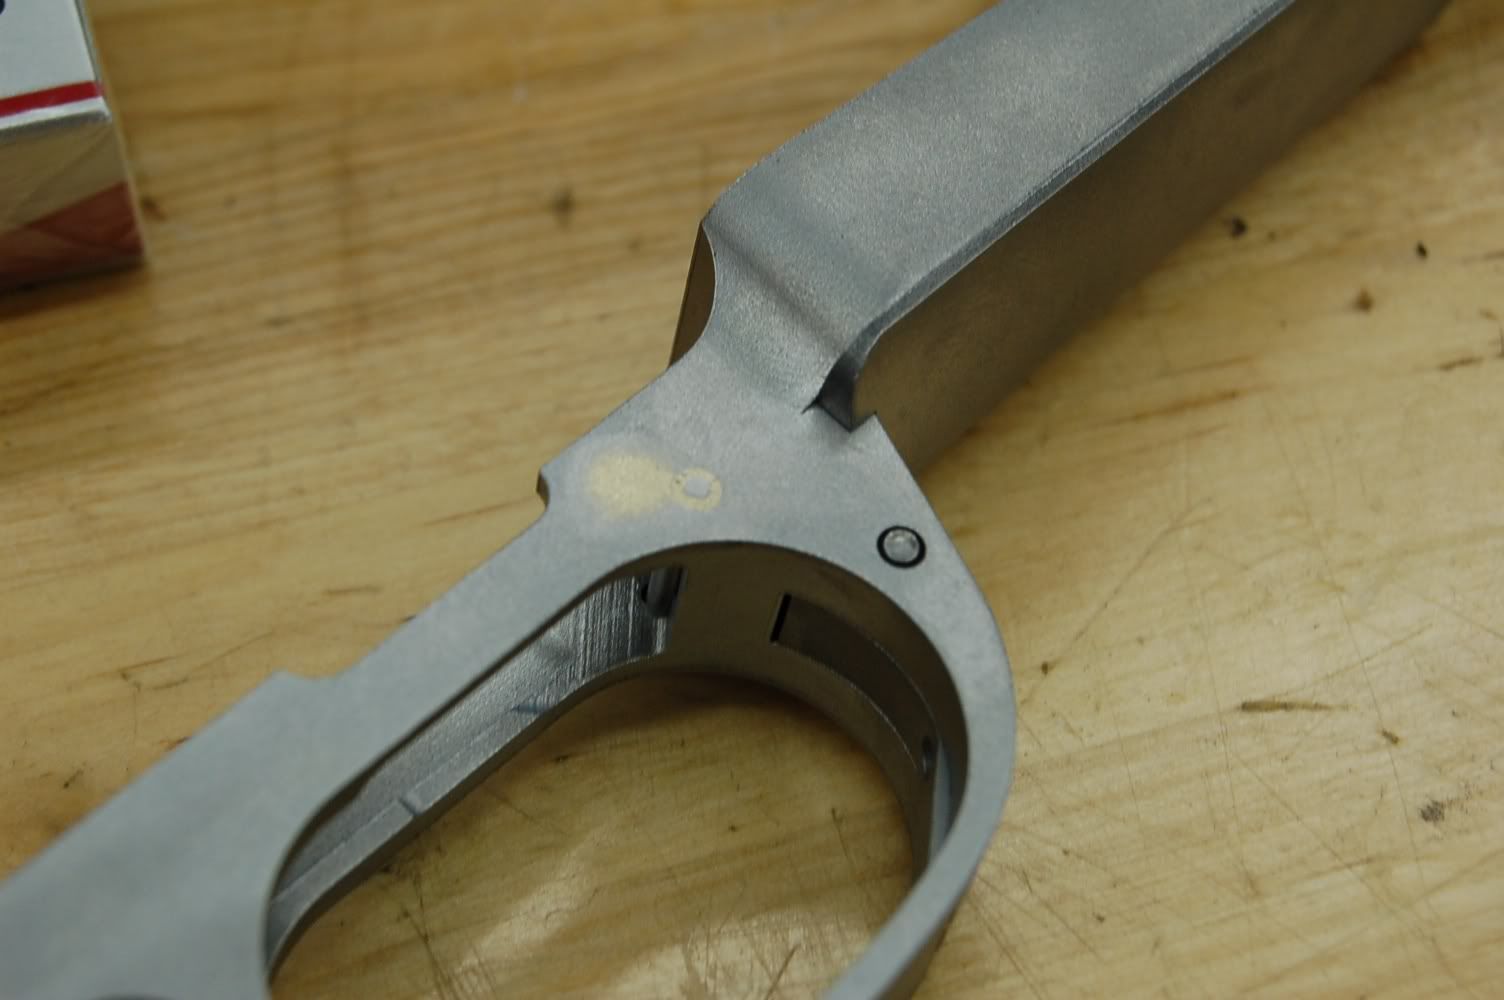
Last, pinning the recoil lug. Another pet peeve of mine is the tools for clocking recoil lugs. I hate them. HATE THEM. Instead I make my own lugs with twin pins and just drill the receiver face to index the lug. No wondering this way. It's going to go in the same spot every time and stay there. I like this because doing a good bedding job depends on it. My lugs are made in such a way to try and avoid scraping the bedding in the stock during assembly/disassembly. Radius the corners and profile all the edges. Makes things easier for me and I think it gives a better presentation when the stock work is done.
Ok, back to work!
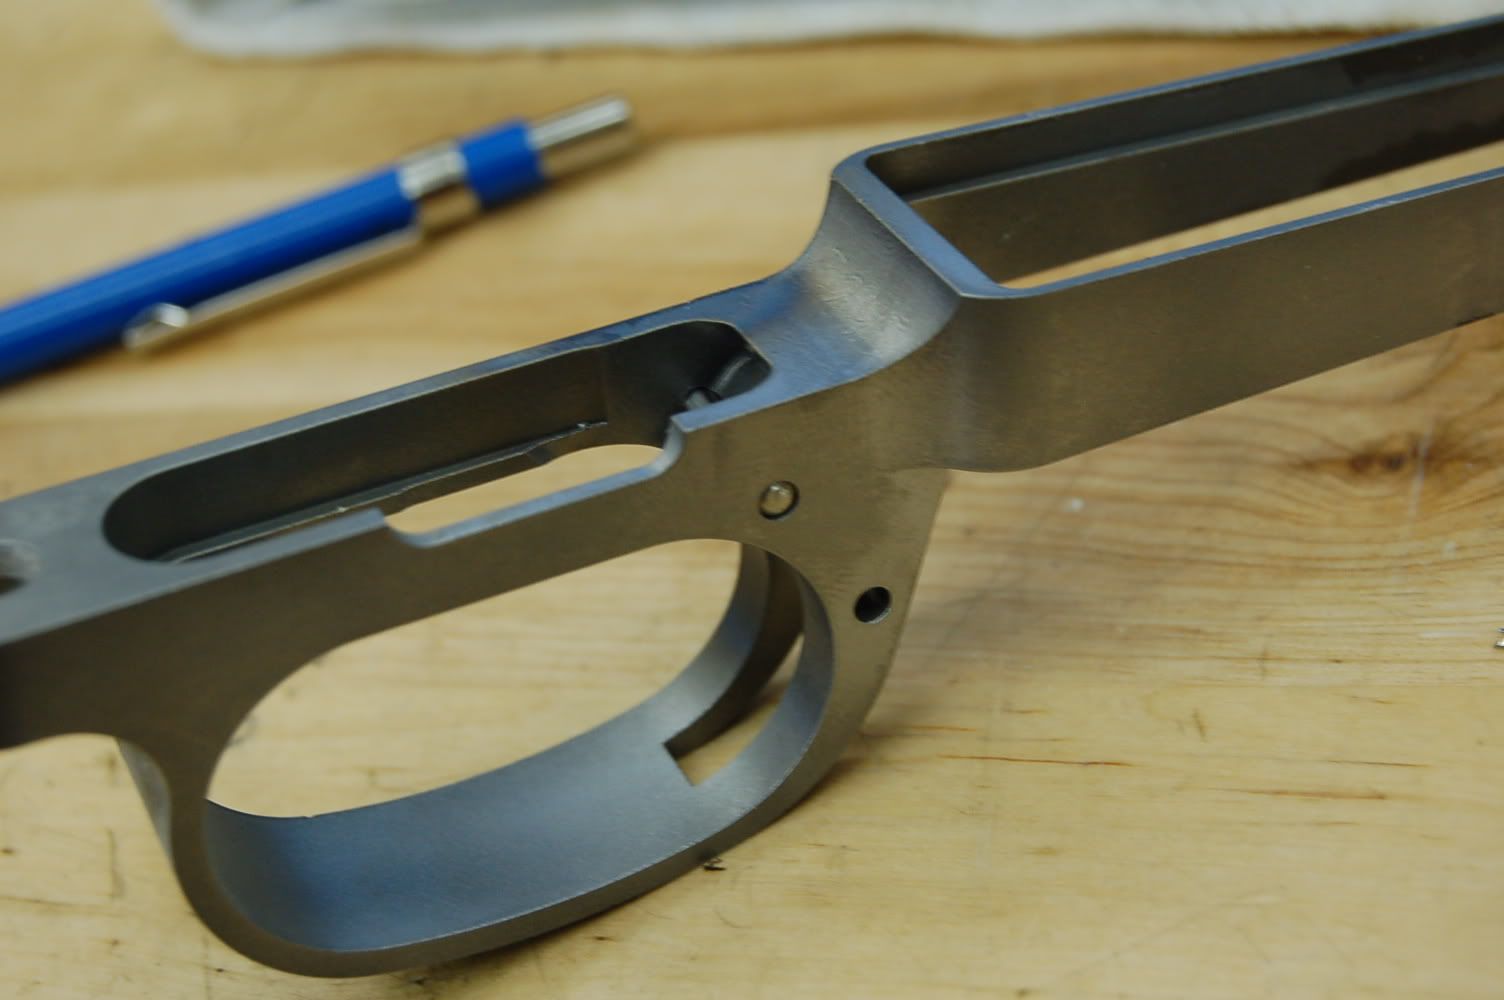
Here's the action being set up and chewed on. I index the receiver position with a parallel. Just indicate across the ground face. It's held flat against the raceway.
Then I sweep for center using the ring to rough it in. From there I shove the mandrel in and sweep again to fine tune the center and ensure the action is "straight up" with the spindle. Once I finish fussing it's time to start chewing on stuff. Clean up the ring, bore to the new tennon thread size (I machine all Remingtons to 1.085x16 instead of 1.0625x16) Just ensures I get everything cleaned up.
Here's a few photos. I didn't take the time to sort these so the sequencing isn't correct. Enjoy.


This is a Remmy 40x owned by a frequenter here who's one hell of a nice guy.
The barrel was stuck. No getting this one off. I tried heat (hot air gun) Kroil, ATF/acetone, prayer, cussing, etc.
So, to the bandsaw. . .
And now onto the lathe to bore the tennon out. I started with a 3/4" endmill and just crammed away. Now I'm onto the boring bar.
Just keep picking away until I can get a bit on the thread with needle nose pliers. Then it's easy. Winder up like a can opener. This way we stay out of the receiver threads and I avoid a very uncomfortable phone call to a customer.
And this is why we do this very, very carefully (especially on 40x receivers) The first part of the tennon isn't threaded, it's just a turned cylinder. I left just enough to stay out of the receiver and was able to just grab it with pliers and yank out the slug. (now an eggshell basically)
It's nice when chit works!
Now we do a little fiddlin with the action to get it all cleaned and tuned up.
I use a VMC (vertical milling center)for action work instead of a lathe. For me it works better. I can manipulate a thread mill to do things that I can't (or at least haven't figured out yet) do with a lathe single point threading tool.
First is determining exactly where the clock position is on the initial thread. In most instances this is of little concern but some customers want absolute interchangeability: Multiple barrels to fit multiple actions. Going this route makes it far less complicated to do so and still retain the critical dimensions. (breech clearance, headspace, flute clocking, etc)
2nd is addressing one of my pet peeves. I cannot stand having the first thread of a receiver looking like a razor blade. I'm clumsy enough and my hands often look like I visit a raptor petting zoo. With a VMC I can chase the lead thread with an endmill and make the thread go from root to crest across the radius of the endmill. Might be a little hard to envision that so here's a photo. The thread starts and leads to a full form over a .1875" radius (half of a 3/8" endmill) Much nicer I think. More durable too.
It's a common practice used in thread gauging. That's where I stole the idea from. (I'll never be put on trial for having an original thought)
Last, pinning the recoil lug. Another pet peeve of mine is the tools for clocking recoil lugs. I hate them. HATE THEM. Instead I make my own lugs with twin pins and just drill the receiver face to index the lug. No wondering this way. It's going to go in the same spot every time and stay there. I like this because doing a good bedding job depends on it. My lugs are made in such a way to try and avoid scraping the bedding in the stock during assembly/disassembly. Radius the corners and profile all the edges. Makes things easier for me and I think it gives a better presentation when the stock work is done.
Ok, back to work!
Here's the action being set up and chewed on. I index the receiver position with a parallel. Just indicate across the ground face. It's held flat against the raceway.
Then I sweep for center using the ring to rough it in. From there I shove the mandrel in and sweep again to fine tune the center and ensure the action is "straight up" with the spindle. Once I finish fussing it's time to start chewing on stuff. Clean up the ring, bore to the new tennon thread size (I machine all Remingtons to 1.085x16 instead of 1.0625x16) Just ensures I get everything cleaned up.
Here's a few photos. I didn't take the time to sort these so the sequencing isn't correct. Enjoy.