UPDATE 7/15/2020 - Photobucket ass holes removed all my photos. I just dumped a bunch of photos in here to clean it up a bit just so it wasn't blank. Too lazy to re-type all the steps and updates. At least there are pics...
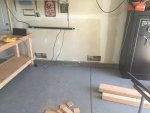
One of the side pieces...

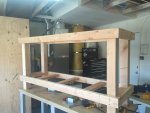
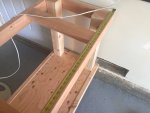
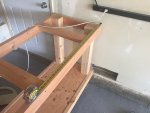
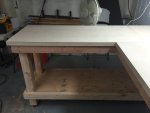
Both sides in place and the back framing coming together...

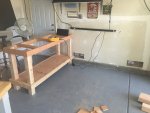
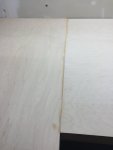
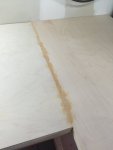
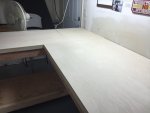
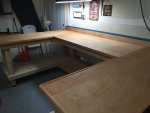
Finally got the top on...

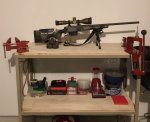
Bottom installed. Back splash as well.

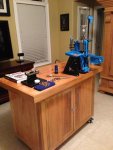
Finishing touches


One of the side pieces...
Both sides in place and the back framing coming together...
Finally got the top on...
Bottom installed. Back splash as well.
Finishing touches
Attachments
-
 IMG_5206.jpeg323 KB · Views: 230
 -
 IMG_5207.jpeg354.5 KB · Views: 230
 -
 IMG_5208.jpeg351.2 KB · Views: 217
 -
 IMG_5209.jpeg370.3 KB · Views: 231
 -
 IMG_5210.jpeg346.2 KB · Views: 250
 -
 IMG_5220.jpeg177 KB · Views: 221
 -
 IMG_5221.jpeg224.2 KB · Views: 214
 -
 IMG_5222.jpeg261.7 KB · Views: 229
 -
 IMG_5223.jpeg295 KB · Views: 216
 -
 IMG_5237.jpeg201.2 KB · Views: 213
 -
 IMG_5238.jpeg291.3 KB · Views: 215
 -
 IMG_5241.jpeg292.2 KB · Views: 221
Last edited: