I own a property 20min drive from my place and I'm looking at setting up a small range.
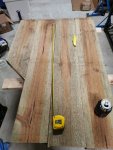
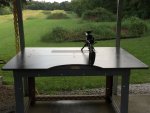
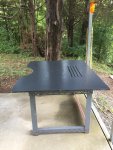
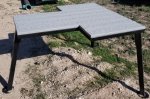
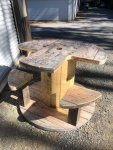
Im looking for ideas for a simple shooting table that can be left there 24/7
Im even half tempted to mount something in a small shipping container or garden shed so I have shade when I shoot or at least amle a simple roof for it.
Im looking for ideas for a simple shooting table that can be left there 24/7
Im even half tempted to mount something in a small shipping container or garden shed so I have shade when I shoot or at least amle a simple roof for it.