Anyone with experience making your own templates for a camo paint job? I thinking of a GAP camo paint job and realize I can buy the templates from Bulldog but wondered if I could make them myself out of 2 or 3 inch painters tape?
Join the Hide community
Get access to live stream, lessons, the post exchange, and chat with other snipers.
Register
Download Gravity Ballistics
Get help to accurately calculate and scope your sniper rifle using real shooting data.

Install the app
How to install the app on iOS
Follow along with the video below to see how to install our site as a web app on your home screen.
Note: This feature may not be available in some browsers.
You are using an out of date browser. It may not display this or other websites correctly.
You should upgrade or use an alternative browser.
You should upgrade or use an alternative browser.
DIY Templates for Camo Paint Job
- Thread starter mdesign
- Start date
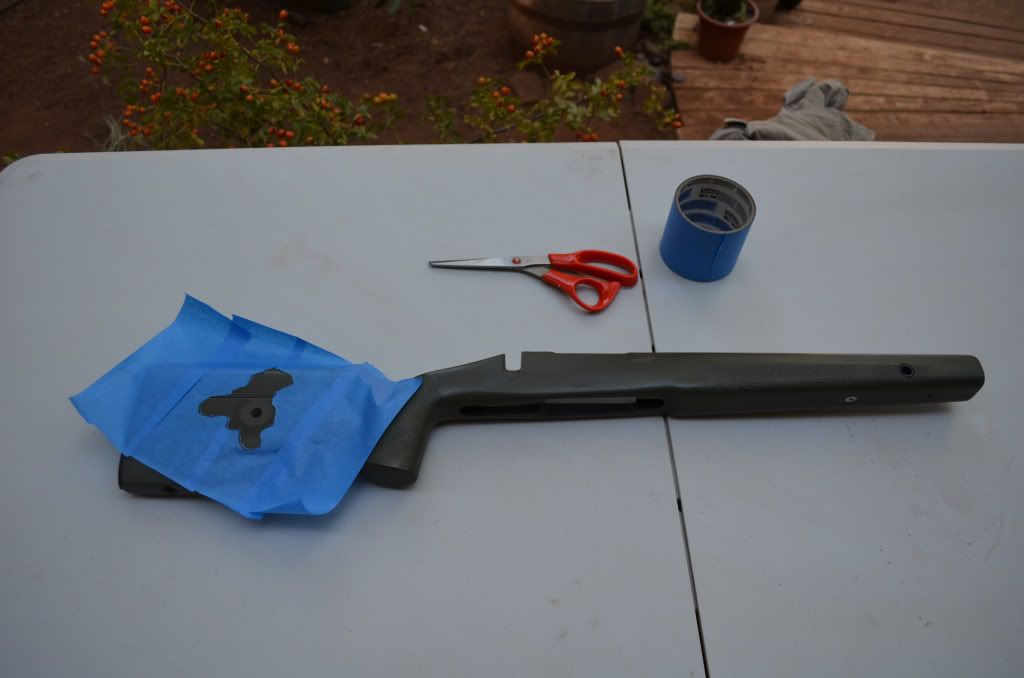
I made my own using 2" painters tape. I would put a length of tape down on my work bench then slightly overlap another piece of tape till I had a 12"x12" section of tape. I would then use a sharpie to draw my shapes on the tape, peel the tape off the bench then cut the shapes out. It seemed to work pretty good.
Attachments
I did this with a digital camo pattern and although it was easy to do it was TEDIOUS. If I did it again I would pay for the templates and save the time. Just my two cents.
The wide blue painters tape works great . I use a stencil cutter ( bought at Michaels) to cut the designs out, it looks like a soldering iron with a fine tip that is bent. You will need a 12" by 12" piece of glass to use as a cutting board.
Gap camo is fun and really easy to do.
Gap camo is fun and really easy to do.
Last edited:
i've used blue painters tape as described above. You stick it down then the next piece slightly overlaps, and so on. The trick is to do it on wax paper. It doesn't mess up the tapes adhesive properties. I'd trace my pattern then cut the tape and wax paper both with a razor. Then you have a sticker, peel off the wax paper and it works pretty well...Hope it works for you...
I made my own using 2" painters tape. I would put a length of tape down on my work bench then slightly overlap another piece of tape till I had a 12"x12" section of tape. I would then use a sharpie to draw my shapes on the tape, peel the tape off the bench then cut the shapes out. It seemed to work pretty good.
This is superb!

Natural stencils
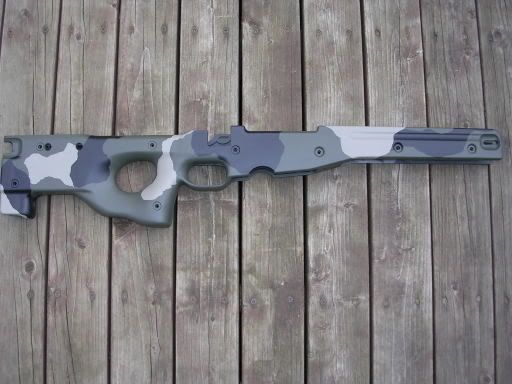
while these stencils do look cool and I think you did a good job achieving desired effect, I prefer not to use cut out stencils as the overspray will help everything blend together better.
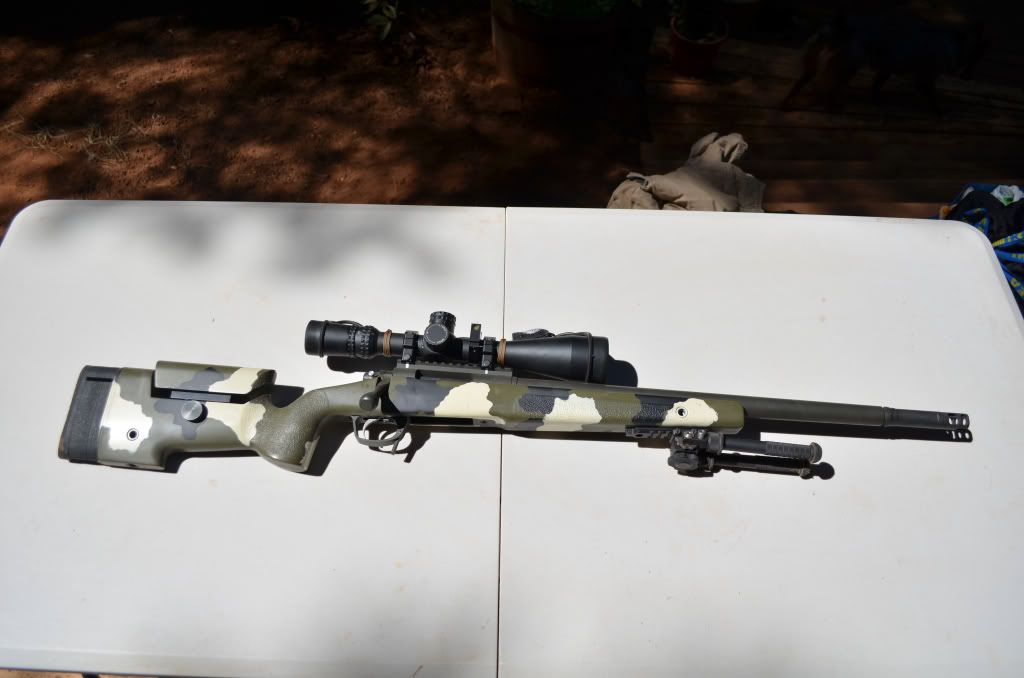
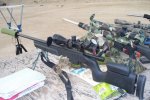
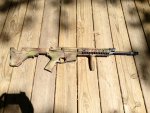
The M4 was done by using a tan base coat and then spotting on different colors in various places. don't be alarmed if it looks like crap at first it will come together in the end. keep applying random sprays mixing your darks and lights and if an area gets to dark lighten it up or the opposite.
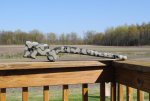
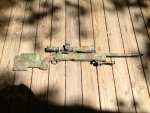
The M40 was done by spraying big blotches of random colors and alternating dark and light. then grab some grass or leaves and hold them in front of the rifle, if you are holding them in front of a light patch then spray a dark, if you are holding them in front of a dark patch spray a light color, mix and match till you reach desired effect. again it might look silly at first but it will come together as you keep going.
while these stencils do look cool and I think you did a good job achieving desired effect, I prefer not to use cut out stencils as the overspray will help everything blend together better.
The M4 was done by using a tan base coat and then spotting on different colors in various places. don't be alarmed if it looks like crap at first it will come together in the end. keep applying random sprays mixing your darks and lights and if an area gets to dark lighten it up or the opposite.
The M40 was done by spraying big blotches of random colors and alternating dark and light. then grab some grass or leaves and hold them in front of the rifle, if you are holding them in front of a light patch then spray a dark, if you are holding them in front of a dark patch spray a light color, mix and match till you reach desired effect. again it might look silly at first but it will come together as you keep going.
Attachments


i have been searching locally for something. after a few questions on here, i found out that avery and 3m make actual adhesive masking paper (after a little online searching, i found out that it is expensive, and comes in BIG rolls!) i have a little sign shop vinyl, but it is awfully "sticky"! i am about afraid that it will pull off fresh paint from lower layers.
i appreciate the contact paper idea. i bet walmart has it! i will give it a try!
thanks!
i appreciate the contact paper idea. i bet walmart has it! i will give it a try!
thanks!
before the computer graphics destroyed the real pleasure of our job, we airbrush illustrators used a really mildly adhesive ,transparent paper, commonly named " FRISKET ", selled by the fine-arts shops_ " FRISKED " don't pulled off the paint, if superficially dry, and was cutted by the light touch of some kind of surgical cutter_ The best product were from England and U.S.A._ I hope you can find it even now_ It worked_
Last edited:
The wide blue painters tape works great . I use a stencil cutter ( bought at Michaels) to cut the designs out, it looks like a soldering iron with a fine tip that is bent. You will need a 12" by 12" piece of glass to use as a cutting board.
Gap camo is fun and really easy to do.
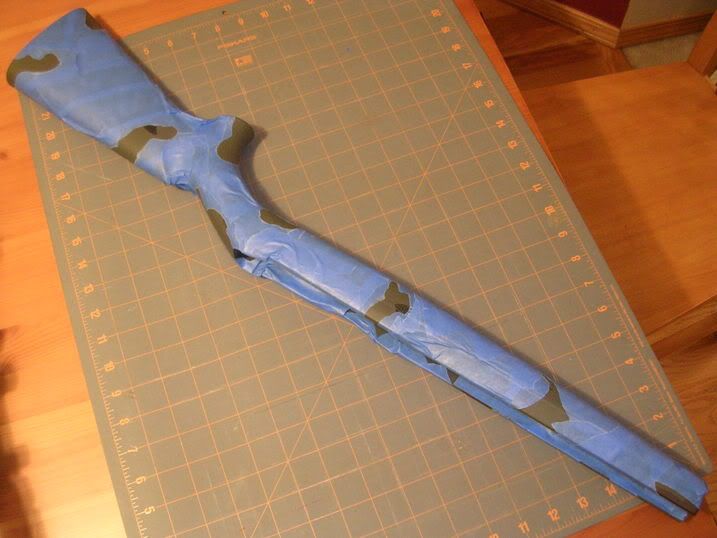
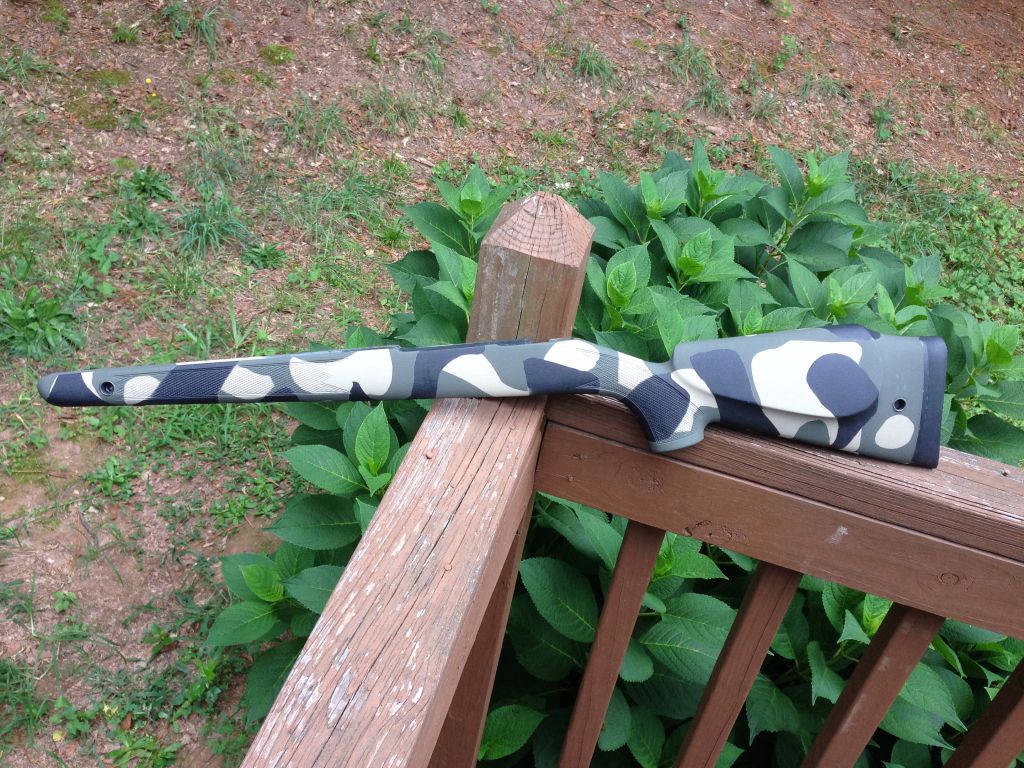
Awesome, im currently doing the same to my B&C stock, except im using flat brown instead of the tan. I have the first set of camo patches in brown, need to let everything cure for a day before i start taping off areas again. I used wax paper just FYI it worked like a charm, of and a cutting board. I did use green frog tape for anyone wanting to do this, it prevents paint running streaks better then blue painters tape i think.
I have used onion bags as a template and works great. 
Sent from my SAMSUNG-SGH-I537 using Tapatalk
Sent from my SAMSUNG-SGH-I537 using Tapatalk
I used DuraCoat on mine. My FFL Dealer also does DuraCoat and we started with a chocolate base on this one and then just went with 4 other colors just doing it abstract with no template. Then finished it with a matte clear DuraCoat to finish it off.. I am very pleased with the outcome.
My advice here is just run with it and dont stick to a template, make it your own.. GOOD LUCK!


My advice here is just run with it and dont stick to a template, make it your own.. GOOD LUCK!
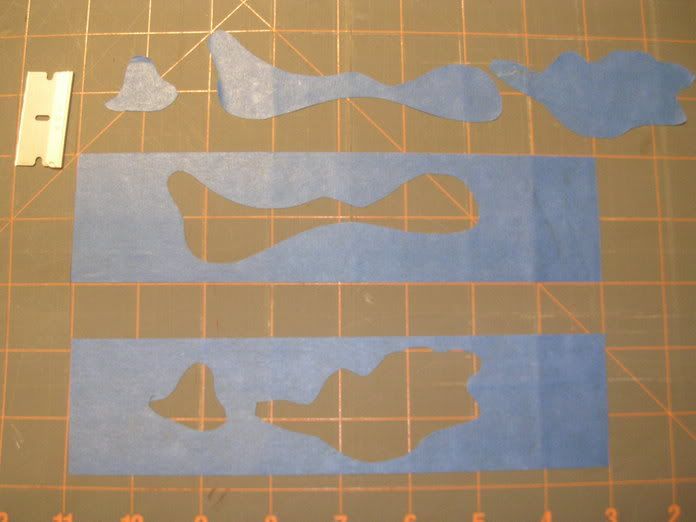
I have used a few different methods of making stencils over the years. First, you can take making tape and use an exacto knife to cut out the stencils, Random is what your looking for, you don't want to repeat shapes. The top pic is using the cutout method. In the second picture, I use a different method, by tearing wide making tape down the center in curved tear patterns, you can make your own shapes and they end up being much less deliberate looking than clean cuts. The last pic is a stock painted with tearing the masking tape
I would certainly spend $10-$15 on stencils if I were doing standard camos such as gap, digital, multi-cam etc. Once you use them it will make you wonder why you wasted so much time cutting your own.
Hey cap, was looking for more info on your paint job. Are u peeling off random price as u go, and hitting with different color paint? I have done a few practice runs, but I seem to want to put to many stencils. Also what colors did u use?
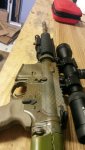
Rustoleum Camo paint with some different netting masks to give it a little "texture."
Netting works great! Heres a AR I did with 3 color no stencil spray, then went back over alternating the same 3 colors through a piece of netting. Its a great mix of the clean lines patterns but will has the overspray blend/fade too
Attachments


Similar threads
- Replies
- 35
- Views
- 2K
- Replies
- 4
- Views
- 1K
