Well, I just cracked it open and poked around...
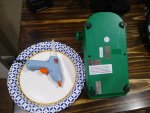
If you’d like to do this, you’ll need a small Phillips screwdriver and a hot glue gun.
Remove 7 screws from the bottom of the unit (there’s one under the “Made in China” sticker in the middle)
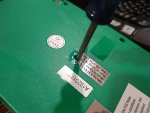
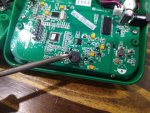
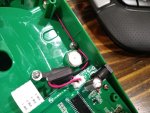
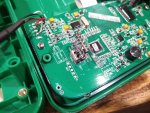
Then locate the offending doo-dad.

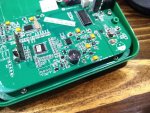
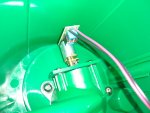
Then put a dab of hot glue in the center perforation of the doo-dad and gently press it in.
Bolt everything back together and you’re good to go.
If you’d like to do this, you’ll need a small Phillips screwdriver and a hot glue gun.
Remove 7 screws from the bottom of the unit (there’s one under the “Made in China” sticker in the middle)
Then locate the offending doo-dad.
Then put a dab of hot glue in the center perforation of the doo-dad and gently press it in.
Bolt everything back together and you’re good to go.
Last edited: