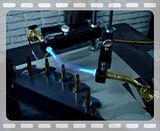
I have run several hundred cases through the Giraud and have not noticed any heat buildup due to the slider.
Next time I run a batch I will monitor the slide temperature using an infrared thermometer.
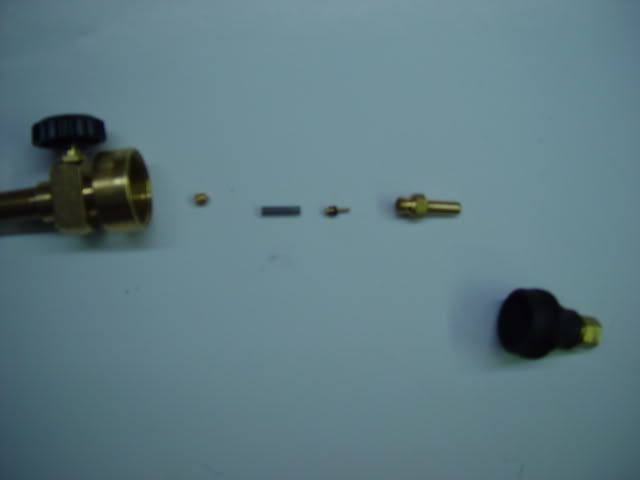
It is funny that Bench Source annealer uses a fan to try keeping the bases cool.
The original rotary annealer was manufactured by Ken Light Manufacturing and it had a chamber filled with hot water to act not only as a heat sink but also to preheat the brass.
Here is a quote from the Accuratr Shooter write up as well as the link.
The Art and Science of Annealing within AccurateShooter.com
"Make Sure There Are NO Live Primers or Charged Cases in the Annealer!!
Place one of the polished cartridge cases in a hole near the flame and let it go around the wheel and drop out. This will take a few seconds so be patient. If you are using a rimmed, semi-rimmed or belted case, it will have to be fed from the bottom of the shell wheel and held until the base can be dropped on the feed ramp. Rimless and rebated cases can be fed from the top.
It should be noted that one of the purposes of the shell wheel is to preheat the case as well as provide a heat sink to keep them from being over-heated. (The center of the BC 1000 is a chamber filled with hot water; this liquid both pre-heats the cases and serves as a heat-sink.) All cases should be fed into the shell wheel in the area of the feed ramp. Starting the cases too close to the flame will not give them time to preheat to 212 degrees (F).
On a bottle-neck rifle case, the central portion of the flame should be on the case neck, and the outer portions of the flame will “wash” over the shoulder and down the side of the case for a short distance. As the cartridge goes around the wheel, it will turn, causing the entire periphery of the neck to be exposed to the direct flame at one time or another.
With this setup, the neck will actually reach a temperature between 750 and 800 degrees. Remember, it’s the combination of time AND temperature that does the job. We have raised the temperature sufficiently to be able to anneal the case necks in 6 to 8 seconds.
The shoulder will be a bit cooler than the neck, and the body cooler yet. The case head will be below 300 degrees (F), which is well below the critical temperature of 482 degrees (F) at which the first changes in grain structure can occur."