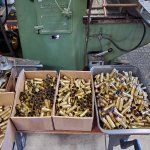
45-90 is right about the triway cutters sucking if you have to remove .100 + like you do for these Sig 277 - 6.5C conversions.
Problem is not everyone has a precision lathe with 220 3 phase etc.
I tried turning some of these Sig cases on my mini lathe and it was painfully slow.
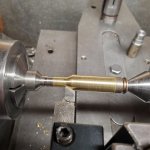
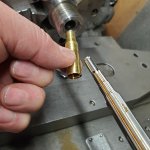
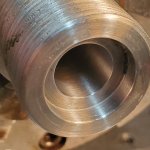
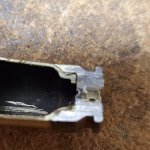
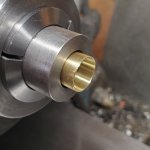
This cutter rocks now that I fixed the chip clearing. Also found an easier way to set cutter depth by just putting a .015 feeler gauge between cutter and mandrel. Cut necks to .014" on the money.
That little Lyman rips bulk cuts off when you need to remove a lot so it'll stay on my bench. I just trimmed to within about .005 on the Lyman.
View attachment 8780984
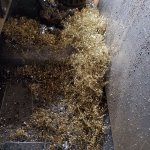
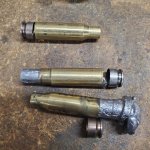
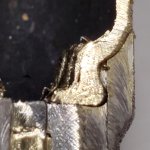
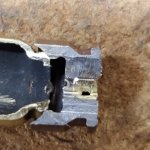
Reshaped the neck turn tool so it wouldn't clog up with chips every 3 cases.
View attachment 8781000View attachment 8780995
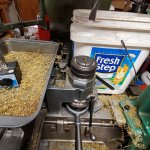
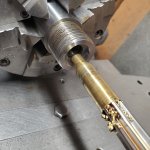
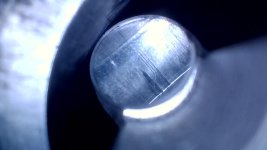
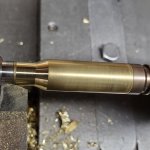
After fixing the cutter head I tried my first run of 120 cases.
Trimming .005 with the tri-way took 20:05 minutes measuring 1 in about every 10 or so.
Neck turning took 23:12 minutes. I don't really have a frame of reference if this is good? Beats the living snot out of my mini lathe.
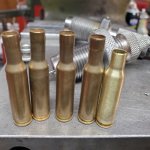
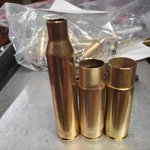
I'm not really a fan of turning necks but these 277 Fury cases are great in a large frame AR 6.5C & they kind of need it.
View attachment 8781013
Snipers Hide loads using these cases.
I wasn't trying to load this hot dammit. Intent is to just run near max pressure bolt gun loads in the AR without tearing up cases.
Let's just chalk this up to science. Will not run at this level, but Damn.
It's nice using cases that have pressure head room. For whatever reason all 3 of these beat the hell out of predicted velocity using 3 different powders. All loads were in 3 x fired converted Sig Fury cases.
18" AR with +2" RL gas 7.5 twist suppressed. All ejected at 3:00 - 4:00 o'clock without any gas adjustments between loads.
144 Berger LRHT seated 2.850" using Alliant RL-26 Just wanted to confirm these mag fed without issue (they did) and hoped for 2720ish Fuck me.
Per Gordon's this should've been 2735fps & 62K psi
Based on Speed below these were probably 70K psi.
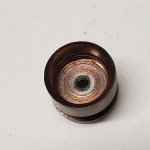
View attachment 8781021
130 Berger AR Hybrid OTM seated 2.820" Using Vit N550
Gordon's is typically close with Vit N550, but not this time. Predicted speed for load below was 2777 @63k psi.
Someone must of poured extra Nitro in this lot.
Based on speed this was probably 75k psi giving these Fury cases a workout.
I'll revisit this powder -2gr and see how it does.
View attachment 8781022
Hornady 100gr eldm-VT's Using Alliant RL15.5 seated 2.820"
Gordon's prediction for this load was 3100 @63k psi
Reality 65k psi & no sweat for these cases. They held moa @100 so I sent 5 at 600y steel. Saw impacts but no trace. Dam things get down there quick.
View attachment 8781024