After seeing everybody's work in here and really not liking my SS barrel and receiver, I decided to build my own oven and pick a gun coating.
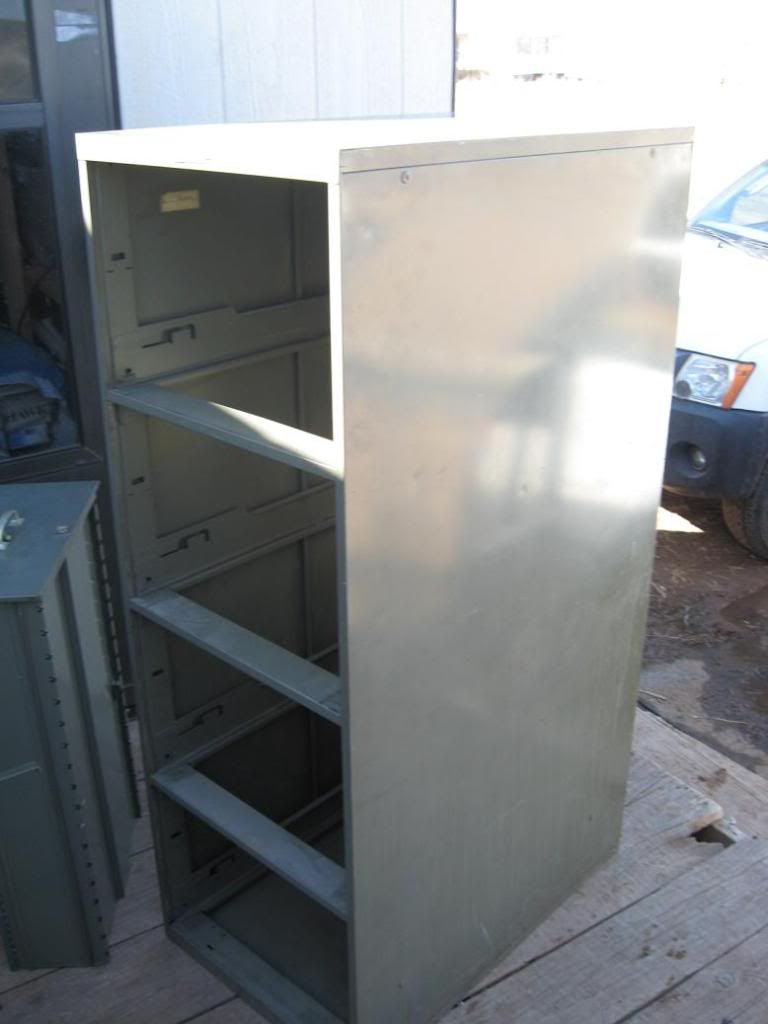
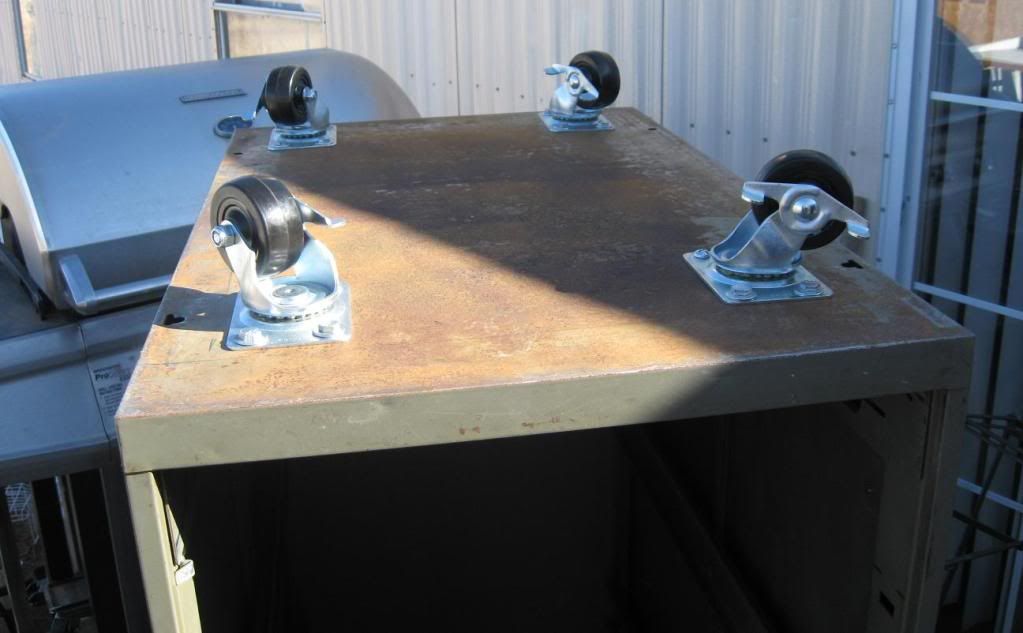
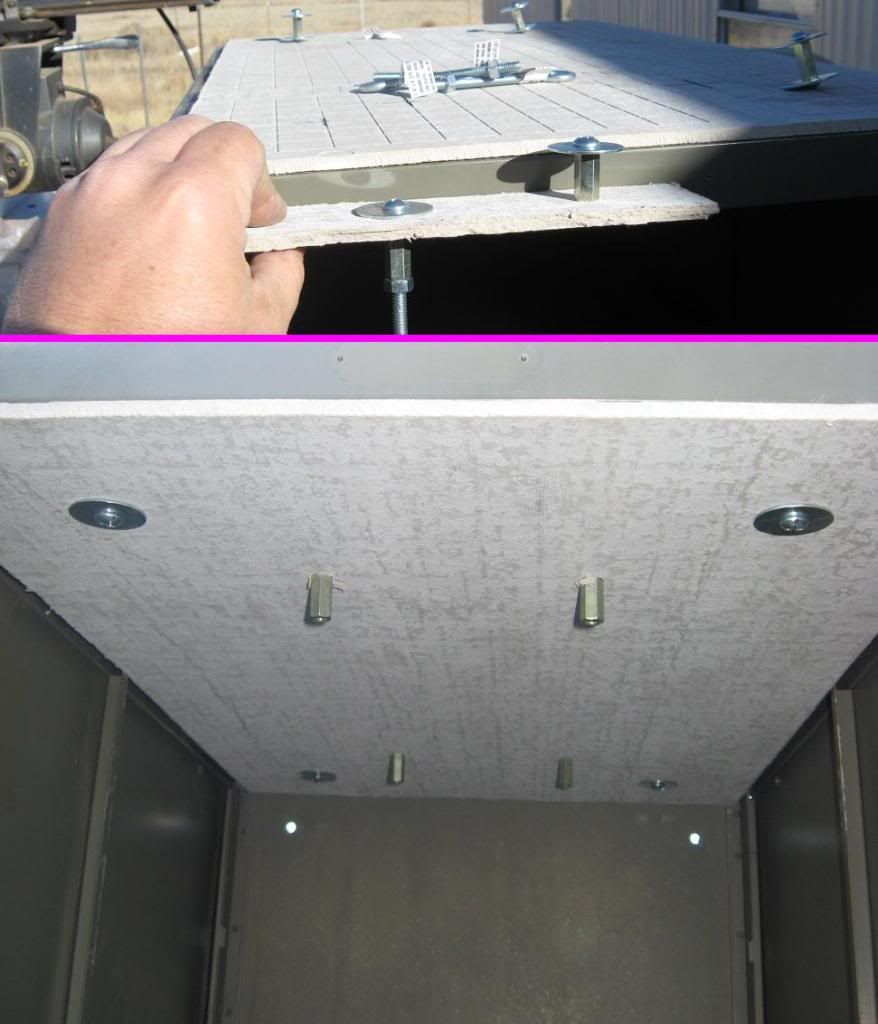
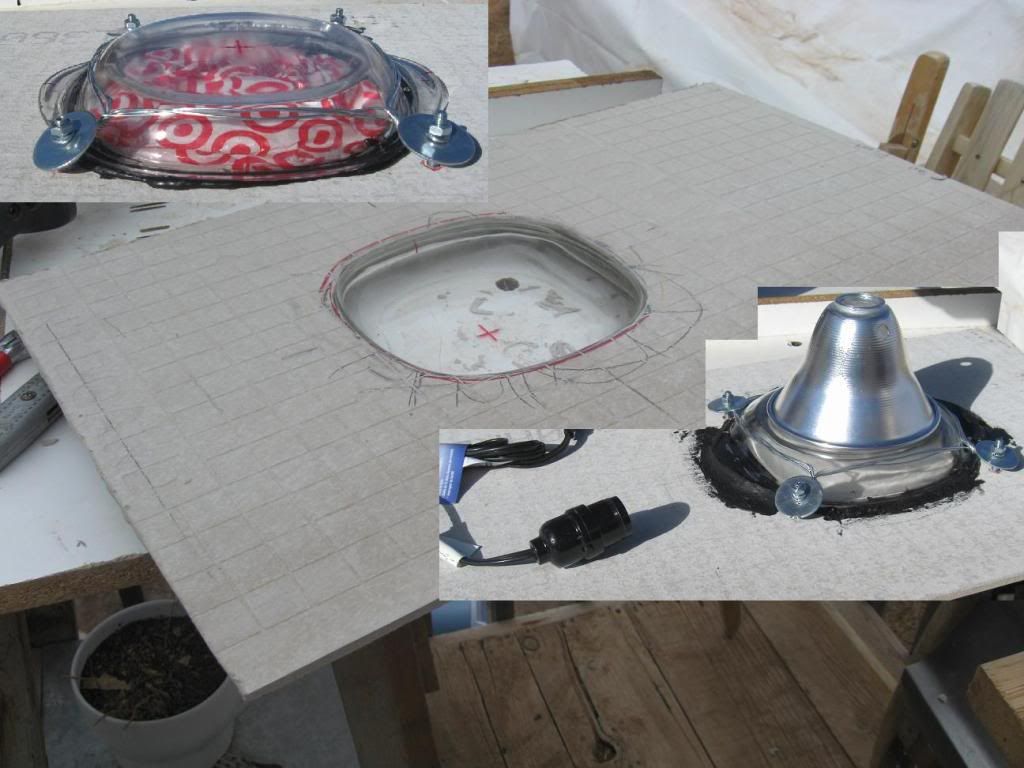
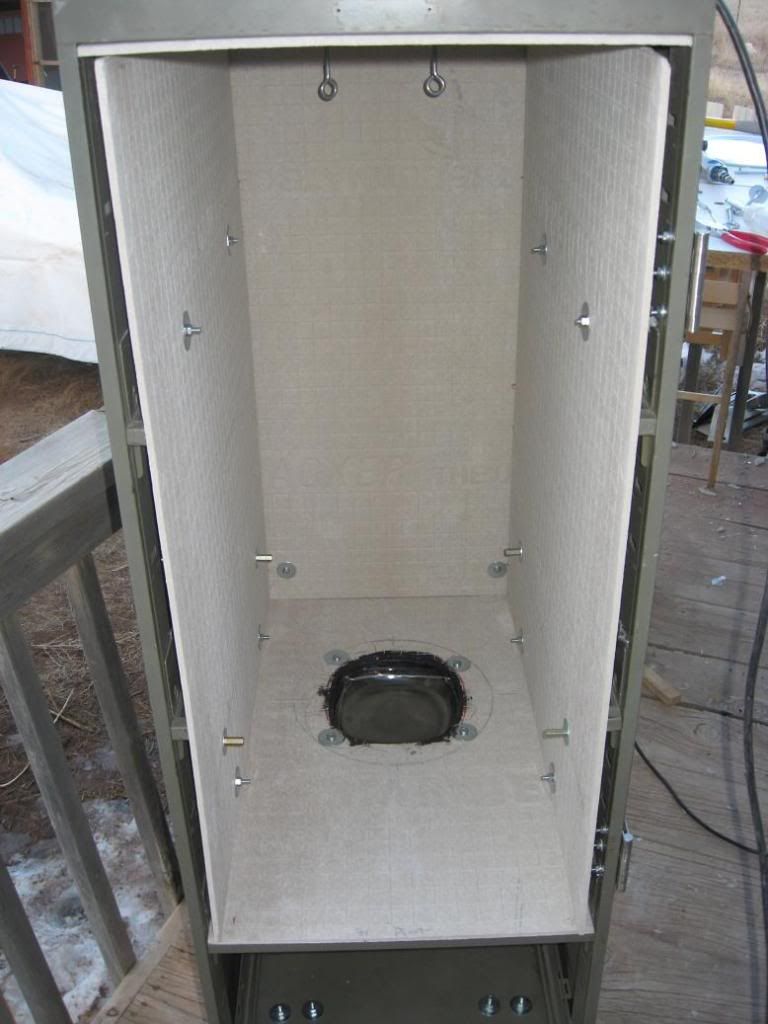
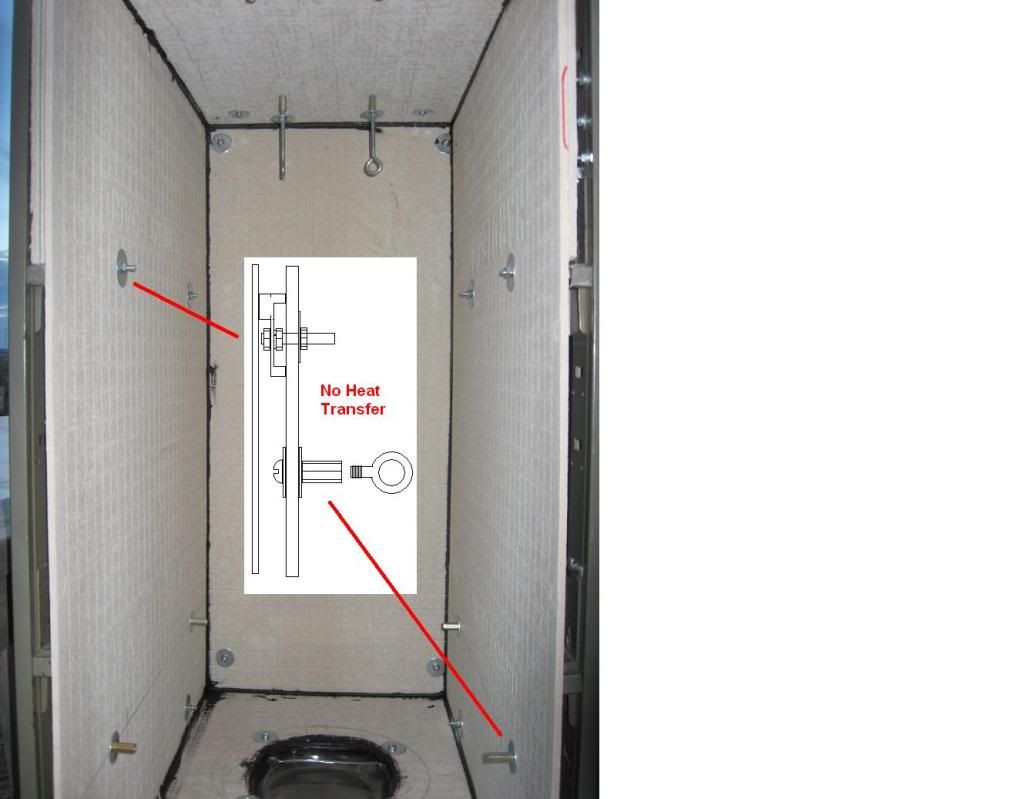
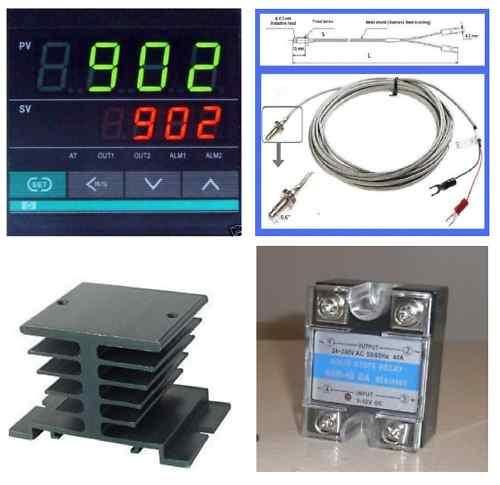
I bought a small gun cabinet from Academy. Coated the inside with rigid duct board (PITA to track down around here). I went to a thrift store and bought a toaster oven with a melted plug for $5. I need to do some re-wiring and put a real thermostat on it but so far it works great. I tested it first without the insulation and could only get the inside to about 190 degrees. With the insulation I could easily get to 400+ degrees. I sealed the insulation with high temp gasket sealant. Thermometer is from wal-mart. I'd like to get a couple grill thermometers and place them in the door but haven't found any that were cheap yet. A couple of hooks for now to hang stuff from and I'm in business.
Let me know what you guys think.
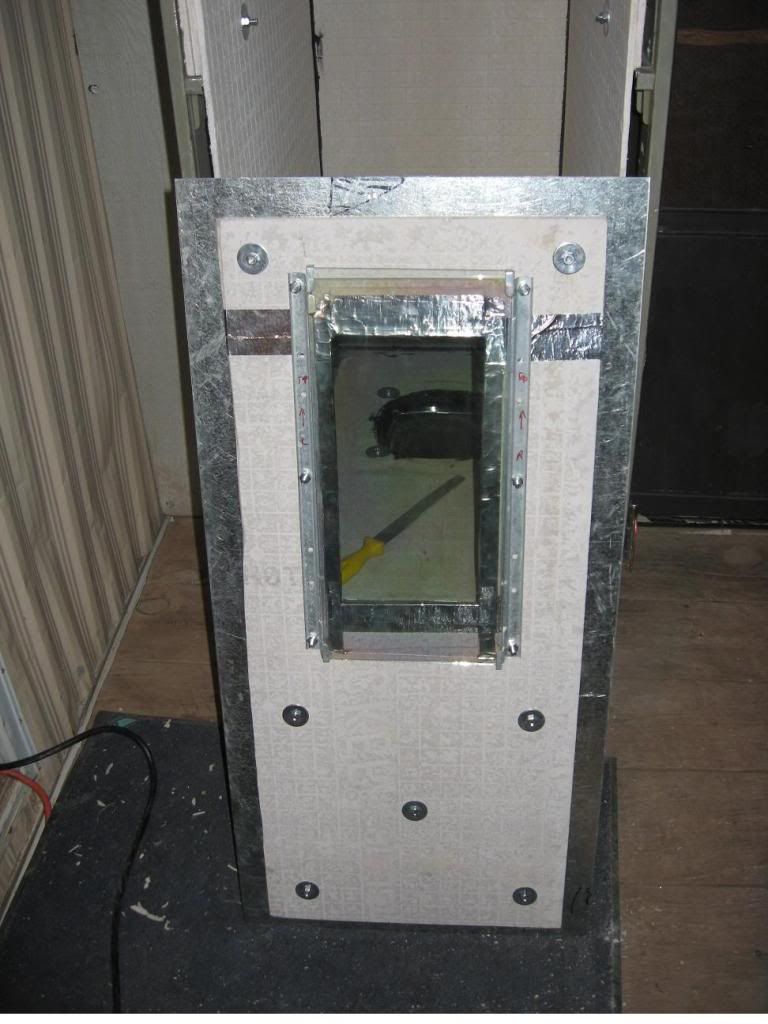
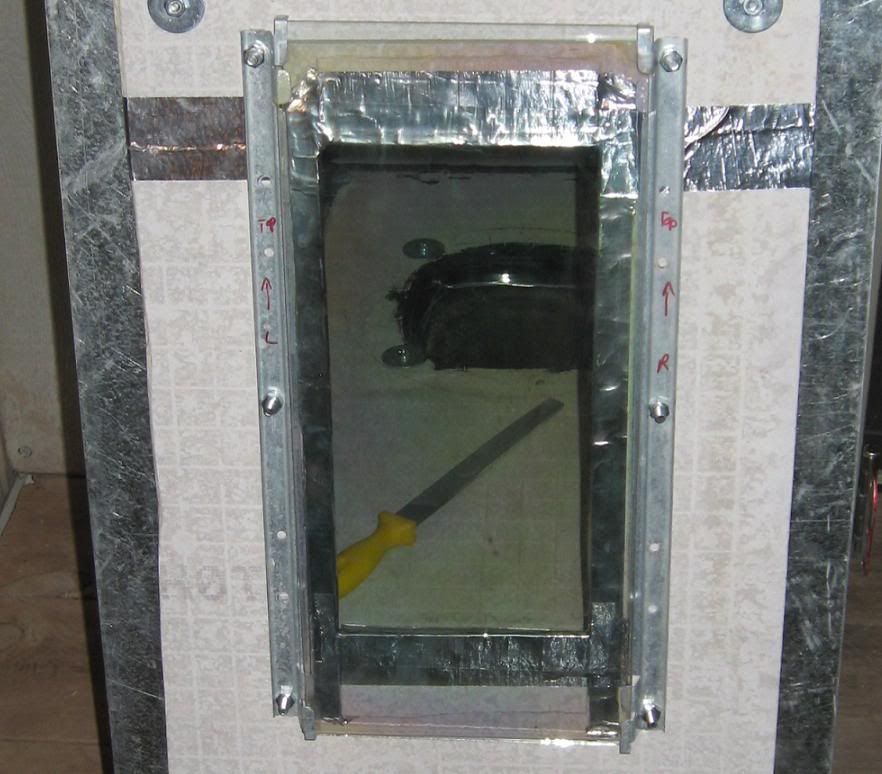
Here are some pics of my oven:


Here are some Savage bolt knobs I'm testing on. Left one is painted with Krylon Ultra Flat Black. Middle is original Savage black from my first 10fp, right is Flat Black KG Gunkote. My first attempt and painting with the Gunkote. I got it a little thin on the end of the knob. I should have held the part a little higher and had more light on it when I painted it.

You can see in this pic where I took the Gunkote'd knob and hit the Krylon knob a few times. The Krylon just chipped right off but the Gunkote looks untouched. Also noticed the Gunkote is a little thin on the end of the knob with the SS slightly visible in bright light. Still, much flatter black then the other two. Also, the order is reversed here, Gunkote - Original Savage - Krylon.

I bought a small gun cabinet from Academy. Coated the inside with rigid duct board (PITA to track down around here). I went to a thrift store and bought a toaster oven with a melted plug for $5. I need to do some re-wiring and put a real thermostat on it but so far it works great. I tested it first without the insulation and could only get the inside to about 190 degrees. With the insulation I could easily get to 400+ degrees. I sealed the insulation with high temp gasket sealant. Thermometer is from wal-mart. I'd like to get a couple grill thermometers and place them in the door but haven't found any that were cheap yet. A couple of hooks for now to hang stuff from and I'm in business.
Let me know what you guys think.
Here are some pics of my oven:
Here are some Savage bolt knobs I'm testing on. Left one is painted with Krylon Ultra Flat Black. Middle is original Savage black from my first 10fp, right is Flat Black KG Gunkote. My first attempt and painting with the Gunkote. I got it a little thin on the end of the knob. I should have held the part a little higher and had more light on it when I painted it.
You can see in this pic where I took the Gunkote'd knob and hit the Krylon knob a few times. The Krylon just chipped right off but the Gunkote looks untouched. Also noticed the Gunkote is a little thin on the end of the knob with the SS slightly visible in bright light. Still, much flatter black then the other two. Also, the order is reversed here, Gunkote - Original Savage - Krylon.