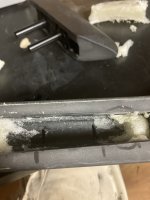
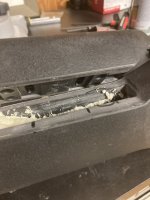
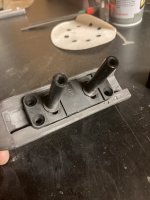
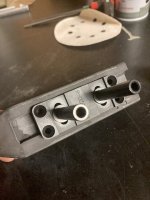
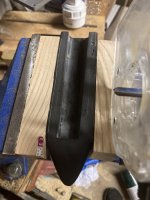
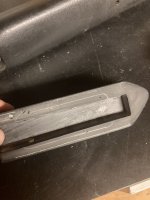
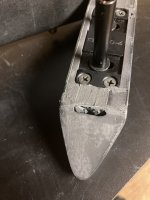
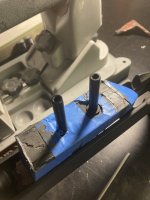
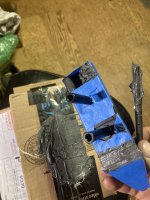
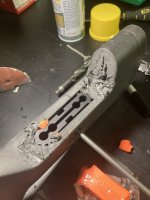
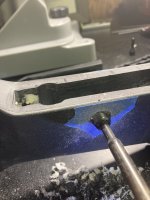
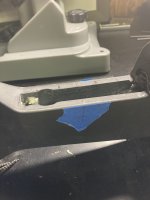
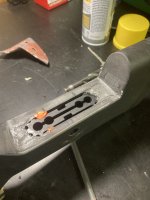
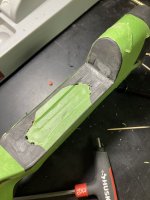
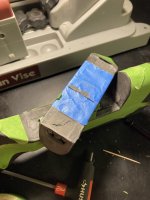
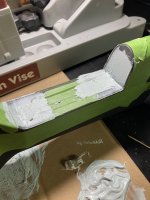
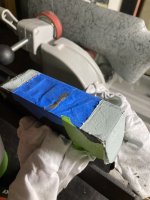
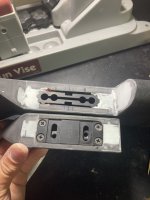
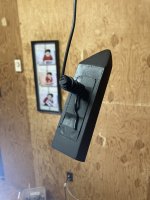
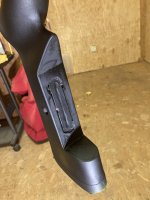
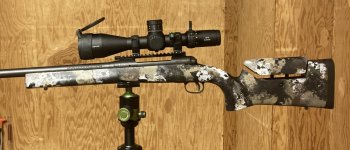
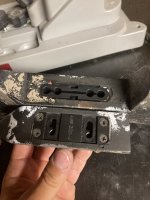
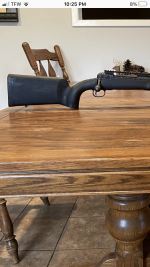
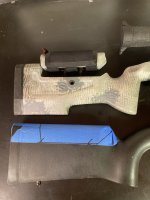
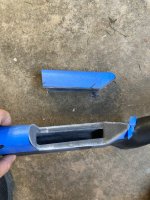
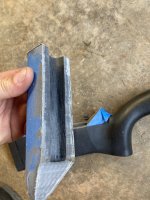
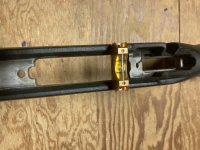
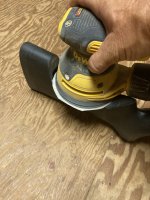
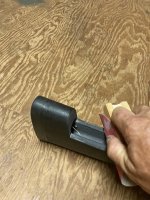
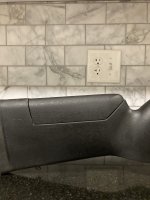
I haven’t seen much on this so I figured I would post. I have been wanting to install one of these cheek riser hardware kits for sometime now. I purchased the hardware from Stocky’s for $50 plus the ride. This is the same hardware that some top stock companies use, including Manners. I have done quite a few of the Mathew’s cheek riser style cheek risers that mount by simply drilling 2 holes in the stock but I wanted something a little bit better. I have a Savage FCP that came with an HS Precision stock. I used my manners T4A as a reference and laid out some painters tape on the stock and drew out the design I liked. The top piece is 1 5/8” deep(this was what I measured my manners cheek riser to be.) once laid out, I simply cut out the shape on my bandsaw by hand. I suppose it would have been better to make some sort of jig but it worked out pretty close to square. I then put the stock in my gun rest(a bipod would also work) and leveled the stock from left to right across the barrel channel. I then checked to see how level my cut was. It was about 1/16” from being level. I started with a block of wood and some 150 grit sandpaper. This was time consuming so I got out my orbital sander and some 60 grit. Once I made the sides level, I then dropped back to 150 grit and made sure the long edge was perfectly flat. Again using the flat block of wood and sandpaper. Once I was satisfied, I moved to the front and rear sides and sanded them flat as well. Once I had leveled and flatted the stock on all 3 sides, I fit the cheek piece on top to see how it fit. I followed the same process as before to get all 3 sides flat and smooth. Once I was satisfied with the fitment, I simply rounded the sharp edges with 150 grit sandpaper by hand and wiped down with soap and water. The hardware has not arrived yet. I am on vacation next week but I will continue this thread when I get back from vacation. I’ll be happy to answer any questions
Attachments
-
 8F54BE2D-661C-4C94-9E5E-BE6EF51D9041.png3.9 MB · Views: 313
 -
 DF51DBA8-19BD-4F6B-B532-8ABD6085BCEA.jpeg505 KB · Views: 387
 -
 FA16ECF7-ADF4-4103-9F53-187BA9608B4B.jpeg630.3 KB · Views: 285
 -
 6195B400-ADB2-4F01-92E3-74BEF6C76871.jpeg637.9 KB · Views: 266
 -
 706B1E23-0479-4A23-8589-A2424A57F970.jpeg467.3 KB · Views: 281
 -
 E43E1786-5CF0-4294-B1BC-880DC96C8CCF.jpeg427.6 KB · Views: 289
 -
 2BFEA573-696C-49EA-955B-419A99160B7C.jpeg528.2 KB · Views: 276
 -
 745832F5-F5E8-4F7C-8CB1-A455272AFC32.jpeg572 KB · Views: 292
 -
 253D396B-D6E1-4AD5-B1A5-1DB7D9C659E1.jpeg520.7 KB · Views: 290
 -
 8B1A42B8-7E64-4A41-9EFB-9C4508558F92.jpeg370.5 KB · Views: 284
Last edited: