Join the Hide community
Get access to live stream, lessons, the post exchange, and chat with other snipers.
Register
Download Gravity Ballistics
Get help to accurately calculate and scope your sniper rifle using real shooting data.

Install the app
How to install the app on iOS
Follow along with the video below to see how to install our site as a web app on your home screen.
Note: This feature may not be available in some browsers.
You are using an out of date browser. It may not display this or other websites correctly.
You should upgrade or use an alternative browser.
You should upgrade or use an alternative browser.
MDT ACC Elite
- Thread starter Davehc130
- Start date
Looking like the end of April at this point, sorry for the delay!When will the bridges be available. I don’t see them on your website.
- Josh
Me to! I believe we have already shipped some, but @MDT_OFFICIAL will have better visibility on this!I'm much more interested in the lefty ACC Elite eta
- Josh
MDT_OFFICIAL
Official Account of Modular Driven Technologies
Supporter
Commercial Supporter
Minuteman
Commercial Supporter
I'm much more interested in the lefty ACC Elite eta
Me to! I believe we have already shipped some, but @MDT_OFFICIAL will have better visibility on this!
- Josh
Attachments

MDT_OFFICIAL
Official Account of Modular Driven Technologies
Supporter
Commercial Supporter
Minuteman
Commercial Supporter
Kidding....We are currently looking at spring; it will likely be a bit on the tail end. But they are coming; make sure you are signed up for the newsletter.
-Anthony
-Anthony
I don't think we can comment on this one yet, but there are things happening! As Anthony would say, keep your eyes on our social media and email listLong action this year?
")
- Josh
@MDT_OFFICIAL @MDT_Josh
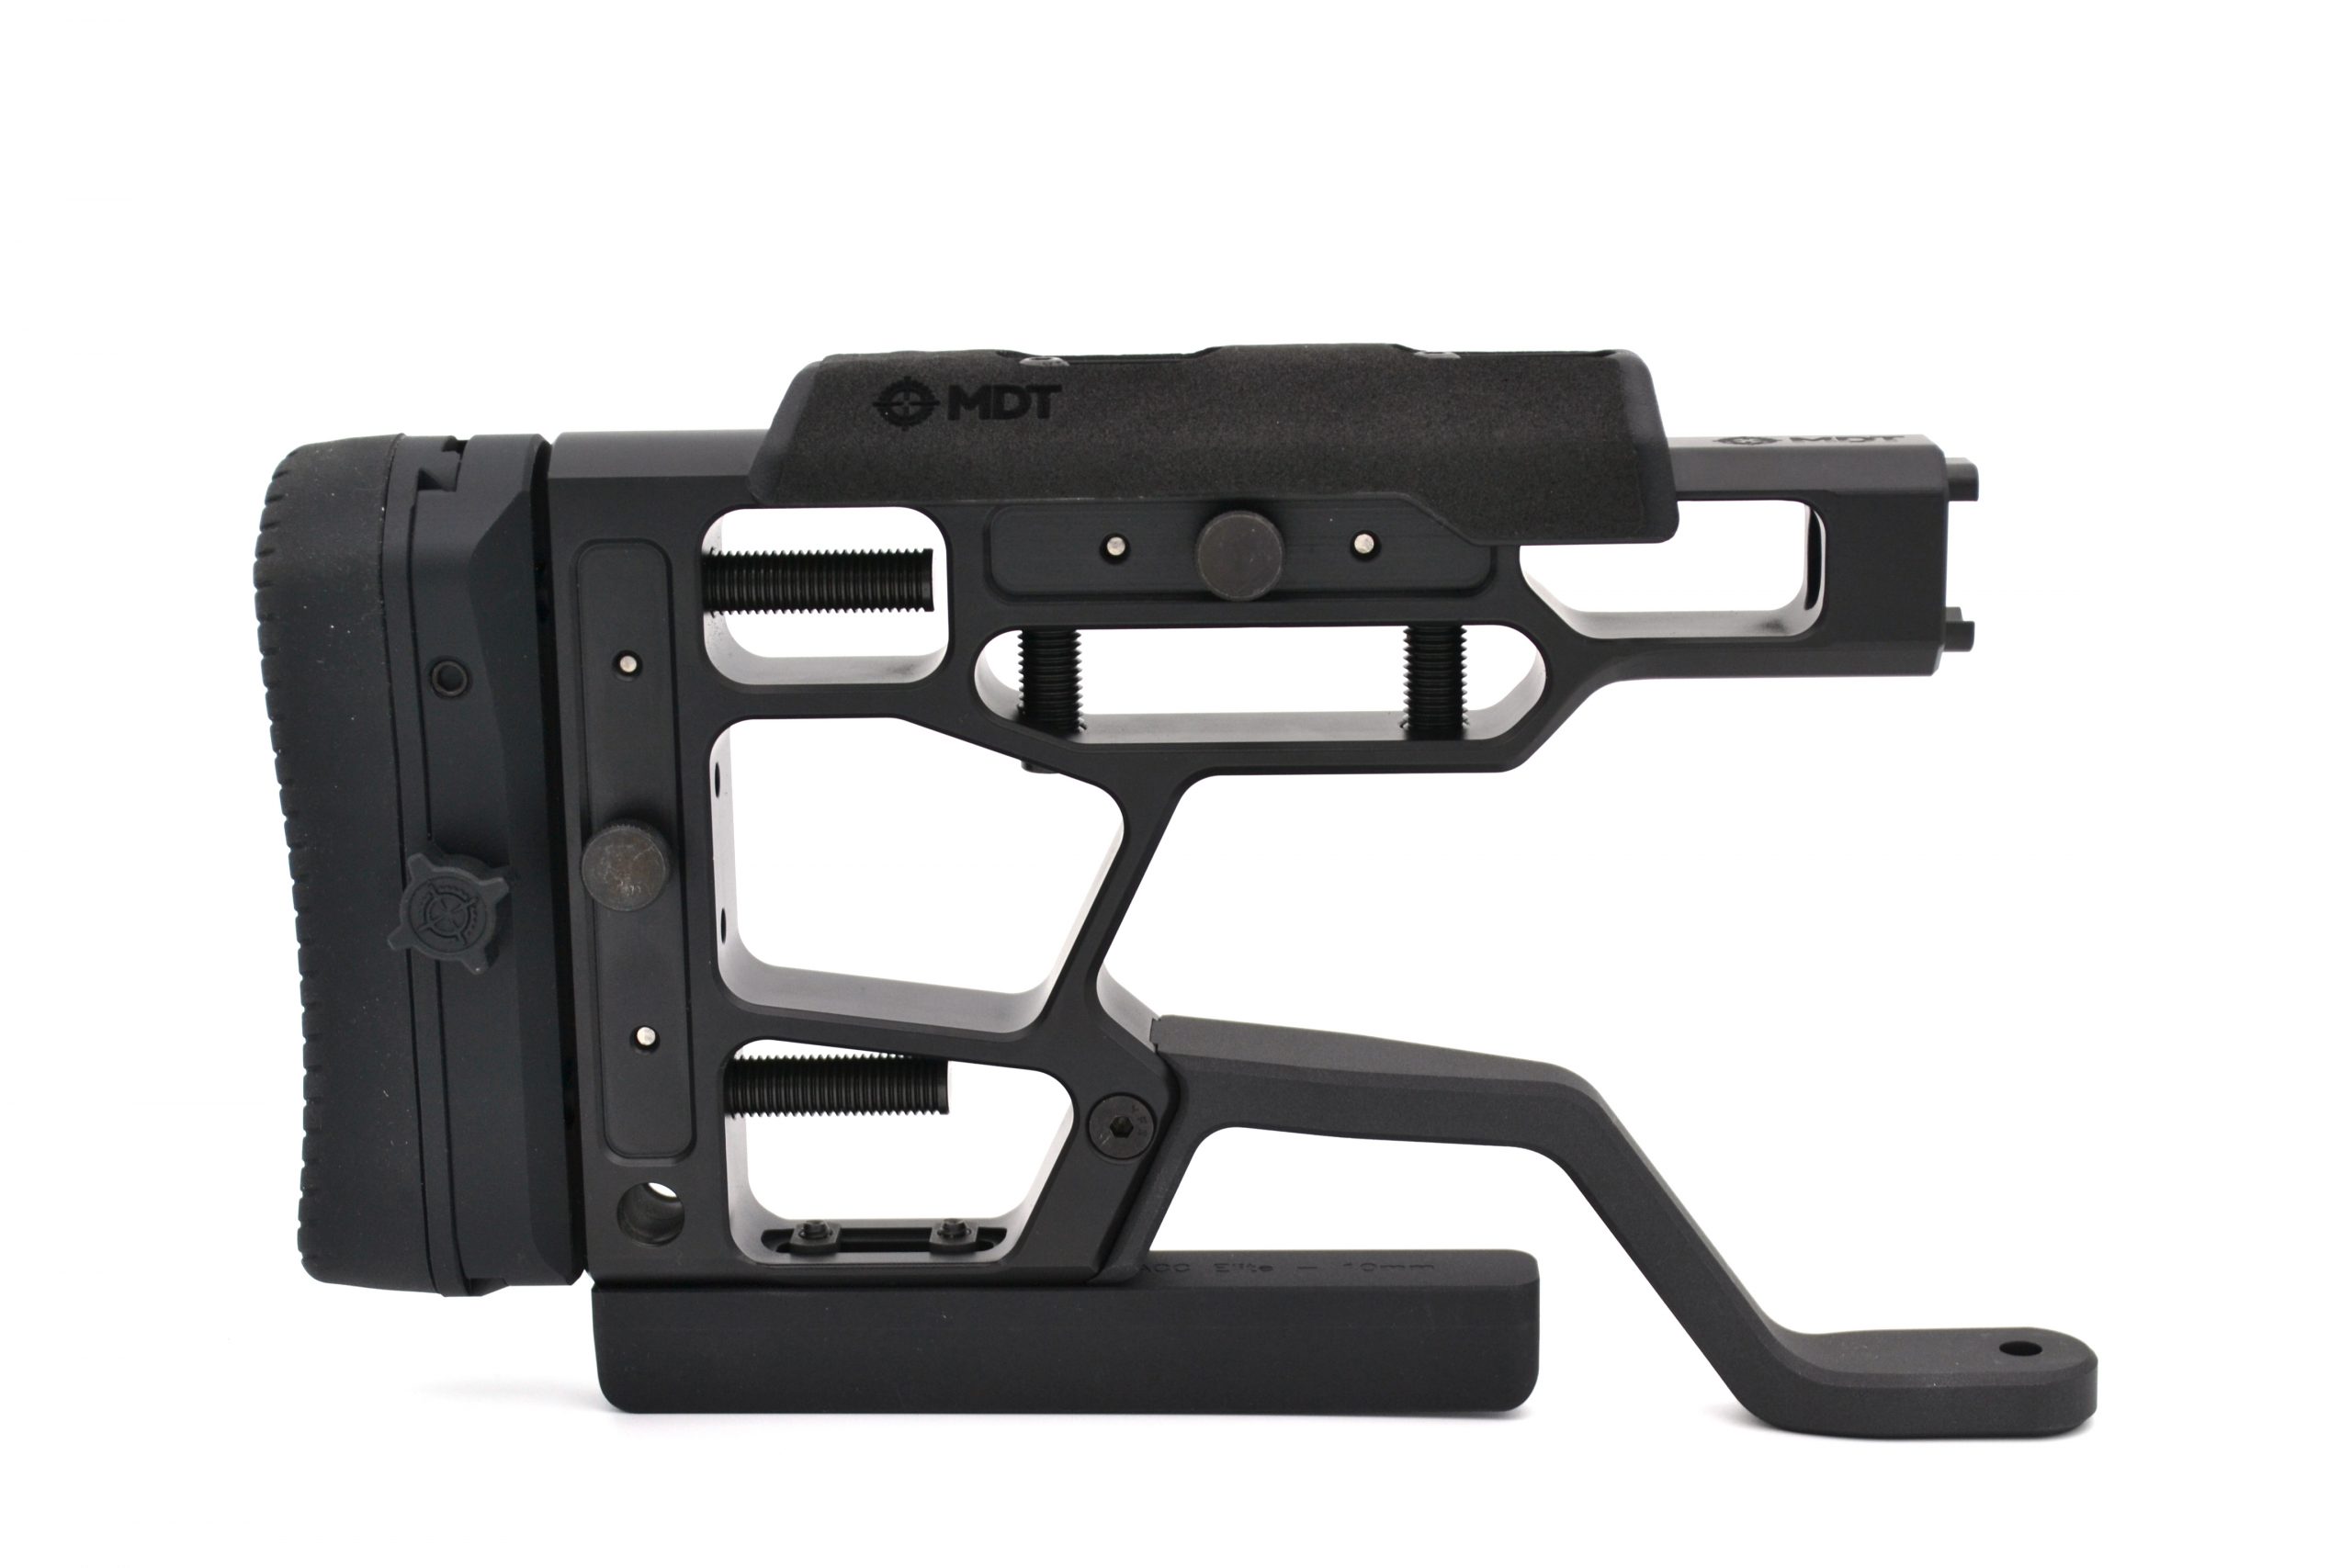
So I got this bad boy and I will say that is a great chassis.
The only thing that I’m not entirely loving, is how the cheek piece moves a bit at the end of its adjustment height. So if you’re using a scope that requires 1.5 inch rings, you’re gonna find yourself in a position where you run out of height adjustment, and at the end of the height adjustment the cheek piece wobbles a bit side to side.
Not really sure how I’m going to fix that, but it does affect your ability to get behind the scope properly.
Anyone know what the pitch / size of screw is used to attach to the pins for the cheek piece? I think that’s going to need a shim…
I’m seeing that both the control bridge and the Picatinny rail bridge (NV) are available.
Last edited:
MDT_OFFICIAL
Official Account of Modular Driven Technologies
Supporter
Commercial Supporter
Minuteman
Commercial Supporter
@MDT_OFFICIAL @MDT_Josh
So I got this bad boy and I will say that is a great chassis.
The only thing that I’m not entirely loving, is how the cheek piece moves a bit at the end of its adjustment height. So if you’re using a scope that requires 1.5 inch rings, you’re gonna find yourself in a position where you run out of height adjustment, and at the end of the height adjustment the cheek piece wobbles a bit side to side.
Not really sure how I’m going to fix that, but it does affect your ability to get behind the scope properly.
Anyone know what the pitch / size of screw is used to attach to the pins for the cheek piece? I think that’s going to need a shim…
I’m seeing that both the control bridge and the Picatinny rail bridge (NV) are available.
We haven't had any issues with the cheek riser lock-up. Do you notice this at any height when it's up? Or is it specifically at the top of the travel? The screw is 10-32.
-Anthony
I run a 1.5” mount, but have my cheek piece all the way down for my preferred jaw weld. Can’t say I’ve experienced any kind of wobble playing with the height though.@MDT_OFFICIAL @MDT_Josh
So I got this bad boy and I will say that is a great chassis.
The only thing that I’m not entirely loving, is how the cheek piece moves a bit at the end of its adjustment height. So if you’re using a scope that requires 1.5 inch rings, you’re gonna find yourself in a position where you run out of height adjustment, and at the end of the height adjustment the cheek piece wobbles a bit side to side.
Not really sure how I’m going to fix that, but it does affect your ability to get behind the scope properly.
Anyone know what the pitch / size of screw is used to attach to the pins for the cheek piece? I think that’s going to need a shim…
I’m seeing that both the control bridge and the Picatinny rail bridge (NV) are available.
Top of travel.We haven't had any issues with the cheek riser lock-up. Do you notice this at any height when it's up? Or is it specifically at the top of the travel? The screw is 10-32.
-Anthony
Maybe it‘s my hi German cheekbones, but it’s the top of the travel.
I’m pondering 3D printing a higher / taller cheek part, and then using longer screws.
The other possibility is adding 1.5cm of washers under the cheek piece.
Unless you have taller posts?
When CZ457 ACC Elite inlet? @MDT_Josh @MDT_OFFICIAL
You tighten down the thumbscrew? Both my buttpad and cheekpiece wobble when not locked.Top of travel.
Maybe it‘s my hi German cheekbones, but it’s the top of the travel.
I’m pondering 3D printing a higher / taller cheek part, and then using longer screws.
The other possibility is adding 1.5cm of washers under the cheek piece.
Unless you have taller posts?
Last edited:
No, there is no operator error in this use case. I simply have it up at what’s basically the maximum height due to the rings I had to use for the Schmidt and Bender 6-36 given the height of the erector Housing.
I did order a 1.35 inch SPHUR mount and we’ll see if that works while still clearing the control bridge…
I did order a 1.35 inch SPHUR mount and we’ll see if that works while still clearing the control bridge…
MDT_OFFICIAL
Official Account of Modular Driven Technologies
Supporter
Commercial Supporter
Minuteman
Commercial Supporter
You must have really high cheek bones; we've actually mostly had complaints about the cheek riser not going low enough. I would say it's worth while to check that all the screws are tight as well. IE there are two 1/8 sockets on the top; maybe make sure they are gutentight.Top of travel.
Maybe it‘s my hi German cheekbones, but it’s the top of the travel.
I’m pondering 3D printing a higher / taller cheek part, and then using longer screws.
The other possibility is adding 1.5cm of washers under the cheek piece.
Unless you have taller posts?
-Anthony
I run 1.5" mount with cheek at lowest position. Utilize a jaw weld and have you butt pad at you clavicle neck junction to keep recoil travel centerline to body. This is what's worked for me to keep target closer to center of reticle for spotting shots. Shooting body bladed with stock in the shoulder pocket has been gone away from by the vast majority of competition shooters. Try keep your head as close to vertical as you can. I've ran my new elite chassis in a few matches and I quite like it. She's a lil muzzle heavy but I need add the rear butt weight and see if I get better balance.
@TheOE800 and I both went to the range yesterday… And we both have this chassis.
There is no doubt about it: if the cheek piece is out more than halfway, there is significant play.
The issue is that the thumbscrews cannot be properly tightened to prevent movement without the use of a wrench (plastic coated pliers in my case).
So this is absolutely a design flaw…
And now it’s happening with two chassis… so it’s not just a one off issue.
I suspect André the giant might’ve been able to pull that off, but the rest of us can only torque those things by hand so much.
...maybe make sure they are gutentight.
-Anthony
I see what you did there. Ausgezeichnet.
In other news, does anyone know the size of the elite grip screws? @NiteQwill, any idea what size those swanky black ones you used are?
I can't remember but I just went to my local hardware store and replaced everything silver with black oxide.I see what you did there. Ausgezeichnet.
In other news, does anyone know the size of the elite grip screws? @NiteQwill, any idea what size those swanky black ones you used are?

You happen to be using any c-clips? I had to add one to both posts to remove a little up and down play on the cheek riser.@TheOE800 and I both went to the range yesterday… And we both have this chassis.
There is no doubt about it: if the cheek piece is out more than halfway, there is significant play.
The issue is that the thumbscrews cannot be properly tightened to prevent movement without the use of a wrench (plastic coated pliers in my case).
So this is absolutely a design flaw…
And now it’s happening with two chassis… so it’s not just a one off issue.
I suspect André the giant might’ve been able to pull that off, but the rest of us can only torque those things by hand so much.
Nah, I forgot about setting that up so neither of us was running the c-clips; would have been very helpful given all the removing of the cheekpiece I did for cleaning.You happen to be using any c-clips? I had to add one to both posts to remove a little up and down play on the cheek riser.
 I don’t actually need the c-clip for the buttpad as I’m blessed with average as hell LoP so I will try using both c-clips.
Any play in my cheekpiece seemed limited to the rear post when tightened up by hand. Not sure it’s necessarily up/down play as much as a noticeable when mounted side to side wobble, but it’s definitely there. We all know I’m not king grip compared to the MDT assembly ladies, but it’s not exactly desirable to tighten the thumbscrew beyond hand tight.
@MDT_Josh @MDT_OFFICIAL Is a new bag rider coming? The existing bag rider is angled downwards due to the flatter bottom of the SRS-X Elite stock where the mlok slot is.
Belt sander.@MDT_Josh @MDT_OFFICIAL Is a new bag rider coming? The existing bag rider is angled downwards due to the flatter bottom of the SRS-X Elite stock where the mlok slot is.
Jk
Yes, I agree
Wow, that's a real drag. As you know, I've been thinking about buying one of these.@TheOE800 and I both went to the range yesterday… And we both have this chassis.
There is no doubt about it: if the cheek piece is out more than halfway, there is significant play.
The issue is that the thumbscrews cannot be properly tightened to prevent movement without the use of a wrench (plastic coated pliers in my case).
So this is absolutely a design flaw…
And now it’s happening with two chassis… so it’s not just a one off issue.
I suspect André the giant might’ve been able to pull that off, but the rest of us can only torque those things by hand so much.
And I actually have higher cheek bones than @GBMaryland...don't hate me because I'm beautiful! LOL....and if you ever saw me you'd know that I do have high cheek bones and me saying I'm beautiful is indeed a joke!You must have really high cheek bones
This, ^^, is easily resolved for those people with higher rings. But with large objective lens scopes, we need to put that comb riser up a good bit and if @GBMaryland says that the two they had at the range developed slop (play...if you like) then you can take that to the bank as I know him to be a very rigorous, data driven person.we've actually mostly had complaints about the cheek riser not going low enough.
Pic?The existing bag rider is angled downwards due to the flatter bottom of the SRS-X Elite stock where the mlok slot is.
Yeah, @TheOE800 is correct with that. The current bag rider goes down at an angle.
The issue with the cheek riser is that you need an ungodly amount of torque on the thumb screw to mostly-eliminate what seems to be 1cm in total travel from left to right.
It's not very useful having to torque the thumb screw down so much that the cheek riser is no longer field serviceable.
It's a great chasis... but, that's the eyeball business end of the rifle and keeping your cheek centered in the optic is hugely important.
I have video of the issue... just need to figure out how to post it.

Wow, def not optimal...right? Have you seen any sort of dip in the muzzle shooting during recoil with that slant?
I would think it would cause you to shoot a little bit low or not??
While you were at the "local hardware store and [replacing] everything silver with black oxide," you should have changed out those mount screws. #hideous
There's a spectrum of rich poor I'm on...You heard the man. Anodize that Ti!
I'm on that spectrum, I can't afford anodized Gucci Titanium screws. 
I haven't noticed a difference to be honest.Wow, def not optimal...right? Have you seen any sort of dip in the muzzle shooting during recoil with that slant?
I would think it would cause you to shoot a little bit low or not??
Thanks and beautiful gun....even with the bright screws in the mount! hahaI haven't noticed a difference to be honest.
What action is that, if you don't mind.
And that's a shorty can with a muzzle brake????
Thanks!Thanks and beautiful gun....even with the bright screws in the mount! haha
What action is that, if you don't mind.
And that's a shorty can with a muzzle brake????

Impact 737r
Area419 Maverick in the shortest configuration. 2 seasons with it so far. It's great!
How are you liking the nv bridges? I was thinking about installing 2 in the same configuration as yours, but am also considering having the control bridge followed by the nv bridge up front.Thanks!
Impact 737r
Area419 Maverick in the shortest configuration. 2 seasons with it so far. It's great!
nice setup you have there.
I have two control bridges and a NV bridge at the end. (I'm primarily trying to lower vapor trail related interference.)
The machining is a thing of beauty. Work great. There are metal studs on the NV bridge, but oddly, they are not a snug fit into the holes on the chassis, so I'm not really sure what they are there for... lots of screws, very stable.
The machining is a thing of beauty. Work great. There are metal studs on the NV bridge, but oddly, they are not a snug fit into the holes on the chassis, so I'm not really sure what they are there for... lots of screws, very stable.
The price tho! I got a full length bridge for my ai, 240$, I think a full length for the acc would be 4 covers right? 500$ is a lot for some small machined aluminum pieces.I have two control bridges and a NV bridge at the end. (I'm primarily trying to lower vapor trail related interference.)
The machining is a thing of beauty. Work great. There are metal studs on the NV bridge, but oddly, they are not a snug fit into the holes on the chassis, so I'm not really sure what they are there for... lots of screws, very stable.
I couldn't agree more, having made the outlay myself; but let's me honest, there is a little more value than the, what, $80 squishes? They gouge us every step of the way, because we let them.The price tho! I got a full length bridge for my ai, 240$, I think a full length for the acc would be 4 covers right? 500$ is a lot for some small machined aluminum pieces.
Reminds me of an old Pogo quote (I am old)—"I have seen the enemy and he is us."
It'd be pretty easy to 3d print something I'd sure think.hopefully some 3rd parties can start making accessories like these bridges
Hard facts right there. Whole industry is like that, but my paycheck hasn’t caught up yet.They gouge us every step of the way, because we let them.
I was saying that to my buddy who was lamenting the costs of the KRG C4s.. by the time we get buttstock dampeners and a handful of top covers for the Elites, they’re gonna cost the same anyway. Ah well.
This looks like it might address your concern:I’m not terribly concerned with the slant, as while It’s definitely there, I have a bag.
it would be really nice to have an aluminum piece That’s straight.
ATP Australia Ultimate Bag Rider for MDT ACC Elite Chassis
We only use quality gear at Australian Tactical Precision (ATP), this principal also extends to the products we manufacture. One size does not fit all, that also applies to bag riders. There are many rear bag manufacturers out there and the spacing between the ears can be significantly...
-Stan
MDT_OFFICIAL
Official Account of Modular Driven Technologies
Supporter
Commercial Supporter
Minuteman
Commercial Supporter
We tested this extensively, and we didn't have any issues; best to send us an e-mail so we can work through it and see what is going on. One thing to try is to take the LOP and cheek riser clamps apart and try swapping the springs between them, but reach out to us so we can see what is going on. I even just tested a buttstock off the line with no issues.@TheOE800 and I both went to the range yesterday… And we both have this chassis.
There is no doubt about it: if the cheek piece is out more than halfway, there is significant play.
The issue is that the thumbscrews cannot be properly tightened to prevent movement without the use of a wrench (plastic coated pliers in my case).
So this is absolutely a design flaw…
And now it’s happening with two chassis… so it’s not just a one off issue.
I suspect André the giant might’ve been able to pull that off, but the rest of us can only torque those things by hand so much.
-Anthony
MDT_OFFICIAL
Official Account of Modular Driven Technologies
Supporter
Commercial Supporter
Minuteman
Commercial Supporter
We shall see, it is very possible!@MDT_Josh @MDT_OFFICIAL Is a new bag rider coming? The existing bag rider is angled downwards due to the flatter bottom of the SRS-X Elite stock where the mlok slot is.
-Anthony
Love you guys...really do...but "possible" should become "definite", IMO. Otherwise we will all be buying riders from AUS.We shall see, it is very possible!
-Anthony
ATP Australia Ultimate Bag Rider for MDT ACC Elite Chassis
We only use quality gear at Australian Tactical Precision (ATP), this principal also extends to the products we manufacture. One size does not fit all, that also applies to bag riders. There are many rear bag manufacturers out there and the spacing between the ears can be significantly...
How hard is is to modify the existing bag rider CNC program to do this? I'm not a machinist by any stretch, but this doesn't seem hard to do.
MDT_OFFICIAL
Official Account of Modular Driven Technologies
Supporter
Commercial Supporter
Minuteman
Commercial Supporter
Thank you for the feedback. It is appreciated. The question is never about just changing a program. It's about what we are trying to accomplish and what is going to be the best bag rider we can make.Love you guys...really do...but "possible" should become "definite", IMO. Otherwise we will all be buying riders from AUS.
ATP Australia Ultimate Bag Rider for MDT ACC Elite Chassis
We only use quality gear at Australian Tactical Precision (ATP), this principal also extends to the products we manufacture. One size does not fit all, that also applies to bag riders. There are many rear bag manufacturers out there and the spacing between the ears can be significantly...australiantacticalprecision.com.au
How hard is is to modify the existing bag rider CNC program to do this? I'm not a machinist by any stretch, but this doesn't seem hard to do.
-Anthony
Submitted a case… Tried to send a video of what’s going on but you guys can’t take anything quite so large.We tested this extensively, and we didn't have any issues; best to send us an e-mail so we can work through it and see what is going on. One thing to try is to take the LOP and cheek riser clamps apart and try swapping the springs between them, but reach out to us so we can see what is going on. I even just tested a buttstock off the line with no issues.
-Anthony
MDT_OFFICIAL
Official Account of Modular Driven Technologies
Supporter
Commercial Supporter
Minuteman
Commercial Supporter
Its to be 20 MB or less, or you can always send it through Facebook Messenger to us as well.Submitted a case… Tried to send a video of what’s going on but you guys can’t take anything quite so large.
-Anthony
