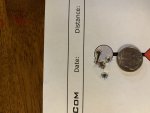
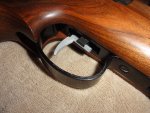
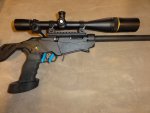
I am kinda dissapointed in the trigger though, low as I can get it is 2-6. I keep reading about all these 1lb + stock triggers but mine isn't having any of that. Still may need some more break in maybe.
Did you do anything other than adjusting the trigger tension screw?
If that's all you've done, then yes . . . you're not going to get it down to around 1# and I think where you're at is pretty much the limit unless you do some other mods. Though, as you say, more break in will likely lighten it up a little . . . but not much unless you really polish the seer and/or put some good grease on it too.
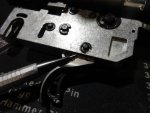
To get that light trigger pull down to 1# or so, there are 3 things you can do:
1. Trim a piece of the exiting spring off.
2. Replace the spring with a lighter spring (e.g. a spring from a ballpoint pen)
3. Remove the spring all together, leaving just the adjustment screw in place without the spring (should get something just under 1#, like 12-14oz).

")