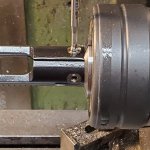
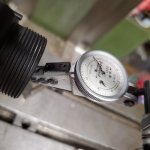
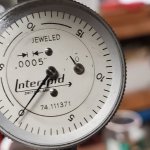
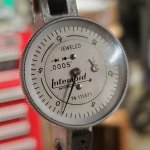
The 2thou" I mentioned is air space that would happen if some goop (wax) on ID and OD is just 1/2thou" thick and that goop disappears somehow. That 1/2 thou is on the radius of ID and OD, so it's x2 (dia) for ID and OD , where ID gets bigger and OD gets smaller, so the net sum is x4, or 0.002".
Most goops don't just vanish though.
620 does carry decent temp ratings, the Henkel tech doc shows it to about 250C 482F(max) and holds about 68% strength at that temp, and holds 100% at 170C 338F. It actually achieves more than 100%(@28C) between 29C to 170C, weird but that's what we get from chemicals.
")
We know the aluminum grows with heat, so we would like the goop to do the same.
Coefficient of Thermal Expansion (x10^-6)
620 - 80
Silicone - is near 200
6061/7075 - 24
Although the goop may expand more by CoE than aluminum as temps rise, the goops' duro hardness goes down, less resistance to movement. Since goop layer is magnitudes smaller than the aluminum and steel, the net growth of goop expansion does not keep up with the metals.
With the JB Red silicone, I don't need a dowel or do any banging on anything, I can just secure receiver and pull out the barrel with a little muscle, the thin silicone will shear with "small" force, from there things clean-up easily. I don't get that experience from using 620 or waxed epoxy. 620 and epoxy have high strength in both shear and tensile, perhaps a wax release layer with epoxy lessens the force needed.
Silicone, 620, waxed epoxy, just epoxy, are all valid choices, but each has Pros & Cons. I'll bet on 620 and epoxy holding bbl tighter, but in same bet I bet ya the overall gains from the bedding diffs (epoxy vs silicone, 620 vs epoxy, etc) are lost in ammo/shooter/bbl.
Note: if I previously mentioned the loctite 680, I did mean 620. 680(green) is a lower viscosity item and it does not have good temp chart like 620 does.

 triggershims.com