
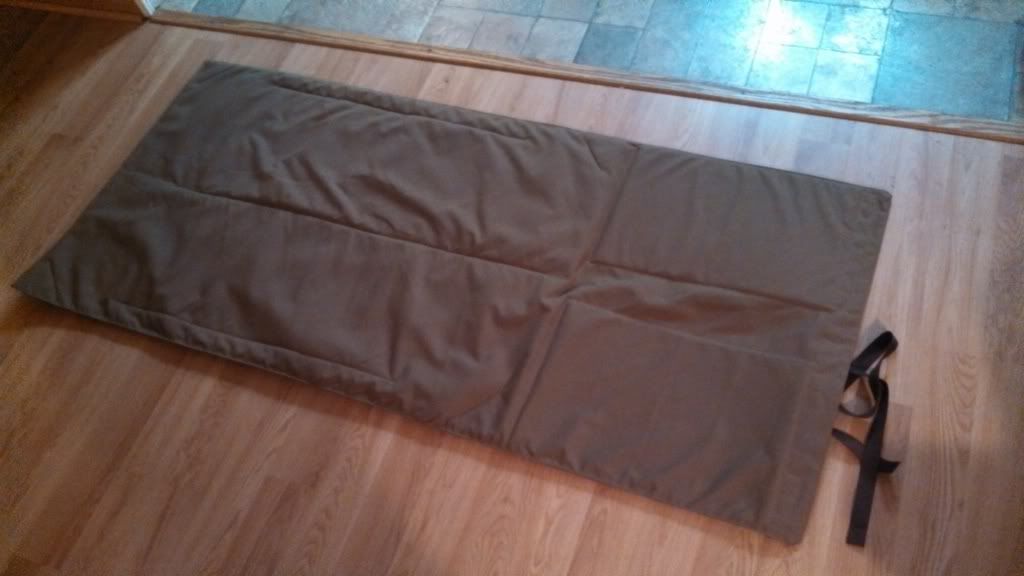
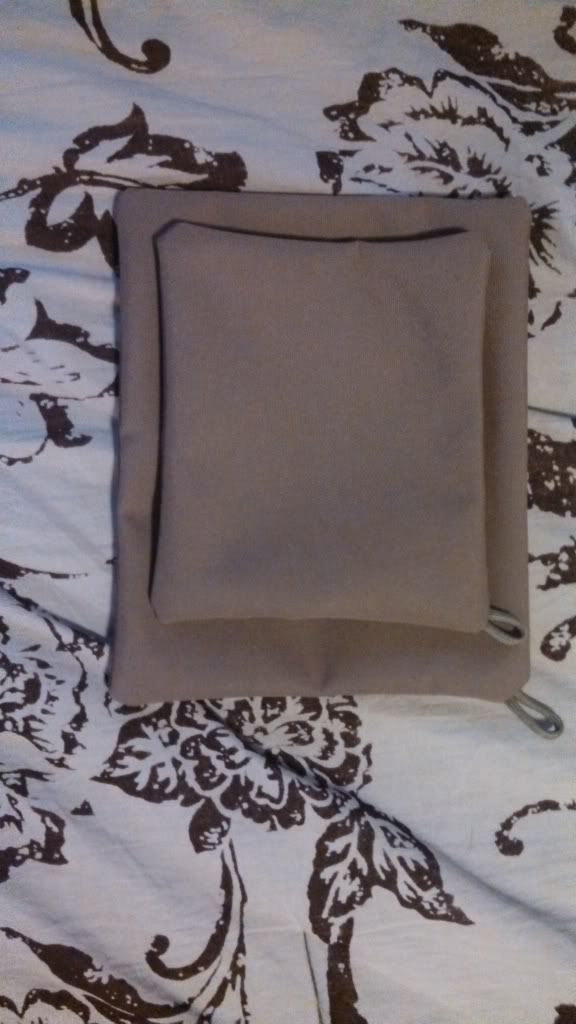
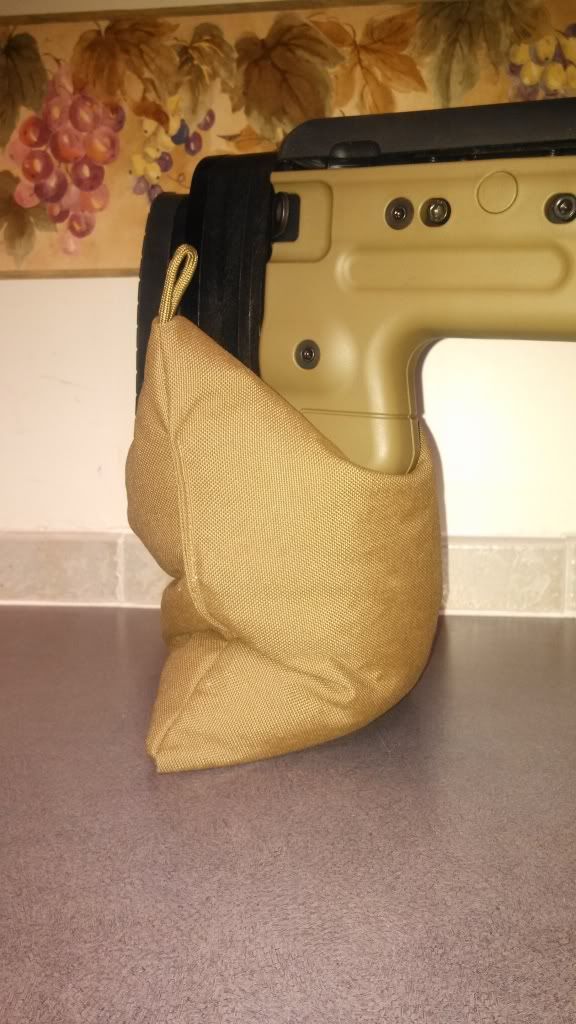
Yes I know it's much easier to jusy buy all your gear but what's the fun in that? I started searching for fabric and realized its really easy to find just about anywhere on the net. I bought the 1000D Cordura mat 72" by 60" on Ebay for $12.00 plus shipping. Having a sewing machine and upholsty thread also helps with a upholstry projects! Starting out I laid the material on the floor and laid out all the padding where I wanted it for placement when unrolled. After figuring padding placement I pinned everything in place and figured out seams. I wanted to have enough fabric to have the abilty to make rear range bags if possible. I was able to trim about 10" of fabric from the end to make bags and also have enough to make a decent sized mat (62"x30")when complete. For padding "elbows" in the mat I used 2 sheets (12"x18") of closed cell foam approximately 3mm thick (the foam used in kids projects). For my lower body I used thermal insulated padding (for pot holders and food carriers) that is approximately 2mm thick also from. I picked up some brown 1" nylon webbing to use as attachment points for tie straps. I started by attaching the webbing to the back and spaced it 1" as per "Military Style" is done across the bottom/front of the mat 30" wide. I then folded the Cordura in half which made my total mat size 62"x30". I then sewed 3 of 4 seams and re-installed padding where I had pinned earlier. I then encased all padding with stiching so there was no movement of padding. I also stitched across the lower "thermal padding" so it would not bunch up over time. After the padding was complete I sealed up the last seam. All stitching is double stitched and "hopefully" should last over time. Unfortunately I forgot to take pics during the work so I hope the pics will do of the finished project. For the bags I cut the fabric 7 1/2" x 9 1/2" and sewed 4 seams but left a slot for media install and can be sewn shut after work is complete. for the bag media I used airsoft bb's due to cost and durability.
Shooting Mat---
Items Needed:
Cordura- Depending on finished size of mat- 72"x60"
Nylon Webbing- 12' length, 1"wide
Closed Cell Foam- Depending on users padding requirement- (2) sheets 12"x18" 3mm kiddie project foam
Thermal Insulation- Depending on users padding requirement- (1) bundle 2mm thick "has aluminum film in center"
H.D. Upholstry Thread- (1) spool
Tools:
Sewing Machine
Pinning Needles
Measuring Tape
Rear Bags---
Items Needed:
Cordura- Depending on size- 71/2" x 91/2"
Airsoft BB's- Depending on size- 10,000 count
Tools:
Same as Mat
Mat Pictures:
Bottom

Top
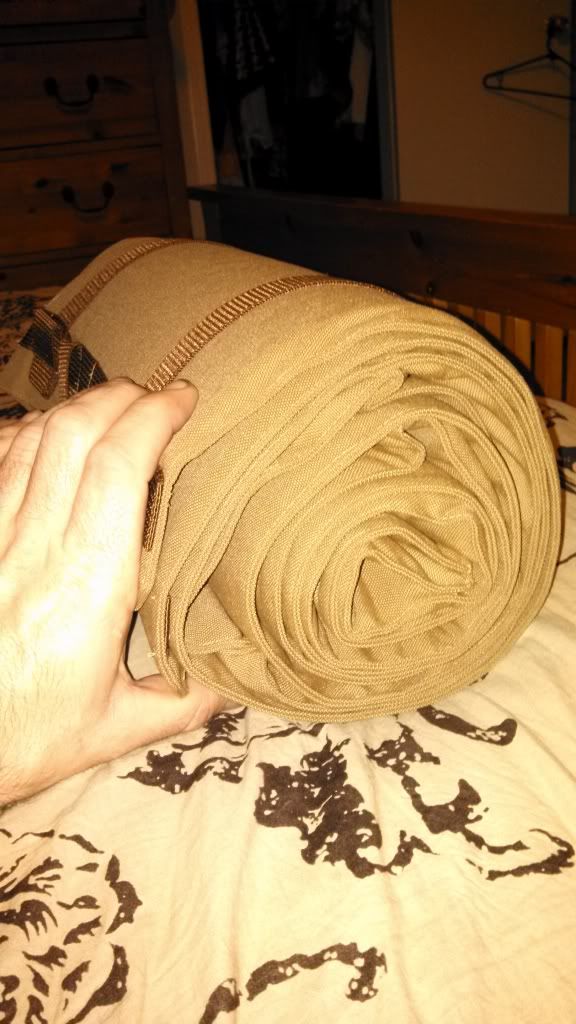
Rolled up
Bags:
Before media
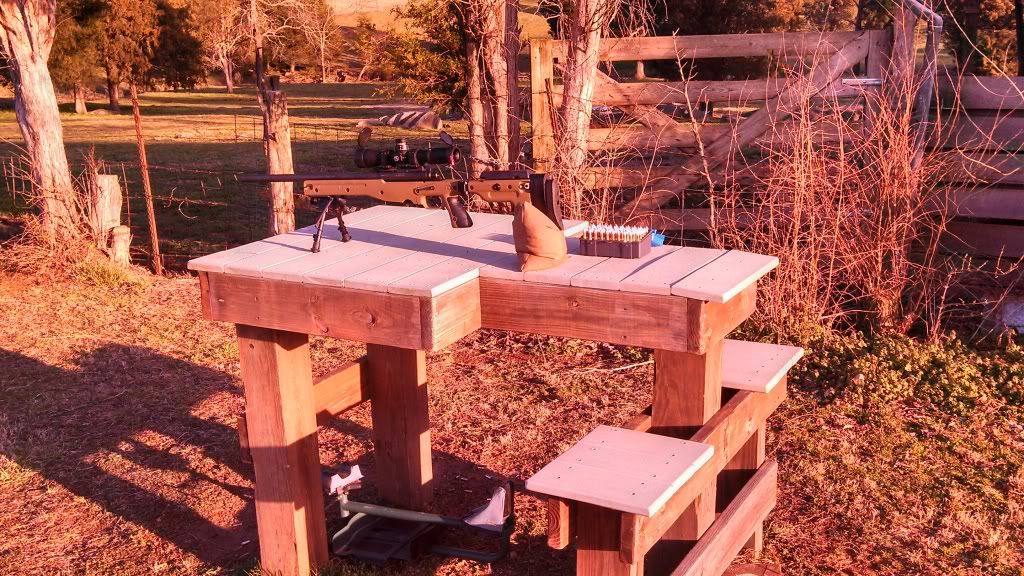
After media

Shooting Mat---
Items Needed:
Cordura- Depending on finished size of mat- 72"x60"
Nylon Webbing- 12' length, 1"wide
Closed Cell Foam- Depending on users padding requirement- (2) sheets 12"x18" 3mm kiddie project foam
Thermal Insulation- Depending on users padding requirement- (1) bundle 2mm thick "has aluminum film in center"
H.D. Upholstry Thread- (1) spool
Tools:
Sewing Machine
Pinning Needles
Measuring Tape
Rear Bags---
Items Needed:
Cordura- Depending on size- 71/2" x 91/2"
Airsoft BB's- Depending on size- 10,000 count
Tools:
Same as Mat
Mat Pictures:
Bottom
Top
Rolled up
Bags:
Before media
After media

")


