
I just wanted to summarize what I read from this thread, and wanted to ask for clarifications in case I misunderstood something:
http://www.snipershide.com/shooting...60-giraud-annealing-machine-observations.html
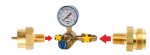
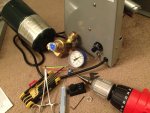
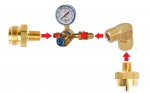
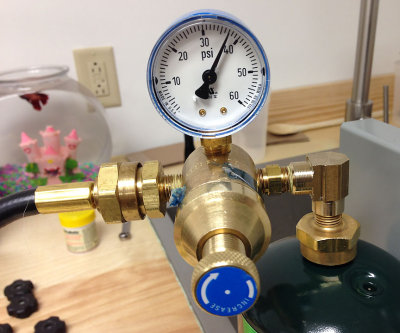
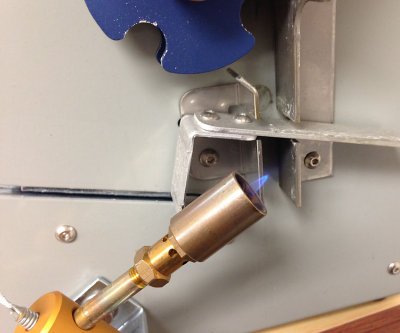
To hook up a Propane Regulator to the smaller Throwaway Propane Tanks one normally gets at Lowe's or The Home Depot, one needs the following:
Propane Regulators - regulator lp cga-510 w/o gauge b hose - Air Compressor Accessories - Amazon.com

Amazon.com - Mr. Heater F273754 1/4" Male Pipe Thread x 1"-20 Female Throwaway Cylinder Thread Fitting - Mr Heater Hose

Amazon.com - Mr. Heater F273755 1/4" Male Pipe Thread x 1"-20 Male Throwaway Cylinder Thread Fitting - Laptop Computer Chargers And Adapters

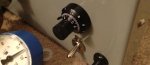
Is it a straightforward matter of changing the connectors in the following fashion?
I have never dealt with gas fittings before, so I really have no idea.

http://www.snipershide.com/shooting...60-giraud-annealing-machine-observations.html
To hook up a Propane Regulator to the smaller Throwaway Propane Tanks one normally gets at Lowe's or The Home Depot, one needs the following:
Propane Regulators - regulator lp cga-510 w/o gauge b hose - Air Compressor Accessories - Amazon.com
Amazon.com - Mr. Heater F273754 1/4" Male Pipe Thread x 1"-20 Female Throwaway Cylinder Thread Fitting - Mr Heater Hose
Amazon.com - Mr. Heater F273755 1/4" Male Pipe Thread x 1"-20 Male Throwaway Cylinder Thread Fitting - Laptop Computer Chargers And Adapters
Is it a straightforward matter of changing the connectors in the following fashion?
I have never dealt with gas fittings before, so I really have no idea.
Attachments
Last edited:


") How bad can it be lol?
How bad can it be lol?