

Finally got around to starting the install on my grind to fit recoil pad. This is going onto a HS 700P stock. Thought I would post to show how easy this really is. You just need to take your time and try to remember that you can't put the material back once you grind it off. To the pictures.
Remove the existing recoil pad. I sawed mine off, as my freezer has food in it. There is no room for a rifle stock.
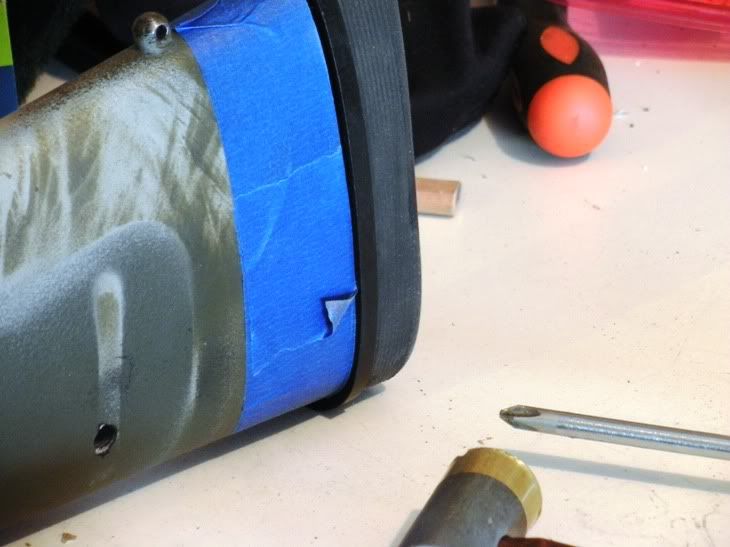
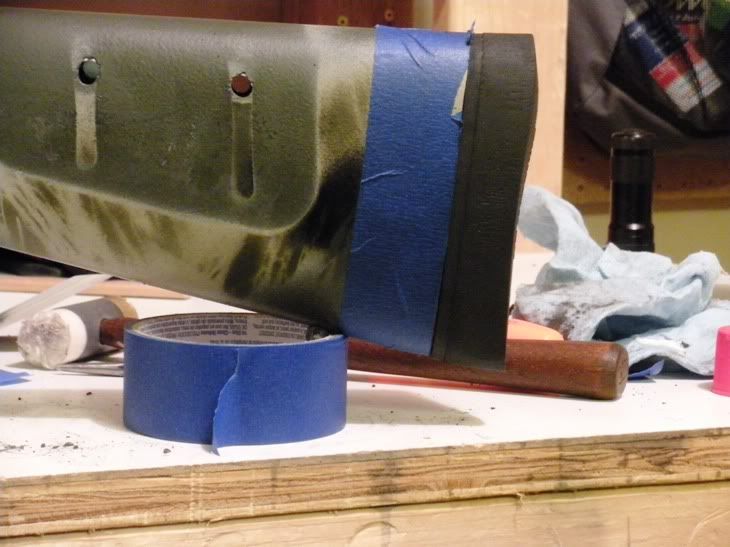
Once I go the pad off, I didn't have a flat surface so I hit it with my belt sander until it was close after I taped the stock to prevent chipping.
Taped the template on and centered it by eye, so it was less than perfect. Than I center punched the indicated areas for my wood screws. The HS stock was lacking in material in this area. The stock was not really thick enough for the screws to work. I will be epoxying this pad on, just using the screws to hold the pad in place until cured.
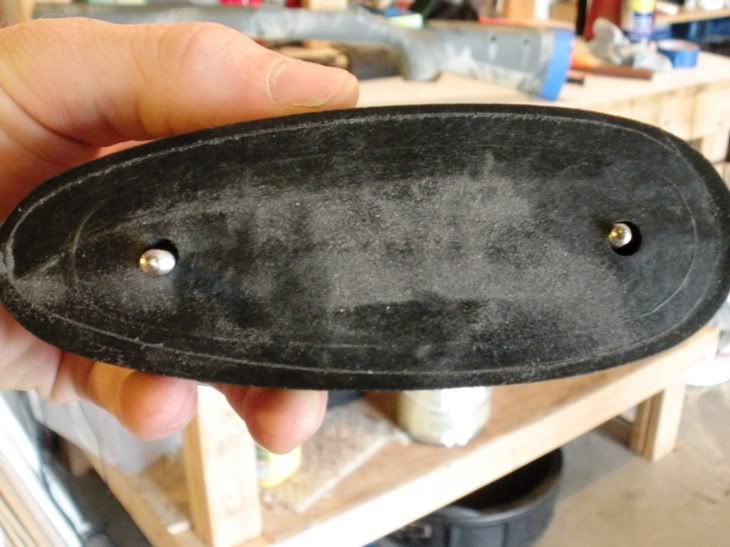
I removed the template and attached the pad for scribing. This is a medium size pad and there was more excess than I had been led to believe would be present.

I know there is a nice jig for this operation when you use a bench mounted belt sander, but I had a cheap B&D belt sander so I just put the pad in my vice to start and used 40 grit paper. The pad will expand quite a bit so I had to apply light pressure with the vice. While grinding the instructions recommend that you use wd-40 to lube the belt and pad. I would recommend you follow the directions! I left the area and when I returned the wd-40 had dried up. I started grinding and it went much faster than before. I guess that should be obvious. Anyway, I went right down to my scribe mark so all is not lost. You can see it in the picture below.
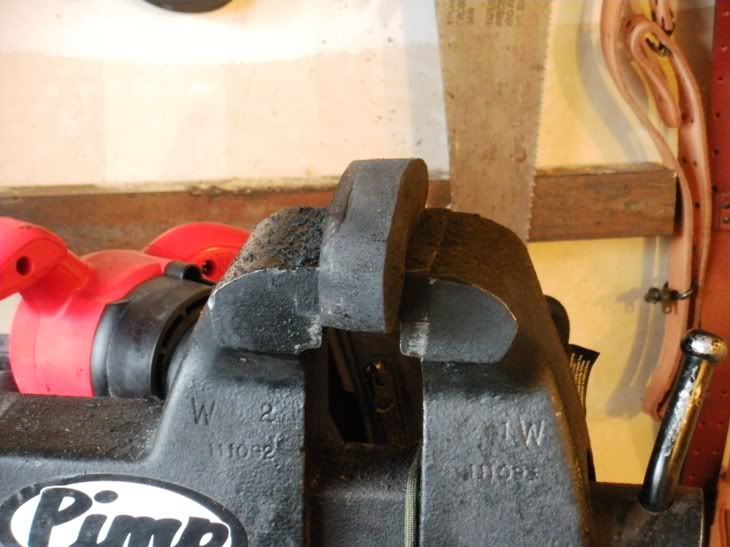
I decided that I could control this operation better if I clamped the belt sander in the vise and held the recoil pad. I also switched to 120 grit paper as I was within 1/16 of an inch and I was trying to follow the directions.
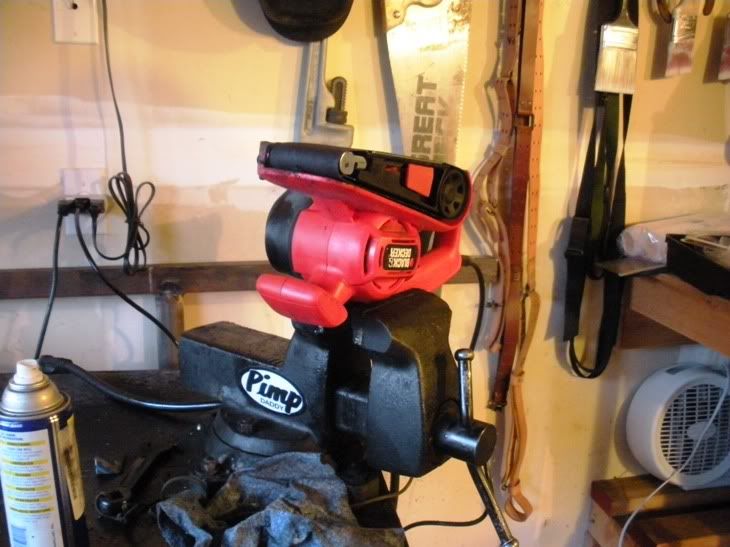
Follow the directions in regards to switching out grits 1/16 or more away from your line as it takes a bit to get the roughness out of the pad. It will not look as it did when you started when you are done with the finer grit.
The recoil pad is almost done in the above picture. I took a little more off the heel for good measure. Right now I'm trying to be patient and the pad is in my freezer so I can buff it with some scotchbright before gluing it onto my stock.
Overall, this was pretty easy. You just have to go slow and check your work often. I've never done this before and I'm not claiming this is the right way to do it. I just wanted to put this out there so you would know what you are getting into when you purchase one of these. Suggestions/comments or whatever is welcome and much appreciated. Thanks for looking.
Remove the existing recoil pad. I sawed mine off, as my freezer has food in it. There is no room for a rifle stock.
Once I go the pad off, I didn't have a flat surface so I hit it with my belt sander until it was close after I taped the stock to prevent chipping.
Taped the template on and centered it by eye, so it was less than perfect. Than I center punched the indicated areas for my wood screws. The HS stock was lacking in material in this area. The stock was not really thick enough for the screws to work. I will be epoxying this pad on, just using the screws to hold the pad in place until cured.
I removed the template and attached the pad for scribing. This is a medium size pad and there was more excess than I had been led to believe would be present.
I know there is a nice jig for this operation when you use a bench mounted belt sander, but I had a cheap B&D belt sander so I just put the pad in my vice to start and used 40 grit paper. The pad will expand quite a bit so I had to apply light pressure with the vice. While grinding the instructions recommend that you use wd-40 to lube the belt and pad. I would recommend you follow the directions! I left the area and when I returned the wd-40 had dried up. I started grinding and it went much faster than before. I guess that should be obvious. Anyway, I went right down to my scribe mark so all is not lost. You can see it in the picture below.
I decided that I could control this operation better if I clamped the belt sander in the vise and held the recoil pad. I also switched to 120 grit paper as I was within 1/16 of an inch and I was trying to follow the directions.
Follow the directions in regards to switching out grits 1/16 or more away from your line as it takes a bit to get the roughness out of the pad. It will not look as it did when you started when you are done with the finer grit.
The recoil pad is almost done in the above picture. I took a little more off the heel for good measure. Right now I'm trying to be patient and the pad is in my freezer so I can buff it with some scotchbright before gluing it onto my stock.
Overall, this was pretty easy. You just have to go slow and check your work often. I've never done this before and I'm not claiming this is the right way to do it. I just wanted to put this out there so you would know what you are getting into when you purchase one of these. Suggestions/comments or whatever is welcome and much appreciated. Thanks for looking.


