• Watch Out for Scammers!

    We've now added a color code for all accounts. Orange accounts are new members, Blue are full members, and Green are Supporters. If you get a message about a sale from an orange account, make sure you pay attention before sending any money!

  • Site updates coming next Wednesday at 8am CT!

    The site will be down for routine maintenance on Wednesday 6/5 starting at 8am CT. If you have any questions, please PM alexj-12!

Fieldcraft Rifle Painting Tutorial

Re: Rifle Painting Tutorial

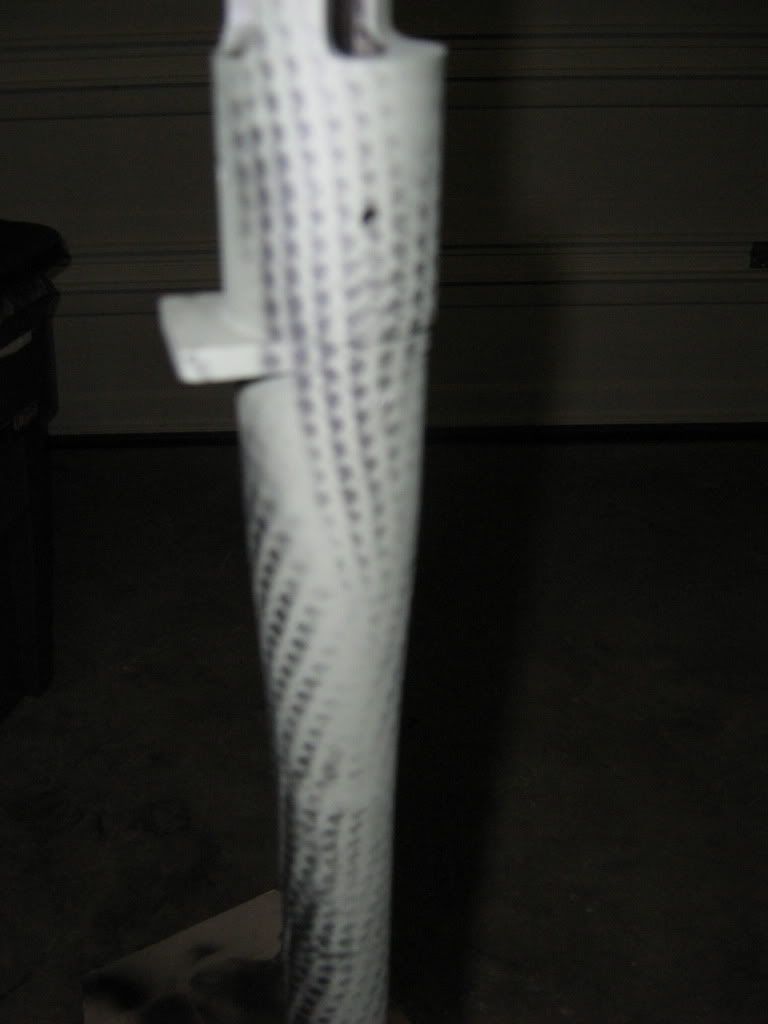
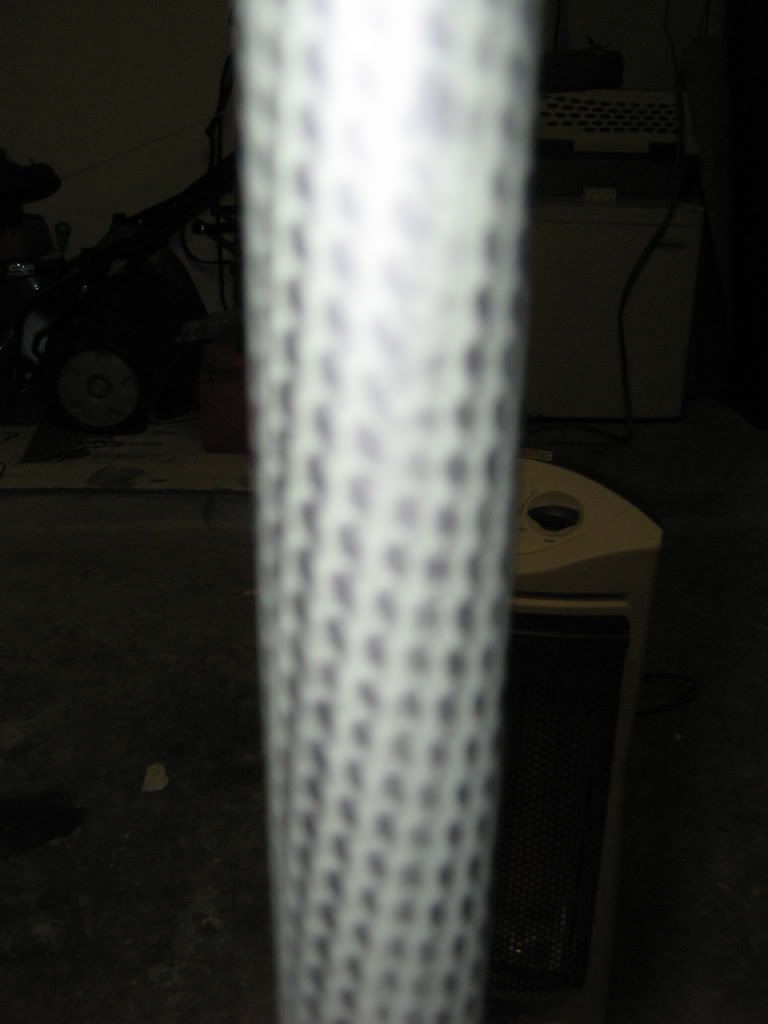
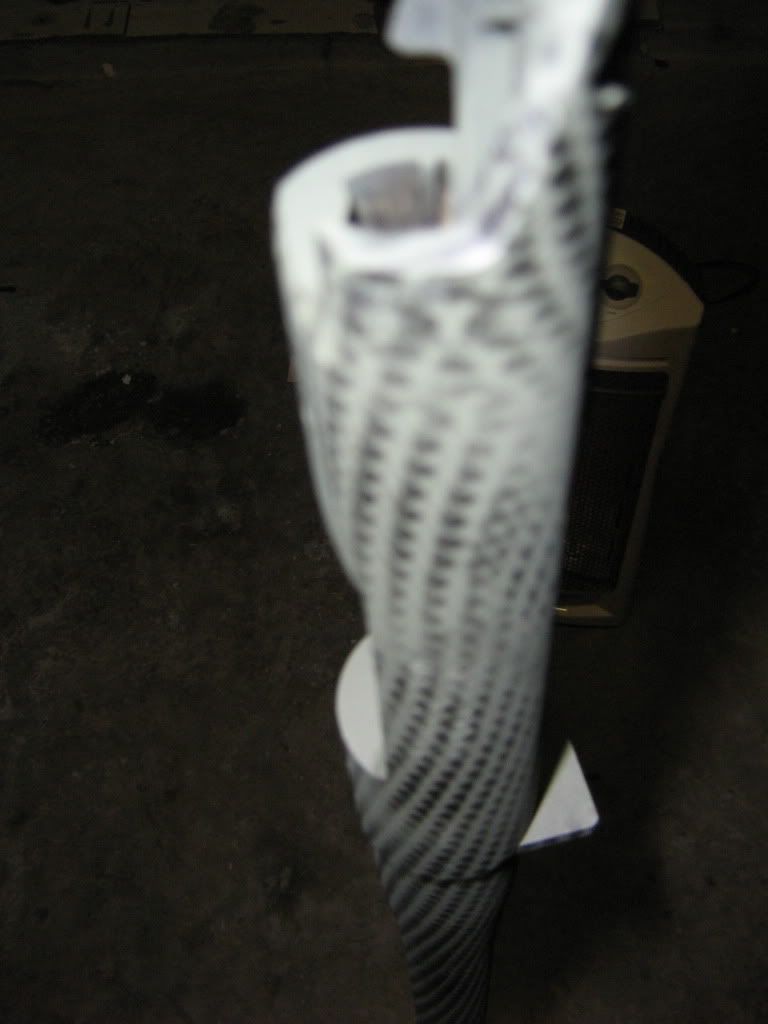
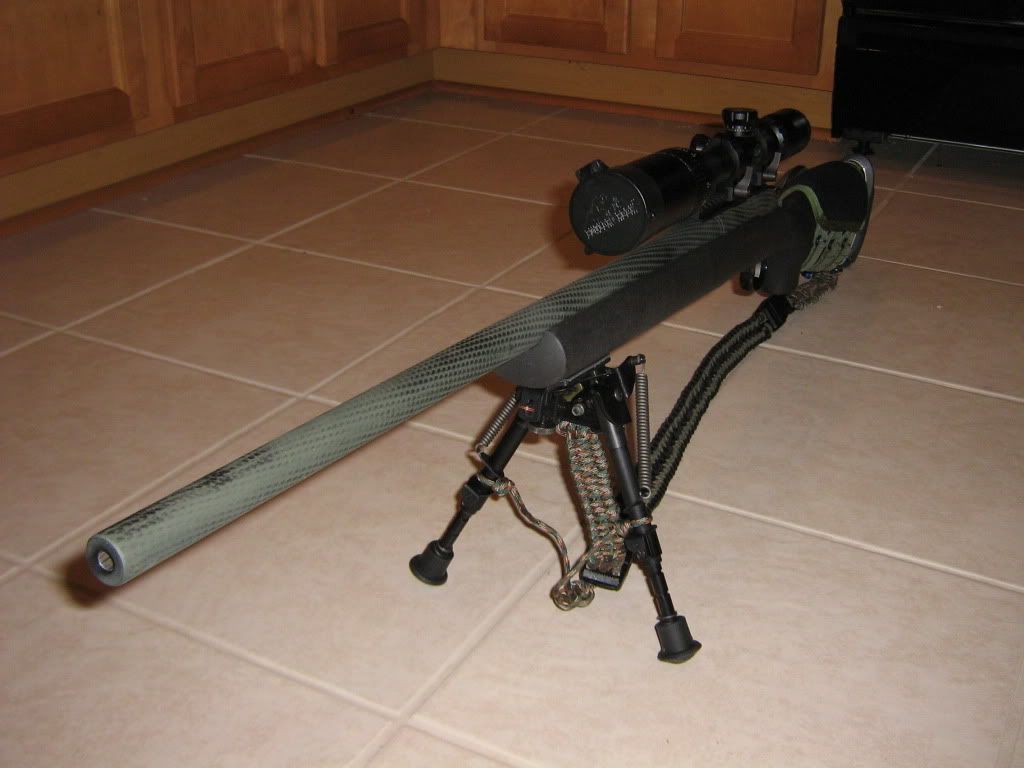
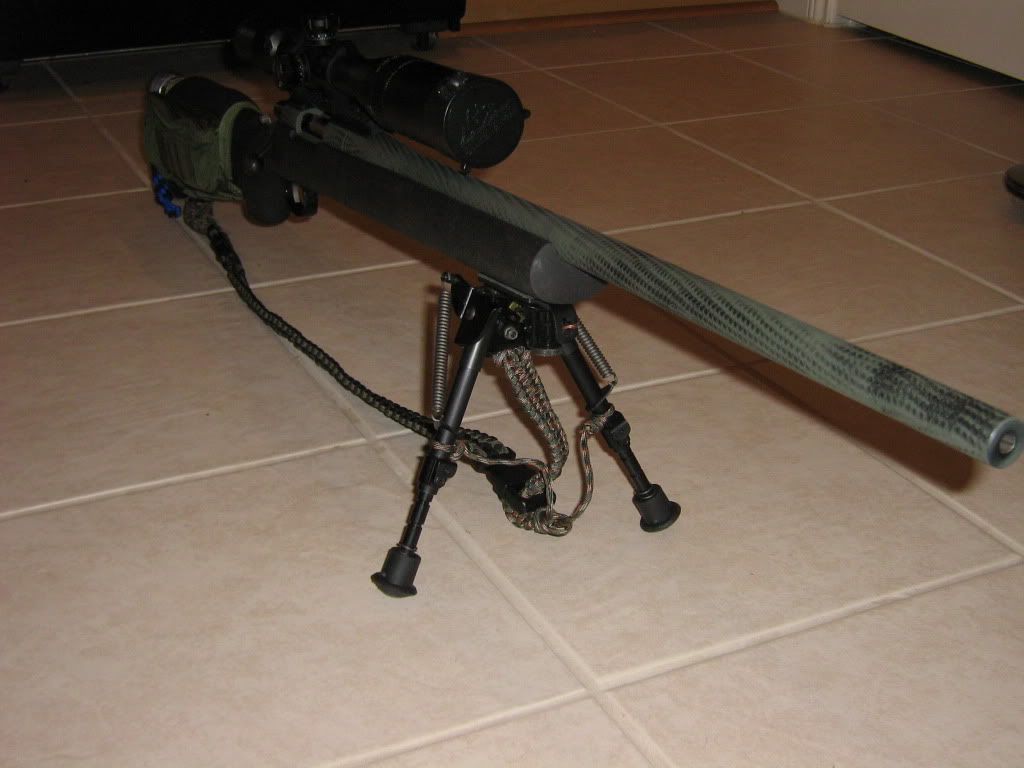
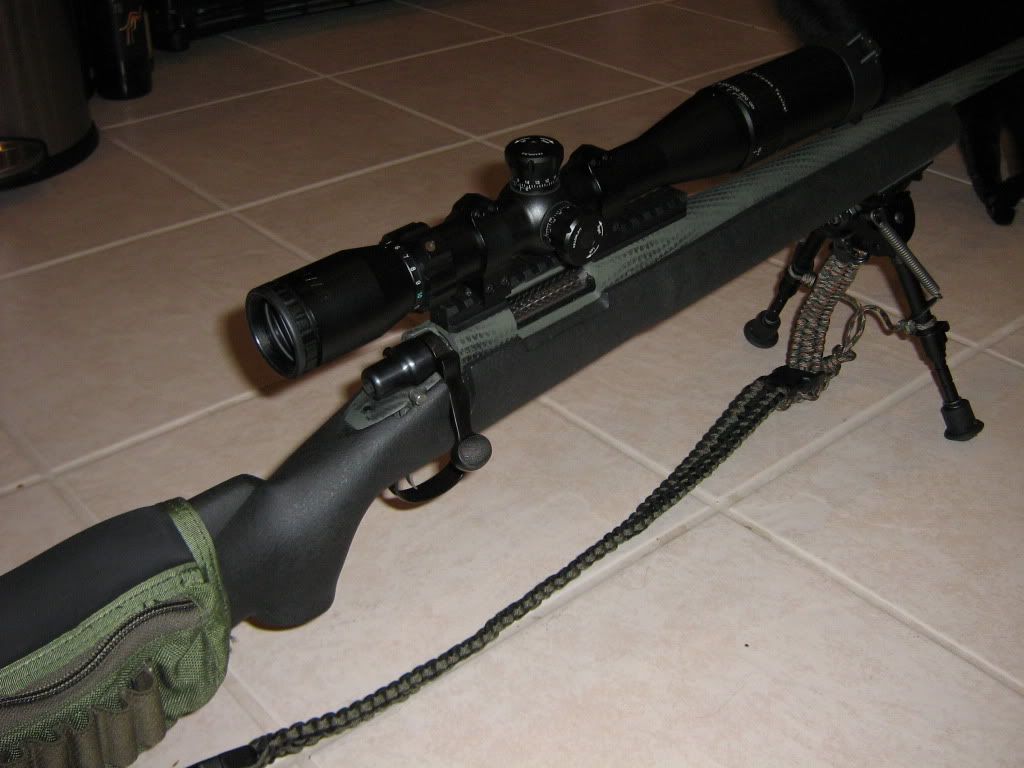
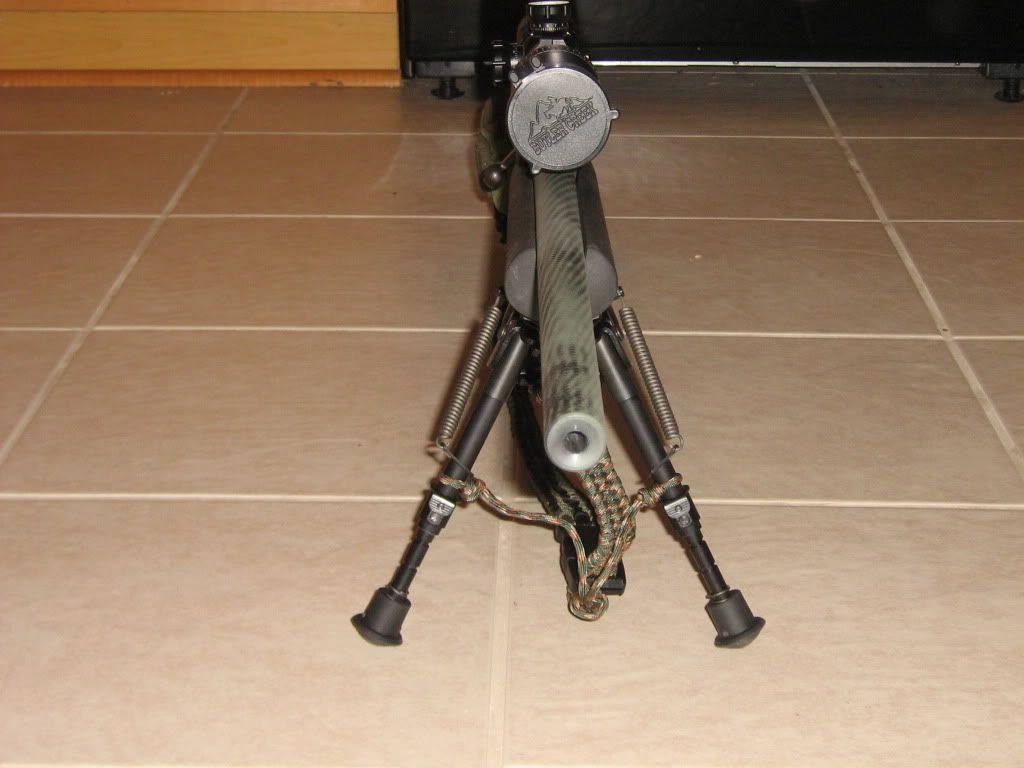
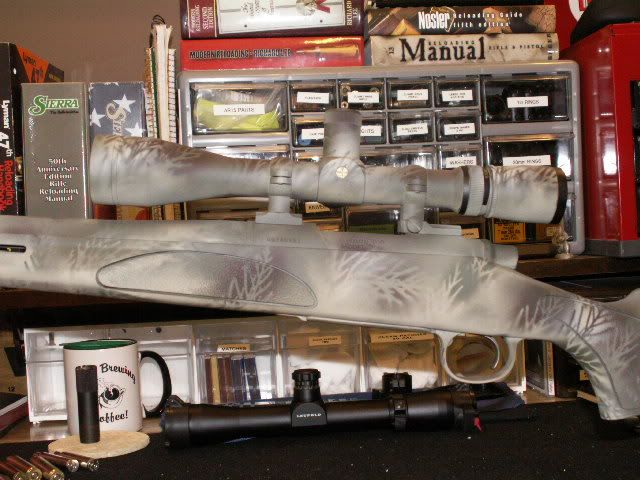
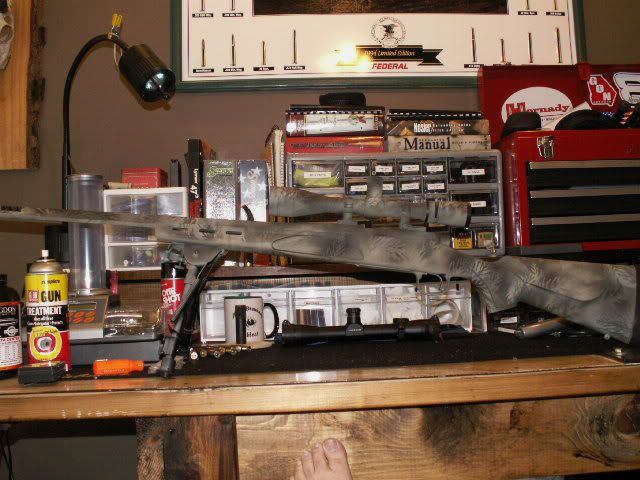
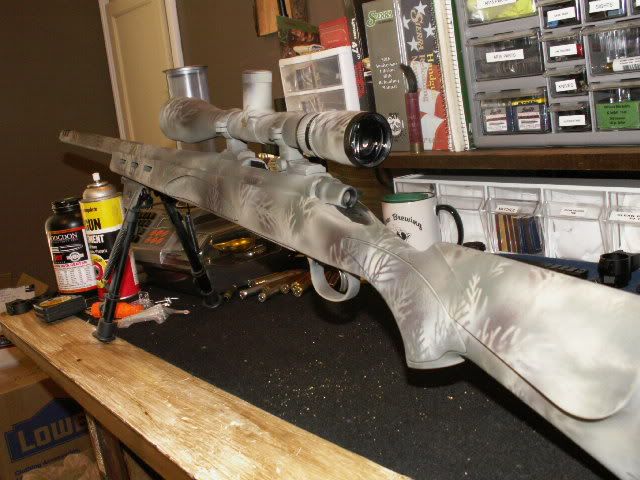
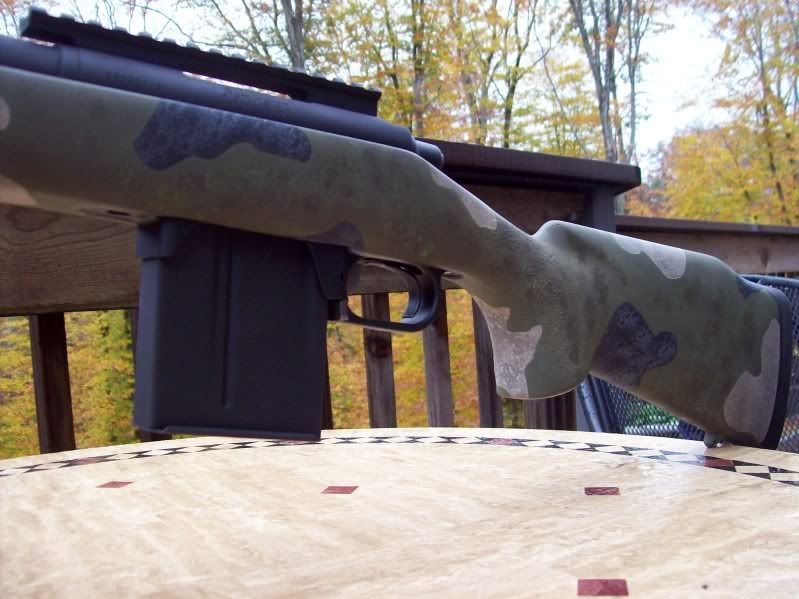
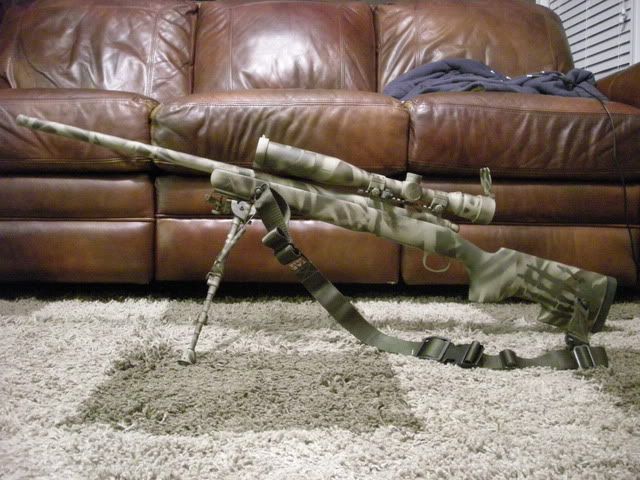
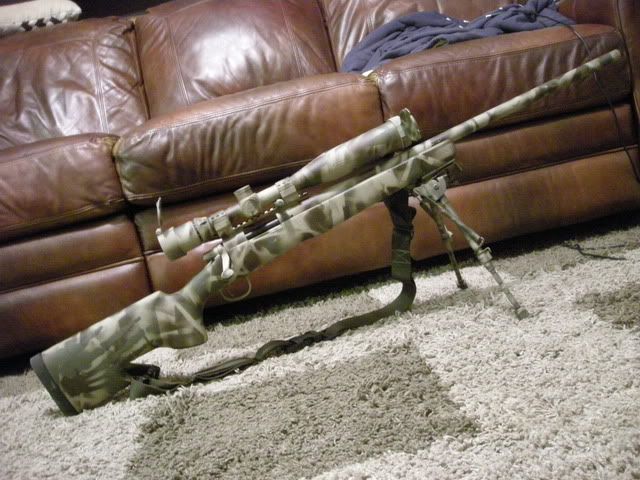
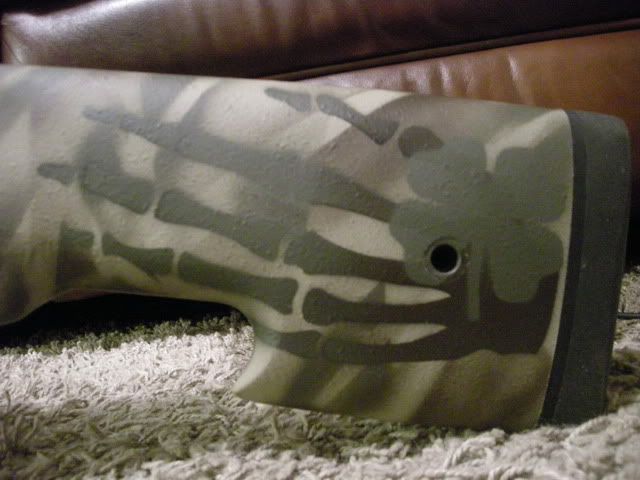
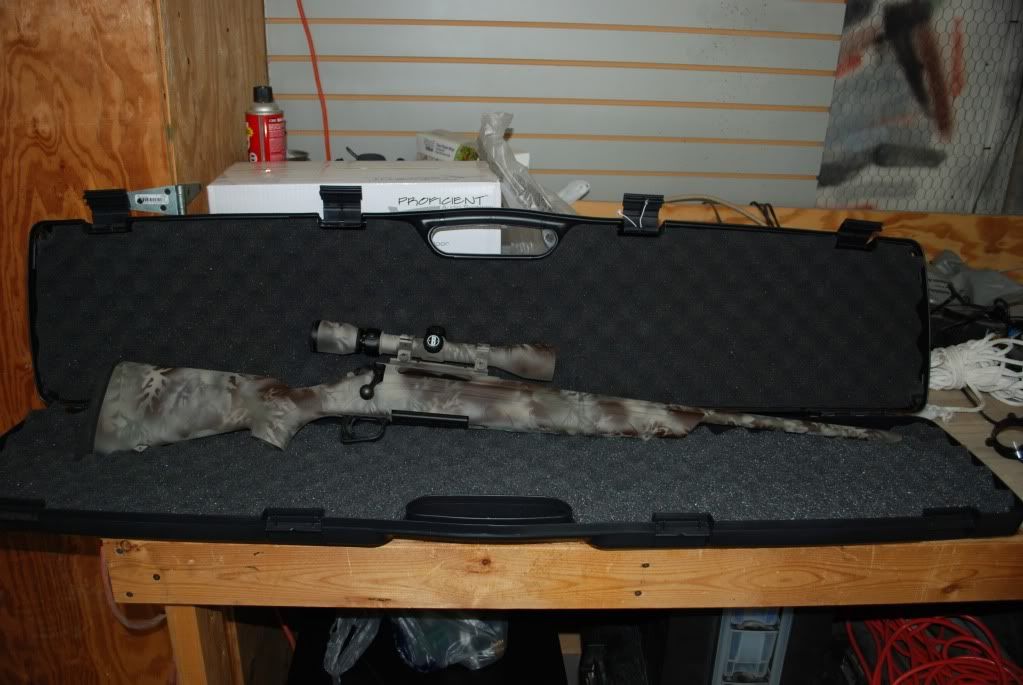
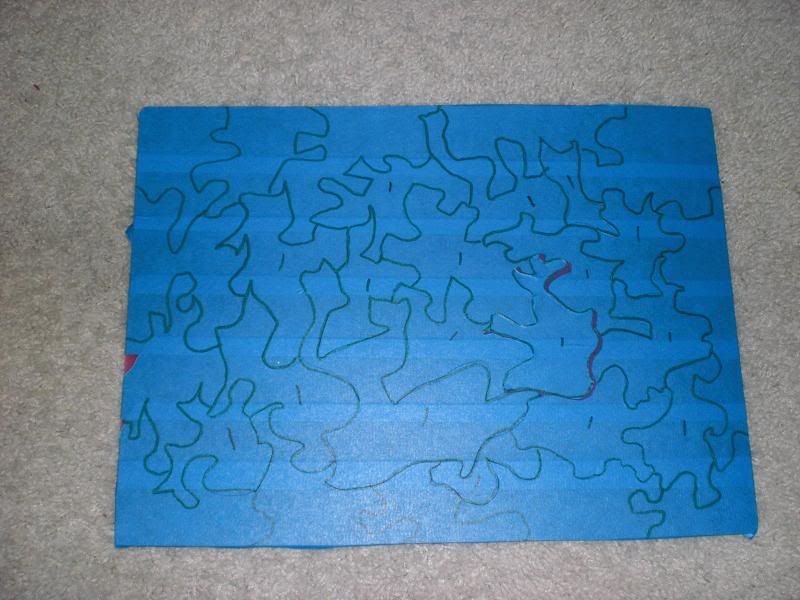
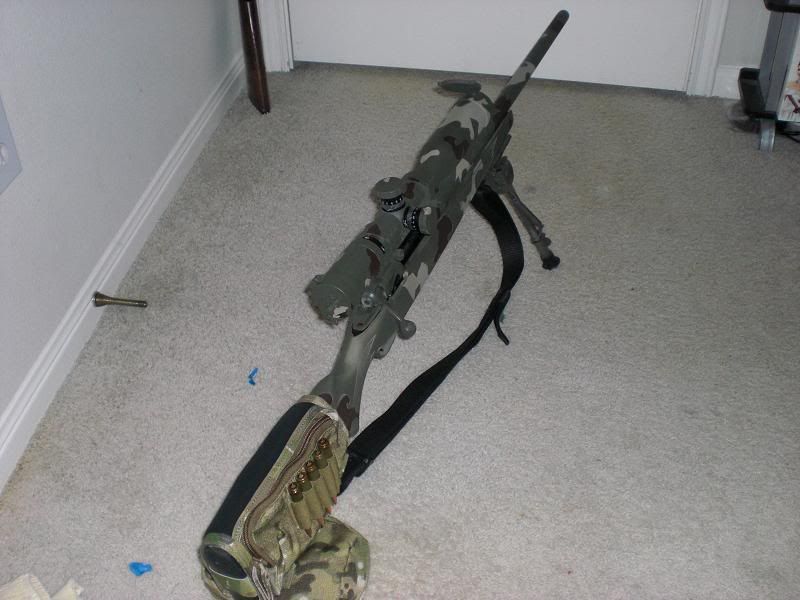
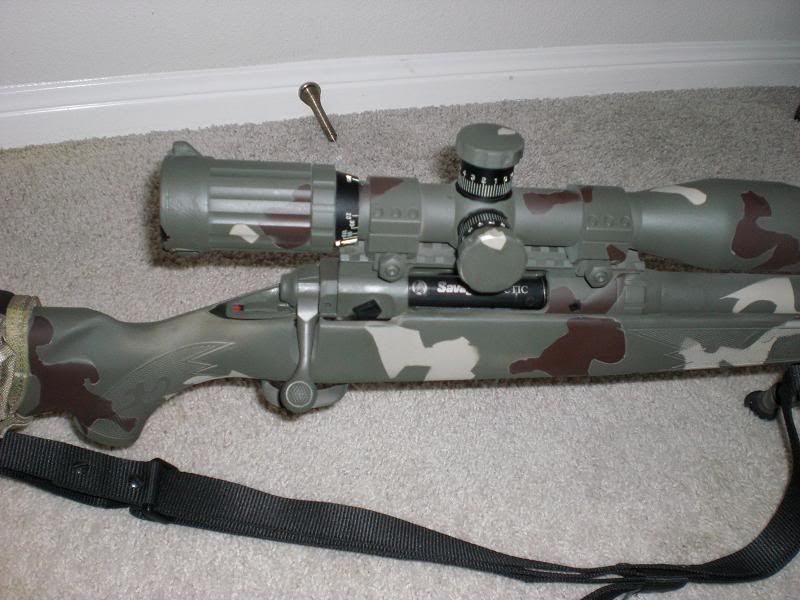
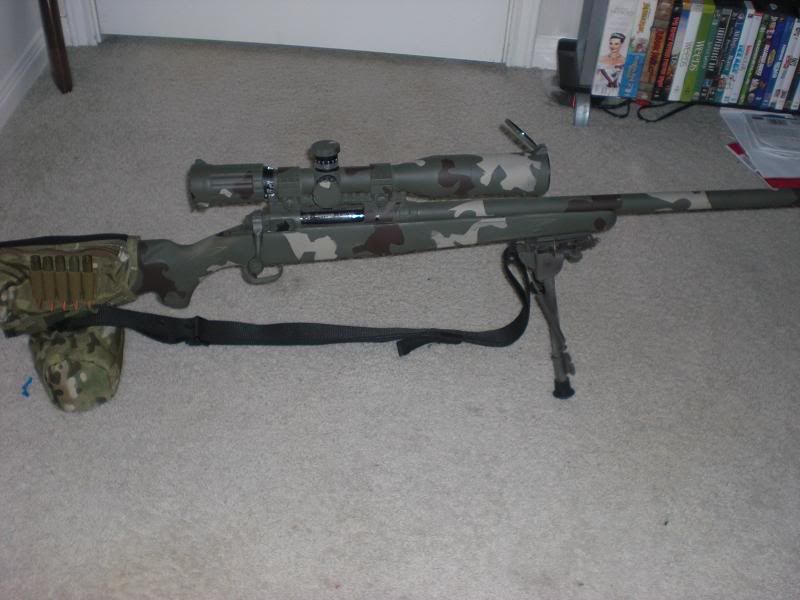
Here's a few I've done live in the SW so sand and browns are the colors. For a pattern I've used the things your Mom used to put under her lamps or on top her dresser.

http://i44.photobucket.com/albums/f42/Rezmedic54/rifles003.jpg

http://i44.photobucket.com/albums/f42/Rezmedic54/rifles002.jpg

http://i44.photobucket.com/albums/f42/Rezmedic54/HPIM0929.jpg

http://i44.photobucket.com/albums/f42/Rezmedic54/HPIM0928.jpg


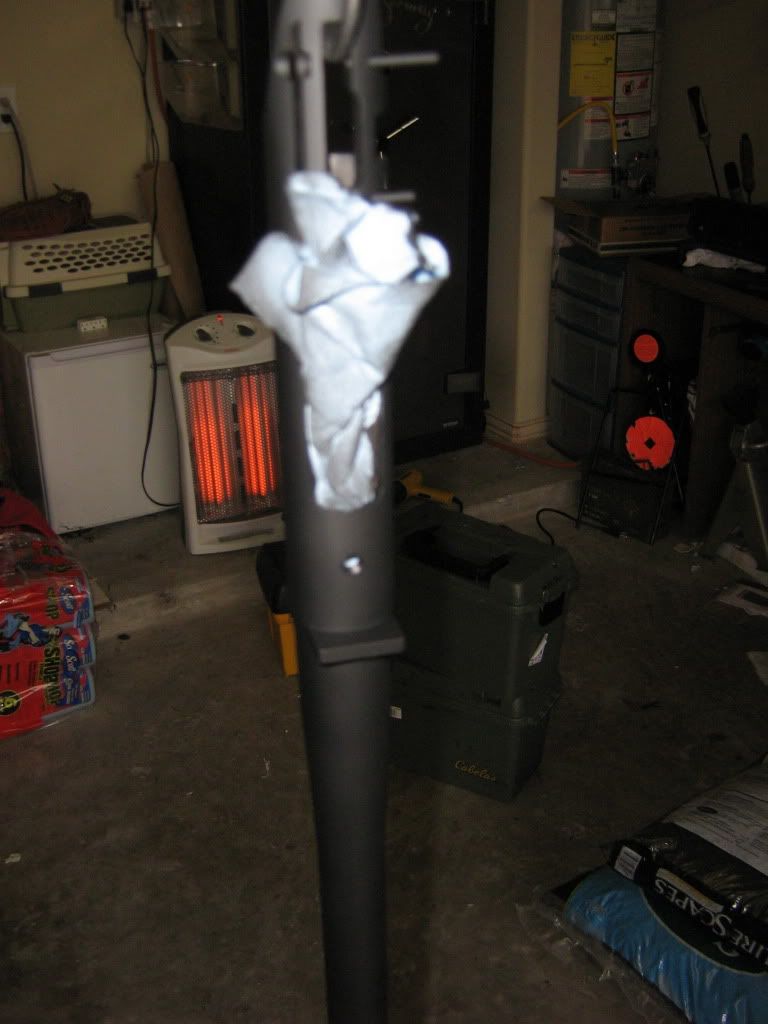
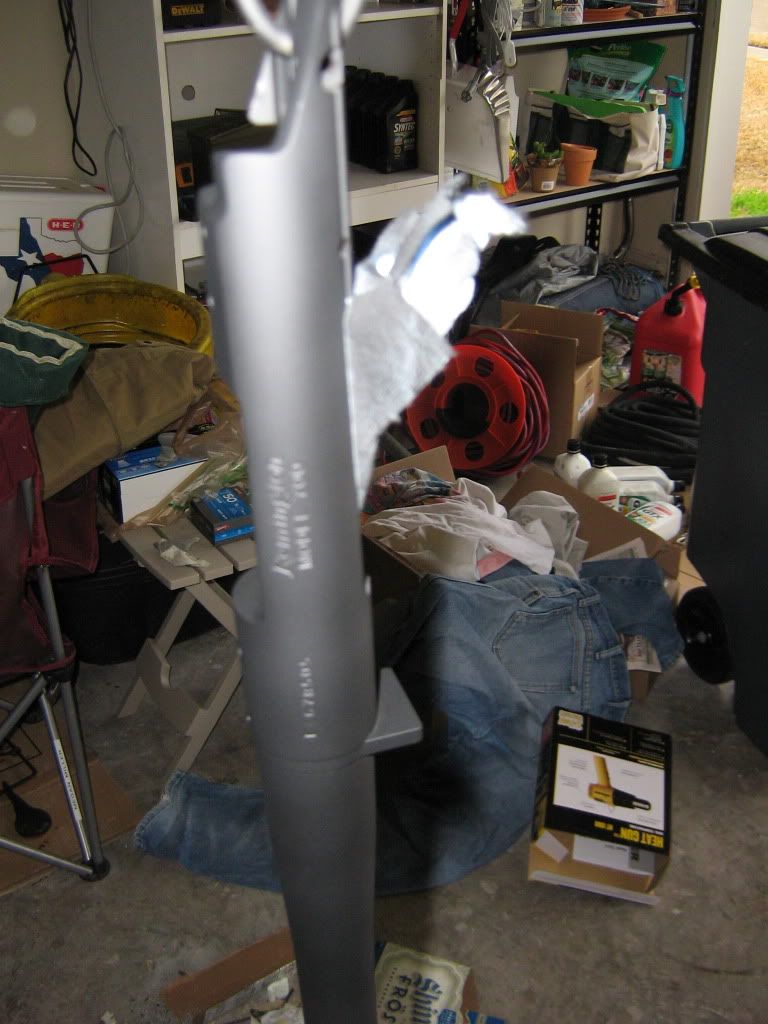
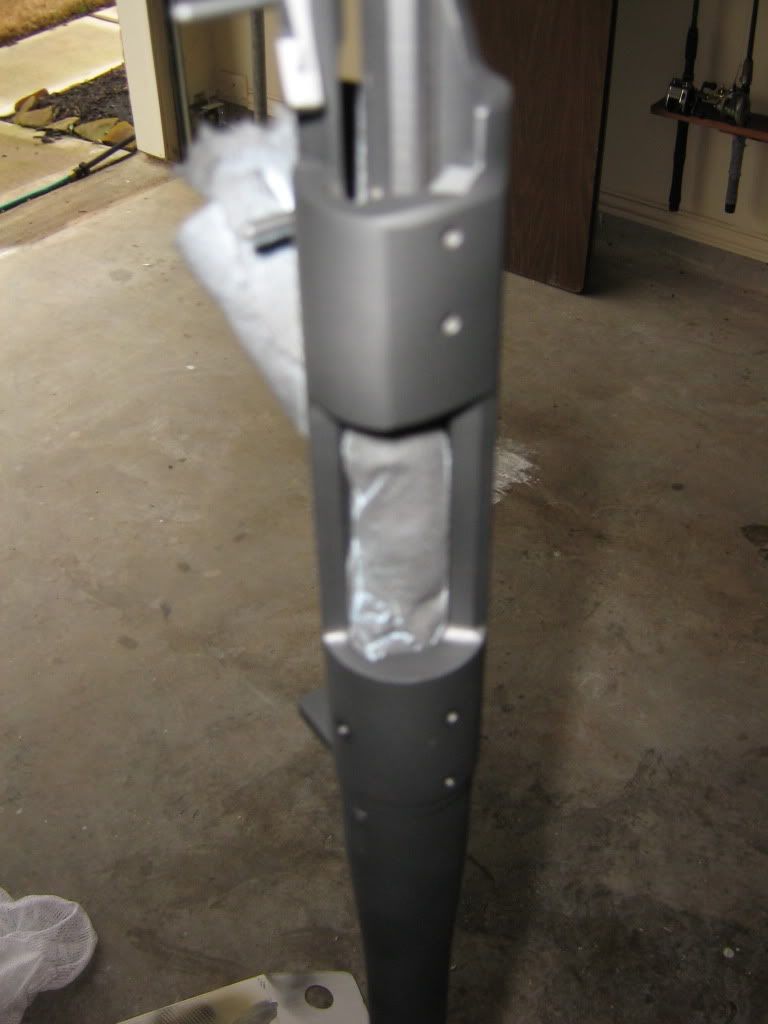
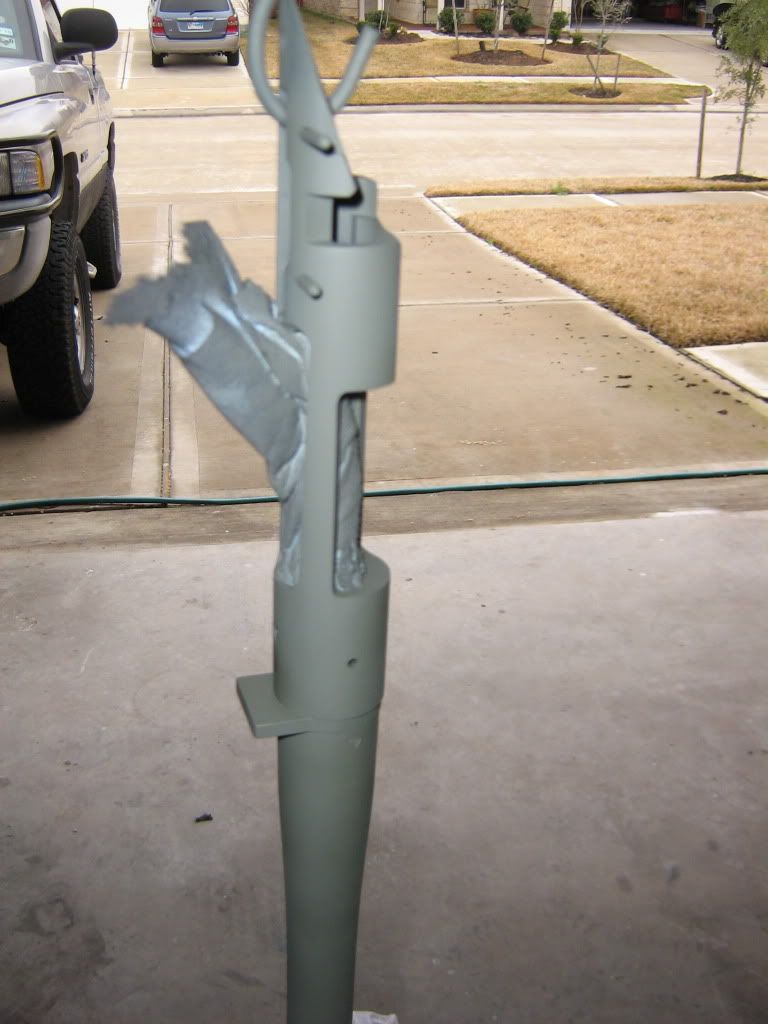
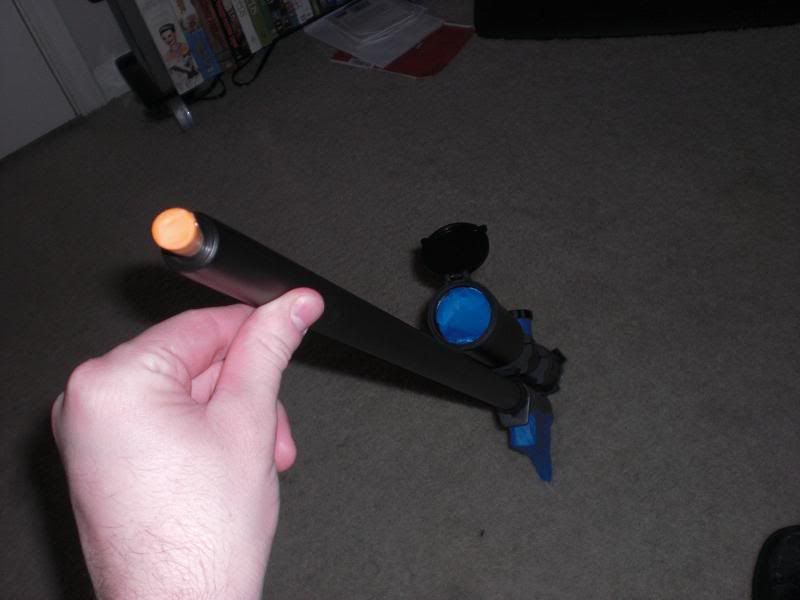
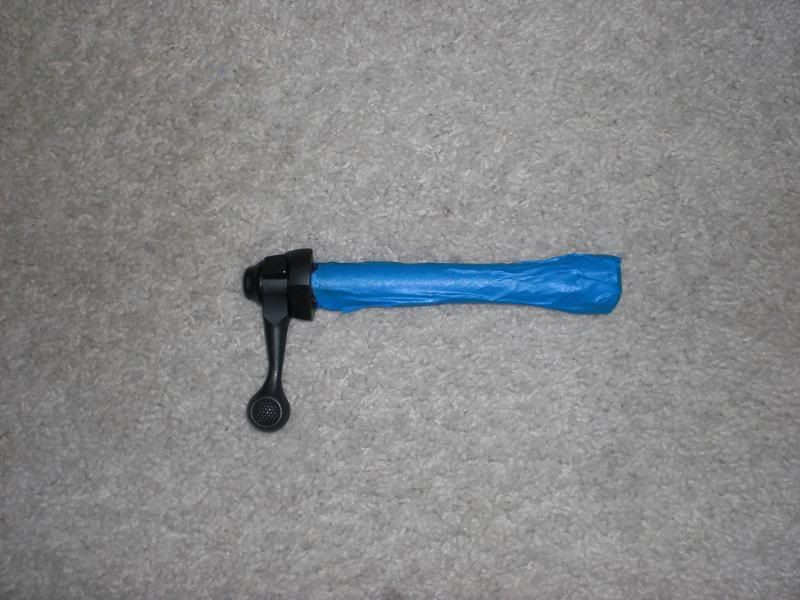
For paint I used the Camo colors you can pick up from Brownell's. First cleaned Rifles with Rubbing Alcohol and let dry, next hung rifle from a hook so as to paint all sides easily and be able to rotate gun. Used Sand as a base color then added the different browns and reds and yellows you find out here in the dessert.
 
Re: Rifle Painting Tutorial

I have a stainless barrel on my 300 wsm. anything differrent I should do, or any extra steps I should take to get the paint job to stick????
 
Re: Rifle Painting Tutorial

How I did my camo...

First I taped up all my important stuff with blue painter's tape. (most time consuming part)

004.jpg


003-1.jpg


006.jpg


Take time and don't go quick at this part... it'll only hurt you in the long run. Make sure all the numbers on your turrets are covered as well as anything that will allow paint into your action. I put an old ear plug in the barrel.

After this step I covered a cheap plastic cutting board with blue painters tape. I then drew a bunch of shapes (kept them random) with a sharpie. I cut the shapes out with an xacto knife and left them on the cutting board.

007.jpg


I then followed the steps provided in the first post. I took my rifle outside in the sun and sprayed it all brown. I then let it dry for about 15 minutes, then covered some of it with stencils.. etc. etc. Repeated the same process for the Khaki, then sprayed the whole thing OD green. Lastly sprayed with a matte clear and let it dry for about 8 hours.

...and this is what came out. It's not perfect but it works and was fun!! Total price was about $25.

009.jpg


010.jpg


CIMG2311.jpg
 
Re: Rifle Painting Tutorial

Has anyone tried FrogTape. I hear it is much better edging than blue tape but still comes off as easy for those making stencils.
 
Re: Rifle Painting Tutorial

It's not rifle, but here's my 1st camo job. It's my duck gun, an old 870 Express. I used Krylon Ultra Flat tan, brown & green. The base coat is tan. The stencils were some weeds out of my yard with brown sprayed over them. The tan was a little bright so I dusted it with a very light coat of green to tone it down. I'm happy with it. All it cost was 3 cans of Krylon and I have plenty left over if it gets scratched up.
[img:left]
arpics.jpg
[/img]
 
Re: Rifle Painting Tutorial

First Paint Job:Didn't want to ruin my rifle.
So I grabbed the nephews pellet gun
wink.gif


Hard-wood Thumb-Hole stock.

Going with a woodland camo pattern. Custom (Fur and Maple branches)

Tan-base
Black, olive and brown accents. I'll post a photo when it's done.


Note: Note that duracoat isn't expensive at all, but I just felt the need tobe creative this weekend so i picked up a few rattle-cans of ultra-flat kryon(camouflage designated/branded)

Base coat is very dull and the only shine is coming through from the fact that I only scuffed(150/320grit) the industrial enamel varnish on the stock(the dust smelled like spraying 2-part)
 
Re: Rifle Painting Tutorial

If your not using a sea sponge thingy your making this more work than it needs to be.

Spray base coat, let dry

Select other colors

Grab sponge, pluck etc until ya get pattern ya want
test by dabbing on paper etc

Apply pattern via sponge done, a kid could this
 
Re: Rifle Painting Tutorial

If you are painting in cold weather it is especially helpful to warm your spray paint in a hot water bath,raises the internal pressure. It will give give a finer spray without globs you might get in cold weather and towards the end of the can. Just my experience. Sweet Thread just painted my M1A. Should've done it sooner.
 
Re: Rifle Painting Tutorial

<div class="ubbcode-block"><div class="ubbcode-header">Originally Posted By: TOP PREDATOR</div><div class="ubbcode-body">some schemes i'm working on to sell in the future:

http://s633.photobucket.com/albums/uu54/WALTERRO/PAINT%20JOBS/?albumview=slideshow

</div></div>

one of them looks alot like a reticulated python. all of the blend away into the backgrounds so well. good use of your time man
 
Re: Rifle Painting Tutorial

I am going to paint my Mossberg 12ga after deer gun season next week to sharpen my skills before moving on to a more expensive piece of equipment. Is there any further prep you do to a barrel that has a heavy blued finish? Or do you just scrub the hell out of it first? Also some have mentioned that Krylon does wear over time. What is the average length of time or use before some of you have to retouch or repaint?

Thanks
 
Re: Rifle Painting Tutorial

after reading this thread and a couple others I decided to give it a shot on an old Burris scope.

Tools:
tools.jpg

I decided to use a primer, well see if that was a good idea, i also used rustoleum brand paint, has anybody else used that before? i definitely need to look for a clear coat of some sort.
Primed(next time i will just "dust" the primer and not coat on like this):
primer.jpg

i also used 80 grit before priming on a rust spot and then i used 220 after priming...
started with Khaki and attempted some patterns:
tapekhaki.jpg

here where i really learned something, professional stencils would have been great and i used a razor blade to start, then switched to sizors, they worked a lot better. i did the khaki last night and let it sit until this am. then i started attempting my own GAP camo:
paintbrown.jpg

this "brown" looks more purple, i probably didnt put it on correctly.
next i taped where i wanted the brown to stay and sanded again and then used a wet towel to get all the dust off:
brownsanded.jpg

then painted green as my primary color, used a hair dryer to warm up the paint, its about 50 here right now, but saw this tip on here so i tried it:
green.jpg

let this sit for about 30 minutes and tried my best to peel with out screpping the paint.
finished.jpg

somewhat of a natural light pic (that is a stripped talley ring i need to get off of there):
finishednatligh.jpg

othersidenat.jpg

vertnatight.jpg


I am really glad I tried this on this scope and not on my S&B first!! All in all i think it is pretty good for a rookie, it will help keep me un identified from other ninja assasins for sure!
grin.gif

 
Re: Rifle Painting Tutorial

I really wanted to cut the tape precisely on all the numbers instead of blocking the whole area, but that was impossible with the blue tape, maybe masking tape would be better??
numbers.jpg
 
Re: Rifle Painting Tutorial

^Try using a brand new x-acto knife instead of a utility knife or plain razor blade. If you take your time and let the blade do all the work, you should be able to get a nice clean cut.
The regular tan masking tape is usually a little thinner than the blue painters tape, couldn't hurt to try it.
 
Re: Rifle Painting Tutorial

Has anyone ever successfully painted a hogue overmolded stock for a Remington 700? I just painted my AR and am now addicted. I'm not going to be able to order my B&C A2 stock for my R700 for a while and was wanting to paint the Hogue stock for now. I am thinking it will be a big fat fail due to fact that it is rubber.
 
Re: Rifle Painting Tutorial

This is a very informative tutorial, I am planning on painting my Rem700 .308 and was wondering if there was a clear coat that you would recommend to protect the paint from chipping. I just want it to remain in good condition. I have a fake fern plant I am thinking about using as a stencil. Lastly my trigger I installed is a rifle bassix and it has a shiney safty and trigger do you think it would hurt it to paint it as well?
 
Re: Rifle Painting Tutorial

Does using rattle can paint cause the paint to get pulled into all the spaces such as between the action and stock. Perhaps the paint doesn't flow if sprayed from a distance and thinly? Just wondering, especially when painting an AR type rifle and there are exposed spaces like at the charging handle and mag release button?
 
Re: Rifle Painting Tutorial

<div class="ubbcode-block"><div class="ubbcode-header">Originally Posted By: USMC2841</div><div class="ubbcode-body">Does using rattle can paint cause the paint to get pulled into all the spaces such as between the action and stock. Perhaps the paint doesn't flow if sprayed from a distance and thinly? Just wondering, especially when painting an AR type rifle and there are exposed spaces like at the charging handle and mag release button?</div></div>

This is why you maintain that 8" or so distance from the thing that you are painting. The paint just sort of gradually builds up on the surface instead of being forced somewhere you don't want it to go. That being said, not every crevice can be covered up and some paint might creep a little ways into some cracks and what not but not enough to cause any function issues...even after multiple applications.
 
Re: Rifle Painting Tutorial

Hey guys, i just registered. Sorry for resurrecting this thread. Ive been pouring over the posts and pics of others projects. It has inspired me to paint my new savage. I think its cooler than a black stock.
wink.gif


100_2363.jpg


100_2359.jpg
 
Re: Rifle Painting Tutorial

well, thanks to yall, my rifle barrel just got its first coat of paint...i think i am going to do tan and green scales...kind of like this
IMG_2722.jpg

IMG_2725.jpg

IMG_2726.jpg

IMG_2730.jpg


this is the pattern i am going to try
IMG_2724.jpg
 
Re: Rifle Painting Tutorial

I was inspired by this thread and decided to take the leap.......not ballsy enough to do it on any of my nicer rigs but sacrificed the truck gun (700 VTR 308 w/ leupy vari x tactical) and am really pleased with the results......whole project took an hour and i decided to go with some leyland cypress limbs for the pattern

PICT0002-6.jpg

PICT0003-3.jpg

PICT0005-2.jpg


thanks for the help as always
 
Re: Rifle Painting Tutorial

before anyone comments.........sorry about the foot in the pic, had to lean back in chair to get the frame.......
 
Re: Rifle Painting Tutorial

I was wondering if any one has had a problem with the acetone eating any of the palstic's on the rifles. Sorry if I missed it posted somewhere in this thread! Also is the digi cam patterns that you used hand made or is there some sort of kit, tricks that you all used to make them. Thanks!
 
Re: Rifle Painting Tutorial

put a little rustoleum on the Razor, I used rubbing alcohol to clean, 220 sand paper, cleaned again, a lite coat of primer, then tan rustoleum, and of course I taped as best I could, I tok the turrets off and painted them sperately

100_1432.jpg

100_1421.jpg

100_1408.jpg

100_1409.jpg
 
Re: Rifle Painting Tutorial

Some great looking stuff.Is there anybody doing this for other people? I can't even finger paint.
Scot
 
Re: Rifle Painting Tutorial

Anyone have a good readup on how to do multi-cam? I use to have one that someone showed me utilizing stencils from paper and a air brush gun. Not sure where I found it at.


Re: Rifle Painting Tutorial

Great tutorial!
I decided to practice on my daughter's BB Gun first and it was very simple. This was first try then later I got some fern leaves to add to it. Think I will add some black to it too.

Next I will try this on my Marlin 60 with Dragunov design ATI Synthetic stock. Will post my work on that one.


Picture with base coat

View after pattern applied

Another view

Last one up close

.. hmm maybe the Mossberg 500 with Specops stock.. You guys got me going now...

Carmando..
 
Re: Rifle Painting Tutorial

Ugadeer, What colors did you use? Did you add a brown or is that a rust color? Love the look.


Carmando
 
Re: Rifle Painting Tutorial

here's my home brew camo.
used krylon camo
card board stripps
rubbing alcohol
scotch brite pad
tape & ear plug
I like to take the barrel n action out of the stock. I tape the bedding then spray the parts seperate. gives a more complete look i think.
done this a couple times now with very satisfying results.
DSCN2398.jpg

DSCN2401.jpg

DSCN2389.jpg
 
Re: Rifle Painting Tutorial

carmando.......i used all rustoleum "camo" paint and colors were light khaki, flat dark green and flat dark brown

base was khaki, then added i little green and then the brown then picked spots i didn't like and added more, starting over with the khaki
 
Re: Rifle Painting Tutorial

<div class="ubbcode-block"><div class="ubbcode-header">Originally Posted By: 30caluser</div><div class="ubbcode-body">put a little rustoleum on the Razor, I used rubbing alcohol to clean, 220 sand paper, cleaned again, a lite coat of primer, then tan rustoleum, and of course I taped as best I could, I tok the turrets off and painted them sperately

100_1432.jpg

100_1421.jpg

100_1408.jpg

100_1409.jpg
</div></div>


Wow!!! You are a brave man painting a RAZOR. You should have taken a little more time on the masking job, if you want I can redo that for you in duracote, I'm so OCD when it comes to that ... unless if that as the look you were going for then it looks great...
smile.gif
 
Re: Rifle Painting Tutorial

question i figured could get asked here. im going to be painting a shotgun. long story short im going to be use primer first due to removing the rib/rail that runs down the barrel.

should i sand before the primer? should i sand post primer?
 
Re: Rifle Painting Tutorial

Did this for a buddy last week. First one ever. I didn't tell him that.

DSC_0062.jpg