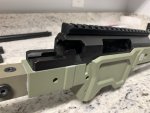
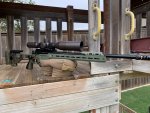
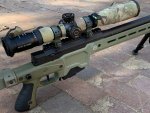
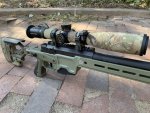
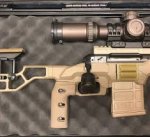
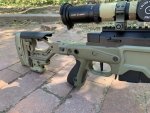
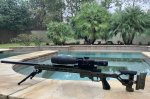
I have my balance point about 3” in front of the magazine well, which is about perfect for using Game Changer type bags. That’s with the prototype chassis with the 1.5# internal weight and one MDT external weight up front. I think with the production chassis and 2# internal weight it’ll be just about perfect.
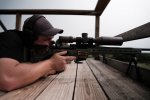
This has been my experience with most rifles as well. When it’s balanced within an inch or so from mag well, once you put it in a bag is rear heavy.
3” in front seems like a lot without a bag. Once a bag is in play it’s just about perfect.