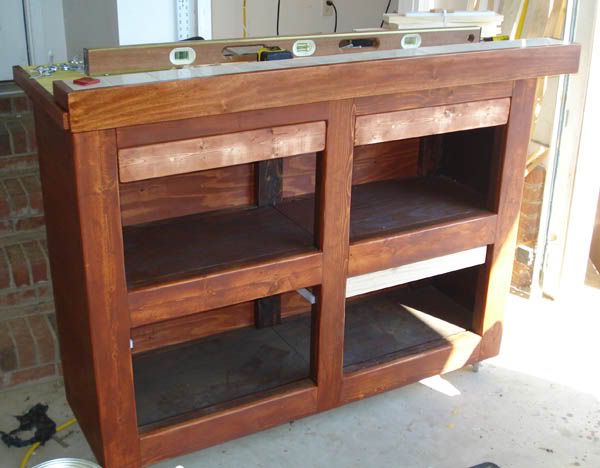
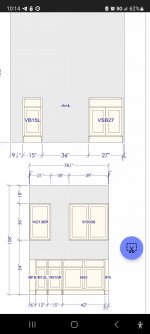
Mine is a mess right now, getting organized, stuffing things everywhere. Went from a 30x30 to a 5x12 off the garage. Custom built my cabinets. Still not enough space for everything but Inline Fabrication has helped me solve a lot of space issues.
I need to take more pictures and get them uploaded.
It's actually waaaaay more packed than these pics illustrate.
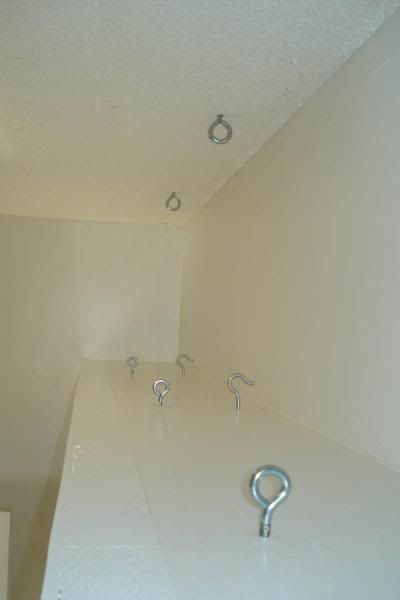
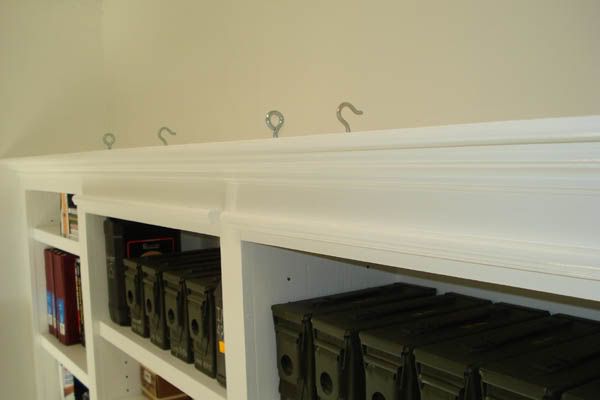
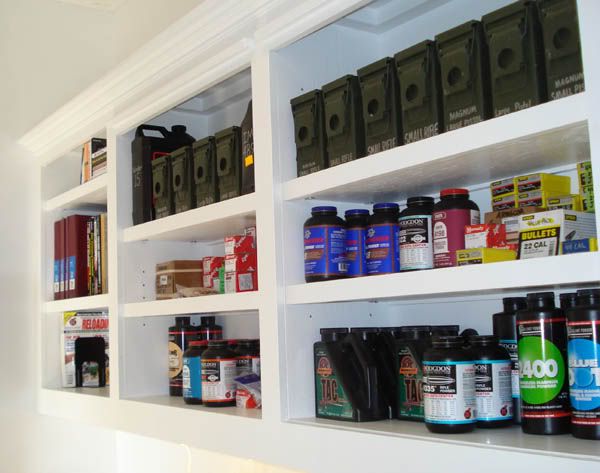
So it didn't take me long to realize that the cabinets, once full, would weigh about a half ton ... so I engineered a cable system to add strength by hanging them from the rafters.
Then I started loading them, once I got the cables strung and tightened.
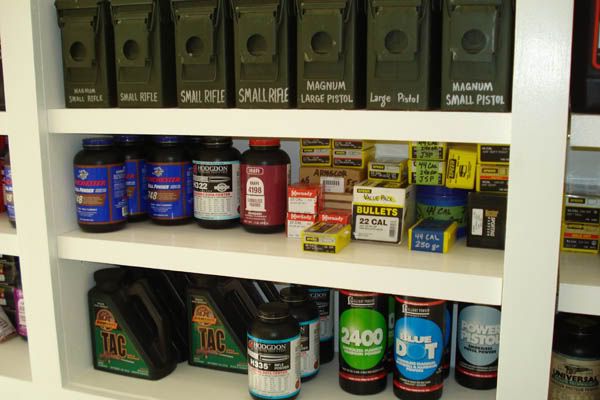
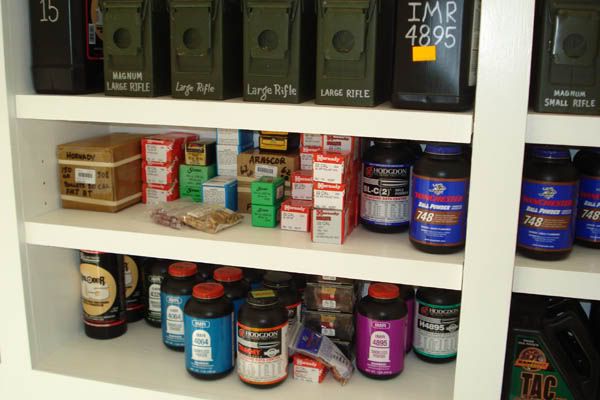
Didn't take me long to realize there was not going to be enough room to fit 100k primers at the time (just before the pandemic started, now down to about 50k)
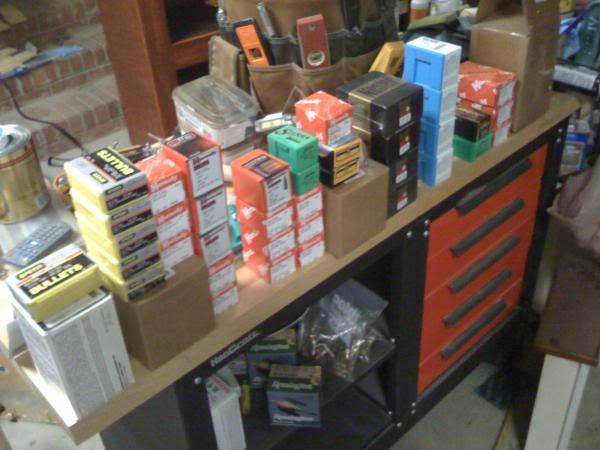
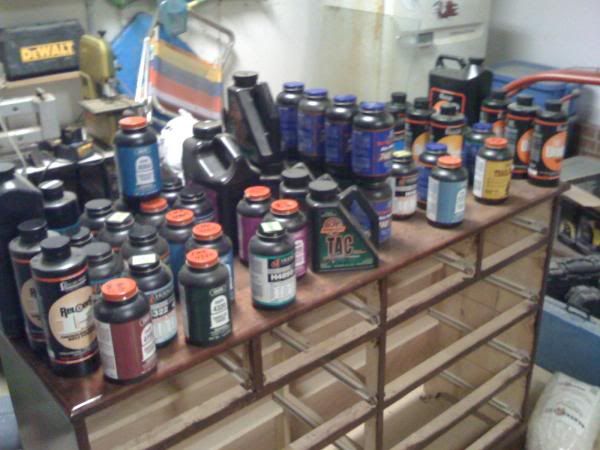
There is a lot of overflow so I was also building benches to go down below.
I've still got to build doors for those custom wall mounted cabinets and the floor benches. But I had to get it to the point where I could get in there and start rolling some-up.
I've burned through some of that, a lot of that actually, but added a lot more as I countinue to roll'em out, shoot'em up, stash it away.
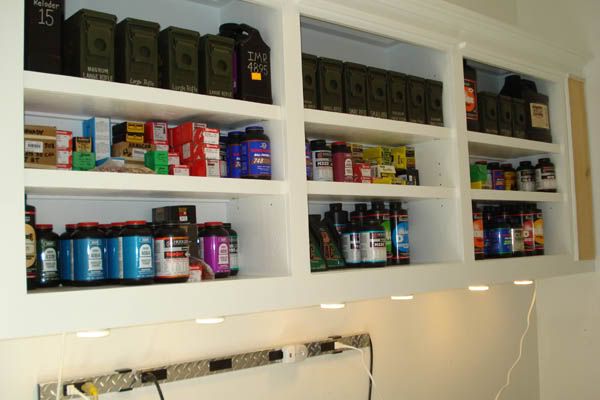
I'll take pictures of the Inline Fabrication wall mounts tomorrow ... to be continued.
I stacked all the brass up on top, pre-sorted, in containers. Up where the cable system was put in place.
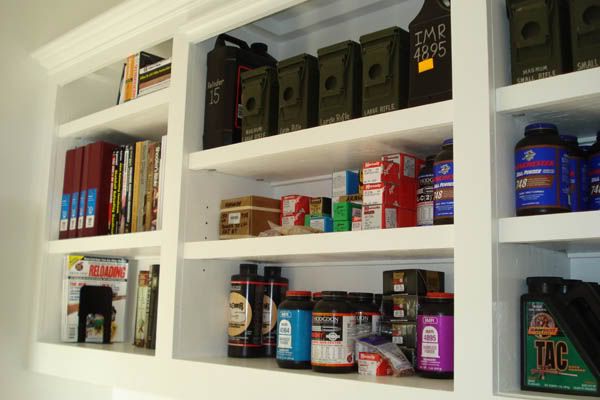
Dies and accessories, etc., are on the benches and in drawers ... I'll get pictures of those up tomorrow.
I got rid of the Dillons, actually made a profit on those, have gone strictly to a T7 and a couple of Rock Chuckers and a Rebel. Trying to keep it all green stuff.
It'll make more sense when I get the other pics uploaded although it's packed insanely tight in that little space right now. Never thought I'd get as much in there as I have but I've had to sacrifice some of the bigger stuff since I am no longer shooting IDPA or IPSC or 3-gun anything.
Still having fun on my range though, and doing some teaching.