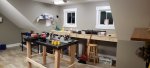
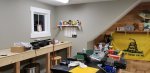
Read this whole thread...That is my problem right there. I don't have reloading experience. Thanks for the advice, great tips. I'll try to visit someone local who reloads so I can get an idea. Any other advice before I cut wood is welcomed! I have a clean slate room to work with so I have options.
Thanks fellas!
There is probably more good information in building a reloading space than anywhere else on the Interwebs....
Start page one... then finish page 7. Then start cutting wood.
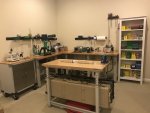
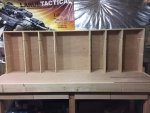
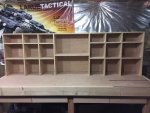
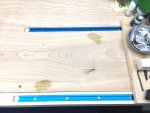
Some of the guys here have built incredible setups. With really genius little touches. Swing-out seats. Drawers. Rails. There is so much win here.
Cheers,
Sirhr