Join the Hide community
Get access to live stream, lessons, the post exchange, and chat with other snipers.
Register
Download Gravity Ballistics
Get help to accurately calculate and scope your sniper rifle using real shooting data.

Install the app
How to install the app on iOS
Follow along with the video below to see how to install our site as a web app on your home screen.
Note: This feature may not be available in some browsers.
You are using an out of date browser. It may not display this or other websites correctly.
You should upgrade or use an alternative browser.
You should upgrade or use an alternative browser.
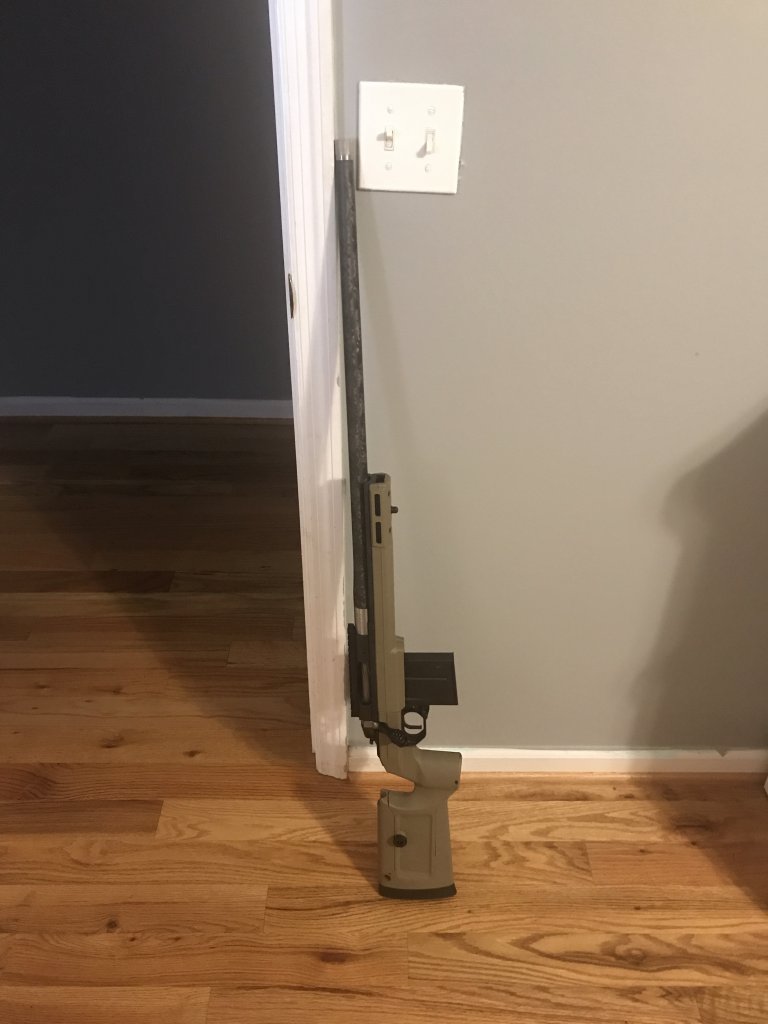
KRG Bravo Chassis
- Thread starter southerngolfer
- Start date
@Bcamos
It sounds like your mag well is so tight, that it's not allowing the mag catch to engage the magazine. Perhaps adjusting the mag well to be a little more generous will allow the mag catch to engage enough to keep the mag in during the recoil impulse.
Thank you for the advice. I'll play with it a bit to see if I can tell a difference.
I read in the posts above that you can adjust the mag fit by moving the trigger guard forward. I might give that a try to see if it helps me out any.
Yep, the trigger guard and fore end can both be adjusted back and forth a small amount for mag fit. Obviously barreled action needs to be removed before trigger guard can be adjusted.
Okay so I have a bigger problem now haha. I remove the tang screw and a black washer fell out of somewhere. It's not the washer that goes with the rear action screw, but it's the same size. I can't figure out where this thing goes. There don't appear to be any spaces loose enough for it to fit. The only thing I can think of is that it goes between the tang screw and the top of the tang itself, but I don't recall seeing it there when I took the screw off. Any ideas?
Don't have mine in front of me but I'm 99% sure you're correct, top of the tang.
That's the only thing that made sense to me. My witness mark landed in the same spot when I torqued it back down and everything else looks good with it back together. So I assume that's where it was meant to be lol.Don't have mine in front of me but I'm 99% sure you're correct, top of the tang.
We had to remove the side mount holes for the QD plate because there was interference with the Arca Rail. Basically you had to use one or the other. You can still put the QD plate on the bottom but again same issue. We have a new NV mount coming made for the Spigots that has QD mount points that are raised out of the way of the rail. You could also get an MLok QD mount and put it on the forend, it's only a few inches further back.@Massoud was there an updated Arca Spigot? I bought one from Brownells and noticed it didnt have the QD holes for the QD plate on the sides. Which is a bummer, cuz i planned to use that for my sling.
Thank you,
Justin
I like my Bravo so much, I'll be ordering another soon.
Props to KRG for recognizing the issue with the Tac A1 being non compatible without making modifications.

@EmanP
@EmanP
Dude, they might not be able to respond bluntly to idiot customers but I'm sure they'd like to so let me do it for them! They wrote what it's compatible with; if it's not listed it's because it's not compatible. How much more obvious does it need to be? Seriously. They don't need to update their website because of some idiots out there that don't know how to read plain English.
Last edited:
I finished up my Bravo cerakote last week - very happy with the outcome. 4 color “Topoflage” camo.


This build is a budget .223AI, KRG Bravo, Ultimatum U300, IBI Rem Varmint 1-7 15”, Triggertech Special trigger, Vortex Diamondback Tactical 6-24 in PMR rings. Should be a fun little plinker. Barrel isn’t chambered yet - but you get the idea.

This build is a budget .223AI, KRG Bravo, Ultimatum U300, IBI Rem Varmint 1-7 15”, Triggertech Special trigger, Vortex Diamondback Tactical 6-24 in PMR rings. Should be a fun little plinker. Barrel isn’t chambered yet - but you get the idea.
I finished up my Bravo cerakote last week - very happy with the outcome. 4 color “Topoflage” camo.
View attachment 7099621
View attachment 7099623View attachment 7099624
This build is a budget .223AI, KRG Bravo, Ultimatum U300, IBI Rem Varmint 1-7 15”, Triggertech Special trigger, Vortex Diamondback Tactical 6-24 in PMR rings. Should be a fun little plinker. Barrel isn’t chambered yet - but you get the idea.
View attachment 7099625
Ok that's a damn cool camo job!
Ok that's a damn cool camo job!
Goddamn it took some time to stencil it up though, pretty painful.
I finished up my Bravo cerakote last week - very happy with the outcome. 4 color “Topoflage” camo.
This build is a budget .223AI, KRG Bravo, Ultimatum U300, IBI Rem Varmint 1-7 15”, Triggertech Special trigger, Vortex Diamondback Tactical 6-24 in PMR rings. Should be a fun little plinker. Barrel isn’t chambered yet - but you get the idea.
That is awesome!
I saw way back in a post from 2017 that the TL3 lug doesn't fit however mine dropped right in. Did they change the lug inlet since? Also both my bravos had issues with accepting a trigger tech trigger. the safety bar interfered when trying to go on safe. Quick dremel job fixed it, but not sure if anyone else has seen the same issue with triggertech triggers.
We have a lefty X-ray and Whiskey-3 but no Bravo as of yet.
Original Bravo's had a lug pocket that was more simple and made for a factory size lug, early on we just standardized all the backbones so it's the same as a W-3 and X-ray now and has the larger pocket. Sometime in 2018 we added a chamfer to the lug pocket that clears the small radius that some actions have that come with a built in recoil lug. Some action makers are good about cleaning up that radius but some leave it in there.
Thanks guys!
Justin
Could we see a Lefty bravo in 2019 or 2020?
We have a lefty X-ray and Whiskey-3 but no Bravo as of yet.
I ordered the Wiebad mini stock pad for the KRG Bravo and it didn't fit perfectly so I e-mailed them. I've been working with them on getting a perfect fitting stock pad for the Bravo. Hopefully it'll be ready in a few weeks!
Old one:

New prototype:

Old one:
New prototype:
I ordered the Wiebad mini stock pad for the KRG Bravo and it didn't fit perfectly so I e-mailed them. I've been working with them on getting a perfect fitting stock pad for the Bravo. Hopefully it'll be ready in a few weeks!
Old one:
View attachment 7110522
New prototype:
View attachment 7110521
I’m down for one!
I probably should have put this here.
The Bravo is probably the best thing I've ever bought for my rifle. Now it's time to replace everything else around it haha. Action, barrel, optic, you know...all that other stuff.


I just installed my bravo today. Quick question- Am I supposed to install the 6 screws in the bottom of the forend, or is that just for the Acra rail? They're not mentioned in the instructions at all.
How do you get access to the back of the MLOK rails on the forend? I couldn't see any obvious way to separate the aluminum from plastic forend. I ended up removing the sling stud and putting the MOE rail in the forward 2 holes where I could fidget the backing plates in there. I want to add a QD swivel to the left side.
How do you get access to the back of the MLOK rails on the forend? I couldn't see any obvious way to separate the aluminum from plastic forend. I ended up removing the sling stud and putting the MOE rail in the forward 2 holes where I could fidget the backing plates in there. I want to add a QD swivel to the left side.
I just installed my bravo today. Quick question- Am I supposed to install the 6 screws in the bottom of the forend, or is that just for the Acra rail? They're not mentioned in the instructions at all.
How do you get access to the back of the MLOK rails on the forend? I couldn't see any obvious way to separate the aluminum from plastic forend. I ended up removing the sling stud and putting the MOE rail in the forward 2 holes where I could fidget the backing plates in there. I want to add a QD swivel to the left side.
On the left/right side are mlok slots, so just get any mlok accessory. mlok doesn't require accessing the backside of it.
Amazon.com : Magpul Industries Sling Attachment Fits M-LOK, Black, 1 : Sports & Outdoors
Amazon.com : Magpul Industries Sling Attachment Fits M-LOK, Black, 1 : Sports & Outdoors
www.amazon.com
I just installed my bravo today. Quick question- Am I supposed to install the 6 screws in the bottom of the forend, or is that just for the Acra rail? They're not mentioned in the instructions at all.
How do you get access to the back of the MLOK rails on the forend? I couldn't see any obvious way to separate the aluminum from plastic forend. I ended up removing the sling stud and putting the MOE rail in the forward 2 holes where I could fidget the backing plates in there. I want to add a QD swivel to the left side.
The forend just pulls off once you remove the screws that hold it to the backbone, it's a tight fit so just pull hard at one end. Thank you for your business!
Justin
The forend just pulls off once you remove the screws that hold it to the backbone, it's a tight fit so just pull hard at one end. Thank you for your business!
Justin
Thanks Justin. I guess that means to make sure to install those forend screws, which I did. The instructions should mention that since they were in a bag and not screwed into the stock when it arrived.
The screws to your forend weren't attached when you received it?I just installed my bravo today. Quick question- Am I supposed to install the 6 screws in the bottom of the forend, or is that just for the Acra rail? They're not mentioned in the instructions at all.
How do you get access to the back of the MLOK rails on the forend? I couldn't see any obvious way to separate the aluminum from plastic forend. I ended up removing the sling stud and putting the MOE rail in the forward 2 holes where I could fidget the backing plates in there. I want to add a QD swivel to the left side.
The screws to your forend weren't attached when you received it?
If you mean the 6 screws that go into the bottom of the forend into the aluminum rail, then no. They were in a baggie. There also wasn't an instruction sheet, but it was easy enough to download it off the KRG website.
Did you buy a blem chassis? Can you pm me your name or order number? Thank you,If you mean the 6 screws that go into the bottom of the forend into the aluminum rail, then no. They were in a baggie. There also wasn't an instruction sheet, but it was easy enough to download it off the KRG website.
Justin
If you mean the 6 screws that go into the bottom of the forend into the aluminum rail, then no. They were in a baggie. There also wasn't an instruction sheet, but it was easy enough to download it off the KRG website.
That's odd. Mine came direct from KRG and everything was installed/screwed on except for the rail section.
Yeah only the early generation X-rays came without the screws installed but they had instructions.
Justin
Justin
Thinking about picking up the Ambi Sling Mount. Who’s using it and what sling are you running to pack your 10-15# rifle around.
I’ll try to get some pics of my rig up later.
I’ll try to get some pics of my rig up later.
Are there any issues with a RemAge setup fitting in a Bravo? Im concerned about the barrel nut getting in the way.
Thanks!
Thanks!
I ran into a little fitment issue on mine with an ARC Nucleus & a Barloc. The Barloc has the same OD as the action, effectively making the action like ¾" longer. Fortunately I have access to a mill because I'm not real big on just chopping at something with a Dremel. Conversely, most barrel nut setups I've seen don't have an OD that large, so I think you should be good.
As mentioned, just keep the barrel nut OD under the action diameter and you're fine. Thank you.
Justin
Justin
Is the trigger area the same on the XRAY and Bravo? I’m only asking cause your original email to them was asking if a Tac A1 would fit into a XRAY chassis but you ended up buying a Bravo which had clearance issues. I may be wrong just wondering if they are identical and it wouldn’t have mattered.You are obviously missing the entire point of this discussion, and in way over your head....
They are the same. When we get a chance we're going to show a pic of the clearance required for the Tac A1 trigger. It's pretty minor.
Justin
Justin
We have a lefty X-ray and Whiskey-3 but no Bravo as of yet.
Original Bravo's had a lug pocket that was more simple and made for a factory size lug, early on we just standardized all the backbones so it's the same as a W-3 and X-ray now and has the larger pocket. Sometime in 2018 we added a chamfer to the lug pocket that clears the small radius that some actions have that come with a built in recoil lug. Some action makers are good about cleaning up that radius but some leave it in there.
Thanks guys!
Justin
Massoud,
Any update on when the steel version Arca rail will be available?
Mine isn't fully kitted out. Im trying to keep this build a bit on the budget and as reasonably light on the weight side as reasonably possible. I went out and shot it today, and I really like it. I need to put a spacer in the buttstock to increase the LOP, and I need to ditch these rings and bases (these were in the parts bin and Im impatient). Very comfortable chassis and the fact that it only weighs in at only 3lbs is a win for me.

I took it to 990 yards today. It looks like those measly 155gr .308 ELD-M's are getting out there pretty well.

I took it to 990 yards today. It looks like those measly 155gr .308 ELD-M's are getting out there pretty well.
Should be getting my TL3/Proof CF Sendero lite barreled Action in today chambered in 6.5 Saum. Tomorrow my Bravo should be showing up. Can’t wait!
Specs
Bighorn TL3 Short Action Mag bolt head
26 inch Proof CF Sendero Lite
Trigger Tech Flat Face Trigger
Krg Bravo Chassis
Barreled Action work was done by Short Action Customs
Wow, that looks great.
Specs
Bighorn TL3 Short Action Mag bolt head
26 inch Proof CF Sendero Lite
Trigger Tech Flat Face Trigger
Krg Bravo Chassis
Barreled Action work was done by Short Action Customs
So I order a KRG Bravo in FDE a few weeks back. Had read that a guy on here was making a brass insert weight for the forearm that was actually pretty cool and priced reasonably for the work involved. But, I was bored and happen to have a awesome set of tools in my garage (dad was a tv repairman), and figured I'd make my own. I've got an Origin action and McGowan barrel coming for this in .223 to shoot local PRS club stuff and really did this just for fun. All time in is about 6hrs. All material is cold rolled steel. The spigot mount is an old one of an MPA chassis I have.
I inlet the spigot so I could get the Area 419 ARCA mount as far out as possible.
I also notched the dovetail so I could use the locking pins on the 419 mount.
The forearm weight doesn't really require much design. I didn't have to machine the step in it, but it does help with supporting the drill with the through holes. Plus it'll help locate it and keep it from rattling around.
The MLOK mounts for the "ARCA rail" I epoxied in place. I HATE chasing those things around!
The factory LOP spacers I just traced out, then cut and filed. I made 3, but 2 works for me.
And a shot from the front end...
All in all, 10 bucks in material and 30 bucks for a dovetail cutter is not bad. 6hrs worth of work and 2 hrs cleaning up the mess and painting with Aluma-Hyde dark earth. Finished off with a cold Keystone Light and realizing I'll probably use it once, maybe twice, then just order the stuff from Area 419.......
")
I like everything but the keystone light.
Seriously. Who still drinks that swill????
Seriously. Who still drinks that swill????
Broke college students, and thats about it..
Last edited:
Similar threads
- Replies
- 3
- Views
- 467
- Replies
- 1
- Views
- 317
- Replies
- 5
- Views
- 780
