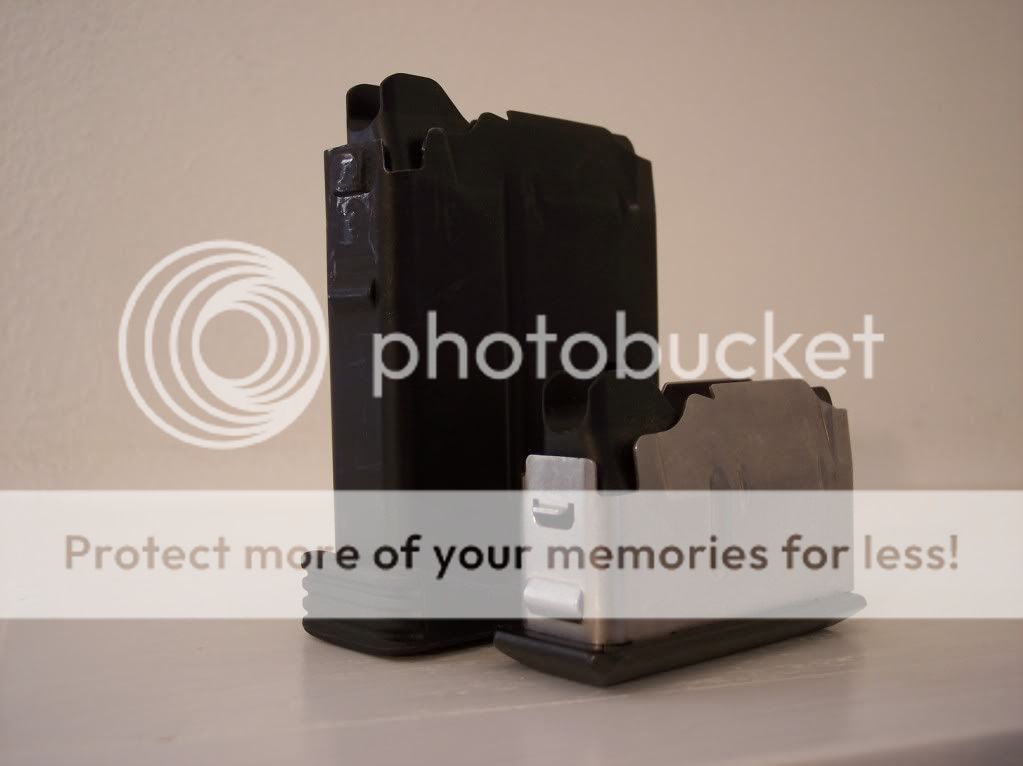
FYI for SPR A1 Owners. Recently I ordered two 10 Round A5 Mags from Midway in anticipation of the conversion kit FN is supposed to be working on to give the A1 a 10 round mag capability. Externally they are identical to the 4-round mags except for the following: no slot in the front left of the mag (as viewd from the rear)for the mag ejection spring, and no stamped out tabs on the front and rear for the mag catch and rear support slot in the A1 bottom metal.
Cutting a slot for the mag ejection spring was simple with a dermal and small grinding wheel (use a 4-round mag as a guide for locating and sizing the slot). Getting a tab on the front and rear of the mag was a bit more of a challenge. Tried an epoxy build up but it came of under mag insertion stress. Tried building up a weld bead but the mag metal is too thin and almost burnt a hole in the mag. Would have tried spot welding a piece of material to the mags but do not have access to a spot welder.
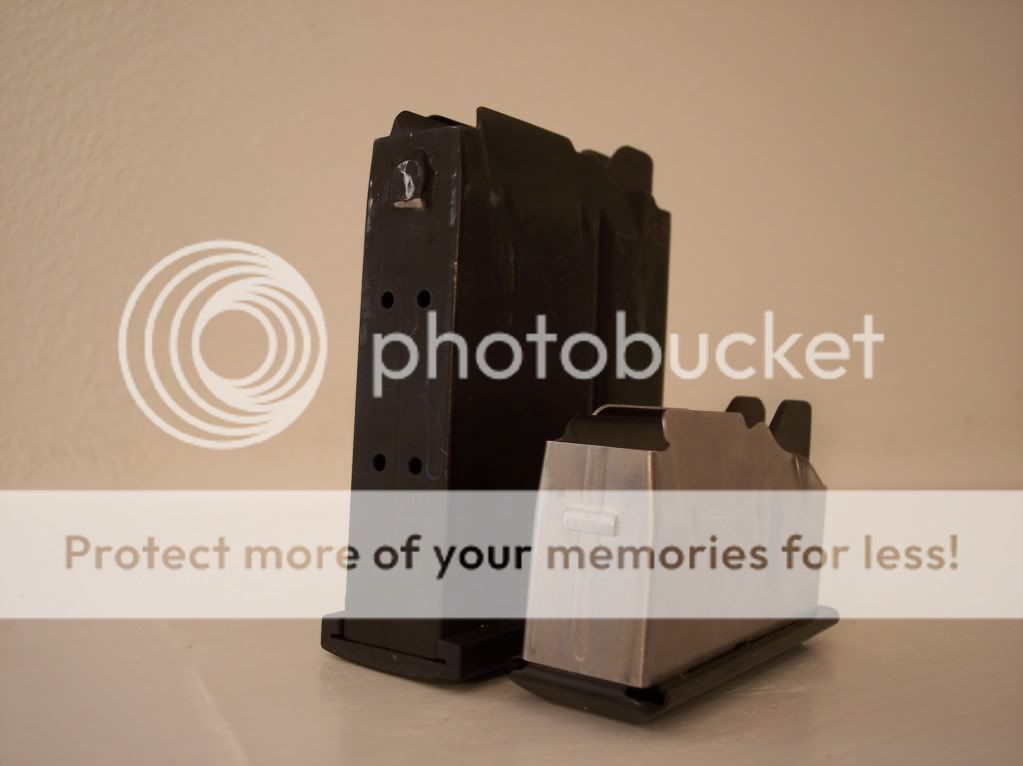
My final interim solution, I drilled small holes in the front and rear of the mags and slightly beveled the holes inside the mags. Cut the heads off of 8P nails and used them as rivets. Used a long punch to brad them over and finished them with a dermal mounted small grinding wheel to ensure they did not interfere with the mag follower. Also used the dermal to size and finish the nail heads on the outside of the mags. They are not a thing of beauty but so far they seen to work. When FN does release the conversion kit I’ll be able to remove the rivets and use the 10 round mags as originally intended.
Words of caution if you try this process: Use a 4-round mag as a guide for placement and size of the tabs and it goes without saying to take the follower and spring out prior to working on the mag. I would hate to see a $50 mag destroyed.
I’ve had my two mags at the range once so far and they seem to be working. They will get a good workout at the PRW Long Range Workshop next week in WY.
CDAT
Cutting a slot for the mag ejection spring was simple with a dermal and small grinding wheel (use a 4-round mag as a guide for locating and sizing the slot). Getting a tab on the front and rear of the mag was a bit more of a challenge. Tried an epoxy build up but it came of under mag insertion stress. Tried building up a weld bead but the mag metal is too thin and almost burnt a hole in the mag. Would have tried spot welding a piece of material to the mags but do not have access to a spot welder.
My final interim solution, I drilled small holes in the front and rear of the mags and slightly beveled the holes inside the mags. Cut the heads off of 8P nails and used them as rivets. Used a long punch to brad them over and finished them with a dermal mounted small grinding wheel to ensure they did not interfere with the mag follower. Also used the dermal to size and finish the nail heads on the outside of the mags. They are not a thing of beauty but so far they seen to work. When FN does release the conversion kit I’ll be able to remove the rivets and use the 10 round mags as originally intended.
Words of caution if you try this process: Use a 4-round mag as a guide for placement and size of the tabs and it goes without saying to take the follower and spring out prior to working on the mag. I would hate to see a $50 mag destroyed.
I’ve had my two mags at the range once so far and they seem to be working. They will get a good workout at the PRW Long Range Workshop next week in WY.
CDAT